 [1]
[1]
Seats are an essential component to any car. They keep the driver secure in one place during operation and of course provide safety.
We chose SCAT Enterprises [2]’ PROCAR Evolution seats to install into our project car Blank Slate [3], a 1969 Chevrolet Camaro.
Not only are the seats comfortable and stylish, but they are quality seats sold at an affordable price. All of PROCAR’S seats are designed for hot rods, Volkswagen, muscle cars, sport compacts and off-road vehicles.
The Evolution seats we purchased are priced at $401 per seat. Moreover, the ’69 Camaro seat adapters cost $72 each.
The seats have a sporty design with defined lines. Each seat is TIG-welded to ensure heavy-duty strength and durability.
 [4]
[4]
 [5]
[5]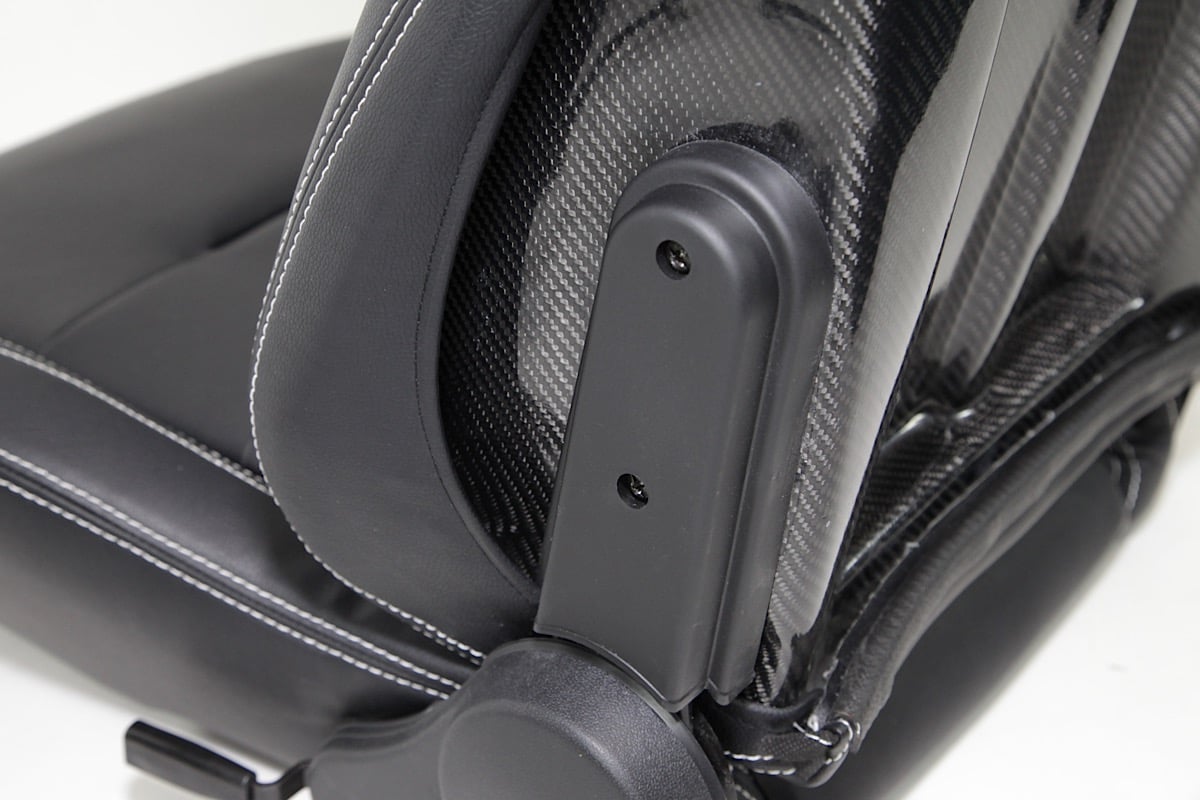 [6]
[6]
Custom mounting brackets are available for over 3,000 applications, giving people the ability to accomplish the job on your own with no hassle.
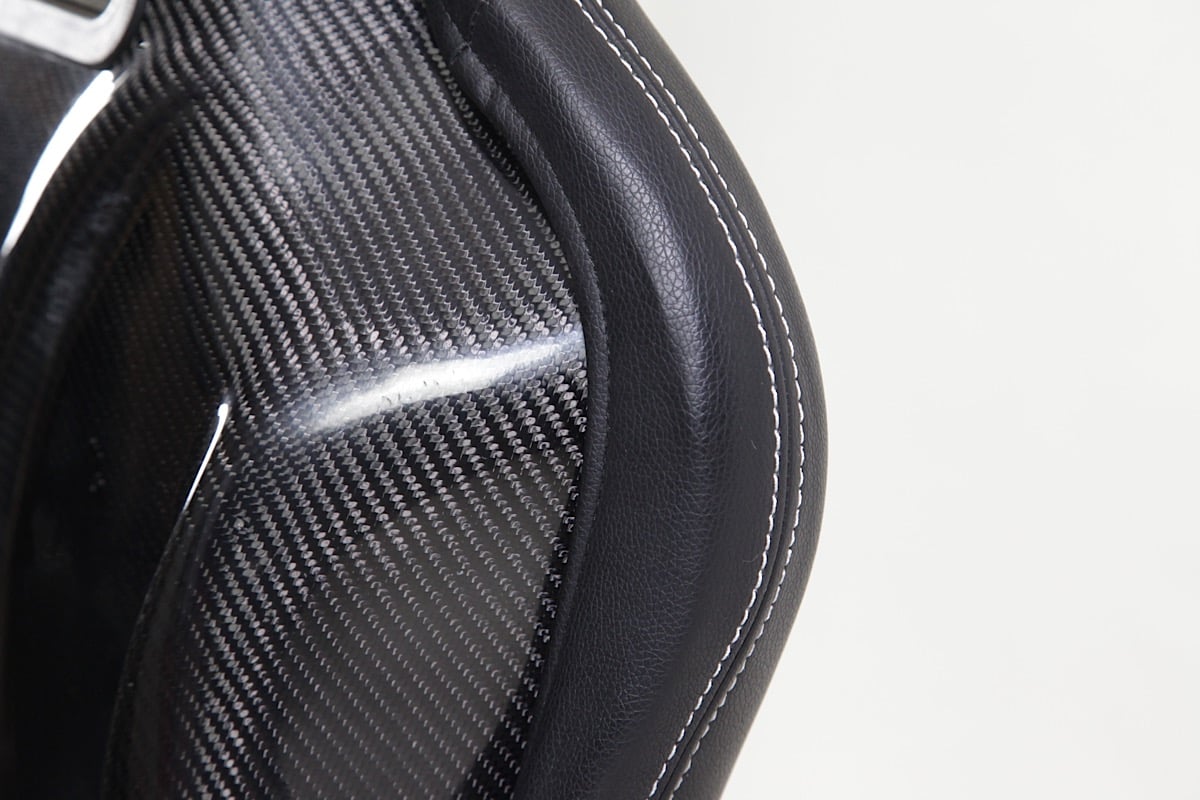
We chose the black vinyl finish for the Camaro. With suspension straps for support and comfort, the Evolution seats accommodate a 5-point harness and are also fully reclinable, forward and back.
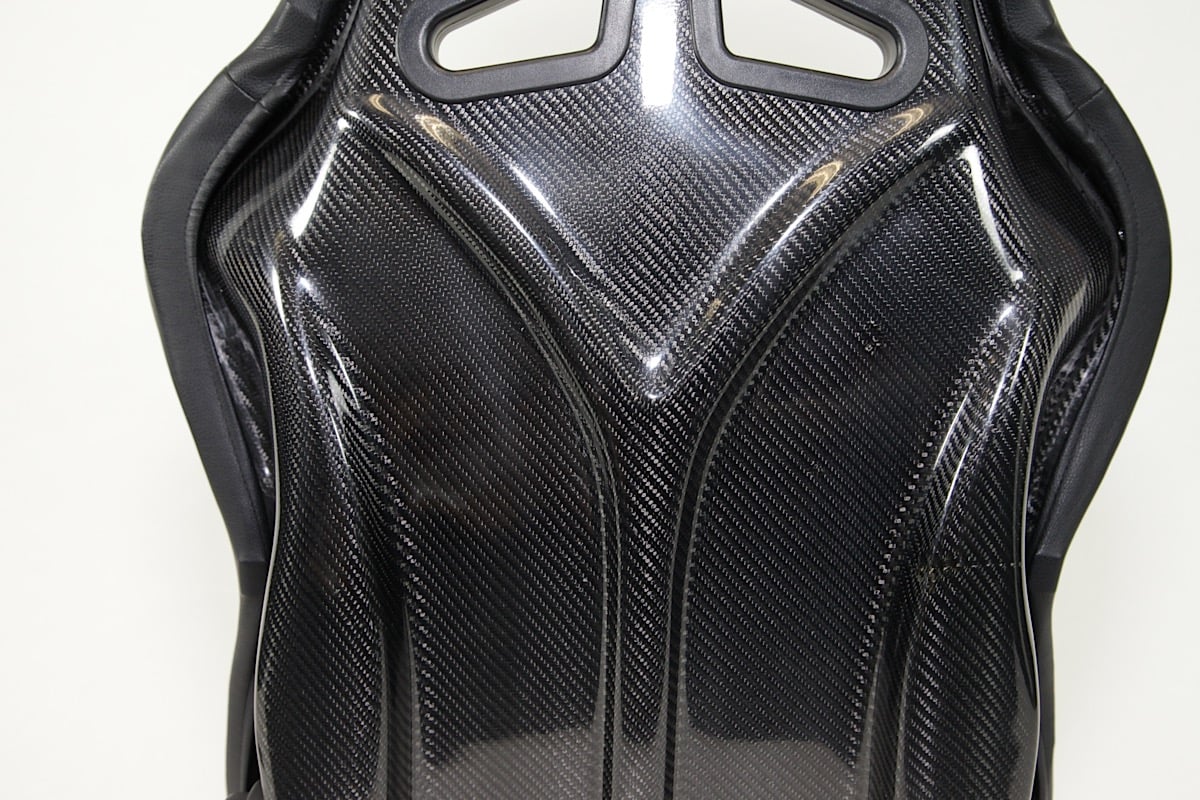
In addition, the Evolution seats feature a carbon fiber inlay backing body design to endure the harshest road conditions.
Starting at the bottom
 [7]
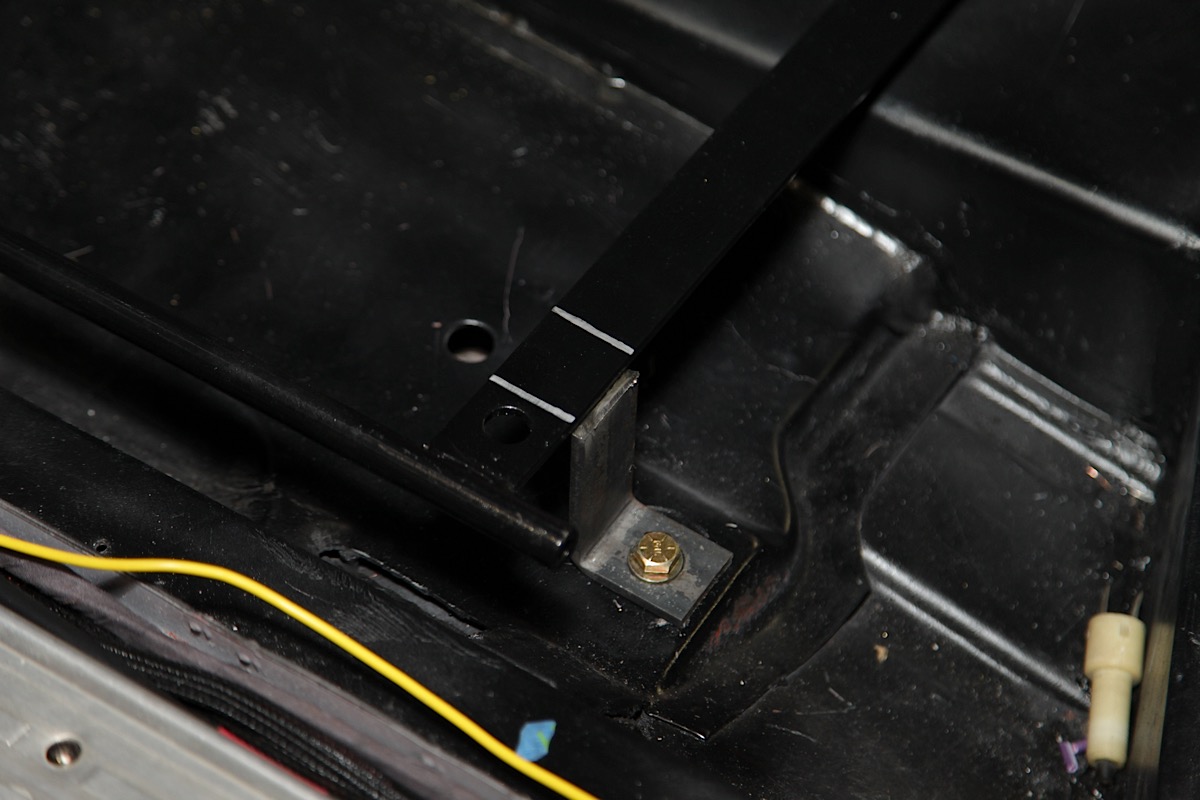
[7]Marks were made to ensure perfect alignment
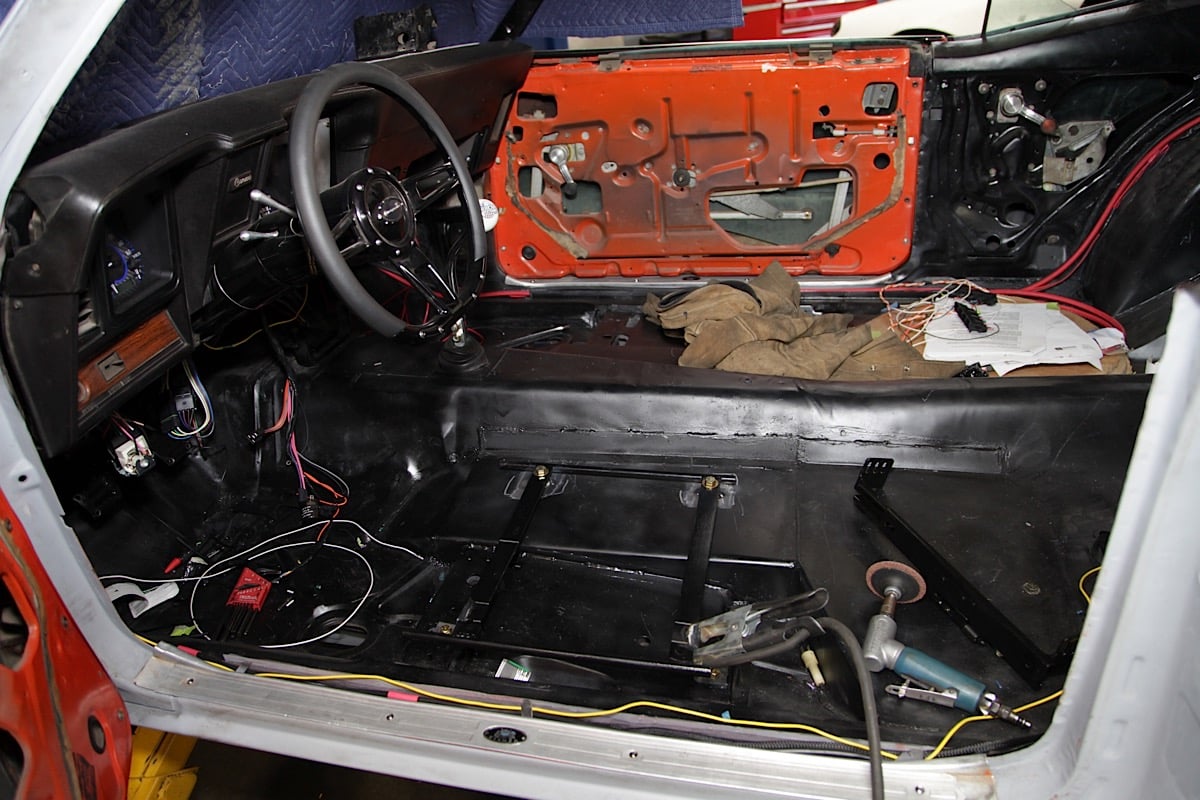
First, we had to make sure the seat bracket fit the floorboard we were installing it onto. Always be sure to buy the same brand of seat bracket and adapter as using different ones may make the seat unmountable.
After observing the bracket necessary to install, we made sure to mark where exactly to mount the bracket to ensure not only the seat being level but more importantly the seat being centered on the steering wheel.
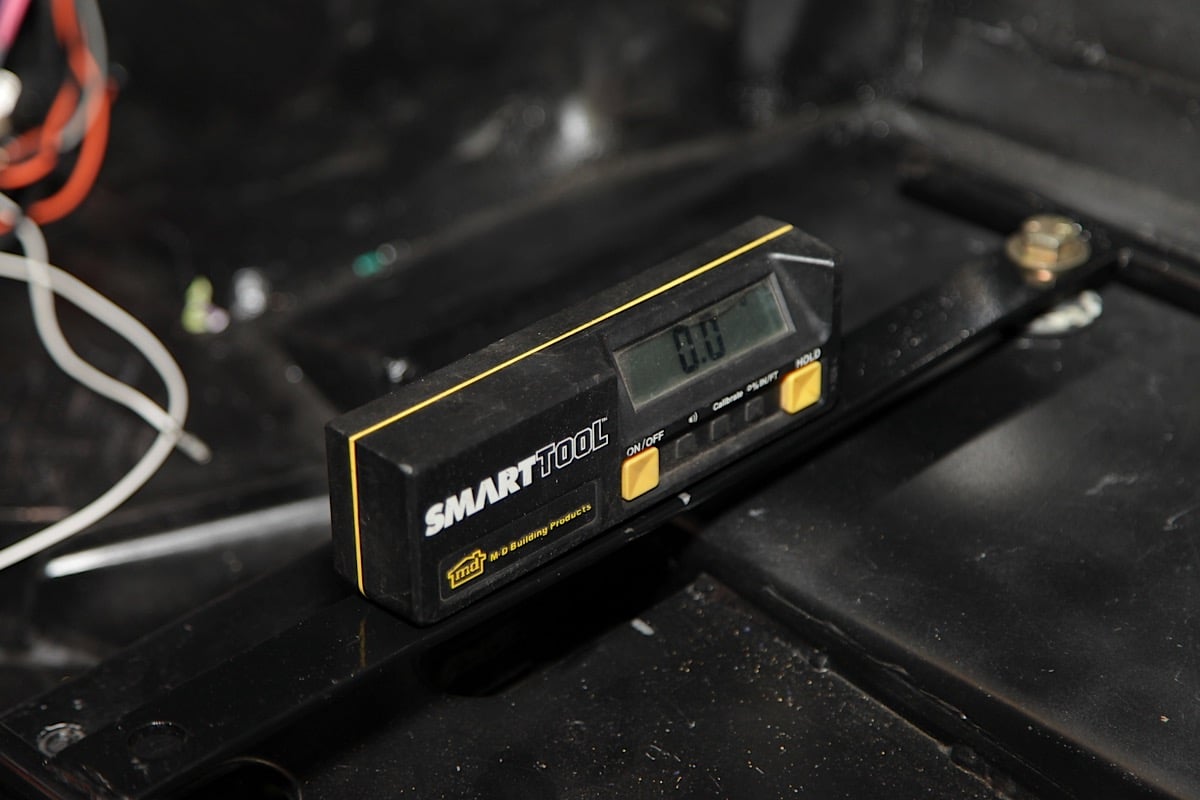
The bracket was then tightly secured using the bolt and washer assembly included with the product. Following installation of the bottom-mount seat bracket, we used a digital level to ensure the seat was aligned with the floorboard perfectly.
It is recommended to measure twice for assurance. After making sure the seat bracket is level, the seat needed to be built since it is shipped unassembled.
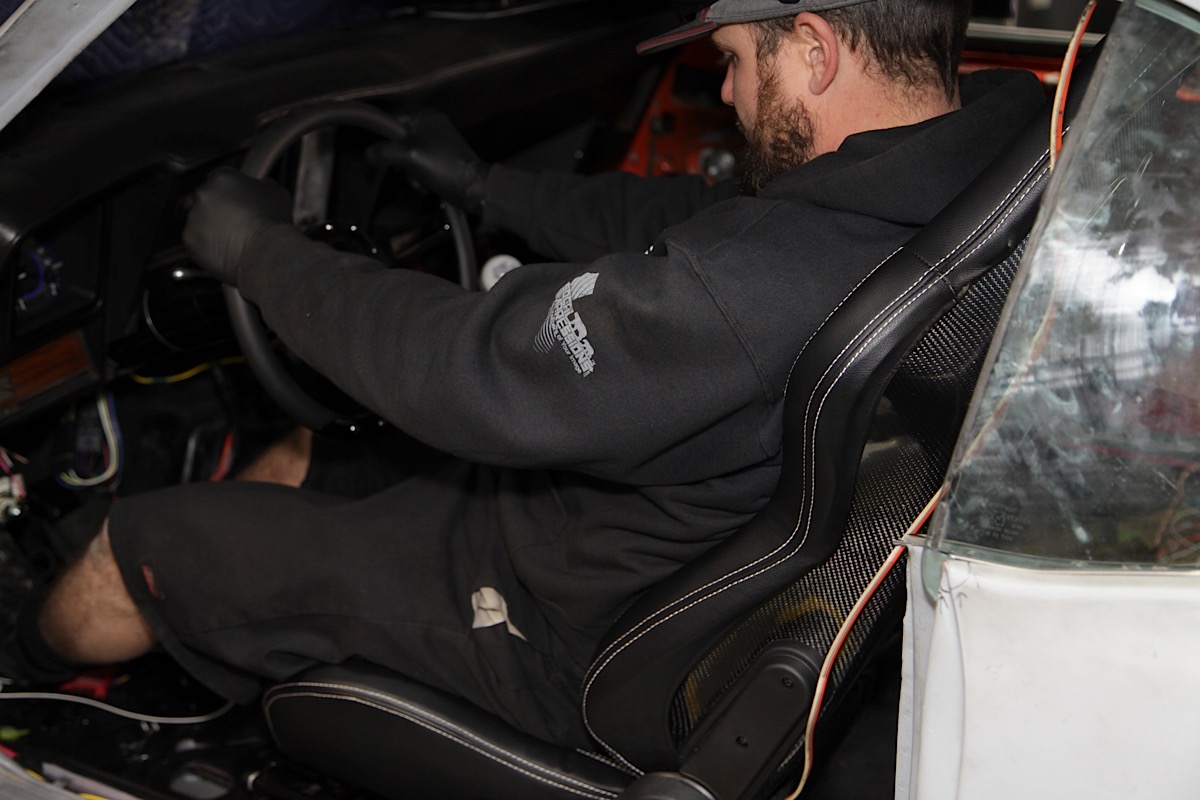
Using a ratchet, we were able to assemble the seat in a short time. Before bolting down the seat, we hand-started each screw and test fitted the seat.
Fitment wasn’t as straightforward as we thought it would be due to some previous customizations made to the floorboards. When we sat in the seat, there was plenty of foot room but no headroom as our head was nearly touching the roof of the Camaro.
 [8]
[8]
 [9]
[9]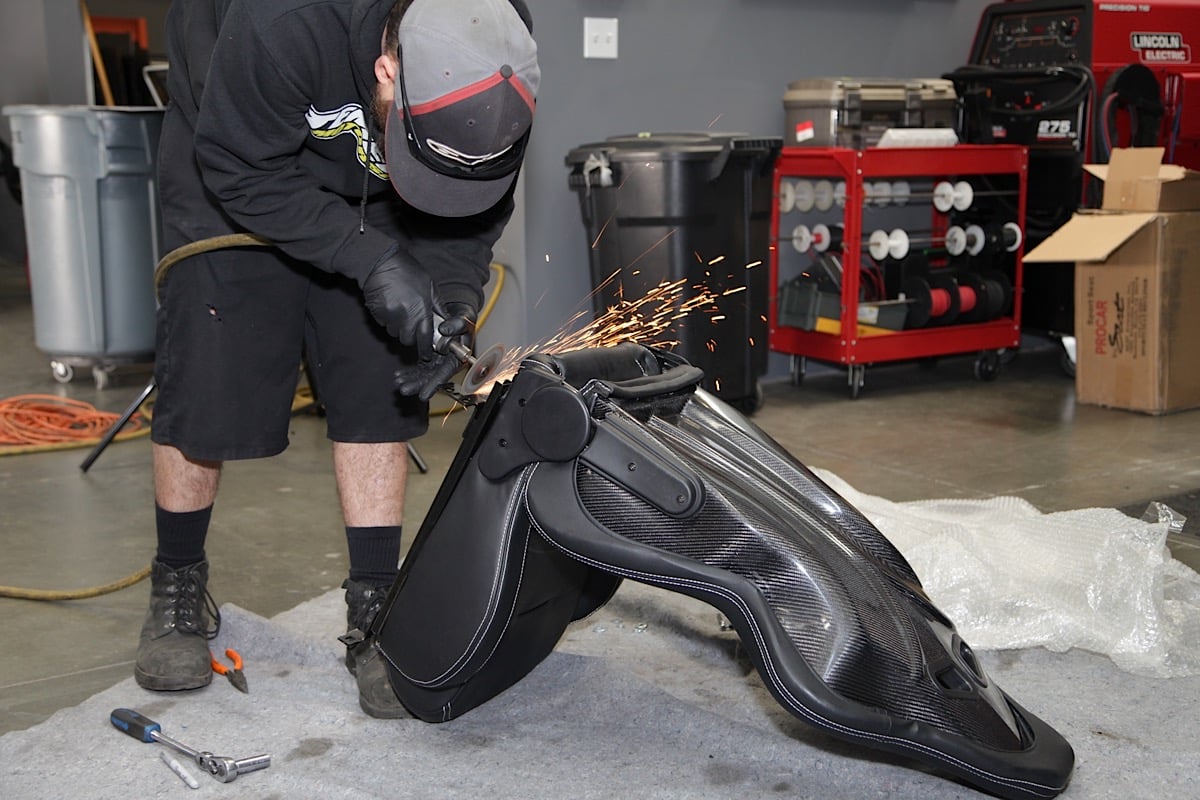 [10]
[10]
No easy task for Blank Slate
The only tedious task we encountered was cutting metal and marking the brackets.
 [11]
[11]Welding the brackets into place
Moreover, the brackets needed to be cut and adjusted to compensate for the extensive floor modifications. The Blank Slate Camaro has a custom exhaust which flows just past the driver door.
In this case, we needed to use a cutting disc to cut the bracket to lower the seat since it was intruding the headliner area. From there, we utilized a welder to mount custom brackets to the seat to allow proper fitment.
No special tools were needed to complete the project. We followed the instructions and only made minor modifications to the seat adjuster to allow for more headroom clearance since the seat was sitting too high due to the customized exhaust and floorboard on the Camaro.
 [12]
[12]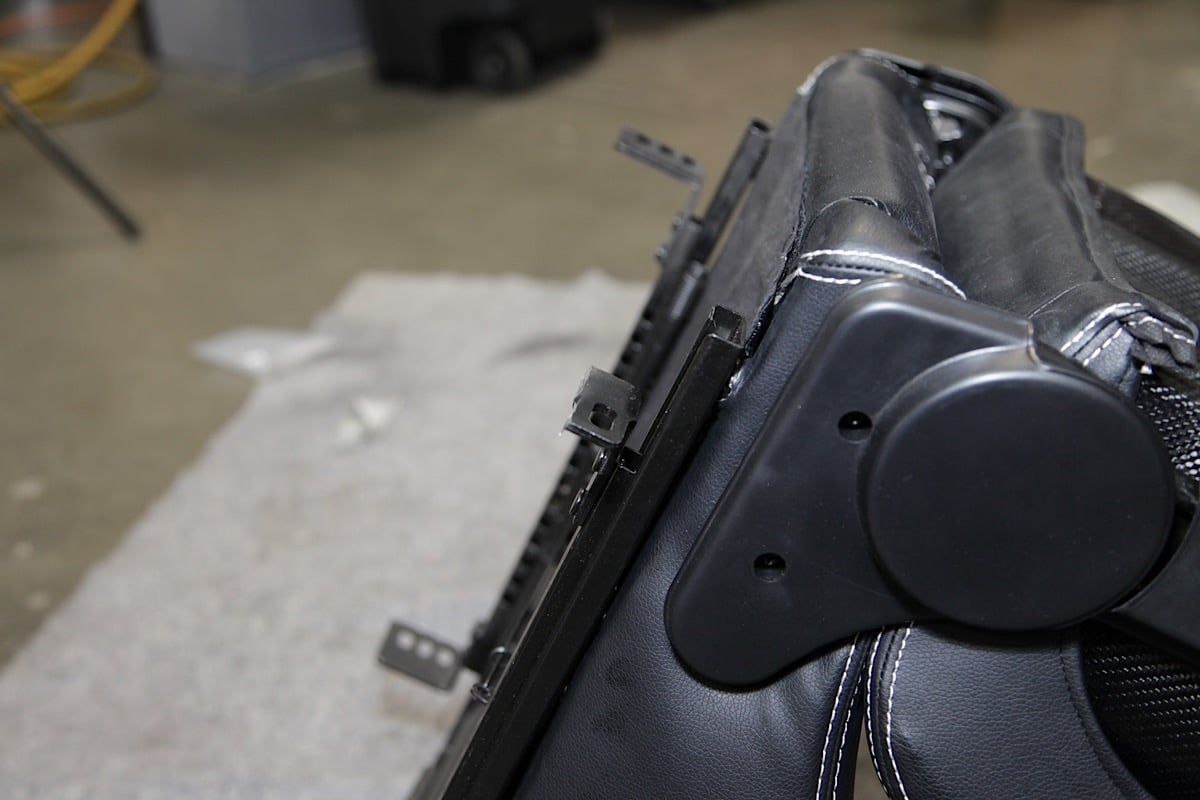 [13]
[13]
Due to Blank Slate’s modified floorboard, we spent a bit more time to achieve a level fitment.
Overall, it is a simple and straightforward do-it-yourself process. If this style seat does not suit you, there are several seat options available at Scat’s Procar website [14].
Various material finishes include vinyl, leather, canvas, velour, houndstooth and simulated leatherette.
 [15]
[15]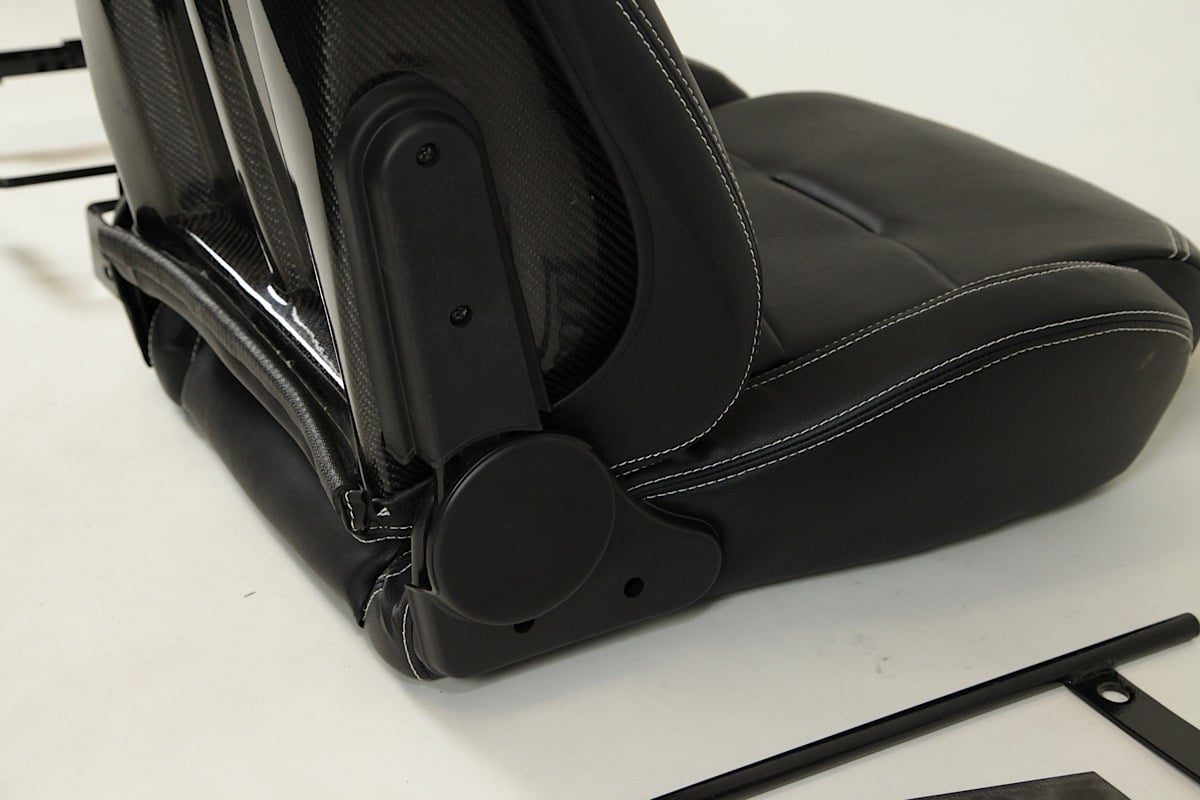 [16]
[16]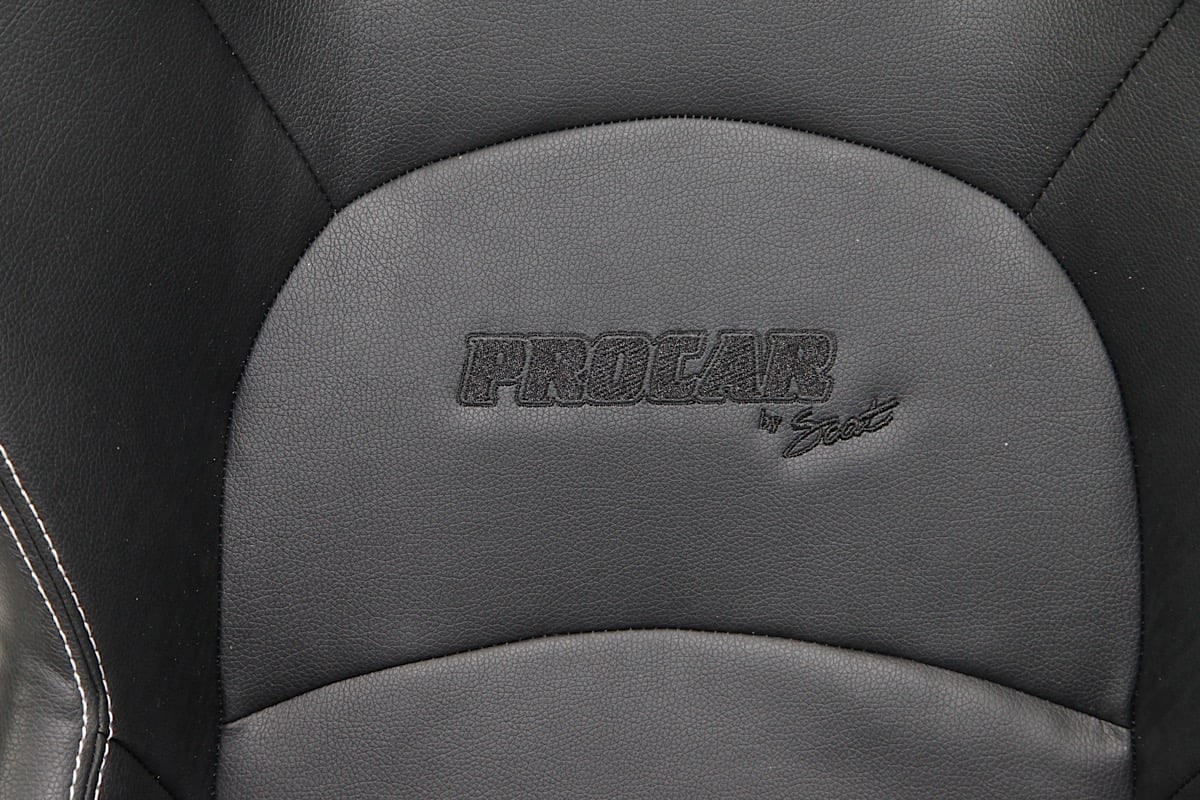 [17]
[17] [18]
[18]
 [19]
[19]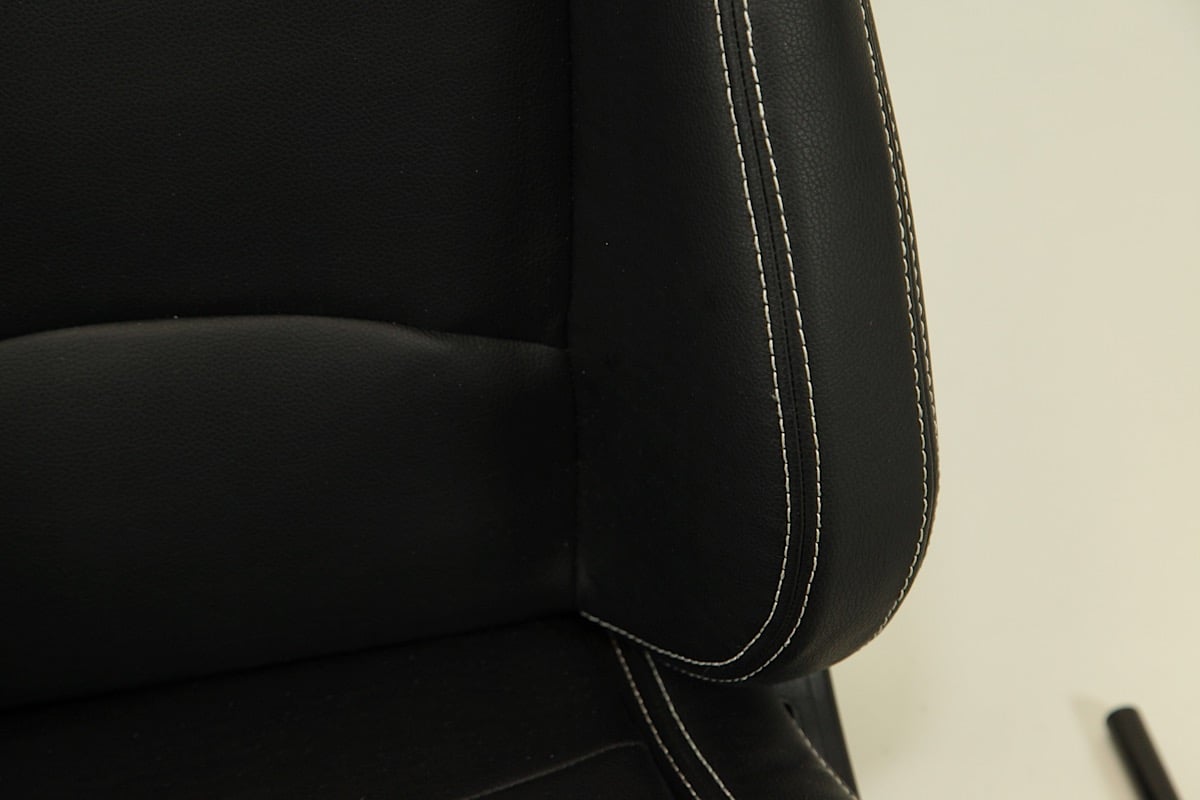 [20]
[20] [21]
[21] [22]
[22]