 [1]This Corvette may look a bit familiar to those of you that follow Corvette Online as it is the same car that we have performed two previous installation stories with. The first being an aFe cold air intake [2], followed by a X-pipe and exhaust system from Corsa Performance [3].
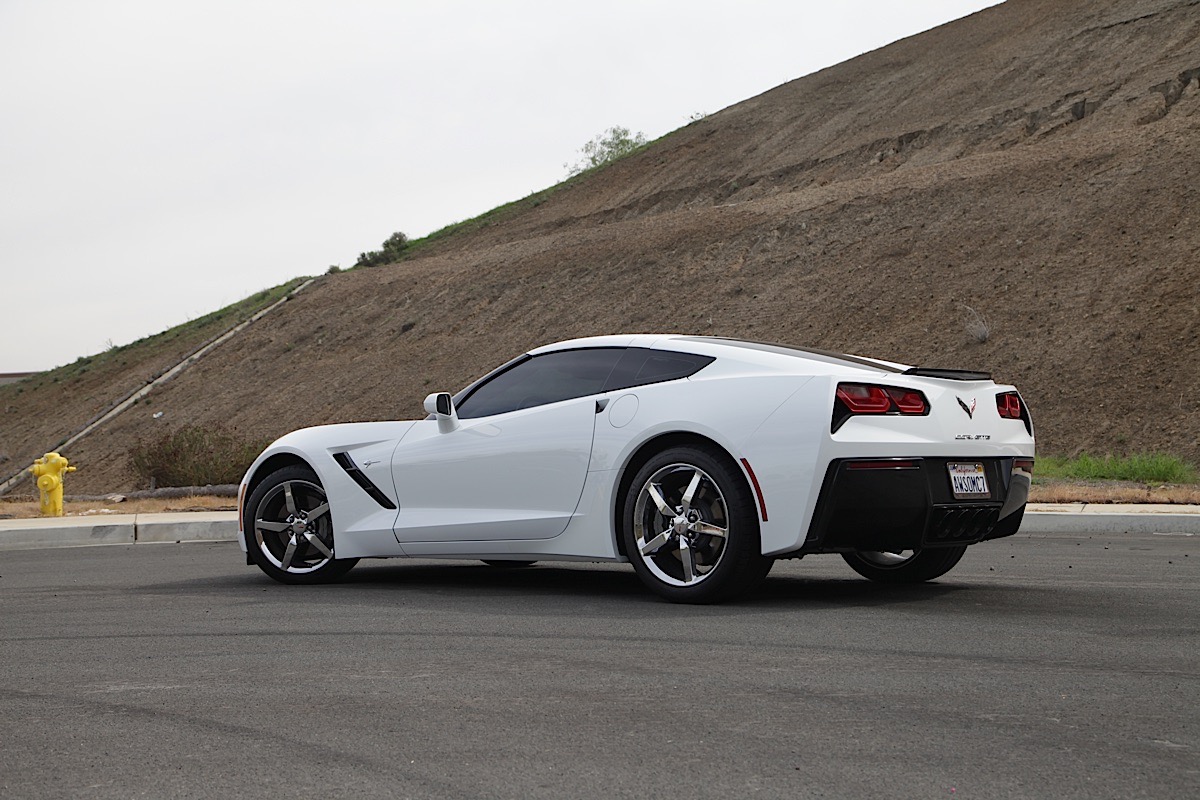
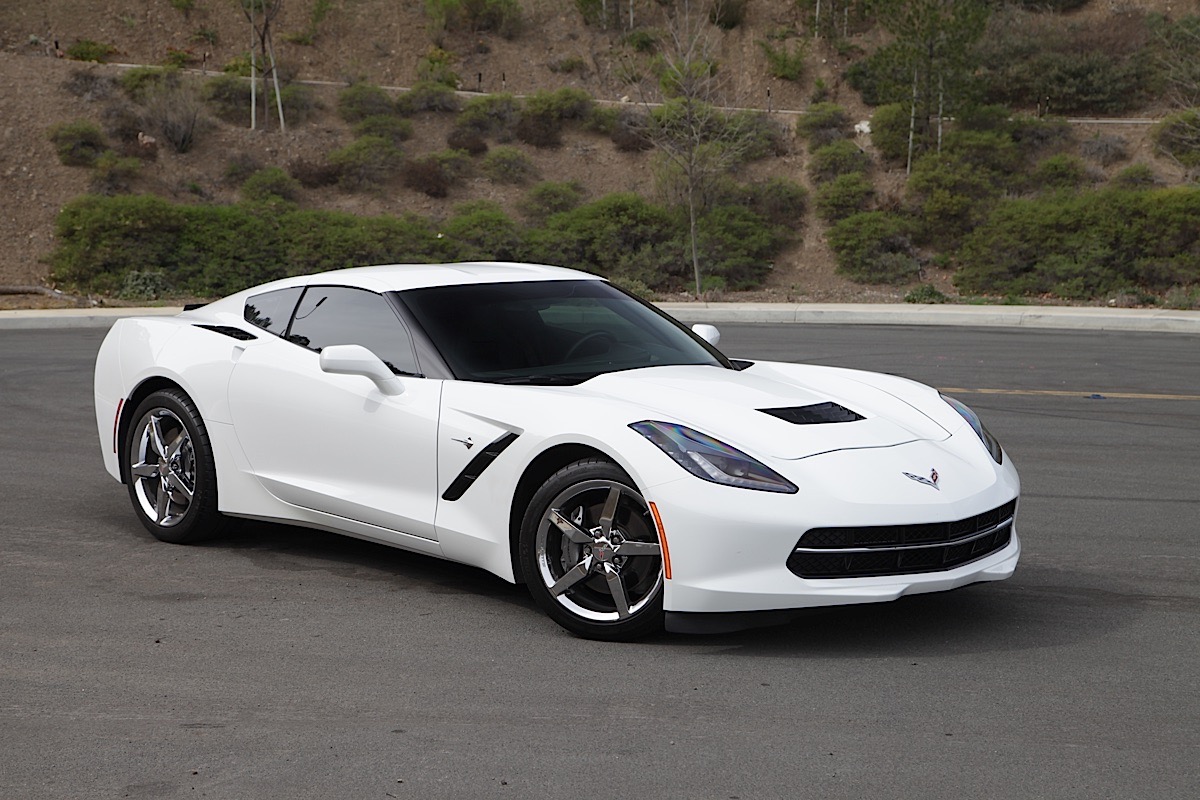
To refresh your memory, the car is a 2014 Chevrolet Corvette Stingray, equipped with the six-speed paddle-shifted automatic transmission, and optioned up to the 2LT trim level, and only had a few thousand miles on it. Our next step in the performance puzzle for this car was to turn to Kooks [4] for a set of headers that should wake up the potential of the LT1 engine even more.
 [5]
[5]
The Goods
For this particular install, we decided to go with Kooks 1-7/8-inch primary, long tube headers (PN 21702400 [6]). While we opted for the 1-7/8 design, Jegs [7] carries these headers in the 2-inch variety under (PN 579-21702600 [8]).
As shown in a previous install, we already had an aftermarket X-pipe in place, but because of the type of connections used, it was not compatible. Luckily, this gave us the opportunity to try out Kooks 3-inch Green catted X-pipe (PN 21703300 [9]). This piece is also available in the Jegs catalog under (PN 579-21703300 [10]).
 [11]
[11]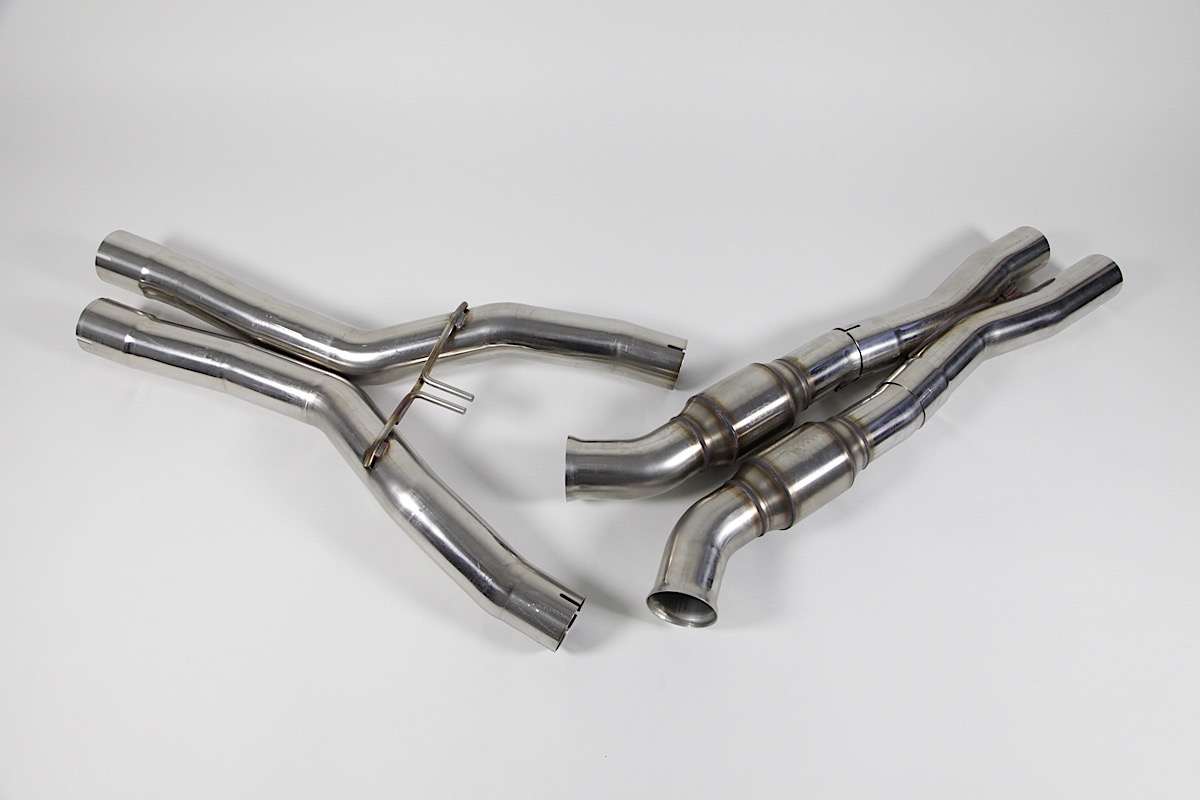 [12]
[12]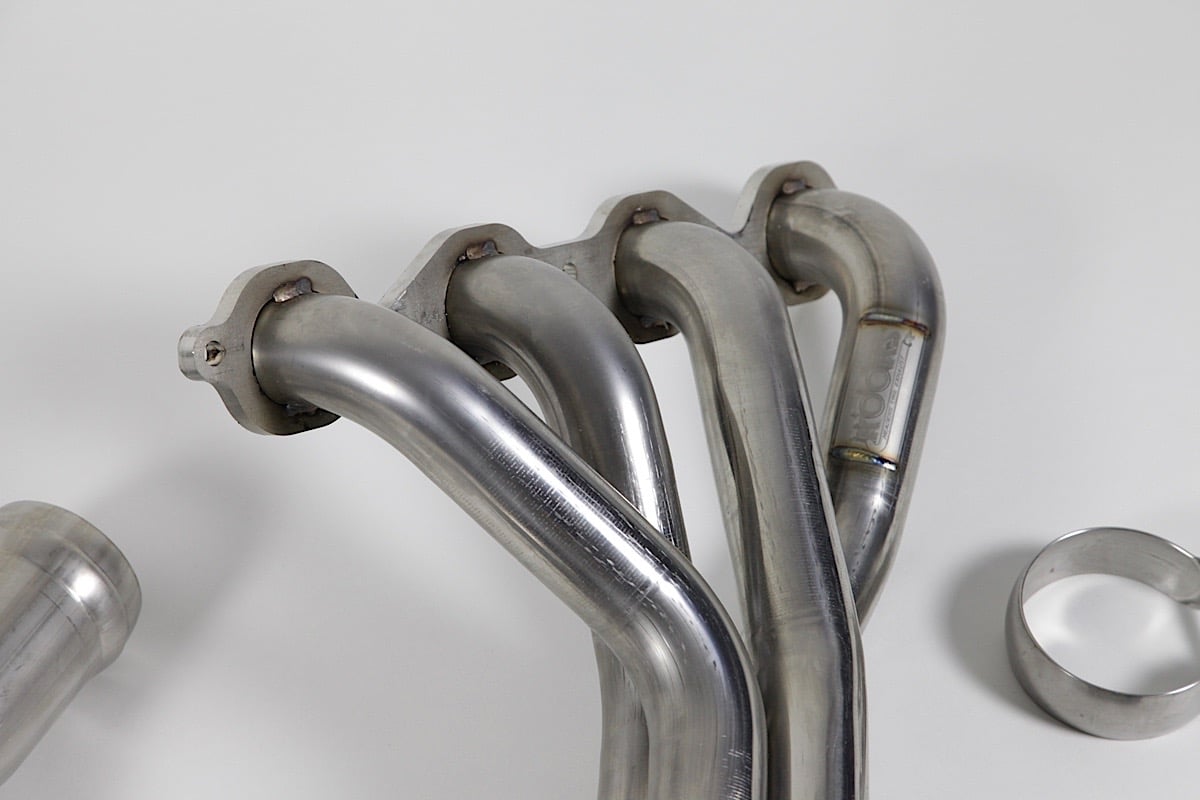 [13]
[13]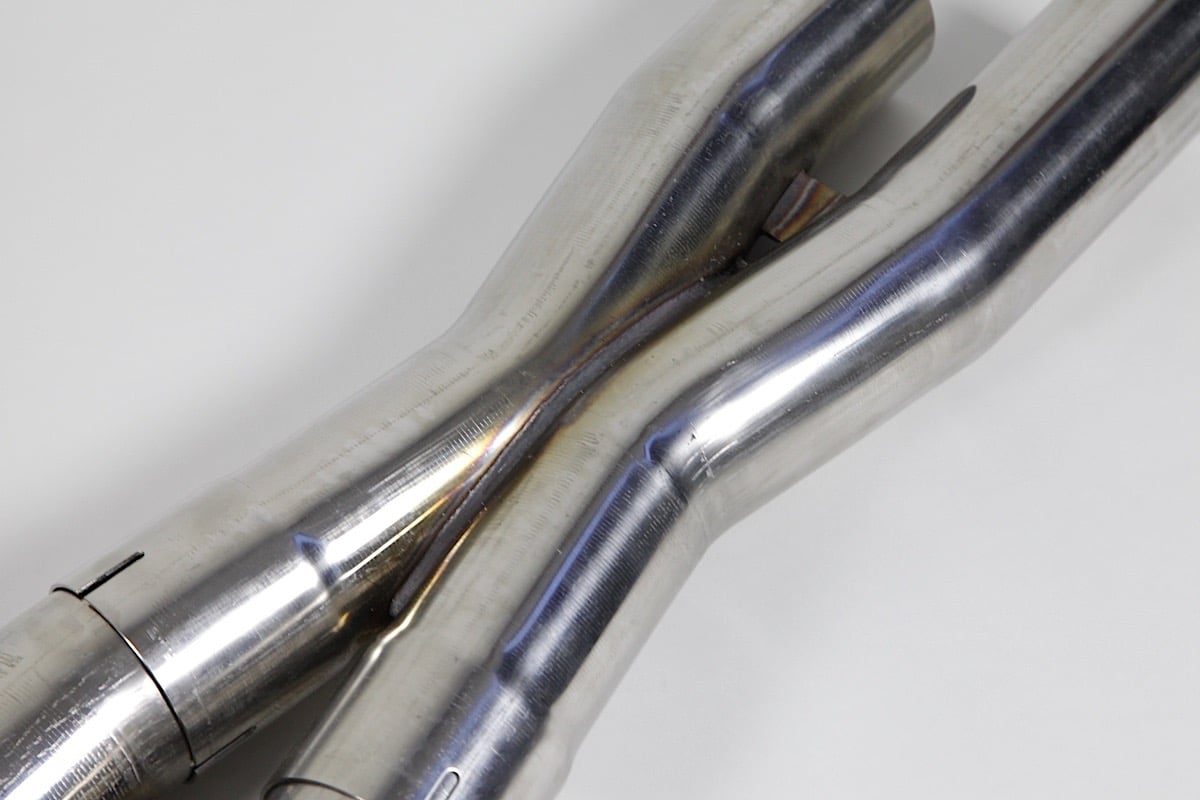 [14]
[14]
Kooks 1-7/8-inch long tube headers with 3-inch collectors
Chris Clark from Kooks explained, “The Kooks headers and exhaust line of products are manufactured using U.S.-sourced 304 grade stainless steel. The X-pipe used for the install on this C7 was equipped with our exclusive Ultra High Performance 49 state legal green catalytic converters. What makes these catalytic converters special is that they have a EPA-certification etched into them, and they have a platinum-coated substrate.”
 [15]
[15] [16]
[16]
Kooks 3-inch Green catted X-pipe
Clark continued, “Our long tube headers are hand crafted using 3/8-inch thick flanges, 18-gauge thick primaries and 16-gauge thick merge collectors. We use our Torca OE style ball and socket connections at the collector to ensure a leak-free fit and an easy installation. They come with a life time warranty and our catalytic converters carry a two year warranty.”
 [17]
[17] [18]
[18]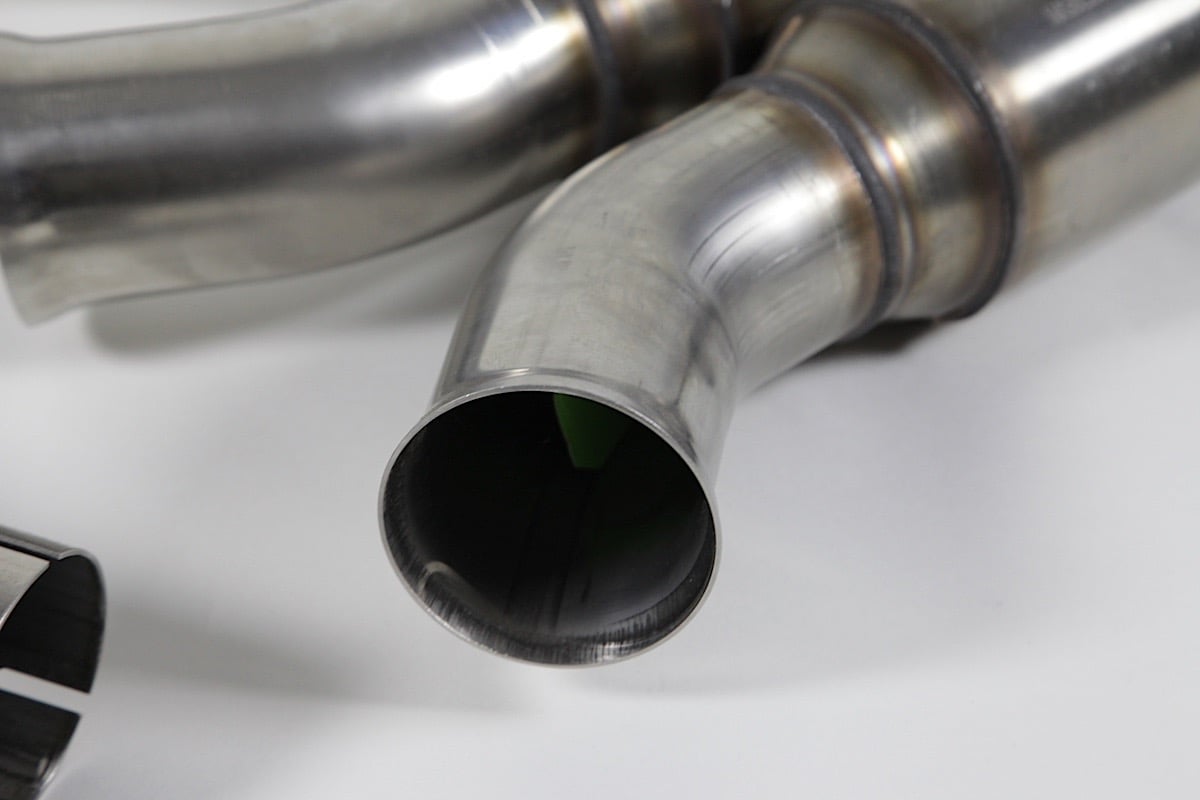 [19]
[19]
Kooks 3/8-inch thick flanges, 18-gauge thick primaries, 16-gauge thick merge collectors, and Torca OE style ball and socket connections
For those unfamiliar with doing a header install, there are a few different areas of improvement that one can expect. While sound isn’t a measure of performance, it can definitely make your vehicle feel a little faster, and a good exhaust just sounds awesome. More objectively, a header install can provide some sizable power improvements and even help to reshape your power curve; especially when paired with an intake and a good tune. Although we don’t have plans to do so on this car, if you’re interested in adding some forced induction or increasing power by other means in the future, you will need the increased breathability.
The Install
We opted to complete this installation at Cunningham Motorsports [20] (CMS), since they were going to complete the final tuning with EFI Live [21]. The guys over at CMS were more than happy to help with installing on the headers and had a few tips to make the process go swimmingly.
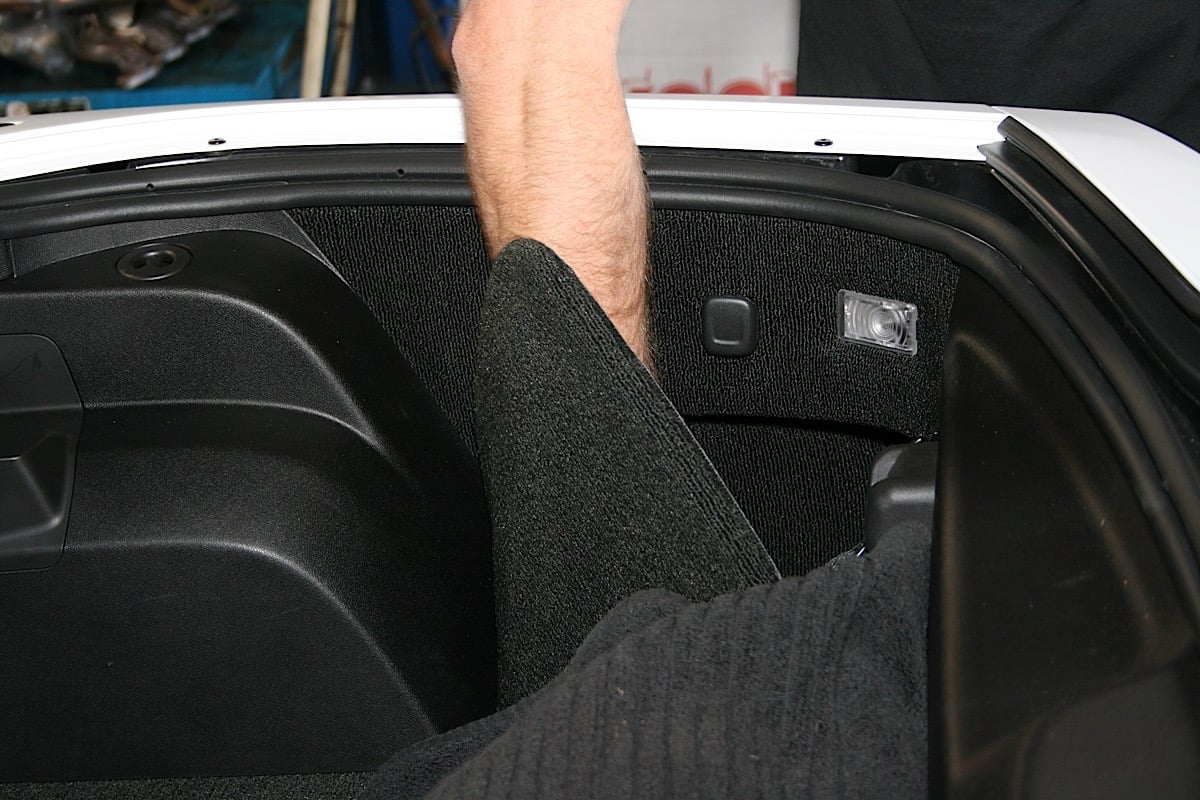
To begin, we drove the car onto their BendPak [22] XPR-10ALP lift and allowed the car to cool down. Next we disconnected the battery, and covered the fenders with protective cloths.
 [23]
[23]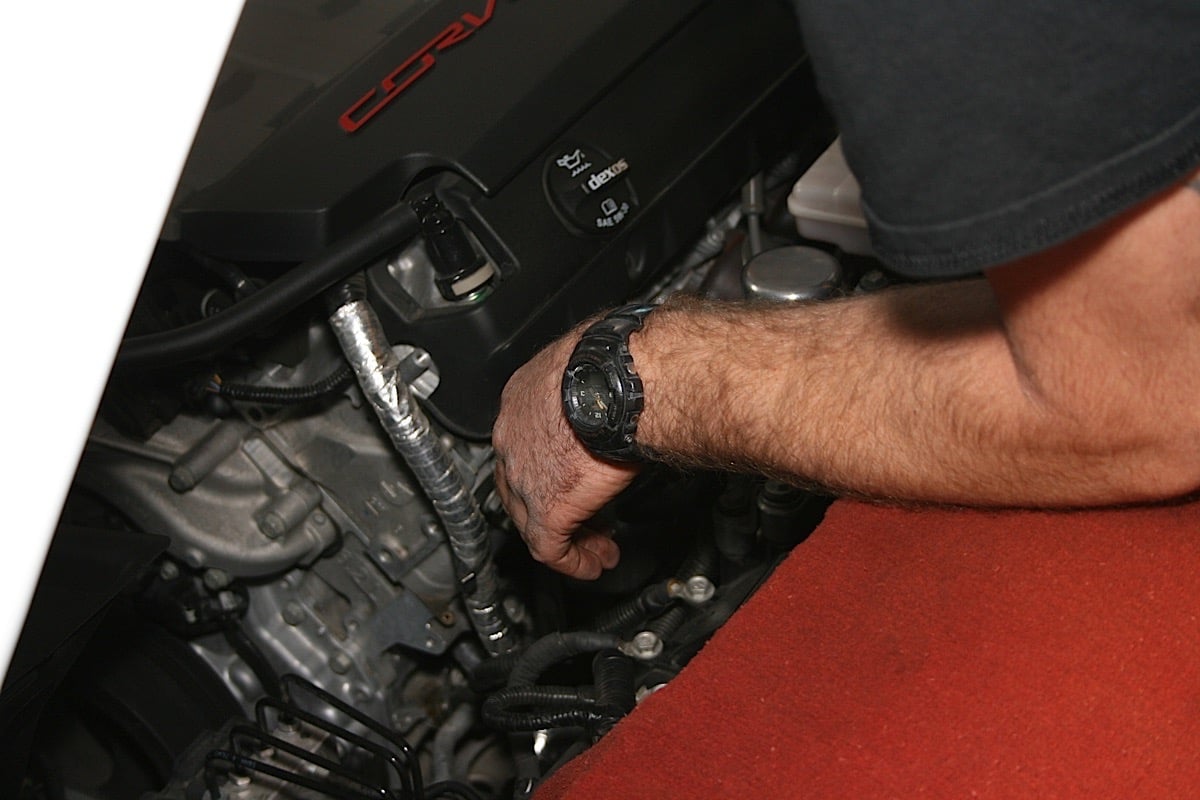 [24]
[24]
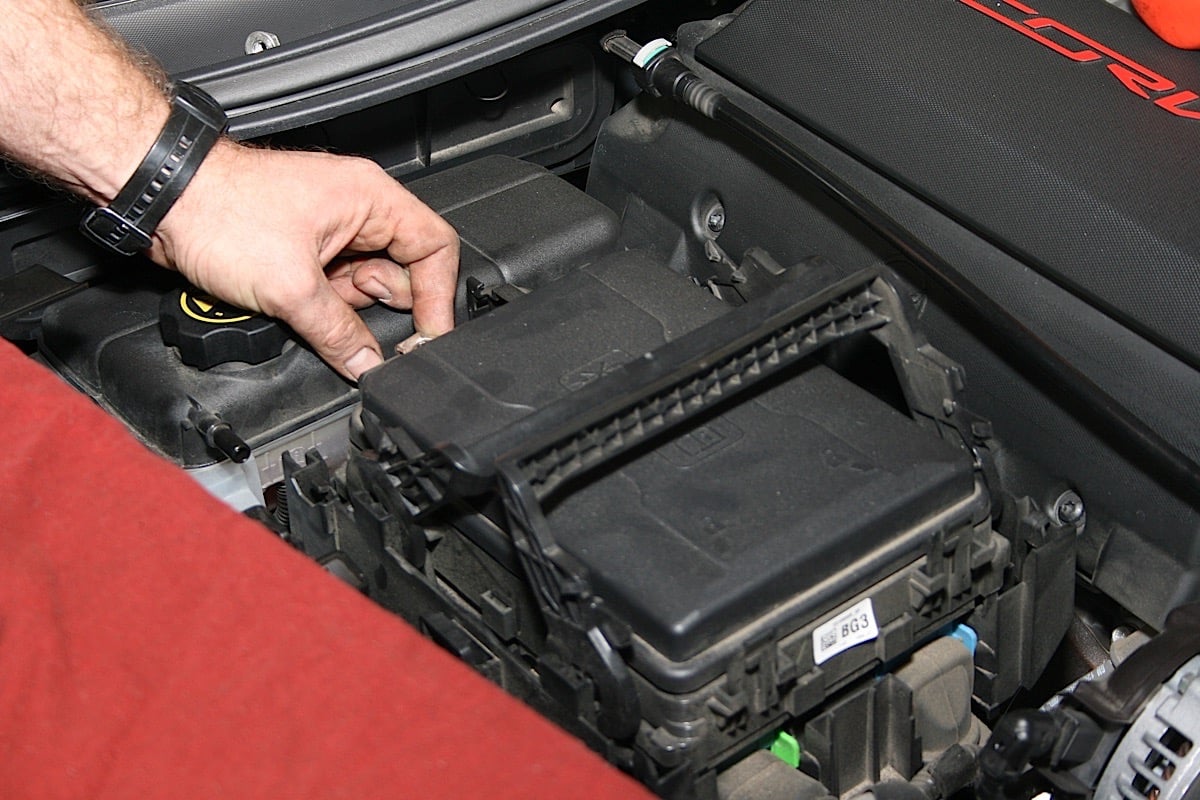
Once the car was cooled and we were heavily caffeinated, we removed the electrical tray enabling us to move the components around individually. We also removed the coolant overflow tank and the intermittent steering shaft for easier removal and install of the exhaust system.
 [25]
[25]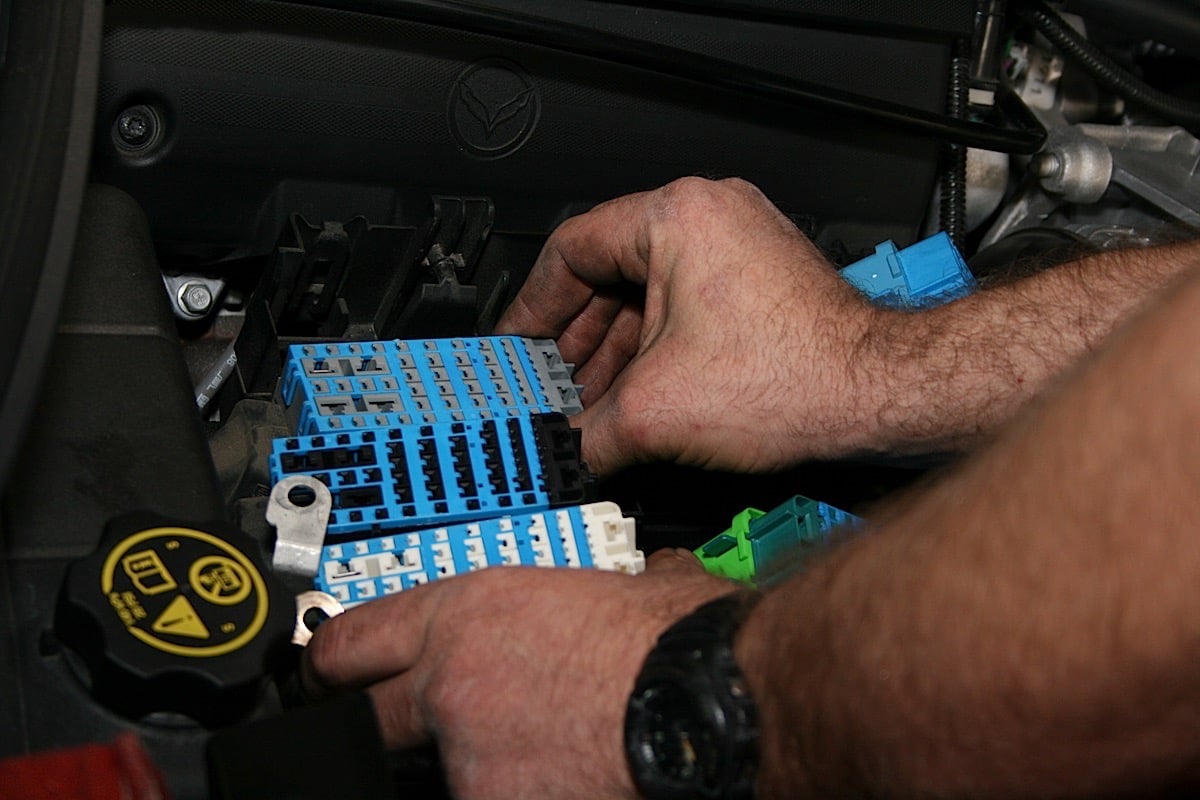 [26]
[26]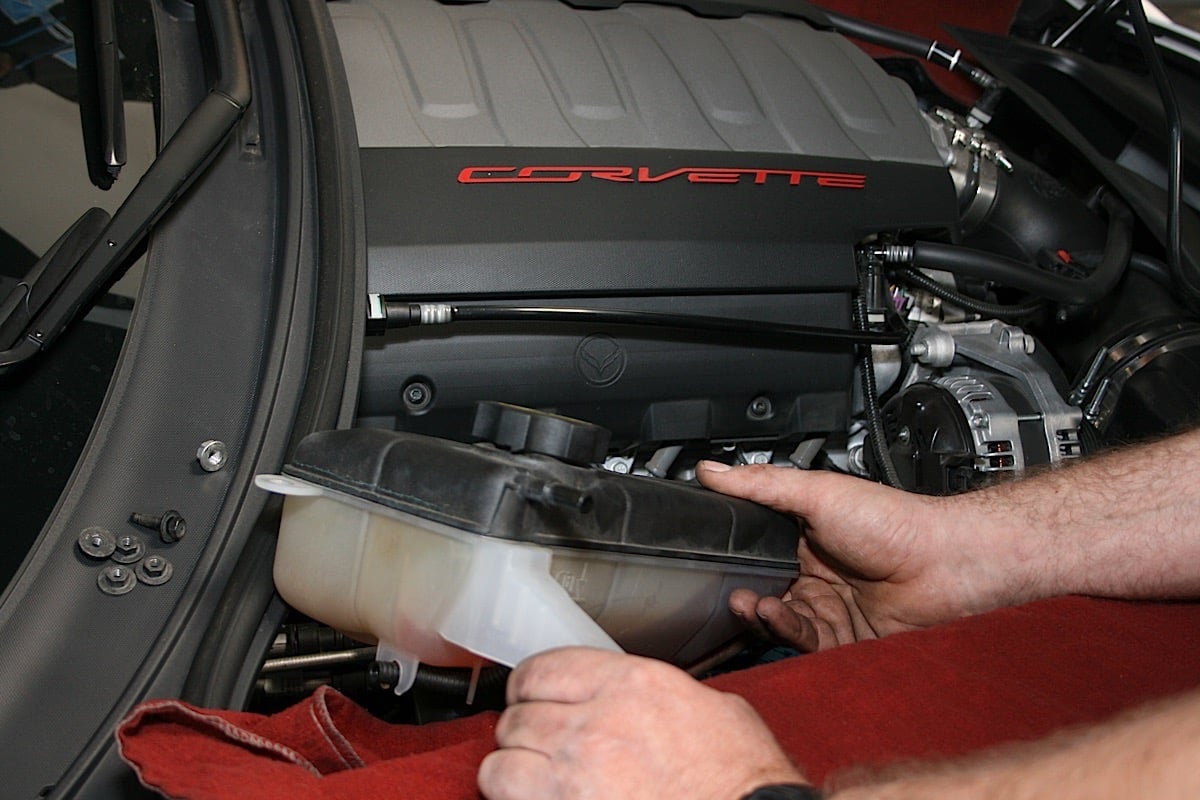 [27]
[27] [28]
[28]
Our next step involved removing the plug wires and exhaust plugs. Most C7s won’t need new plugs for some time, but it never hurts to give them all a quick inspection.
 [29]
[29]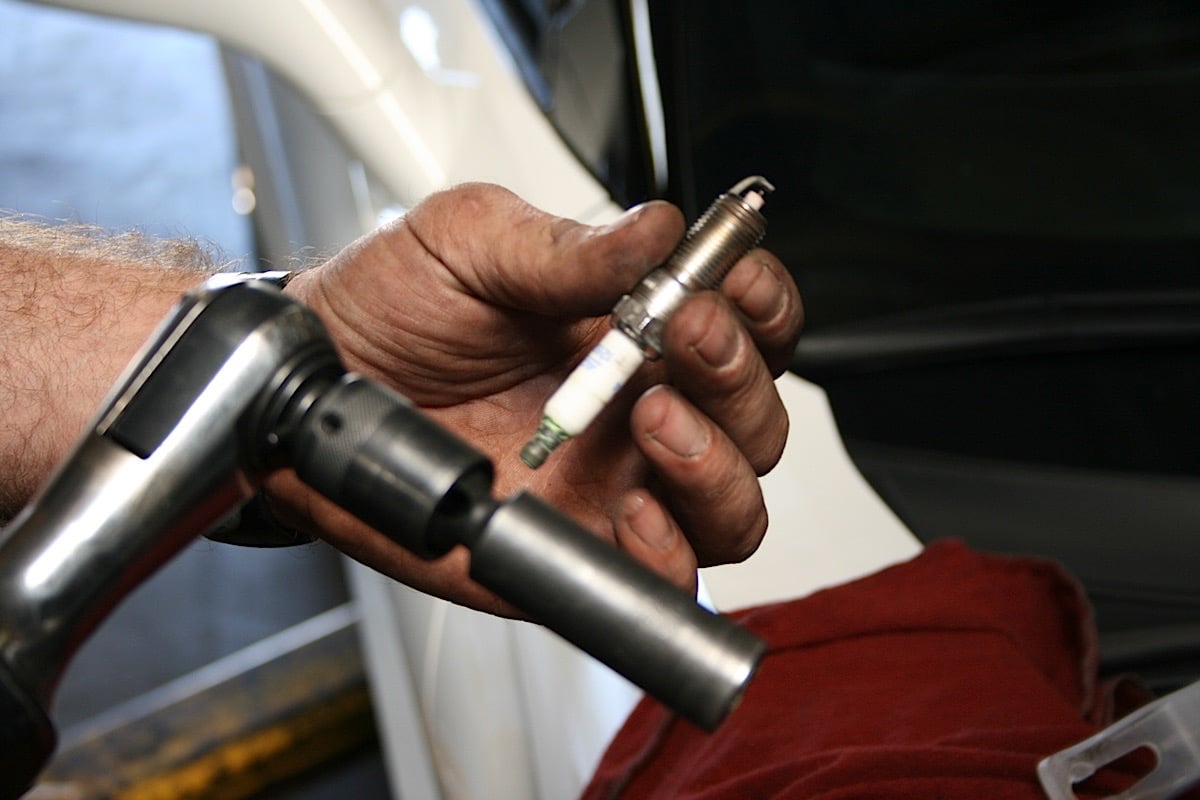 [30]
[30]
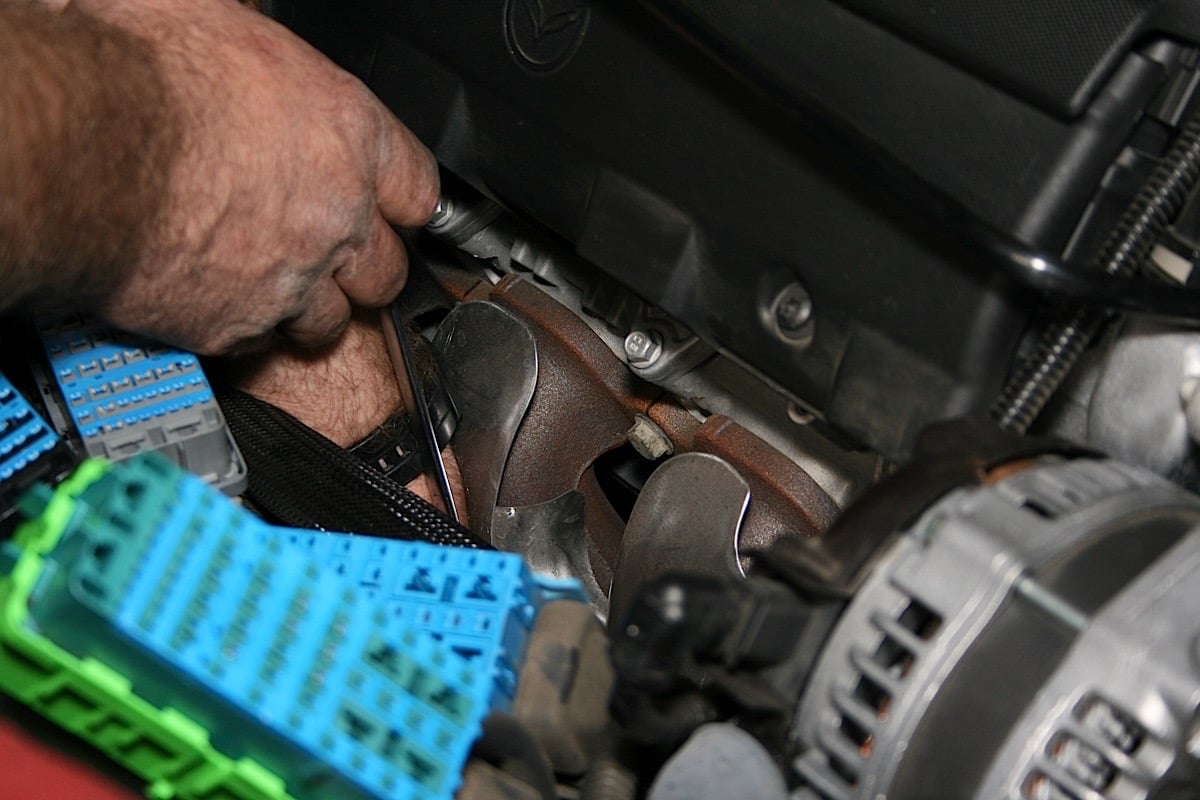
One of those tricks of the trade we had mentioned comes into play here–you’ll want to remove the manifold heat shields first to make the next steps easier. They do require a bit of a tug but no harm, no foul.
Next, we loosened the factory bolts holding the exhaust manifold on and removed the manifold gaskets, placing them on top of the engine on their appropriate side. With everything up top loosened and secure we lifted the Stingray.


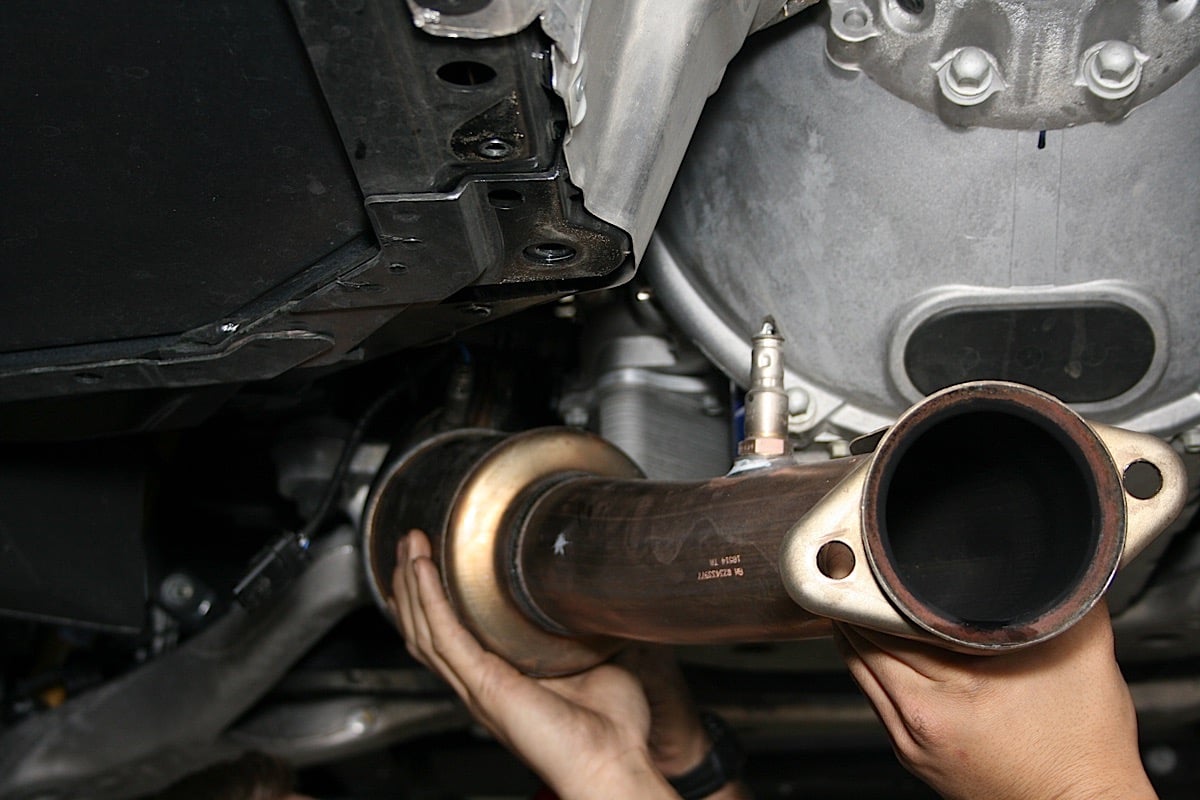
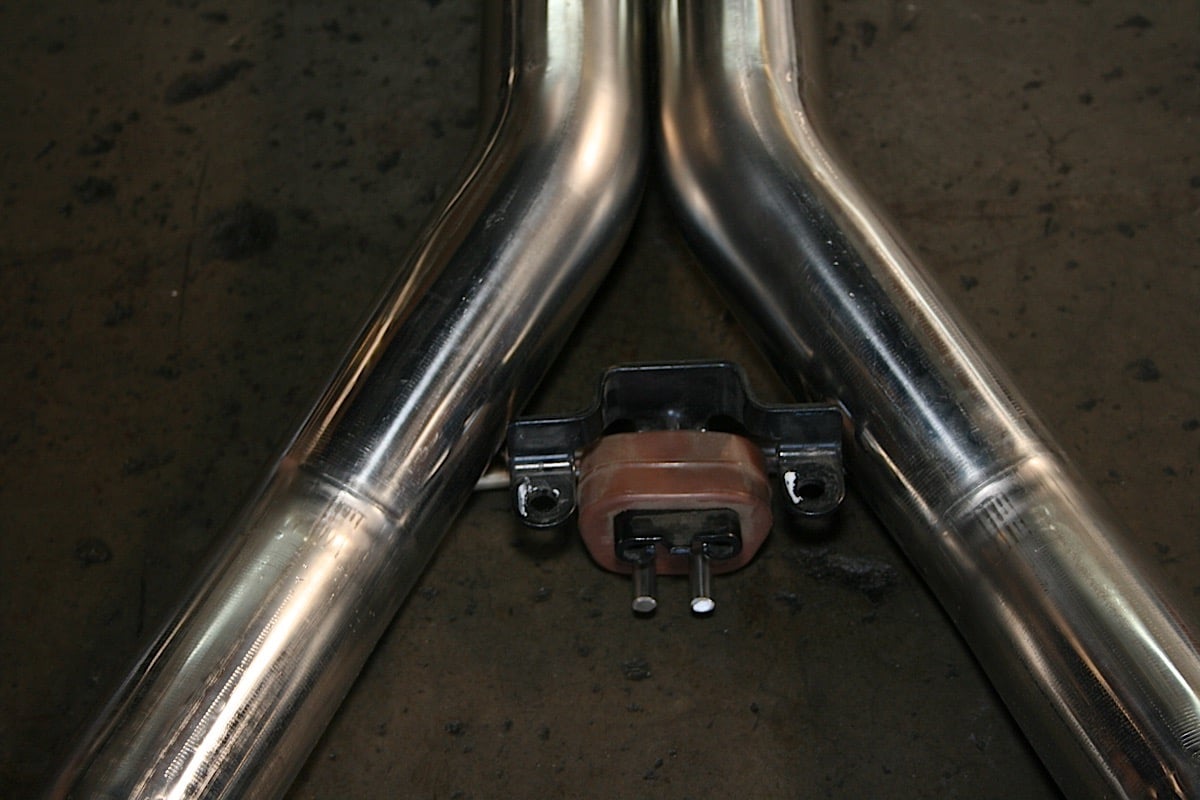
From this vantage point we were able to quickly remove the notorious center plate, the previous aftermarket X-pipe, unbolt the manifolds from the catted-pipes, and pull everything free from the underside of the vehicle.
 [34]
[34] [35]
[35] [36]
[36]
With our factory parts now on the ground, we removed the factory O2 sensors and reinstalled them into the Kooks headers. We then pushed both sets of headers up to their appropriate locations and secured them to lower the car to ground level.
 [37]
[37]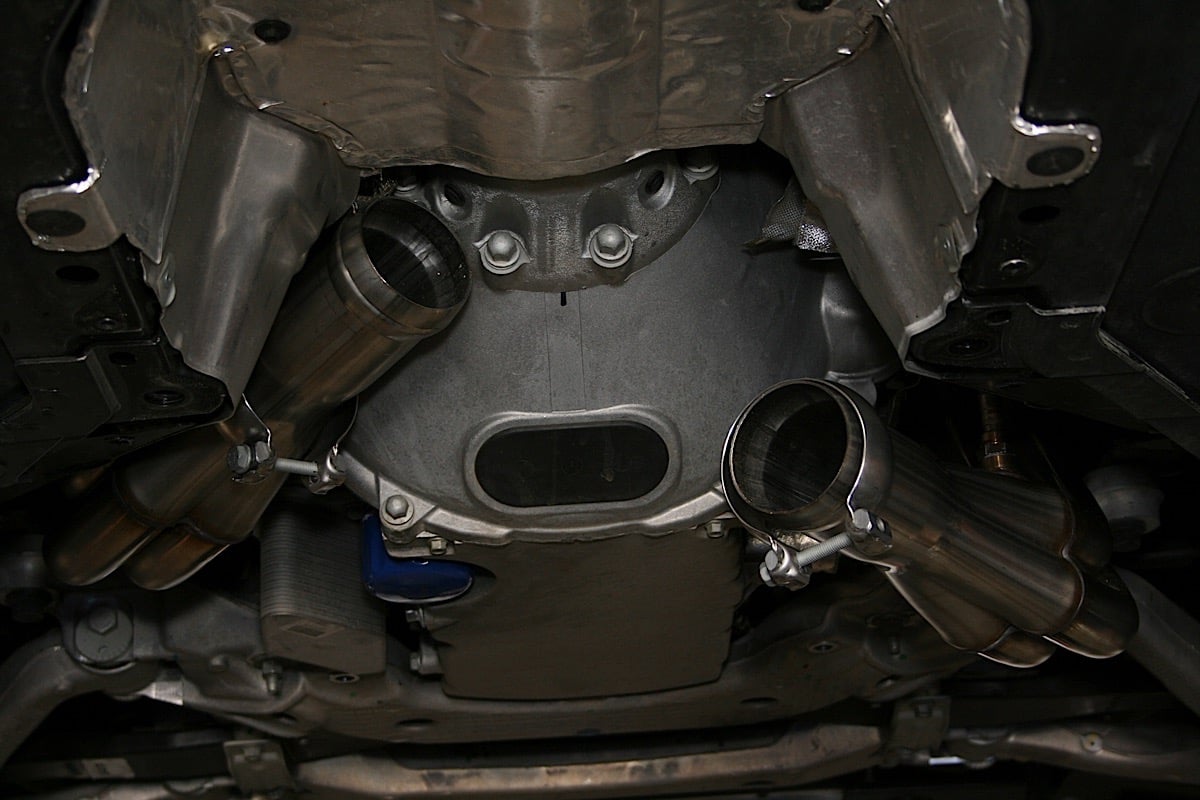 [38]
[38]
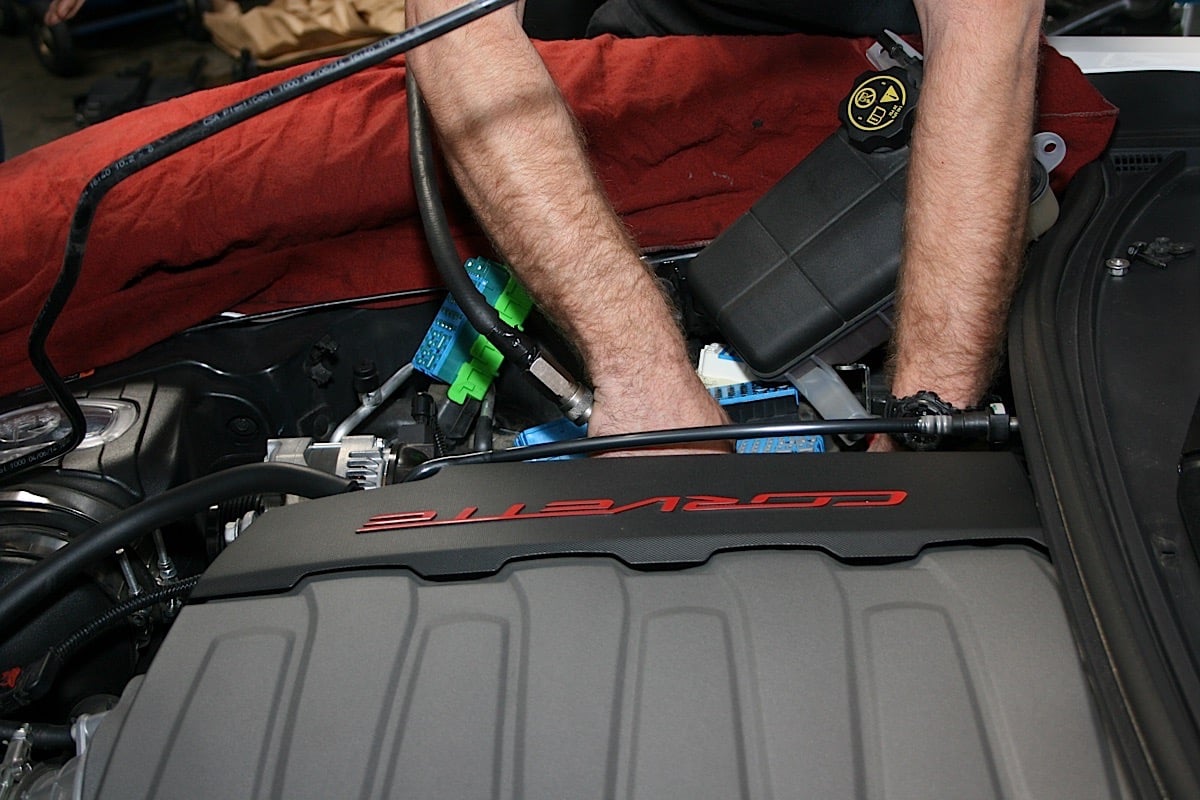
We then installed the supplied new gaskets and bolts and tightened everything down to factory torque specs. From here, we reinstalled the other factory components: steering shaft, engine oil, dipstick, plugs and plug wires, coolant tank, and the electronics tray.
 [39]
[39]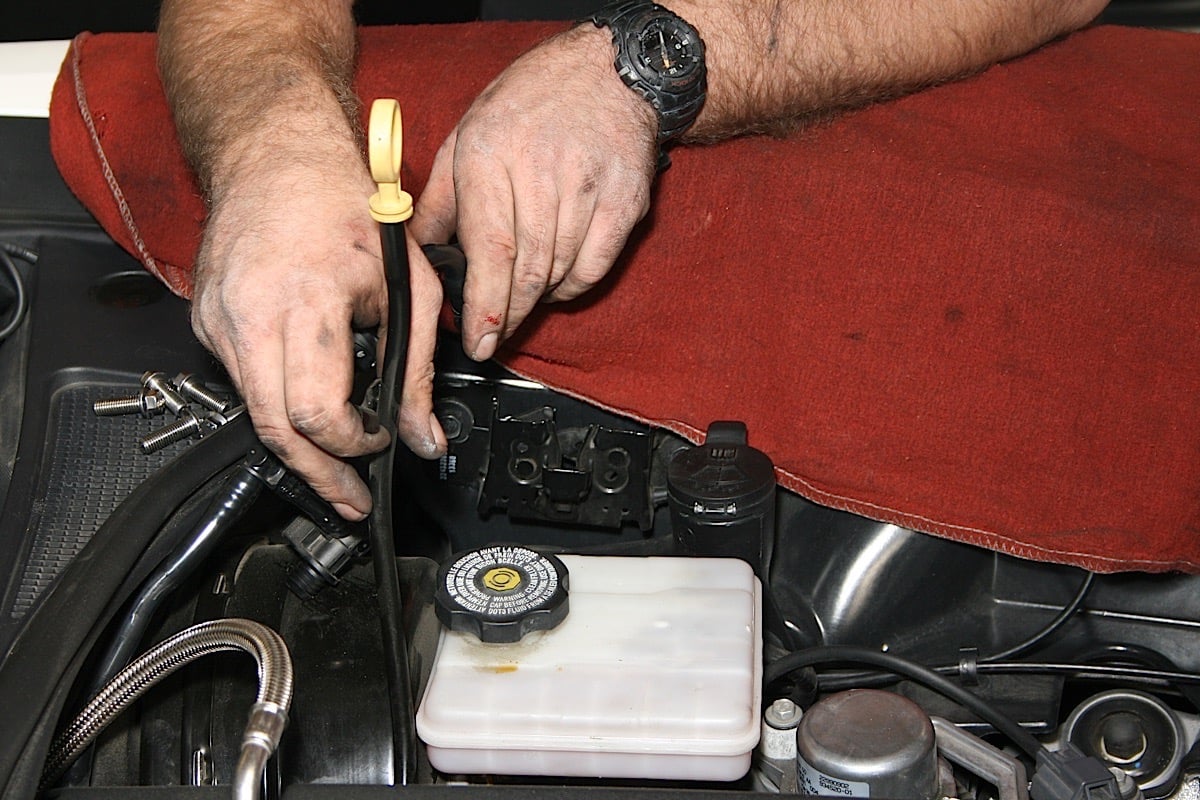 [40]
[40] [41]
[41]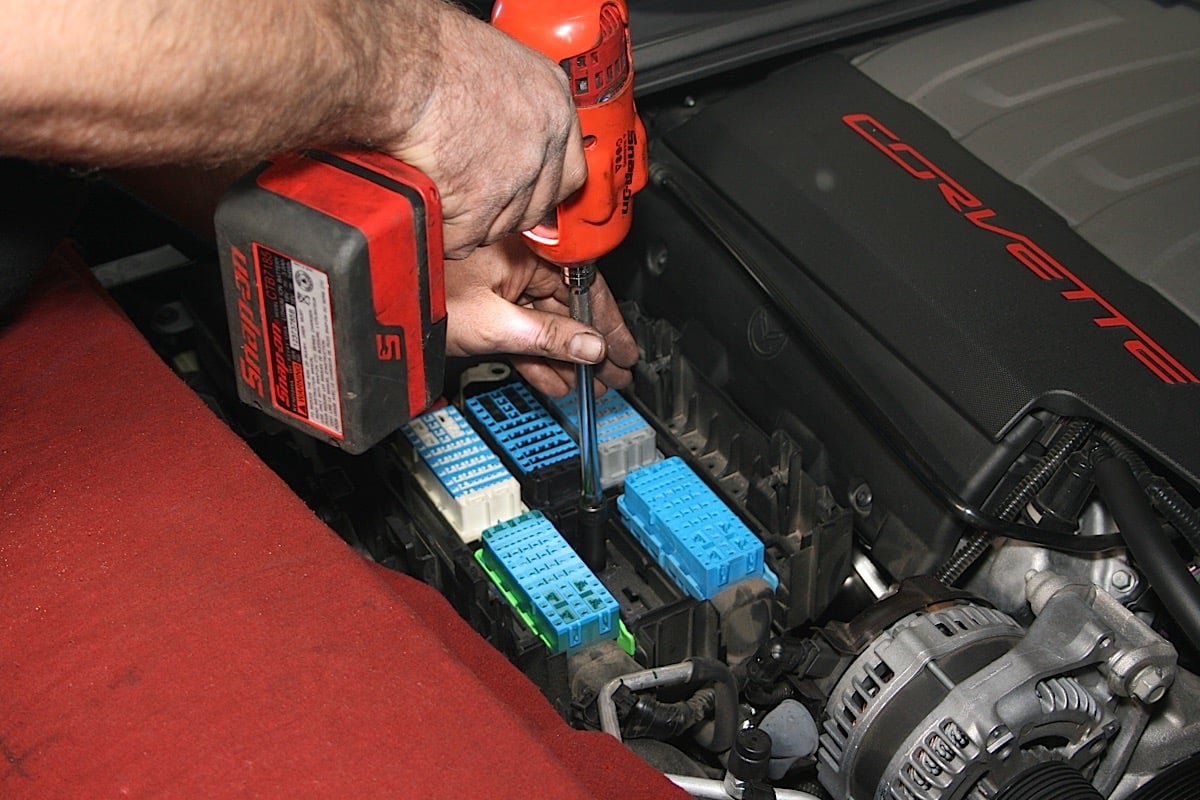 [42]
[42]
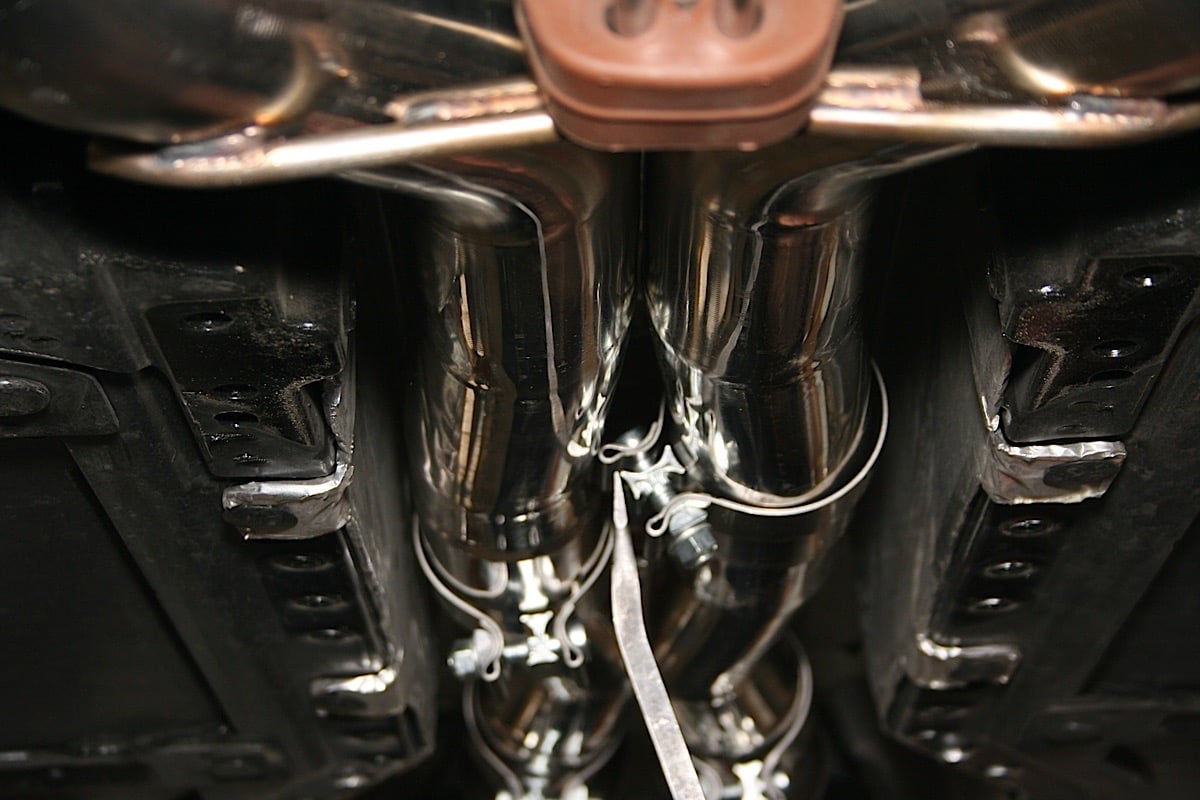
With the engine compartment completely buttoned up and double-checked, we again raised the car to install the Green catted X-pipe. We laid the center section out on the shop floor and loosely installed all of the clamps and rubber grommets. Additionally, we took the supplied extensions and connected them to the post-cat sensors.
 [43]
[43] [44]
[44]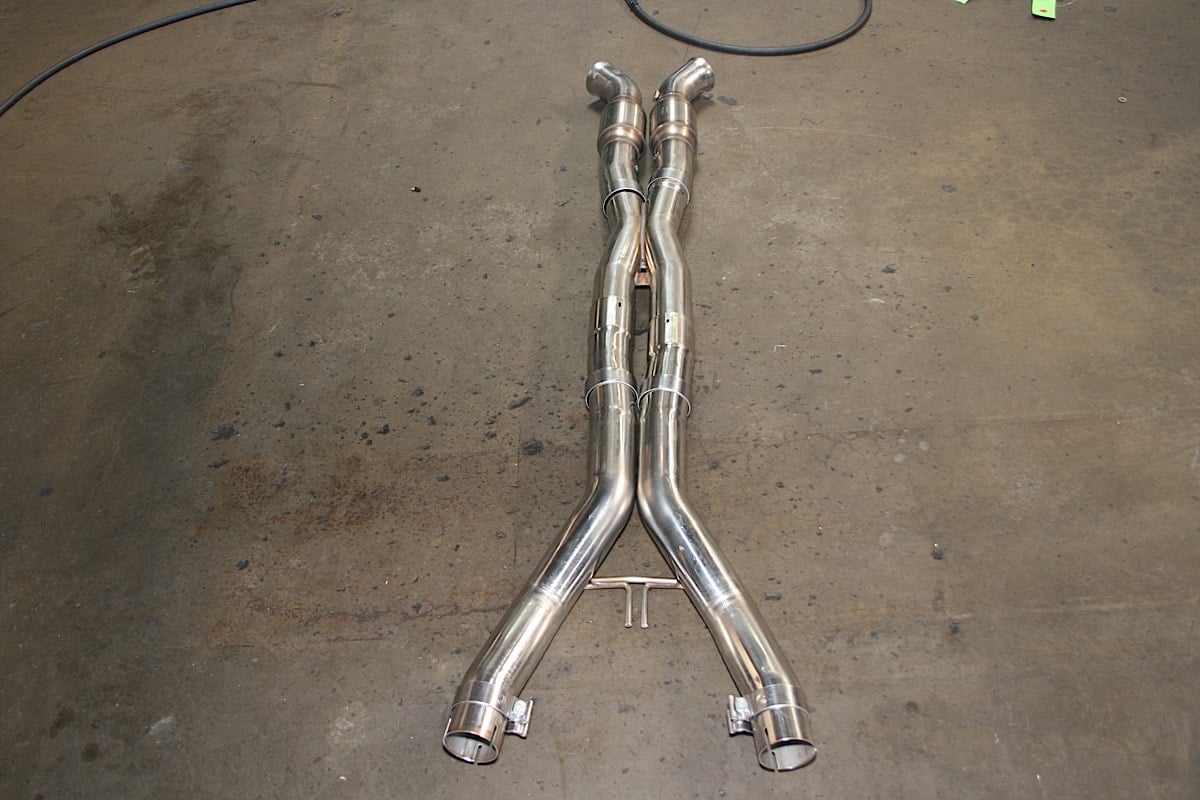 [45]
[45]
A support or spare set of hands is valuable at this point, as we raised our X-pipe into place and mated the pipes together. We then made sure everything was rotated and aligned correctly before we snugged down the clamps.
 [46]
[46]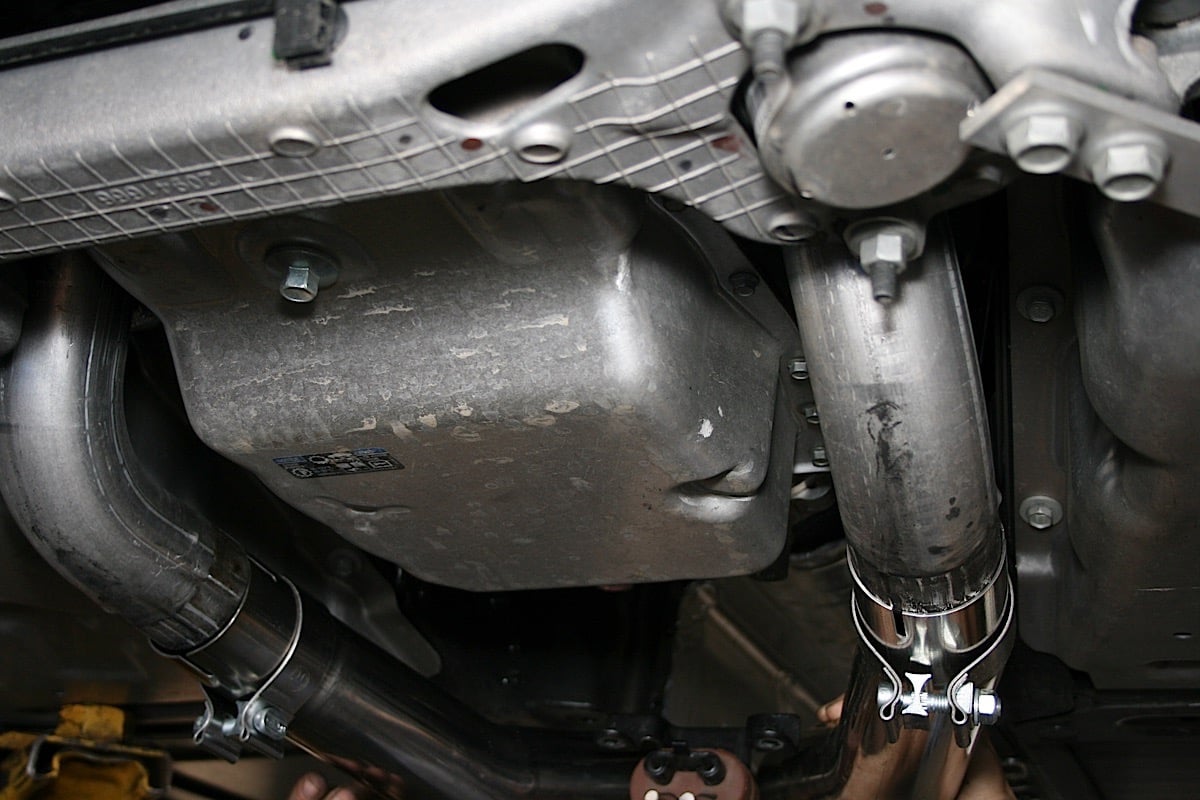 [47]
[47]
At this point, we needed a tool to pry the pipes apart temporarily. It is crucial that the exhaust pipe clamps rotate correctly so they fit in between the pipes, or they will prevent the center plate from seating properly.
 [48]
[48]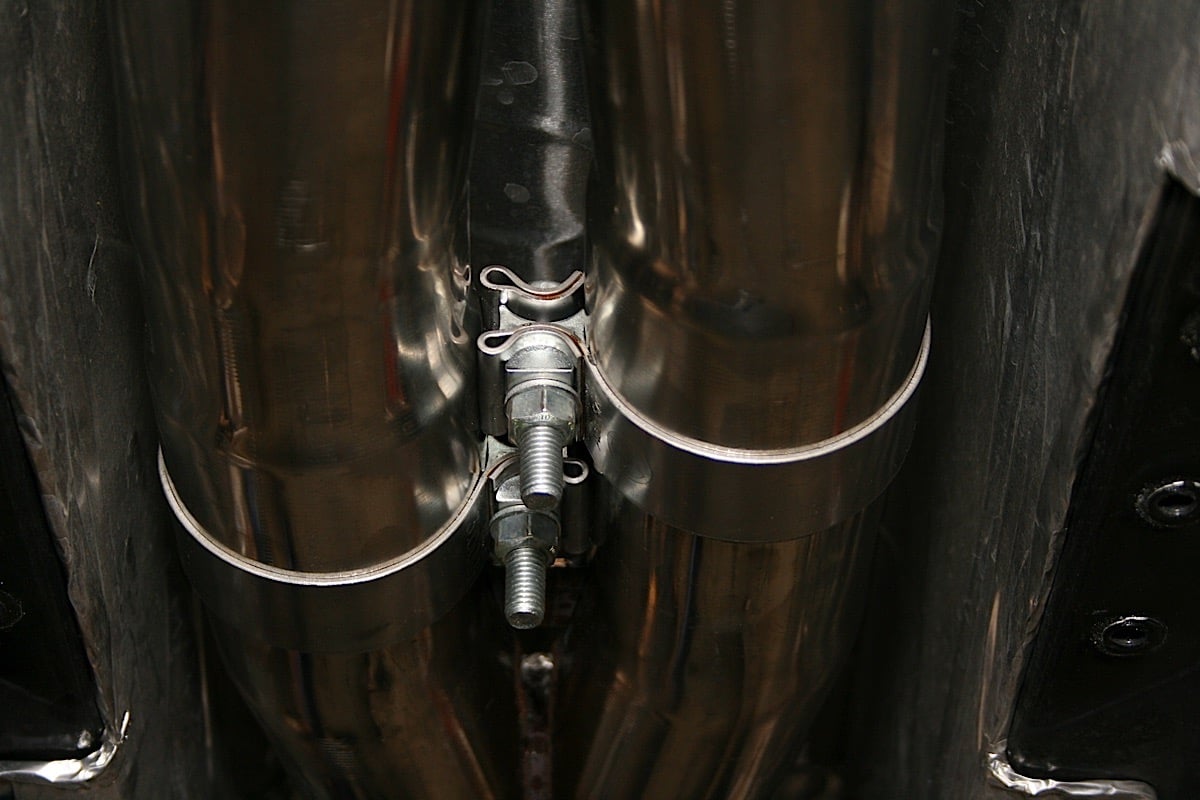 [49]
[49]
After checking for proper clearance and fitments, we tightened the system down and reconnected any miscellaneous parts moved for installation. At this point, CMS always take a few minutes to look for any abnormal wear and tear, or signs of leaks or other issues; but nothing was found.
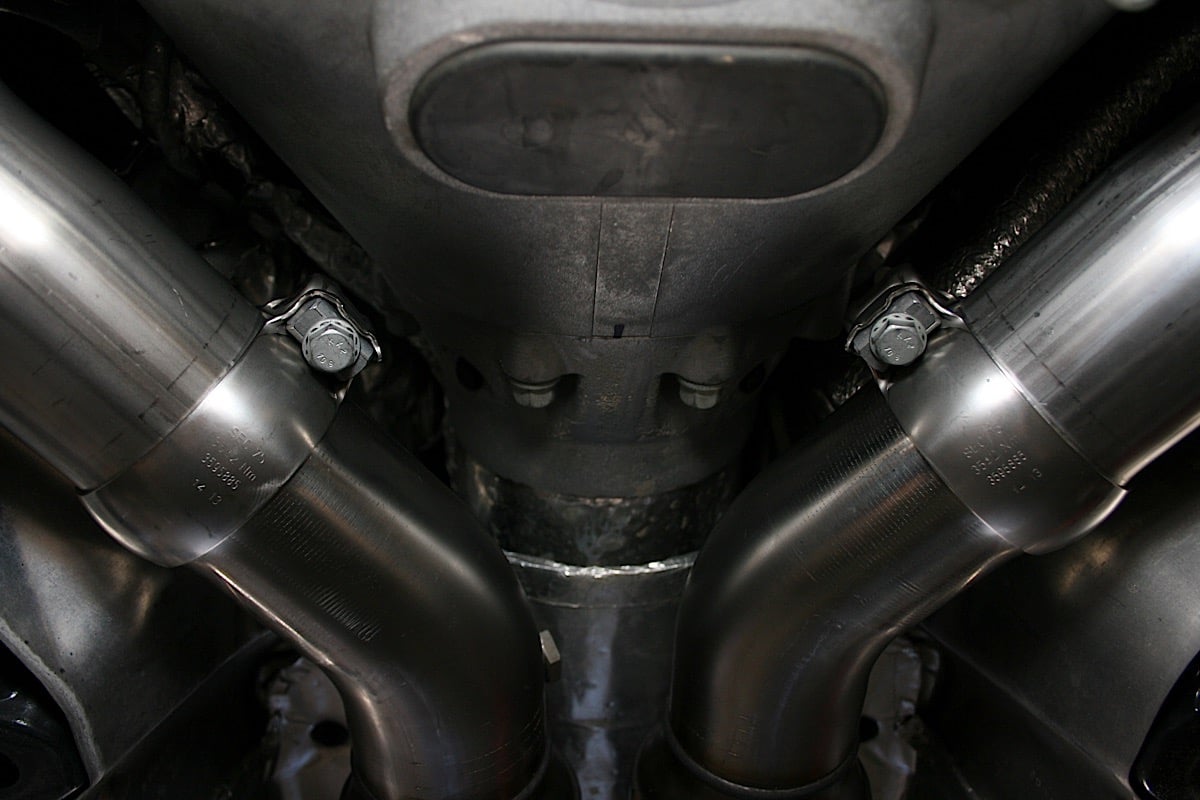 [50]
[50]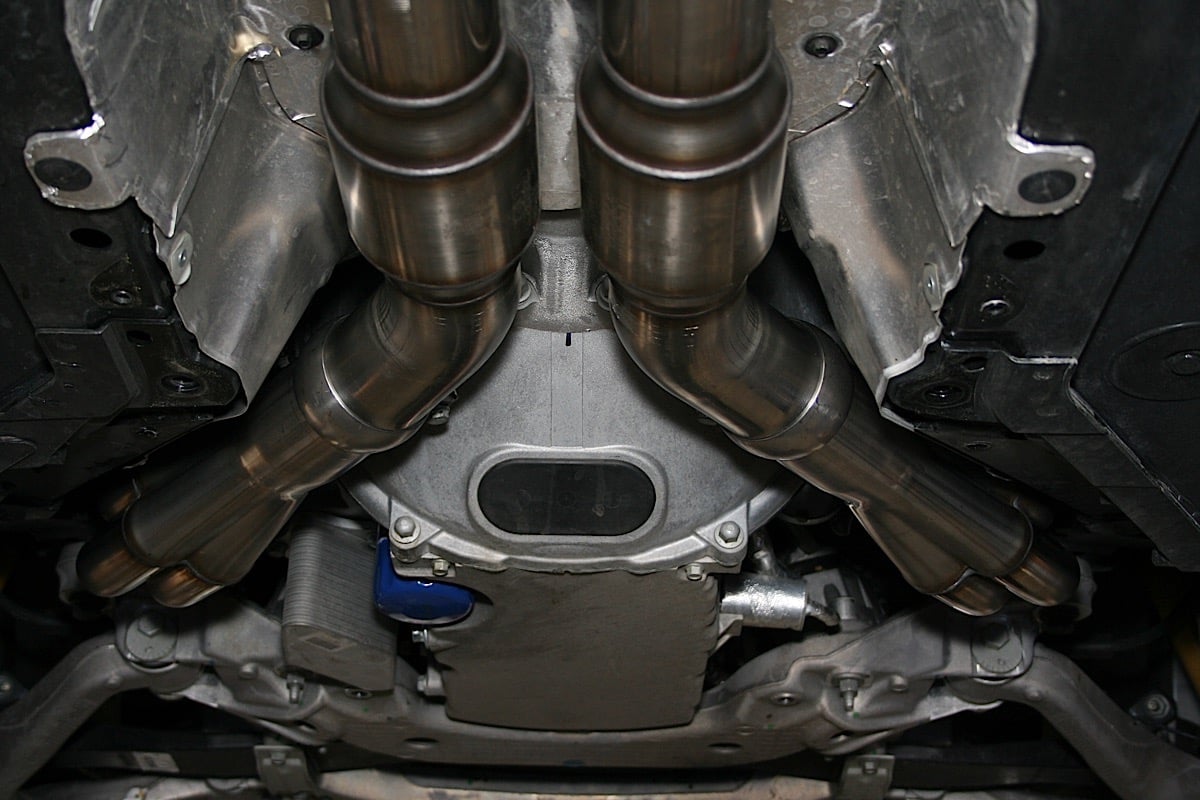 [51]
[51]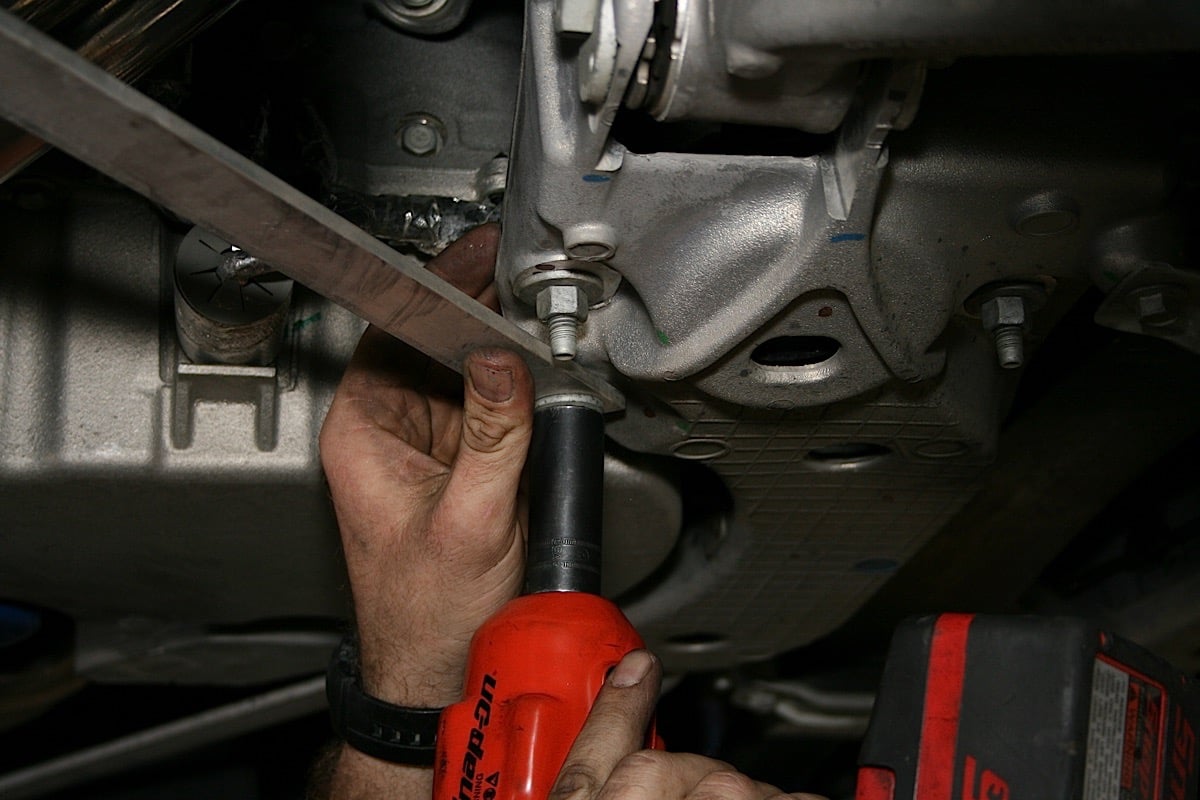 [52]
[52]
CMS then reinstalled the center skid plate, connected our battery, and put the car back on the ground.
 [53]
[53]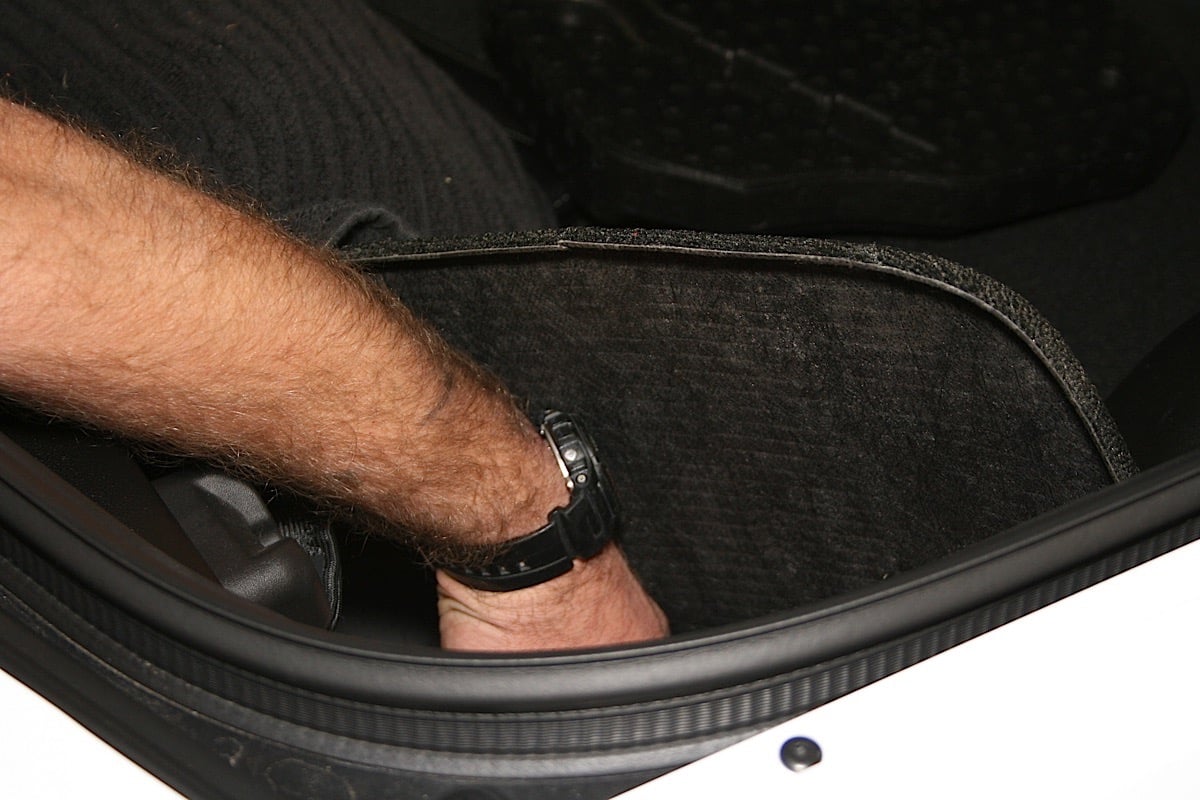 [54]
[54]
After collecting our tools, we fired up the LT1 to hear her new found voice… and man were we impressed. As you can see below, do not be alarmed by the smoke emitting from your tailpipes, as there is a fair amount of mandrel oil that has to burn off inside a new exhaust.
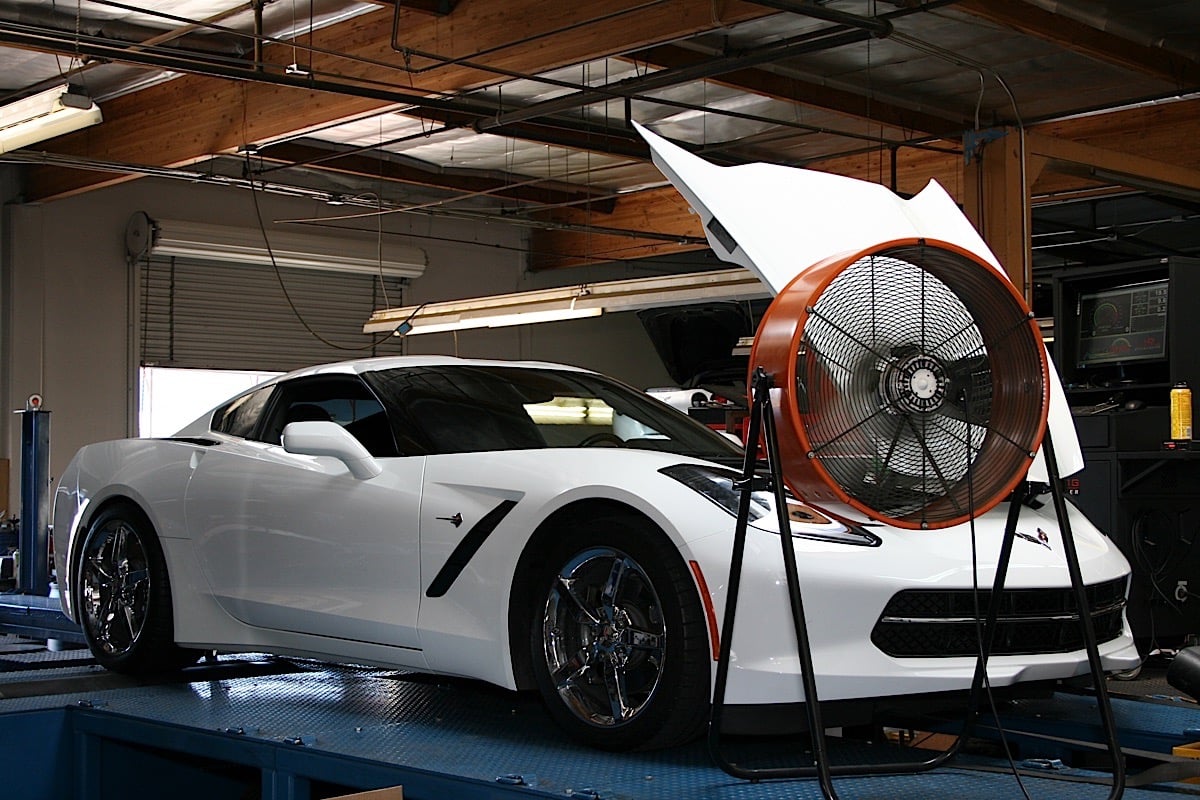
With the install complete, it was time for some tuning and dyno pulls!
 [55]
[55]
Facts And Figures
When the car rolled into the shop for this installation, it was equipped with an aFe cold air intake, along with a Corsa X-pipe and muffler system. With these modifications, the car was producing 421.3 hp and 437.9 lb-ft of torque.
The acoustics were pretty insane to say the least, but the guys at CMS worked their magic with the EFI Live software until they achieved the type of power that these engines are truly capable of producing.
 [56]
[56]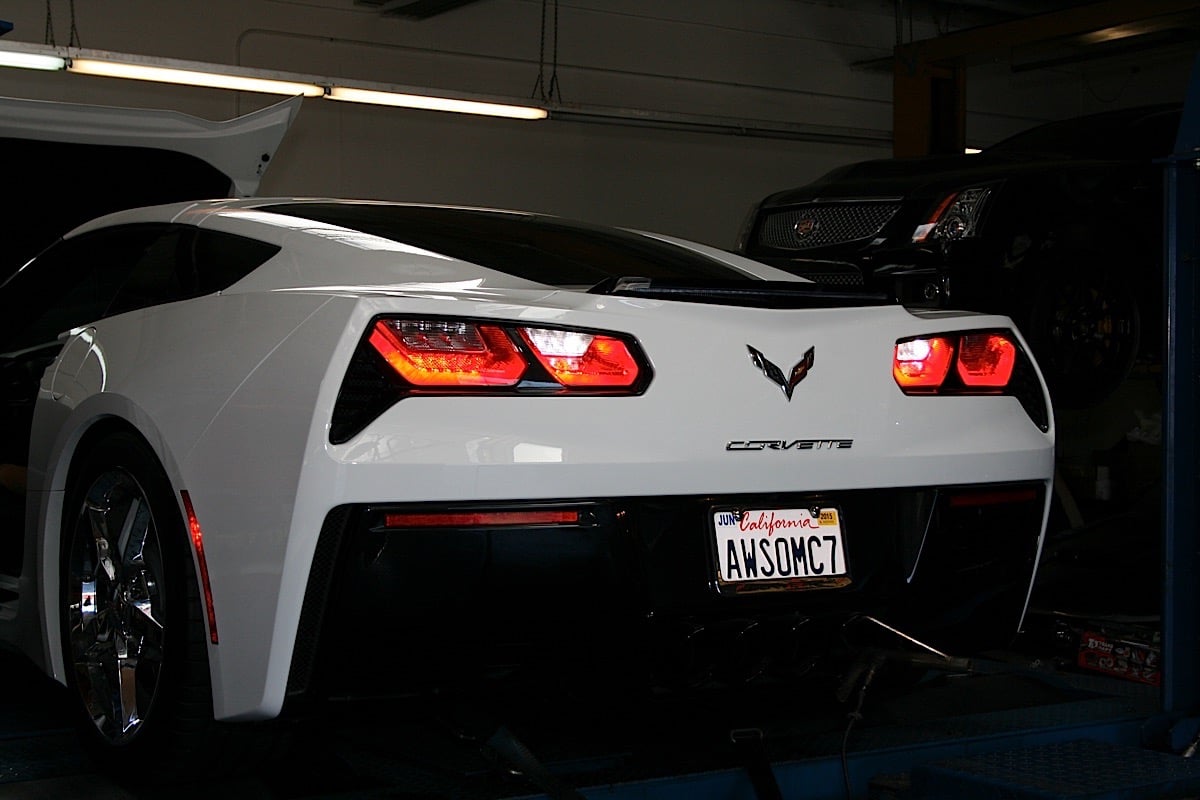 [57]
[57]
 [58]
[58]420.6 hp and 439.5 lb-ft of torque.
Power under the curve is an important aspect for any motor. Peak power is always exciting to see, but the middle RPM range is where an engine will spend the majority of its time. We all want a powerful vehicle, but the more usable that power is the better. As you can see above, the modifications have enabled this LT1 to produce more power in a wider range of RPM. Ultimately, this translates to a quicker ride overall and makes your driving experience that much more enjoyable, versus constant gear changes to stay within a narrow band.
Performance Overview
- Stock = 384.4 hp and 401.7 lb-ft of torque
- Intake = 401.7 hp and 417.1 lb-ft of torque
- Final = 420.6 hp and 439.5 lb-ft of torque.
From the time this gorgeous car first rolled into the Corvette Online shop, it has gained 36.2 hp and 37.8 lb-ft of torque to the rear wheels. While numbers are great, the real magic has transformed what you feel when you’re behind the wheel.
 [59]
[59]
Driving Impressions
A few months ago, after completing the aFe intake system install, we took the C7 for a drive. The big question was would you truly be able to feel a difference in performance.
After driving the car with the intake alone, we said that to proclaim you could truly feel this gain off the line in a car that already runs from 0-60 mph in 3.8 seconds might be a stretch. However, we definitely felt a difference when the 6.2-liter V8 began pulling through the revs in the taller gears. The motor definitely seemed to breathe better and sound less starved for air. Additionally, we believe the air filter will really show its true colors should the owner decide to install an exhaust system on this car.
 [60]We think we hit the nail on the head in regards to the intake and exhaust performing better once combined. That being said, this seemingly stock C7 has turned into a real beast of a sports car. To say that the C7 picked up noticeable horsepower is an understatement.
You may be thinking, “Well it’s still not as fast as the new Z06!” Yeah, we know. It also costs almost half as much, but we digress. The point here is that the car feels absolutely amazing when compared to its former box-stock existence.
Your personal experiences may vary depending on what you decide to do. Driving the C7 equipped in this configuration felt like the first time we rode our minibikes with the throttle-stop removed, truly riveting. Aside from the increased horsepower, which is very noticeable, the throttle is crisp and clean, with no lag, as if your foot was connected to the throttle body. All of these improvements can be achieved with a good tuner; for us it’s Cunningham Motor Sports.
In addition to the stellar exhaust note and custom tuning, all of the mundaneness and factory “Consumer Reports-friendly” fluff has been stripped away. What remains is the C7 that Zora Arkus-Duntov and Harley Earl would really be proud of. The shifts are firm, purposeful, and to top it all off, when under wide-open acceleration, the note is remarkably similar to Corvette Racing’s prized C7.R, though the decibels have certainly been tamed down.
 [61]
[61]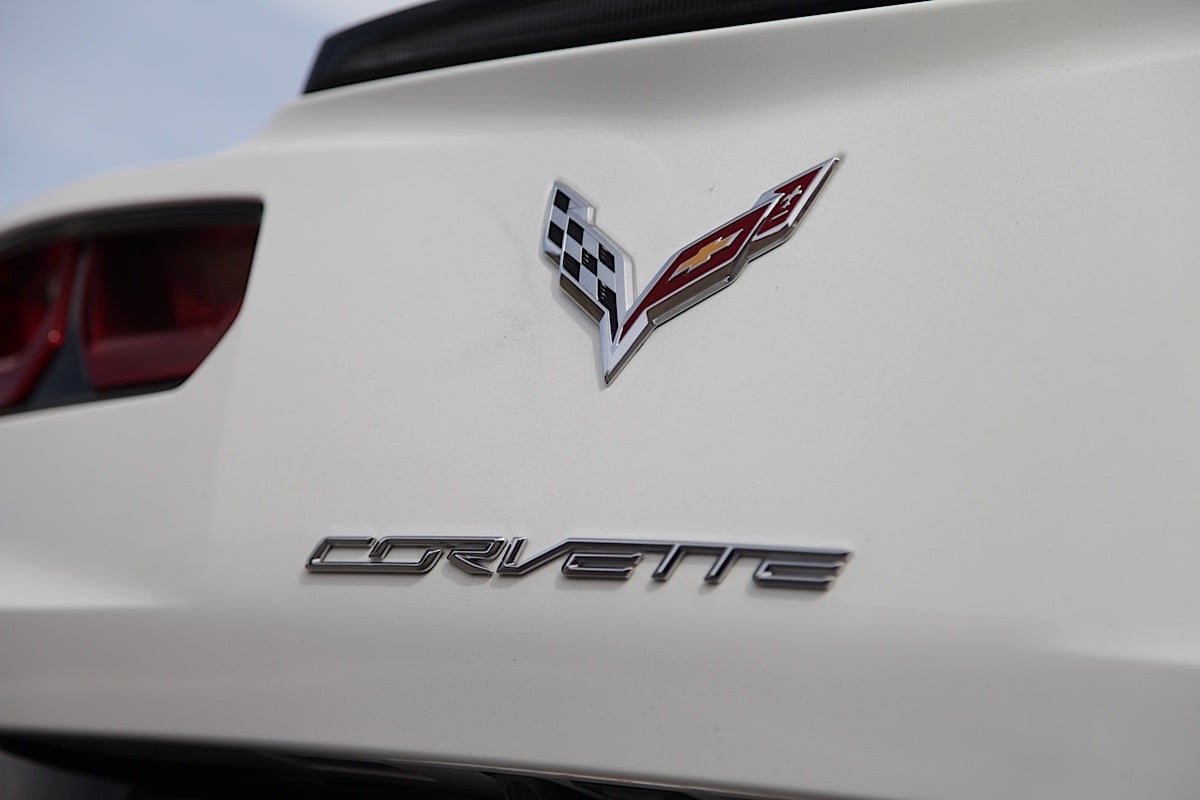 [62]
[62]
One of the technicians at CMS equated a factory tuned C7 to, “buying a brand-new, top-of-the-line, Apple computer and not installing any software on it.” It wasn’t until we had the opportunity to drive one that we really understood what he meant.
Conclusion
As we had mentioned in previous installs, the owner of this car truly uses it as a daily driver. After several hundred miles with the new additions, he could not be happier. He mentioned, and we agree, that the car’s exhaust note actually got a little quieter during normal driving conditions, but screams to life when you feel like matting your foot.
We understand, and can appreciate, that a lot of Vette owners prefer to leave their cars in a relatively factory configuration. Some folks just prefer their Vettes stay the way the Corvette engineers set them up and that’s that. However, for those of us, who are continually looking for increased performance, this exhaust and tune package is one stop you definitely need to make.
Additionally, our tuner, CMS, was able to adjust the cylinder deactivation mode to suit the owner’s preference and driving style a little more, as this C7 now fits the owner like a finely tailored suit. It certainly took a little planning and team effort to get the car completed, but everyone involved is beyond satisfied with the results.
Look for more C7 Stingray installs and testing coming soon!
 [63]
[63]