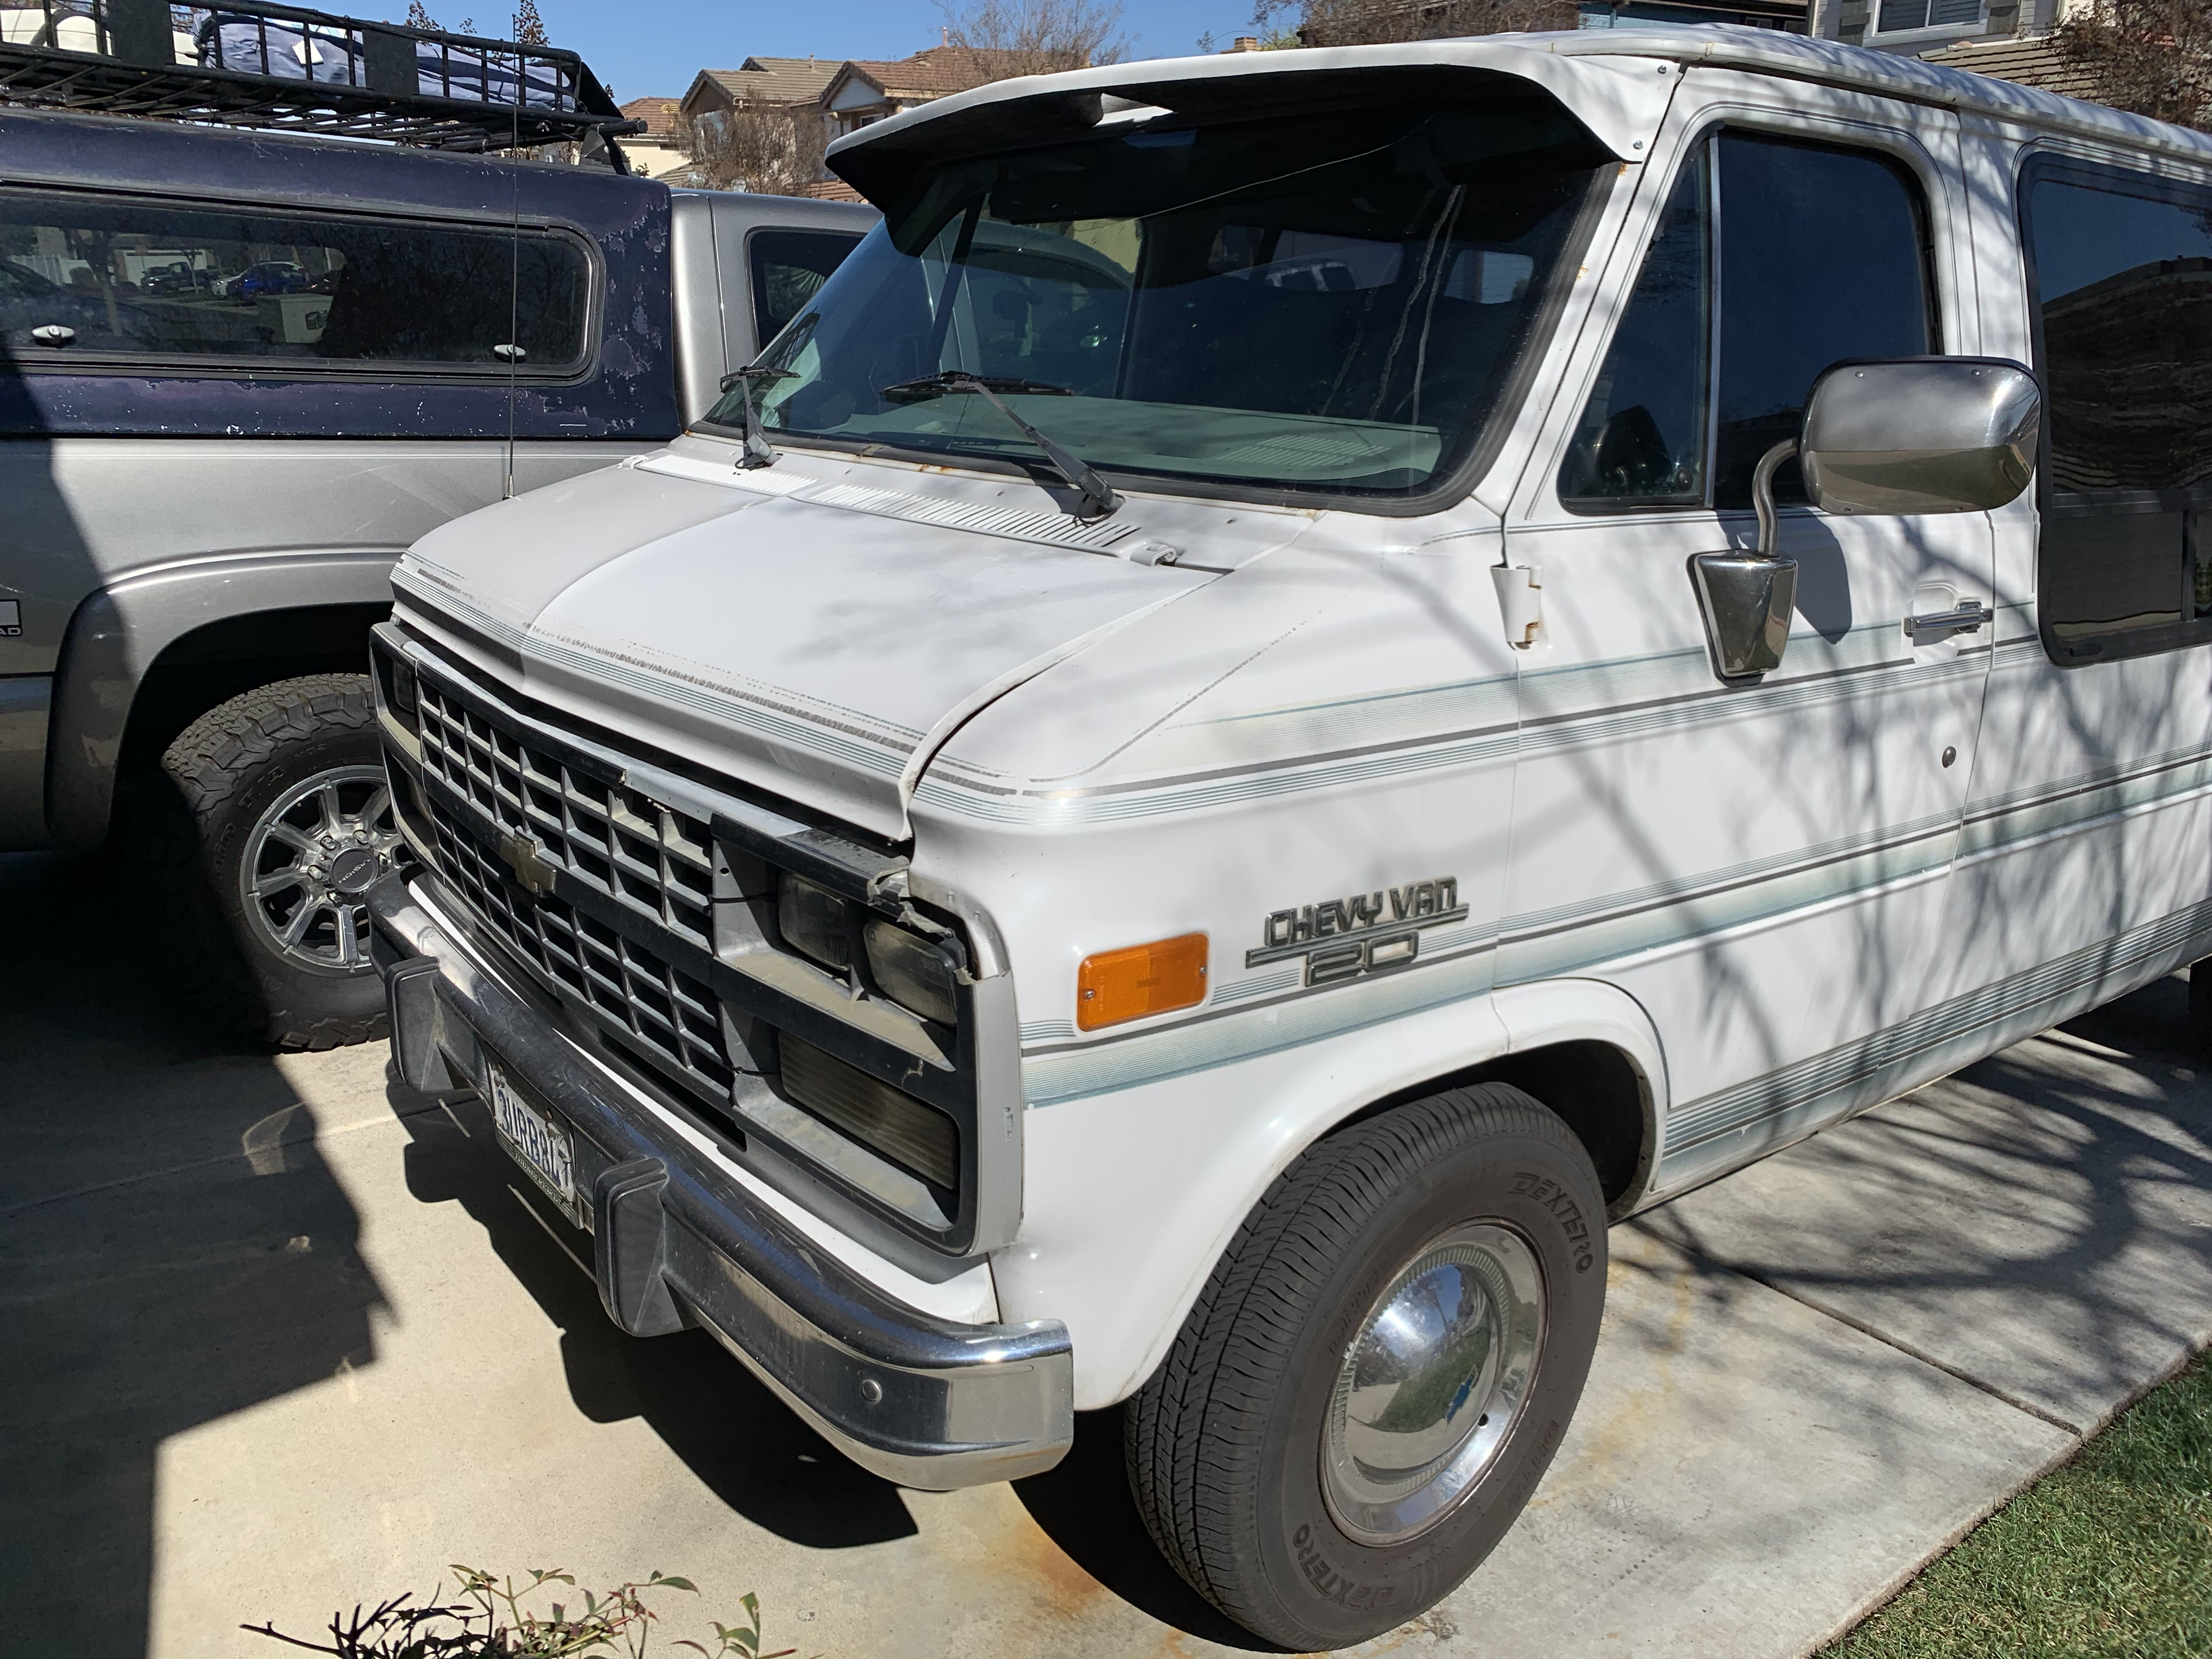
Part one of the Project Heavy Metal mini-series covered how I came to own a 1993 Chevy G20 Van. Part two will address the first in a series of modifications that have taken it from a crusty camper van that you’d likely find down by the river, into the rad ground-pounding street van it is now.
Our quest for attitude began in an unlikely setting by today’s standards, but back when I first got the van, I was frequenting the Pomona Swap Meet every chance I’d get. If I wasn’t scoring some new-old-stock Ansen slot mags for my El Camino, I was snapping photos of all the cool cars in the parking lot.
This particular trip had me searching for anything that would give the van some much-needed flare or edge. Something to set it apart in a sea of ’90s graphics laden old-man vans. The main things I was after were a set of hub caps, a windshield visor, and pieces to repair the damaged front end. Luckily, I was able to find the two former almost as soon as I’d set foot in the swap meet. The visor was a no-name brand and it was cheap, just like I like em’.
The hubcaps, I later found out, came off of a 1953 Chevy passenger car. The specific model still eludes me as they were used on a whole host of cars in Chevy’s lineup from the day.
But that’s not where this story ends. That would be too easy. While perusing the local wares, I came across a particularly pointed selection brought by a man who introduced himself as “Wally” who I later came to know as Mike Waldmann. Mike had all kinds of early Chevy van stuff.
As I looked over his offerings, he commented on the windshield visor I had tucked under my arm. We got to talking and as we swapped hot rod stories, I noticed a somewhat crusty, if not awesome, early Chevy (’71-’77) grille and headlight trim assembly. As I looked it over, I thought how cool that would look on my van, but it surely wouldn’t fit.
Wally asked if I was looking for anything in particular. I explained how my van’s grill and headlight trim was in pretty bad shape. Some previous owner had smashed it. Probably pulling into a tight parking spot at a Phish concert, no doubt.
No sooner had I started to think back to my original quest for a new van grill and headlight trim, did Wally explain how easy it is to adapt an early Chevy van front end onto a later year like mine. We swapped info and he asked me to stop by his property so he could hook me up with everything I’d need to complete the transformation.
Once I got home, I began my research. Apparently, not much changed by way of design for the G-series of Chevy van from 1971 until 1996. Save for a small body line running the length of the later-year vans, trim, and bumpers, not much is different.
So, imagine my surprise when I showed up to Wally’s, for lack of a better word, compound. He’s got five-acres in So-Cal chock full of early Chevy vans – G10, G20, and G30 aplenty! He even had a few C10 strewn about the yard. Wally has a knack for sniffing out “survivor” vans and rescuing them for parts or simply for restoration and resale. Of course, like any collector worth their salt, he has some that are “off-limits” because they’re being saved for his personal collection.
No matter, I was there for parts and to pick his brain. After a couple of tall-cans of brewed yellow-bellies, we struck a deal for everything I’d need. A ’71-’77 Chevy G10 grill, headlights, headlight buckets, bezels, trim rings, side markers, and both front and rear bumpers.
Below is how I got it done.
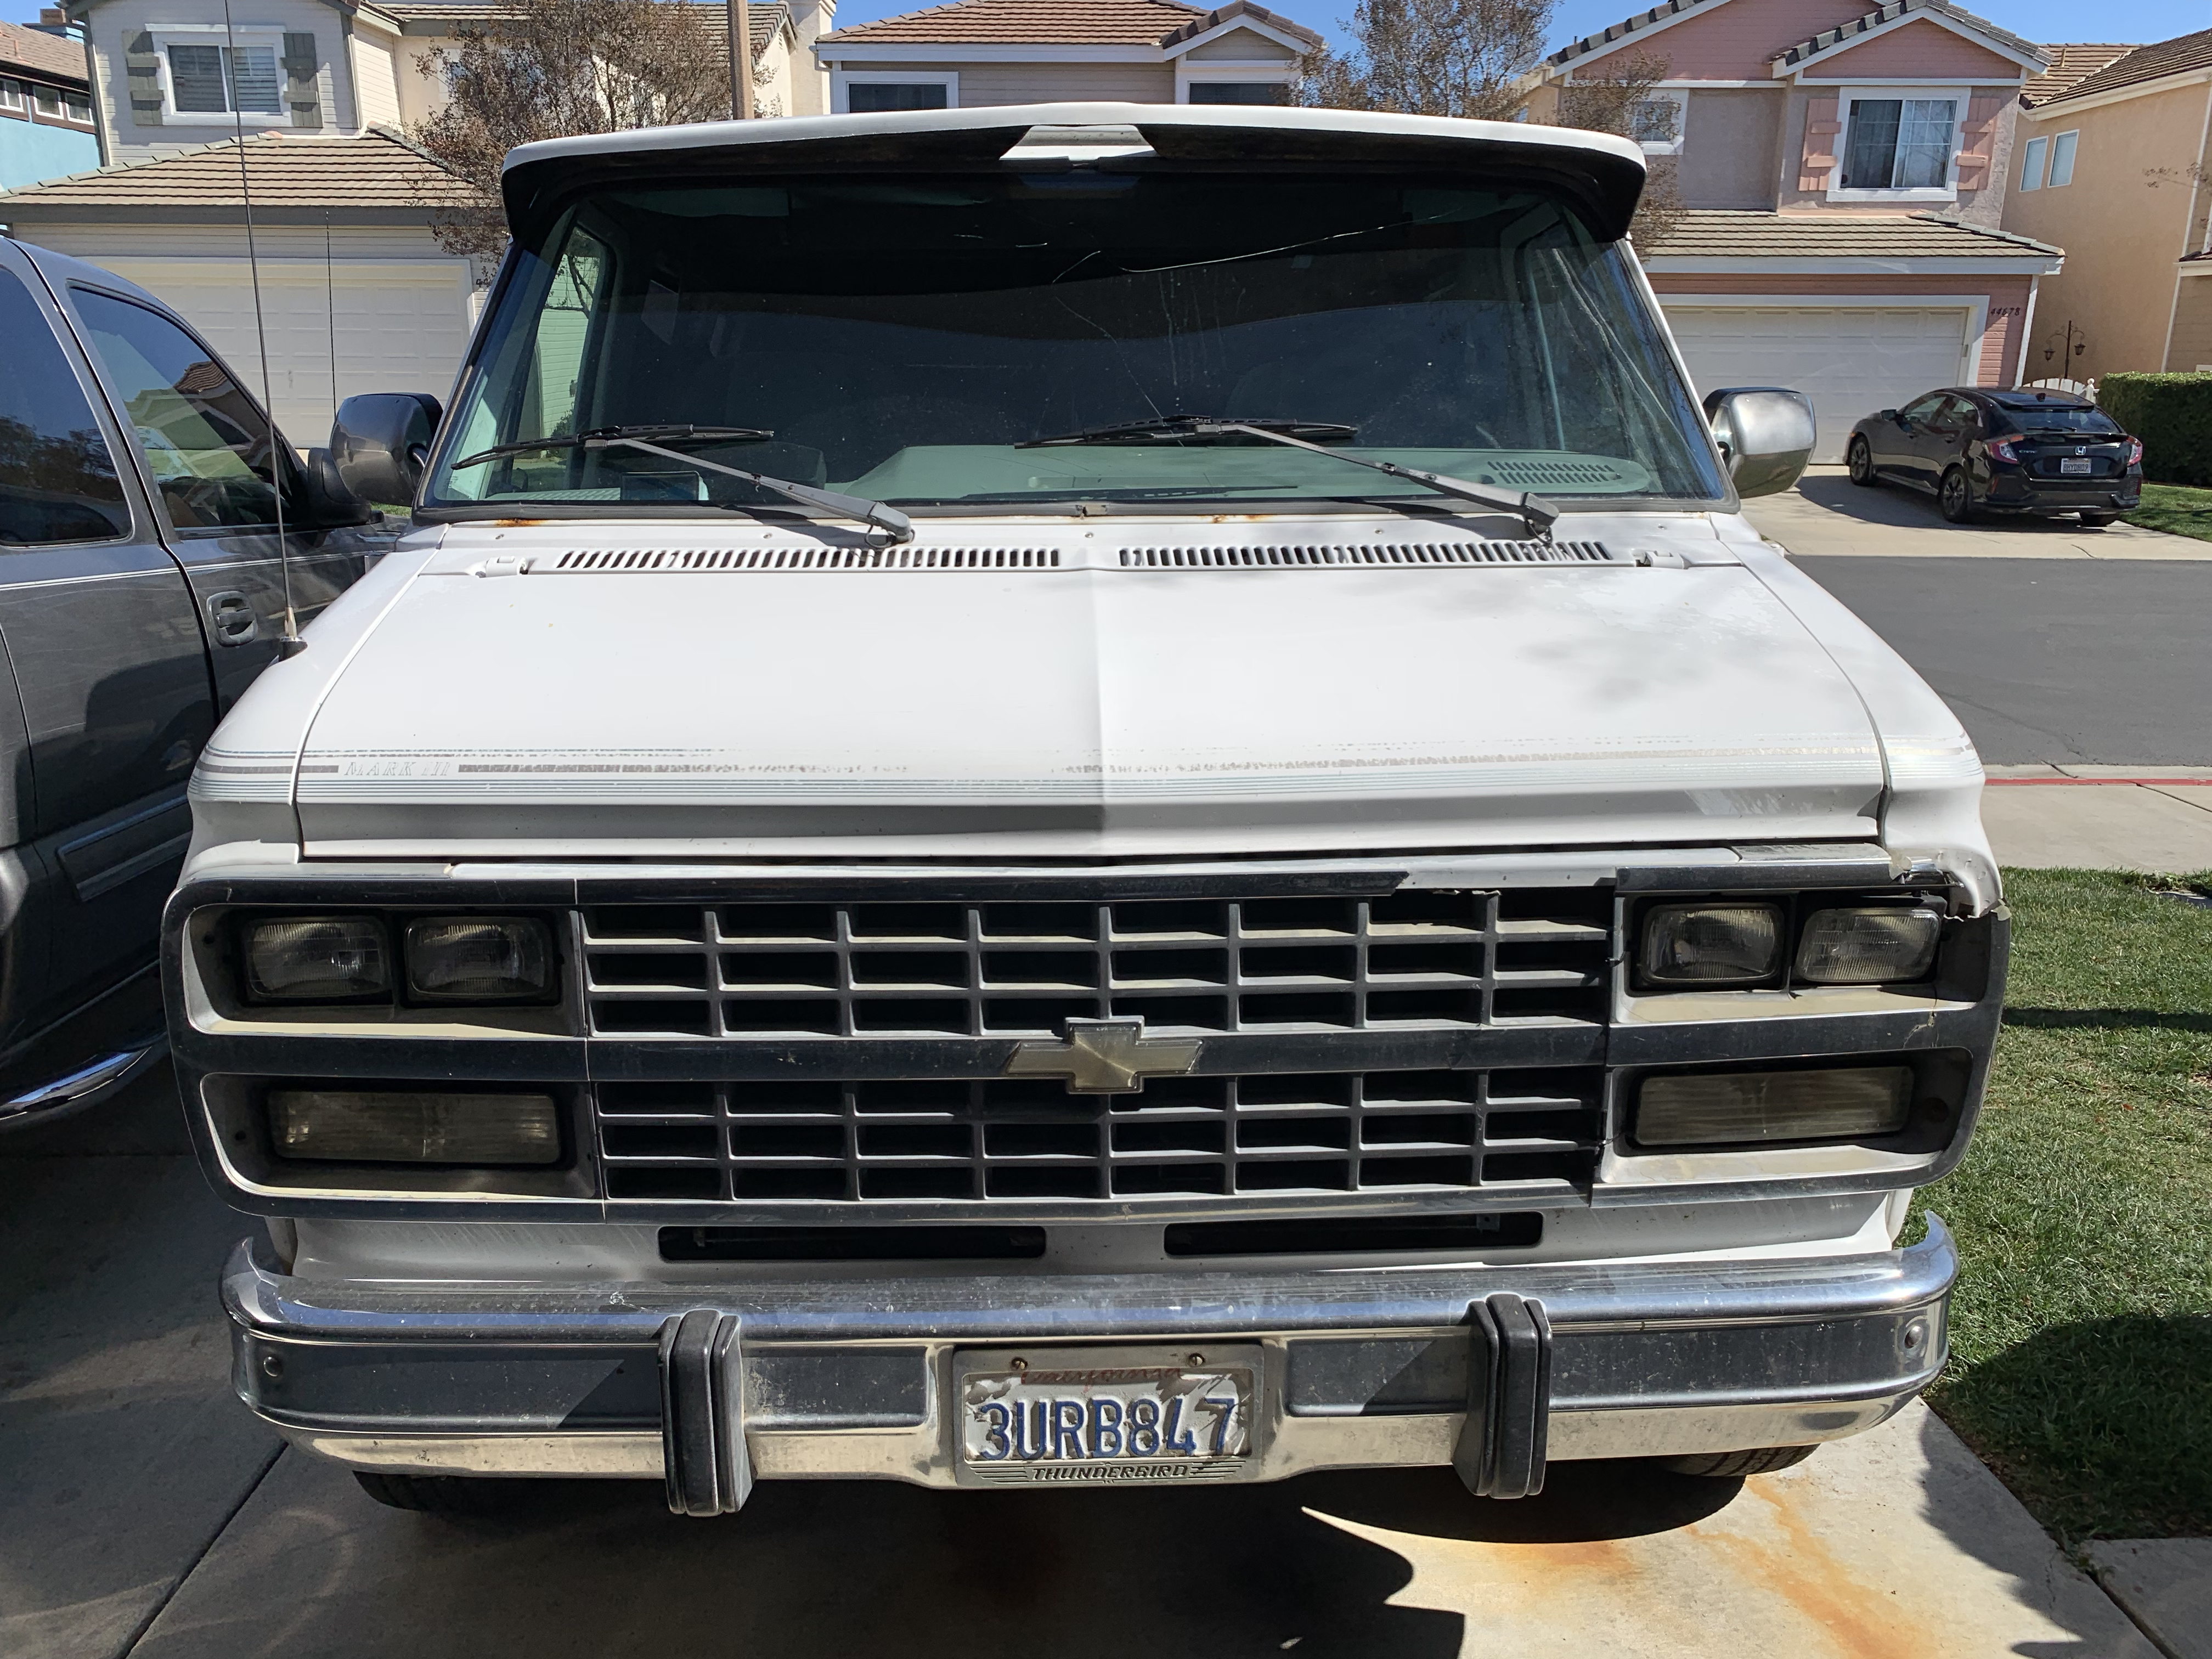
Step 1: Disassembly
I began by removing all of the old components. Starting with the headlight trim, I began to disassemble the front end. It all came apart rather easily with hand tools. The only difficulty I ran into was removing the original bumper. As you can imagine with any vehicle more than a few years old, the bolts were quite rusty and needed a liberal application of penetrating oil to release them.

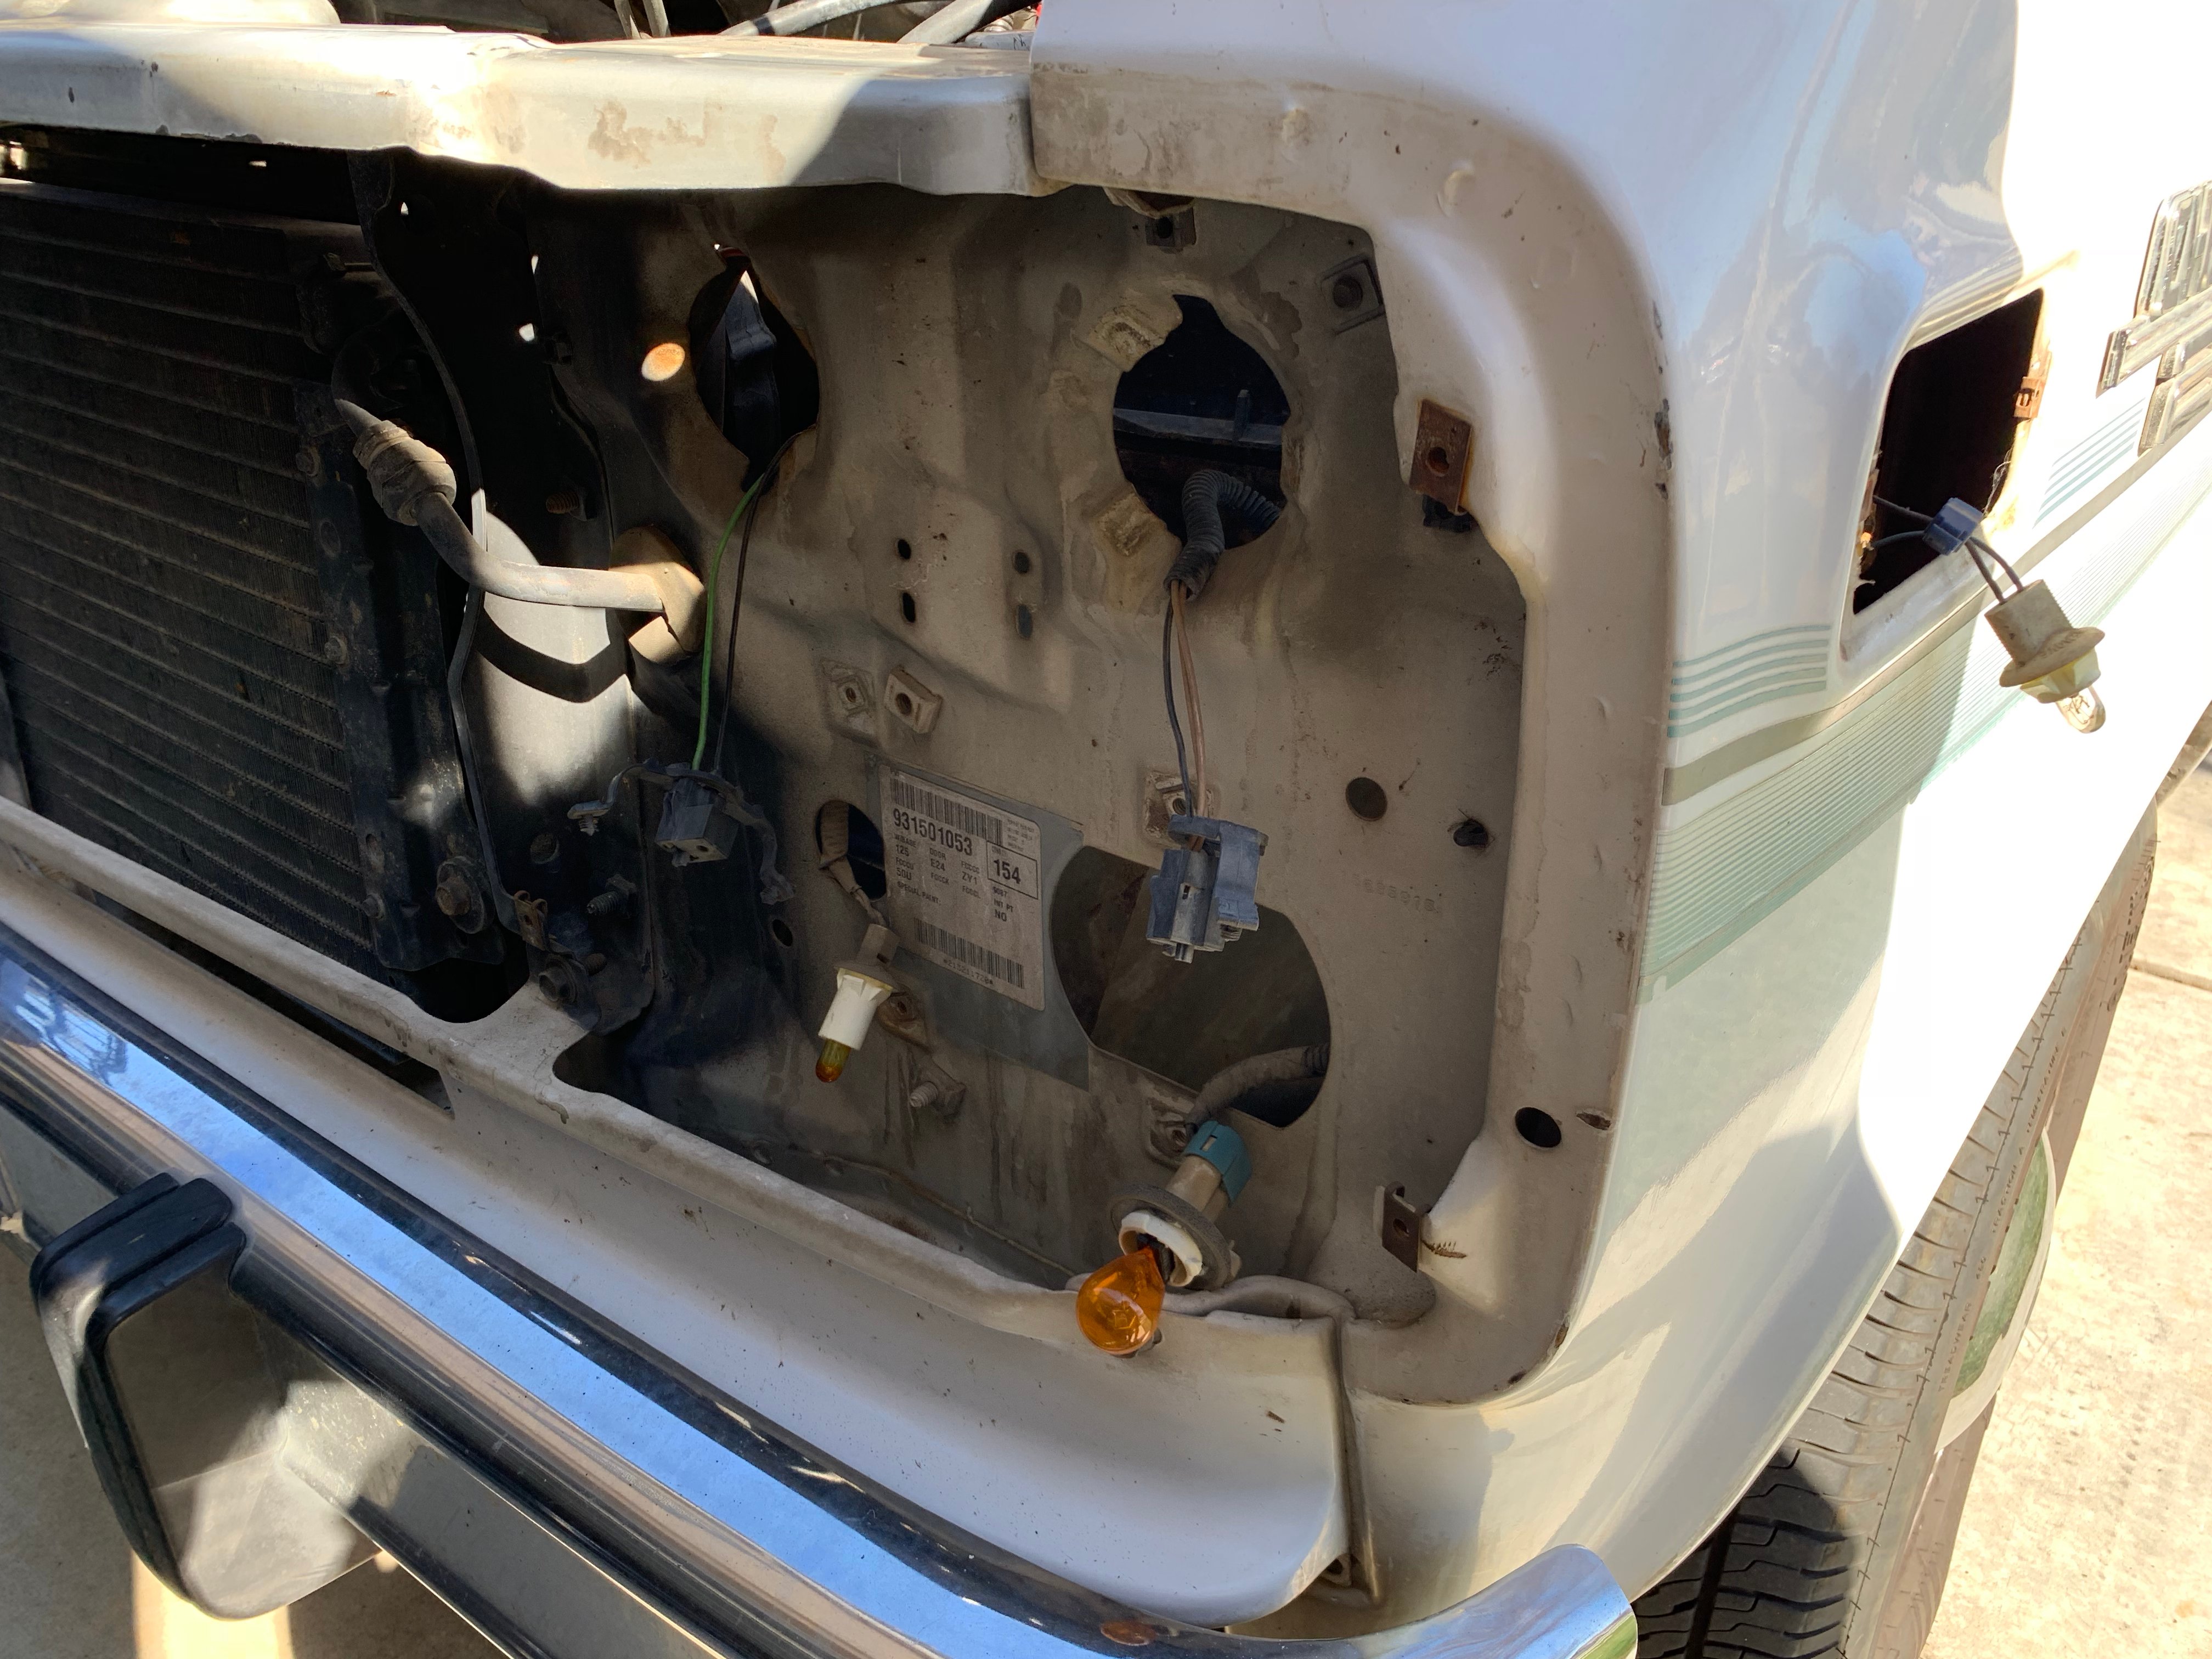
I started by removing the headlight trim rings, bezels, grill, and bumper.
Step 2: Cutting & Grinding
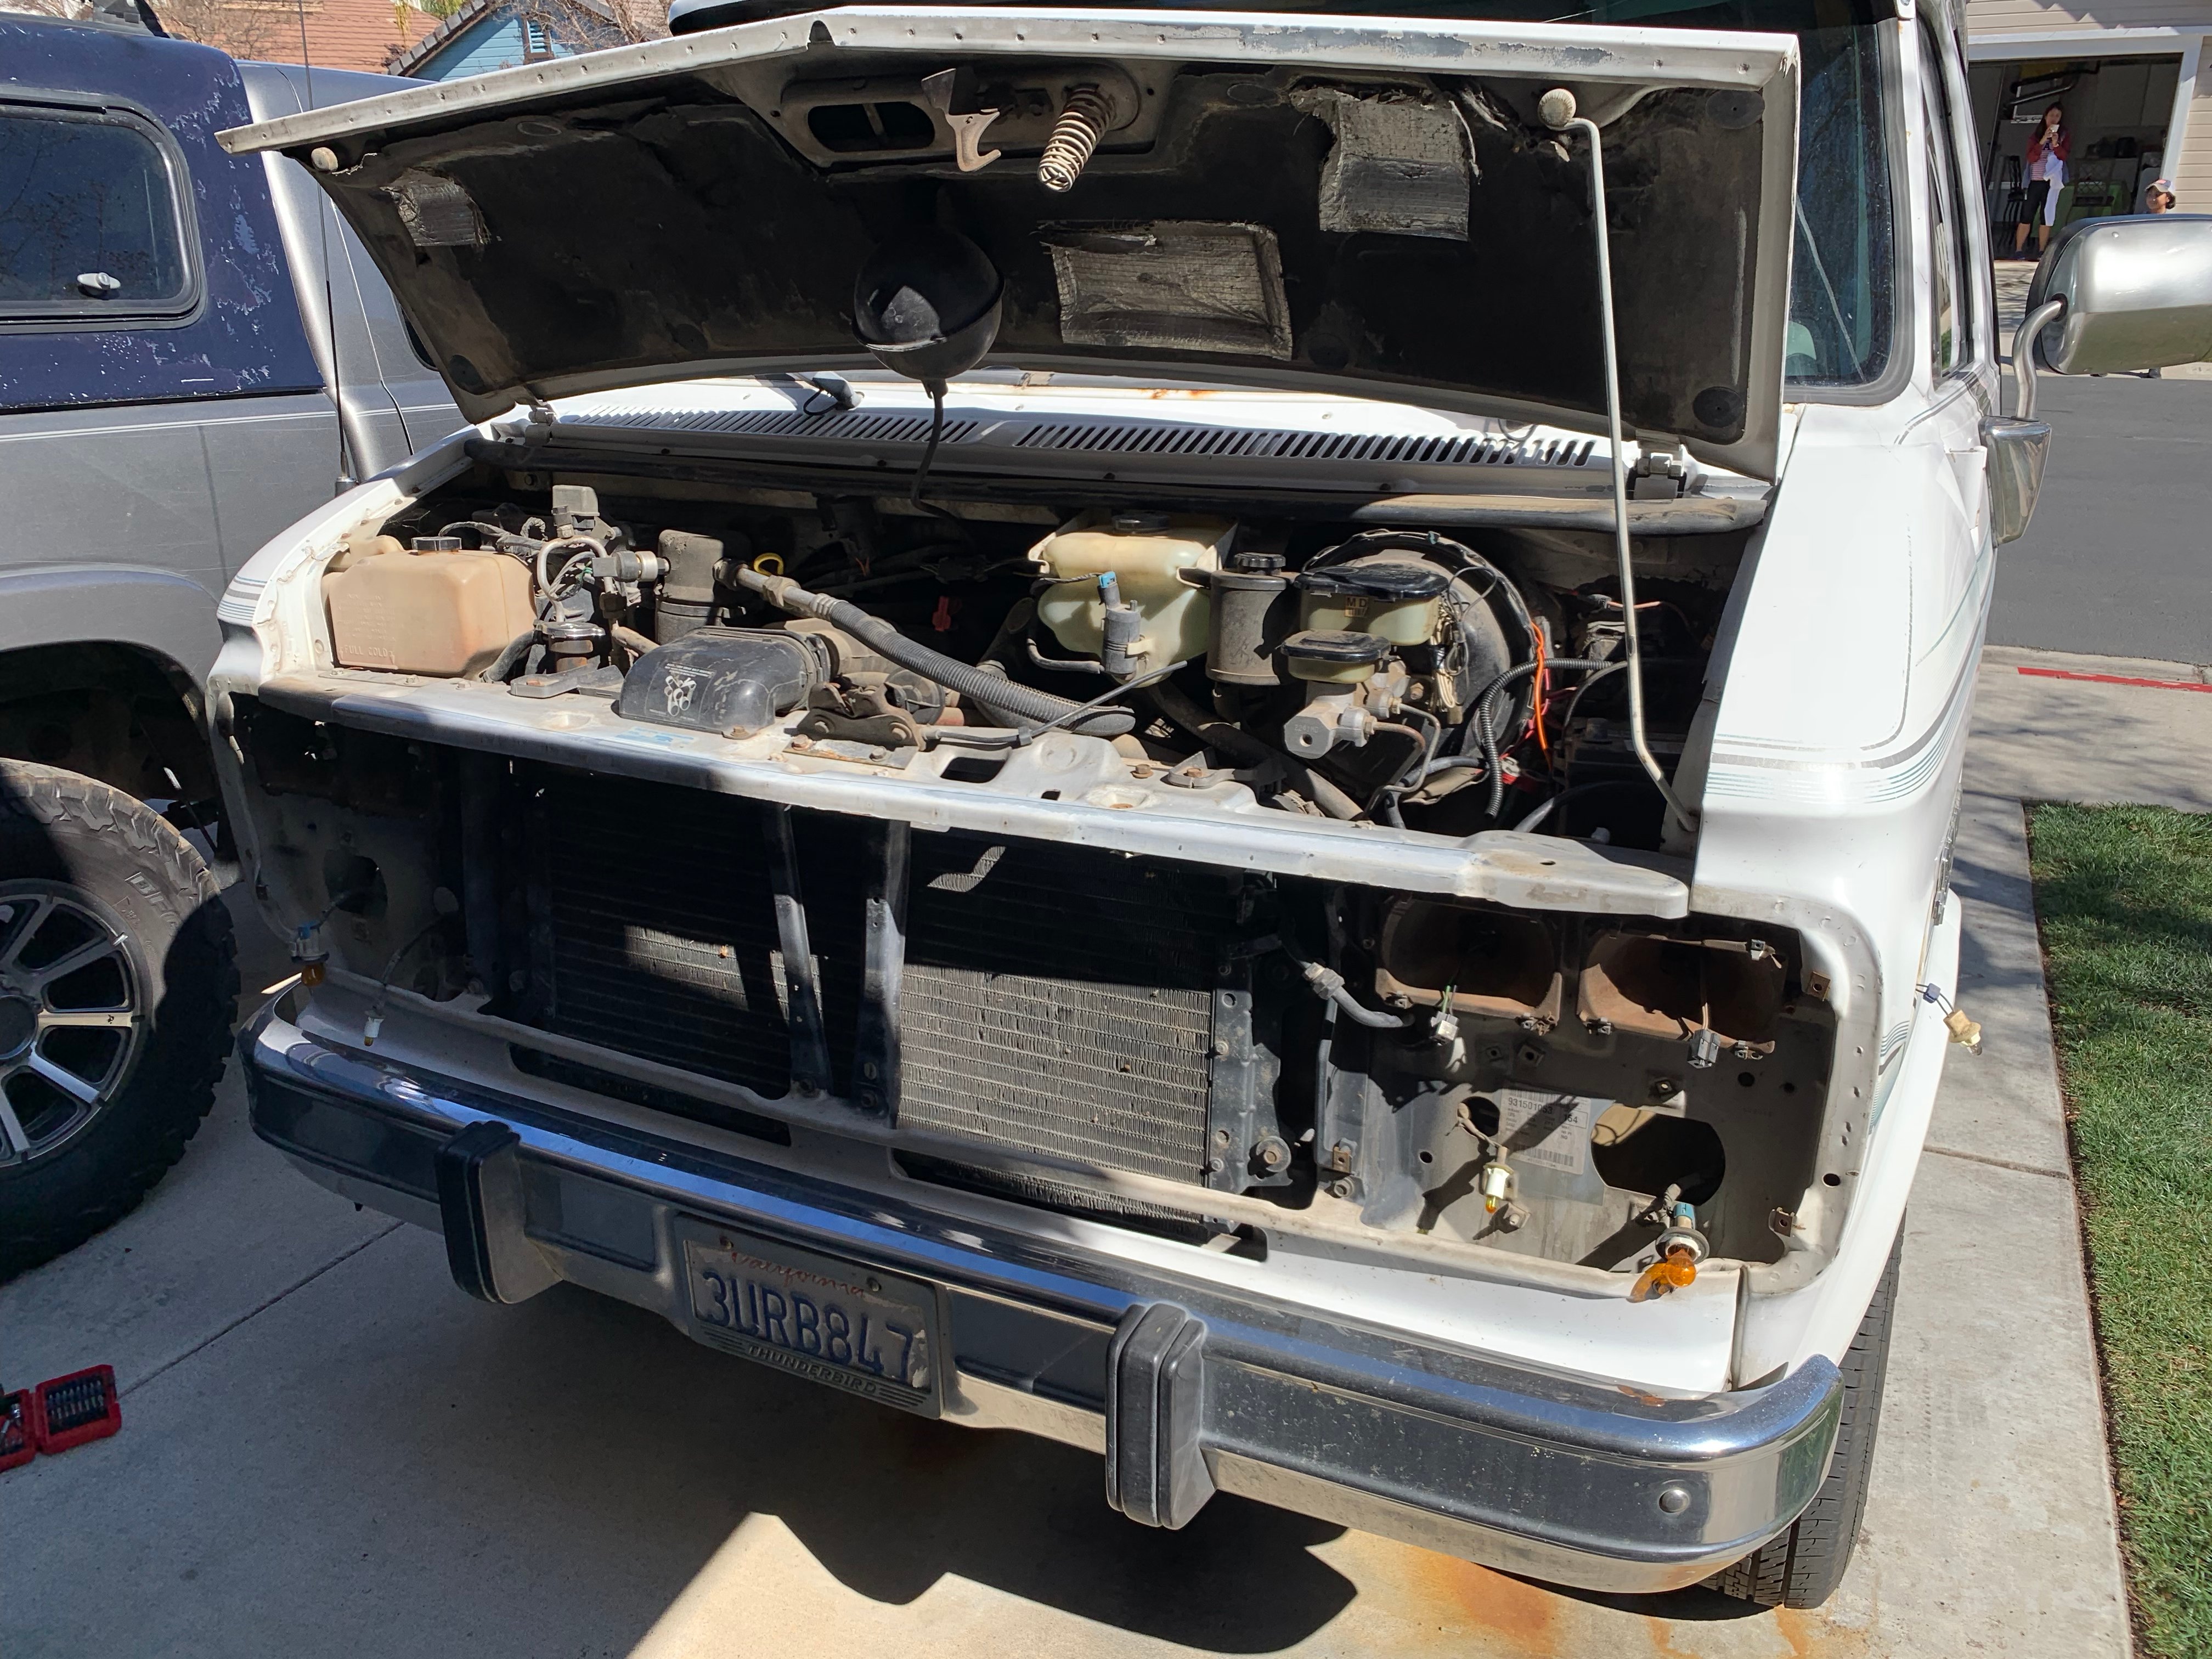
Once the original front end was removed, I had room to test fit the new grill. I knew there would be some trimming of the radiator support because of Wally’s guidance. Fortunately for me, he showed me a pretty trick way to know exactly where to lay down the cutoff wheel.

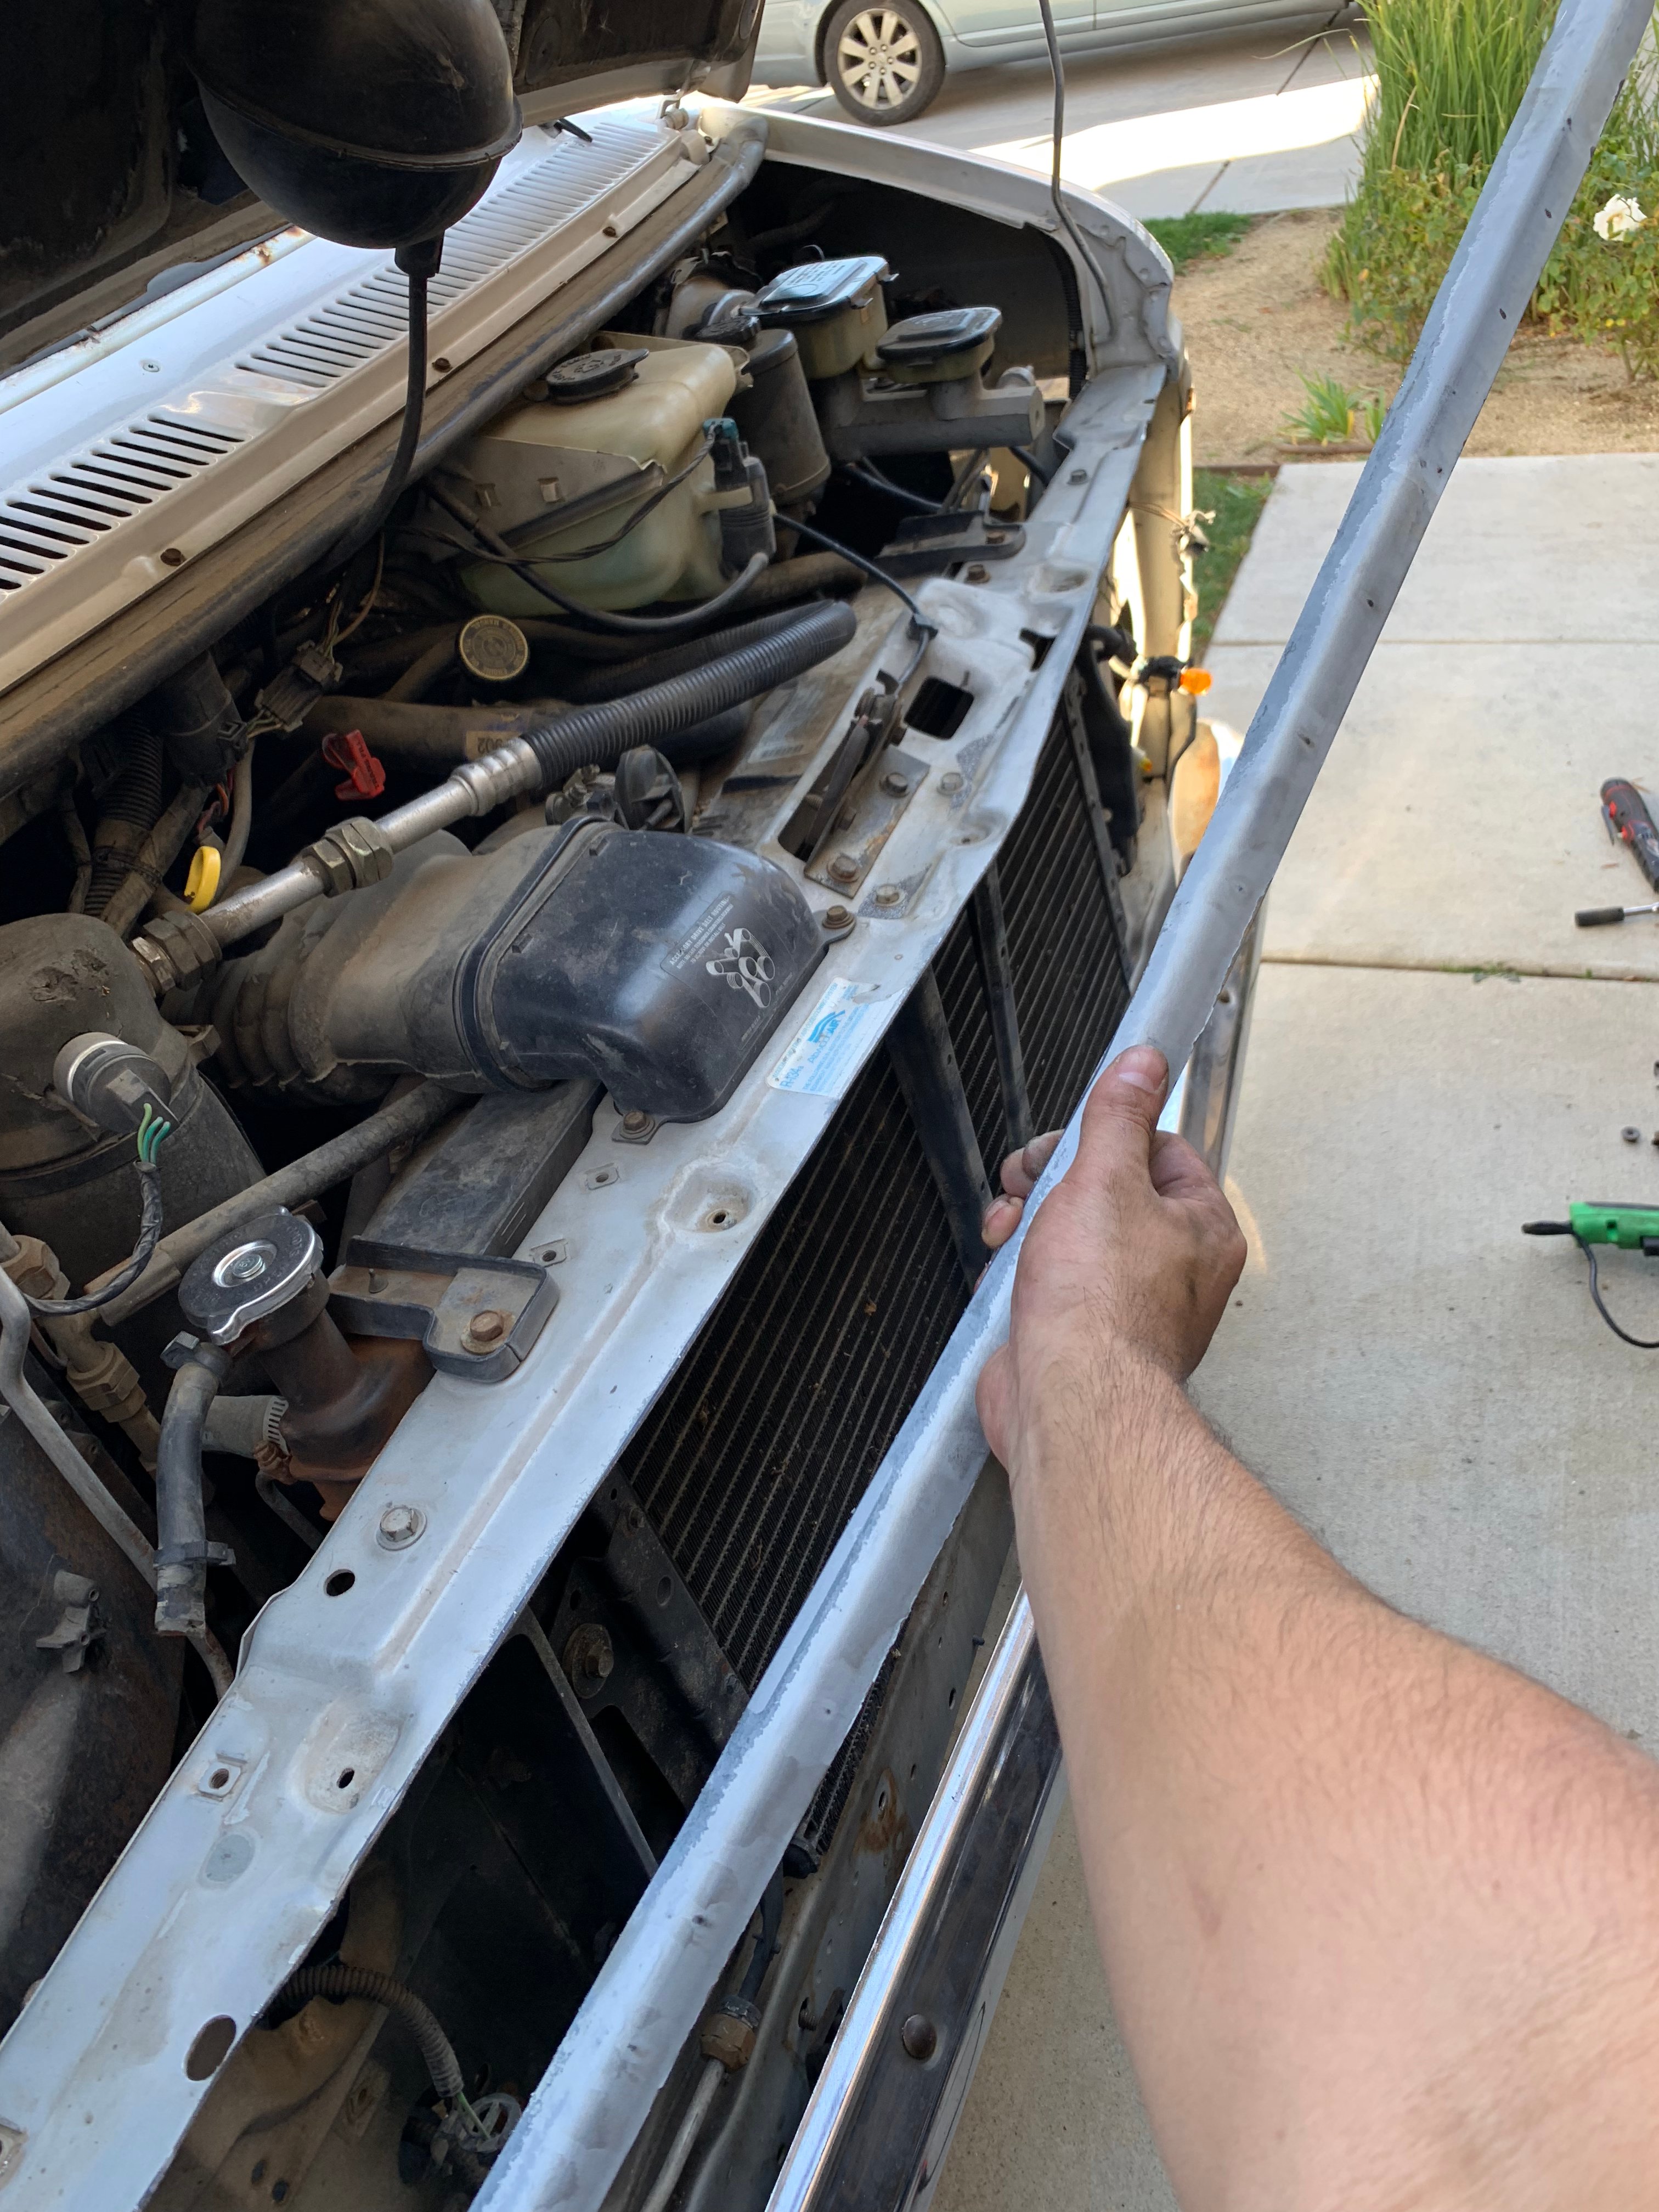
By closing the hood on the radiator support without the original grill on, I was able to mark where I needed to trim in order to fit the '71-'77 grill.
By closing the hood on the radiator support it offers a perfect template to mark with a Sharpie. The radiator support juts out past the hood by a half-inch or so, and that made it easy to mark for trimming.
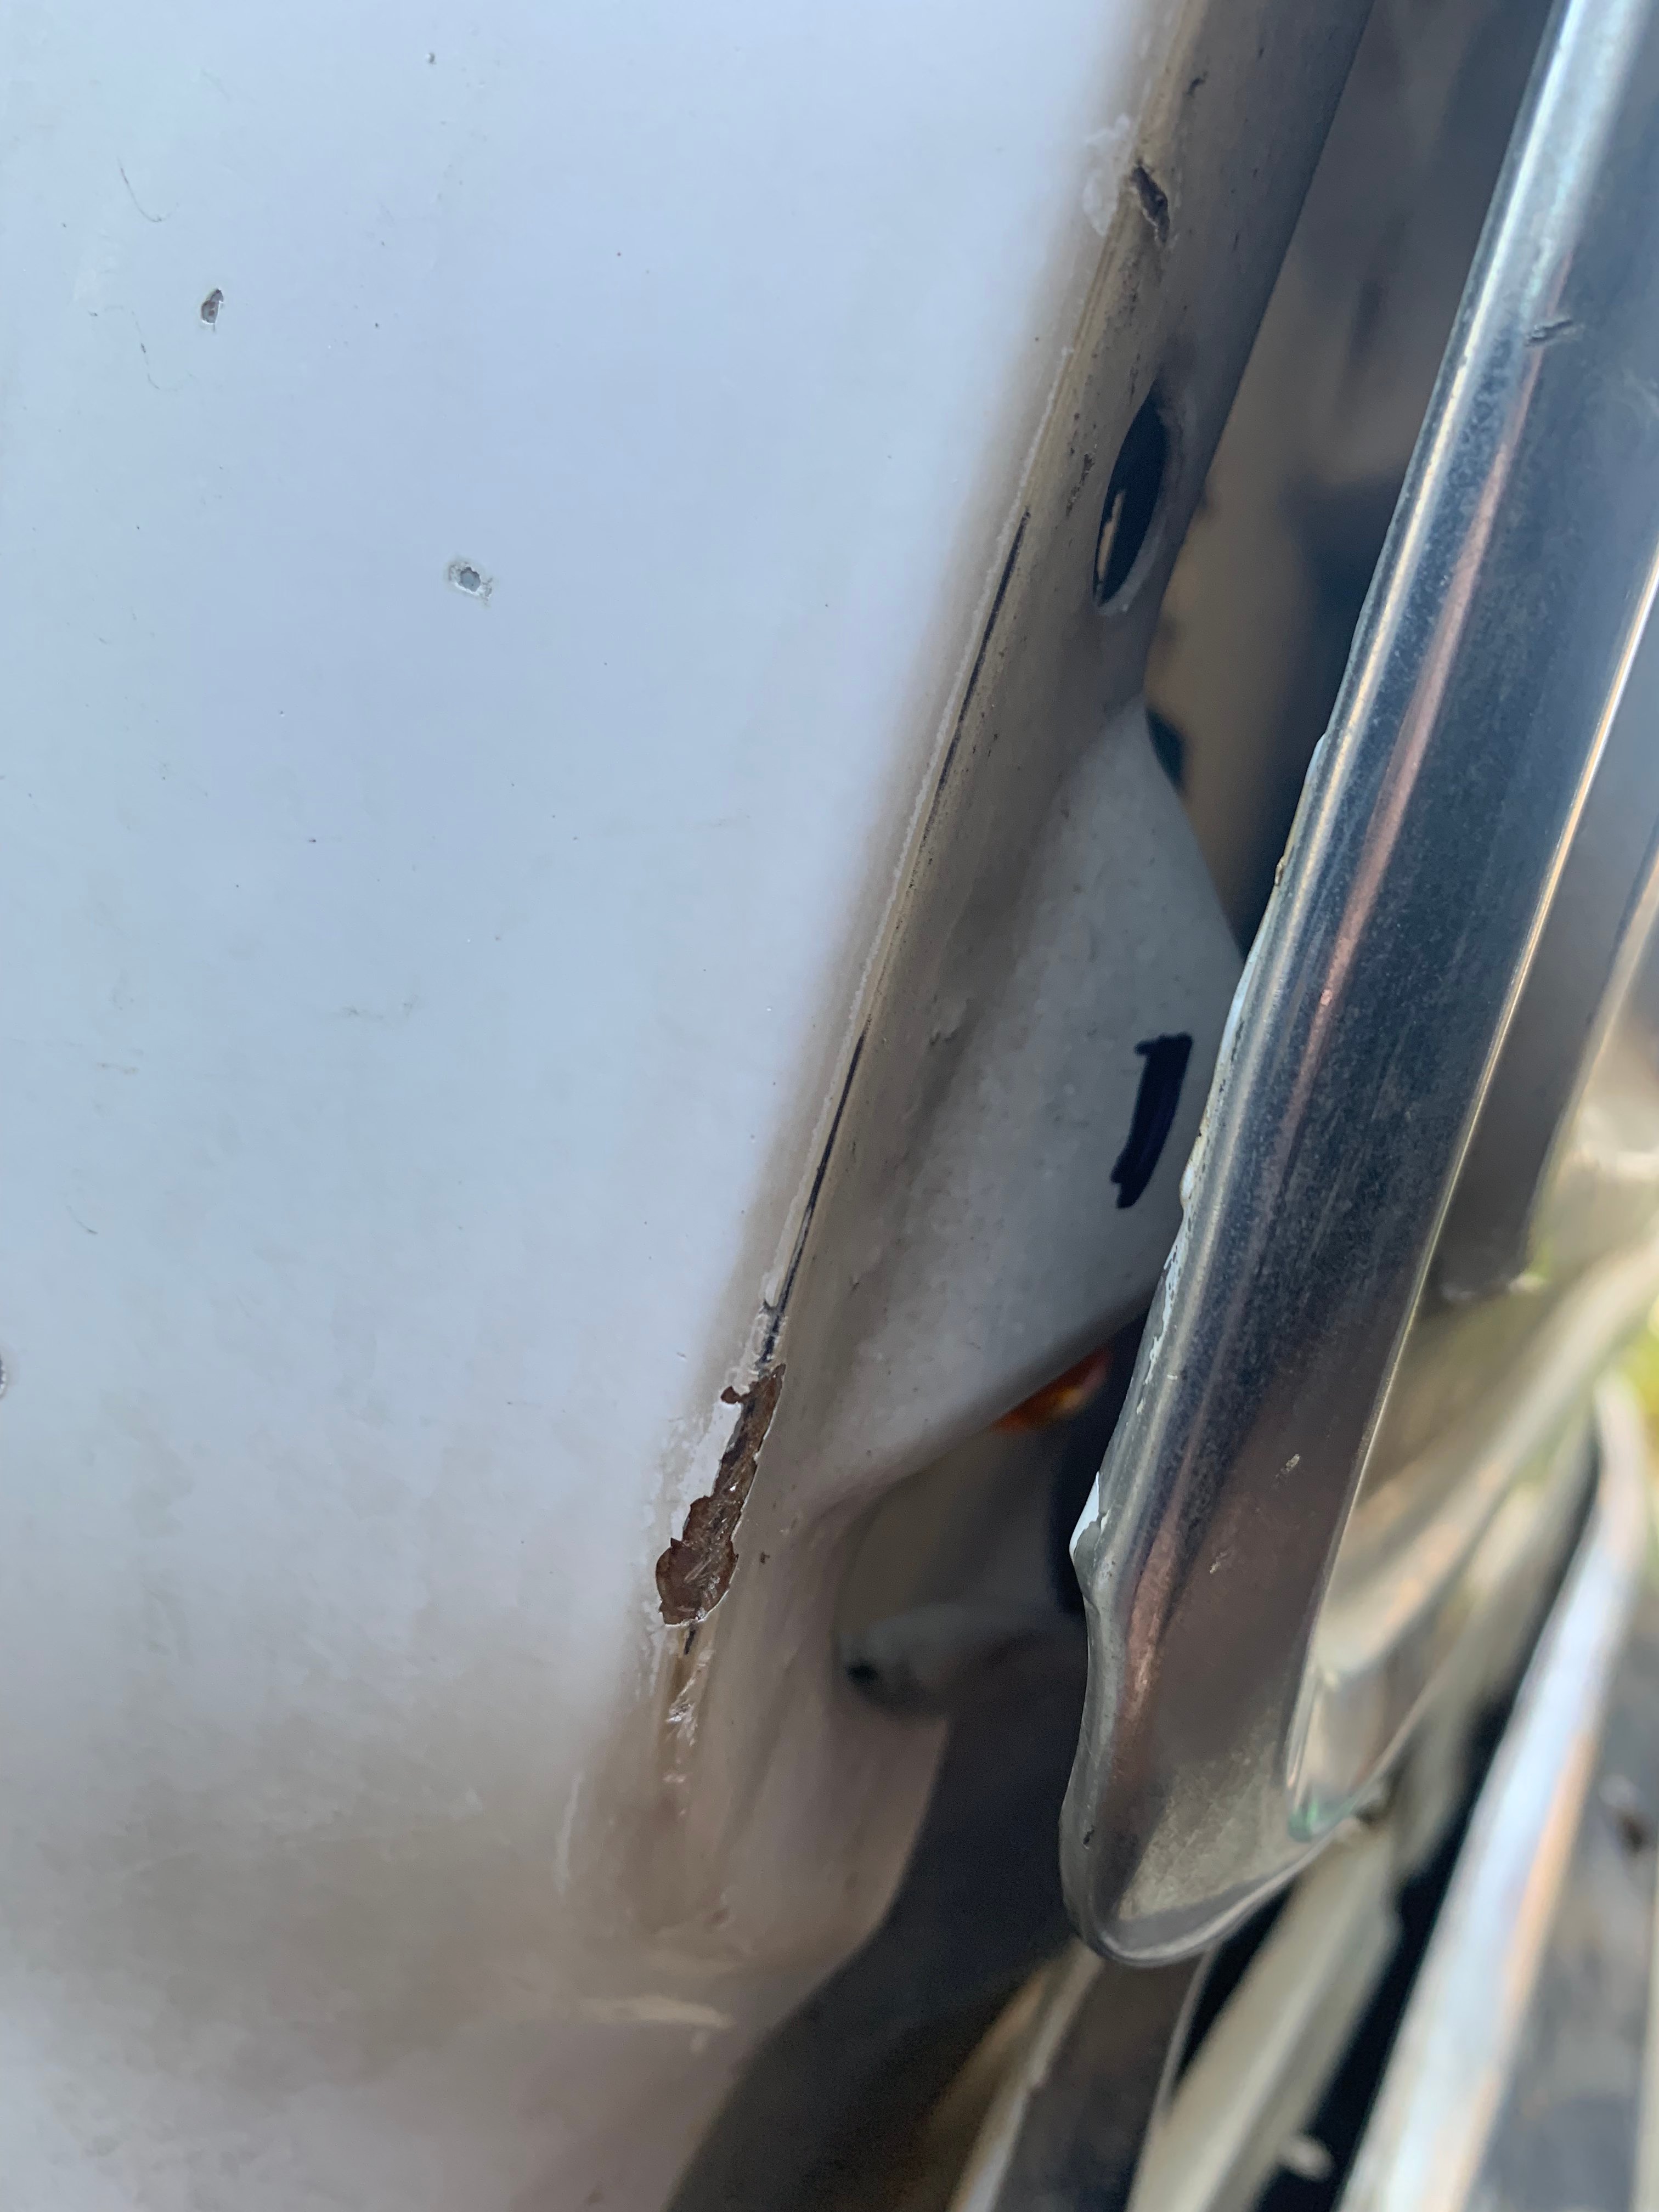

In order to make the new grill fit flush with the fenders and hood, there was some gentle "massaging" with a hammer on the lower corner pieces of the radiator support.
Step 3: Attaching The New Bumper And Grill
With the radiator support trimmed back with some clever Sawzall work, I was able to hang the new grill and mark the holes for the new fasteners. I used self-tapping screws for haste, but a wise man would use stainless hardware. I’ll likely never get around to changing that, but it’s okay – the self tappers are working just fine and I gave everything behind the grill a few coats of paint.

I had to call it a night at this point, lest I get another complaint from my neighbors. You can see the driver's side headlight bucket mount in an early fabrication stage, here.
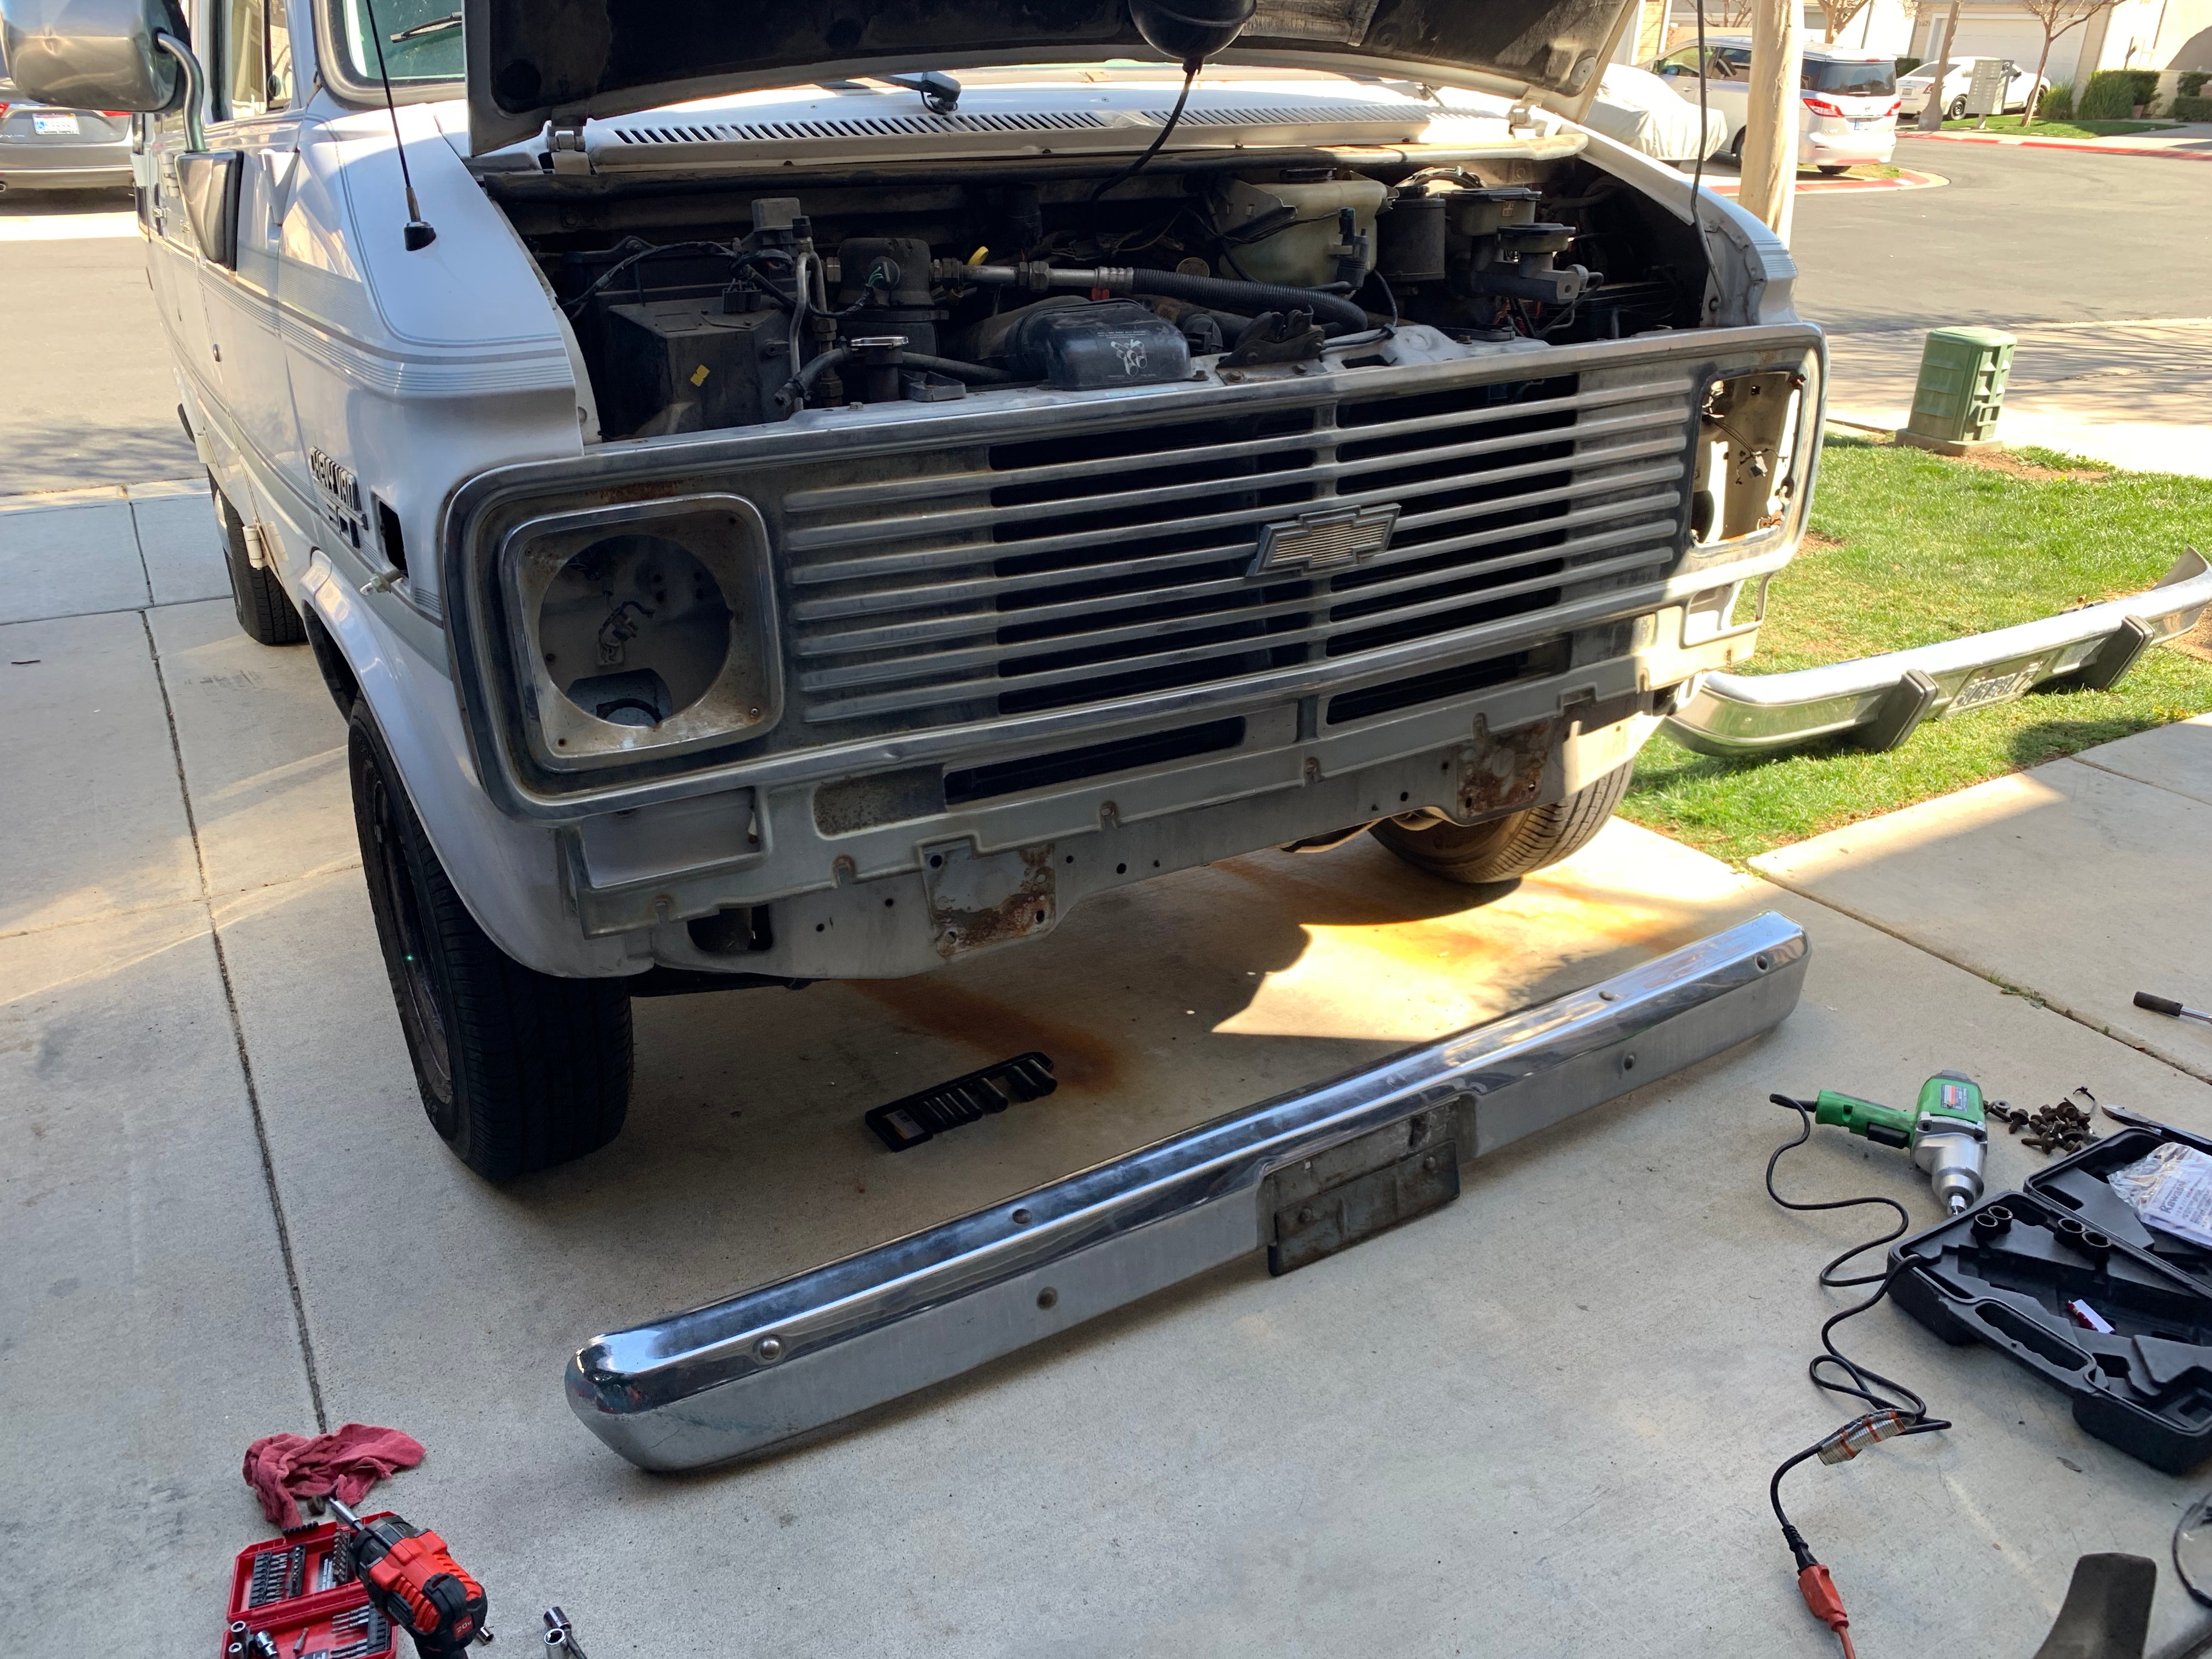
The new bumper went on surprisingly easily. I purchased it with the brackets already attached, so they bolted right up in place of the old bumper and brackets.
Step 4: Fabricating The Headlight Bucket Adjusters
The major part of the project is one that I regrettably didn’t take many pictures of because it got dark. Since the prior setup utilizes four headlights for the high and low-beams, switching to a single sealed-beam halogen from 50-years ago proved to be difficult. I made sure to notate the orientation and function of each pigtail and wiring harness as I disconnected everything, but that wasn’t the difficult part.
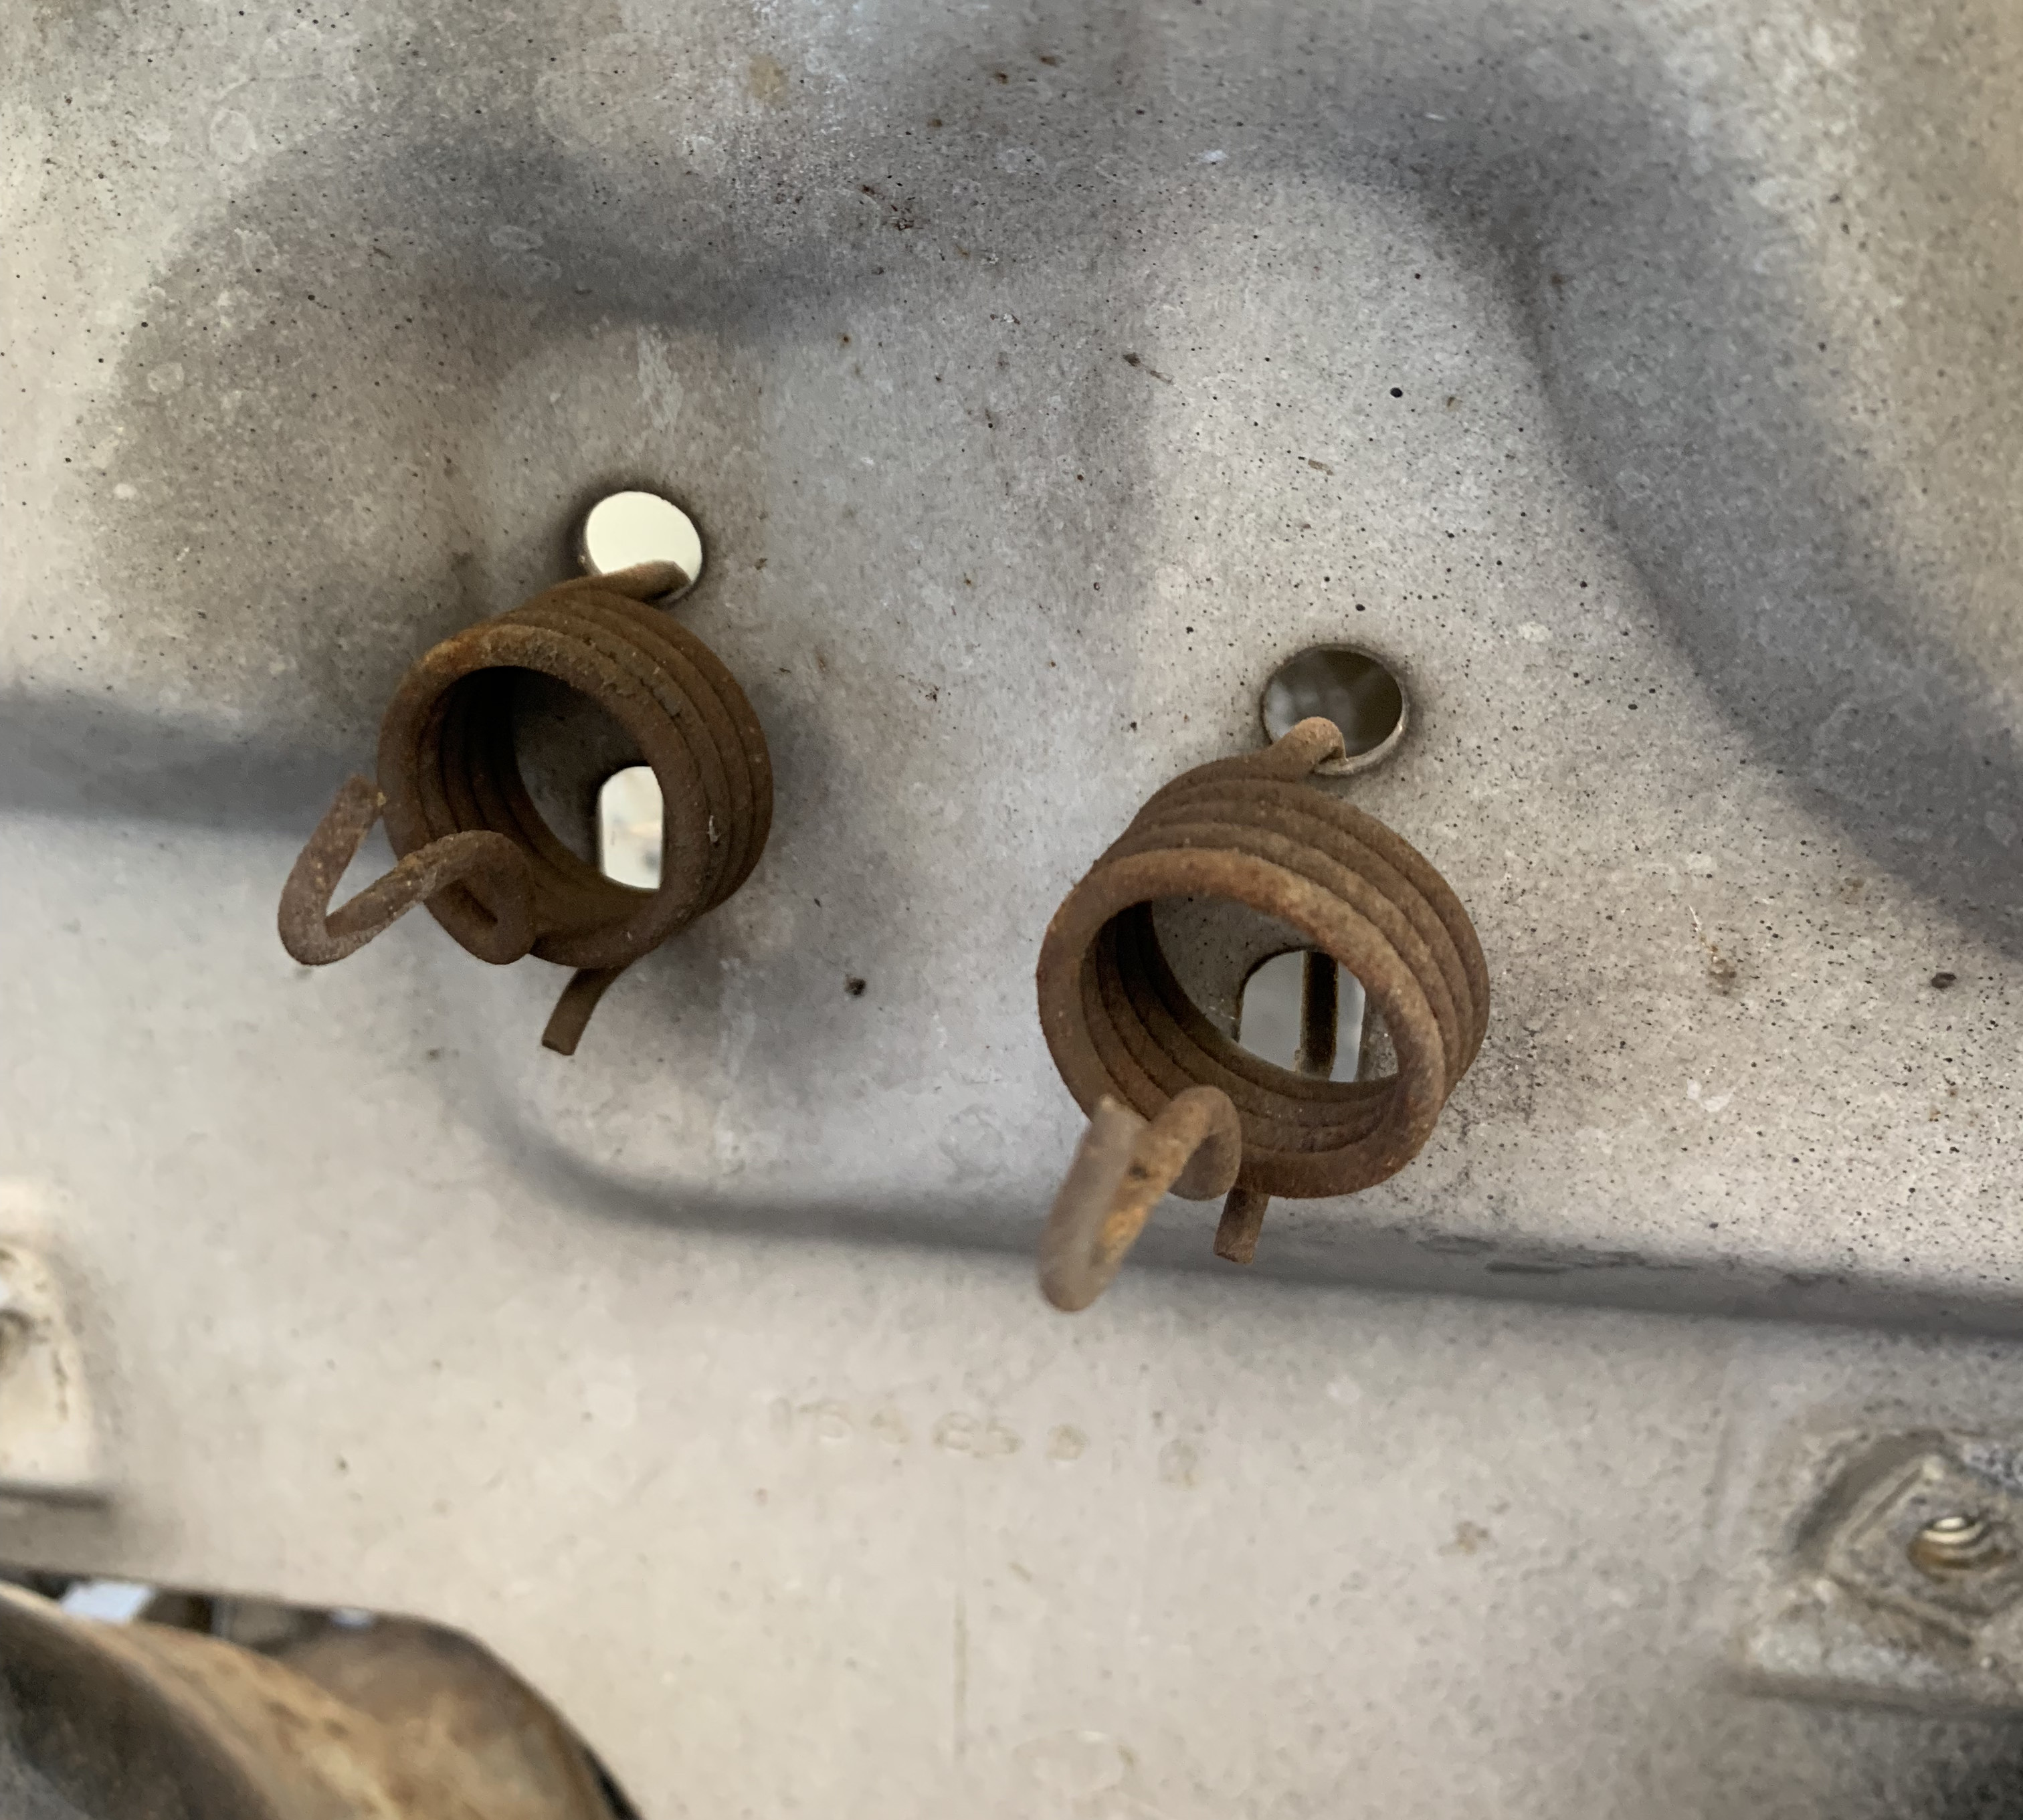
These are the original headlight bucket adjustment springs. I replaced them with new units from Classic Industries. I had to cut a hole in the original radiator support to make room for the new single headlight setup. I attached the bucket, springs, and adjustment screws to a custom fabricated plate attached to the radiator support. A link to an instructional video is provided below.
In fact, the wiring was quite easily adapted to the new headlight and markers. The difficulty came with providing a level of adjustment to the headlights. Fortunately, there’s a great resource on Youtube, here. It shows the process I used to make backing plates behind the headlight buckets that utilizes a spring and adjustment screw.
After about 16 hours of hard work, I had a whole new front end for my van!
It’s a bit of an involved process, but if you take your time, it’s relatively easy.
Step 5: Testing The Lights
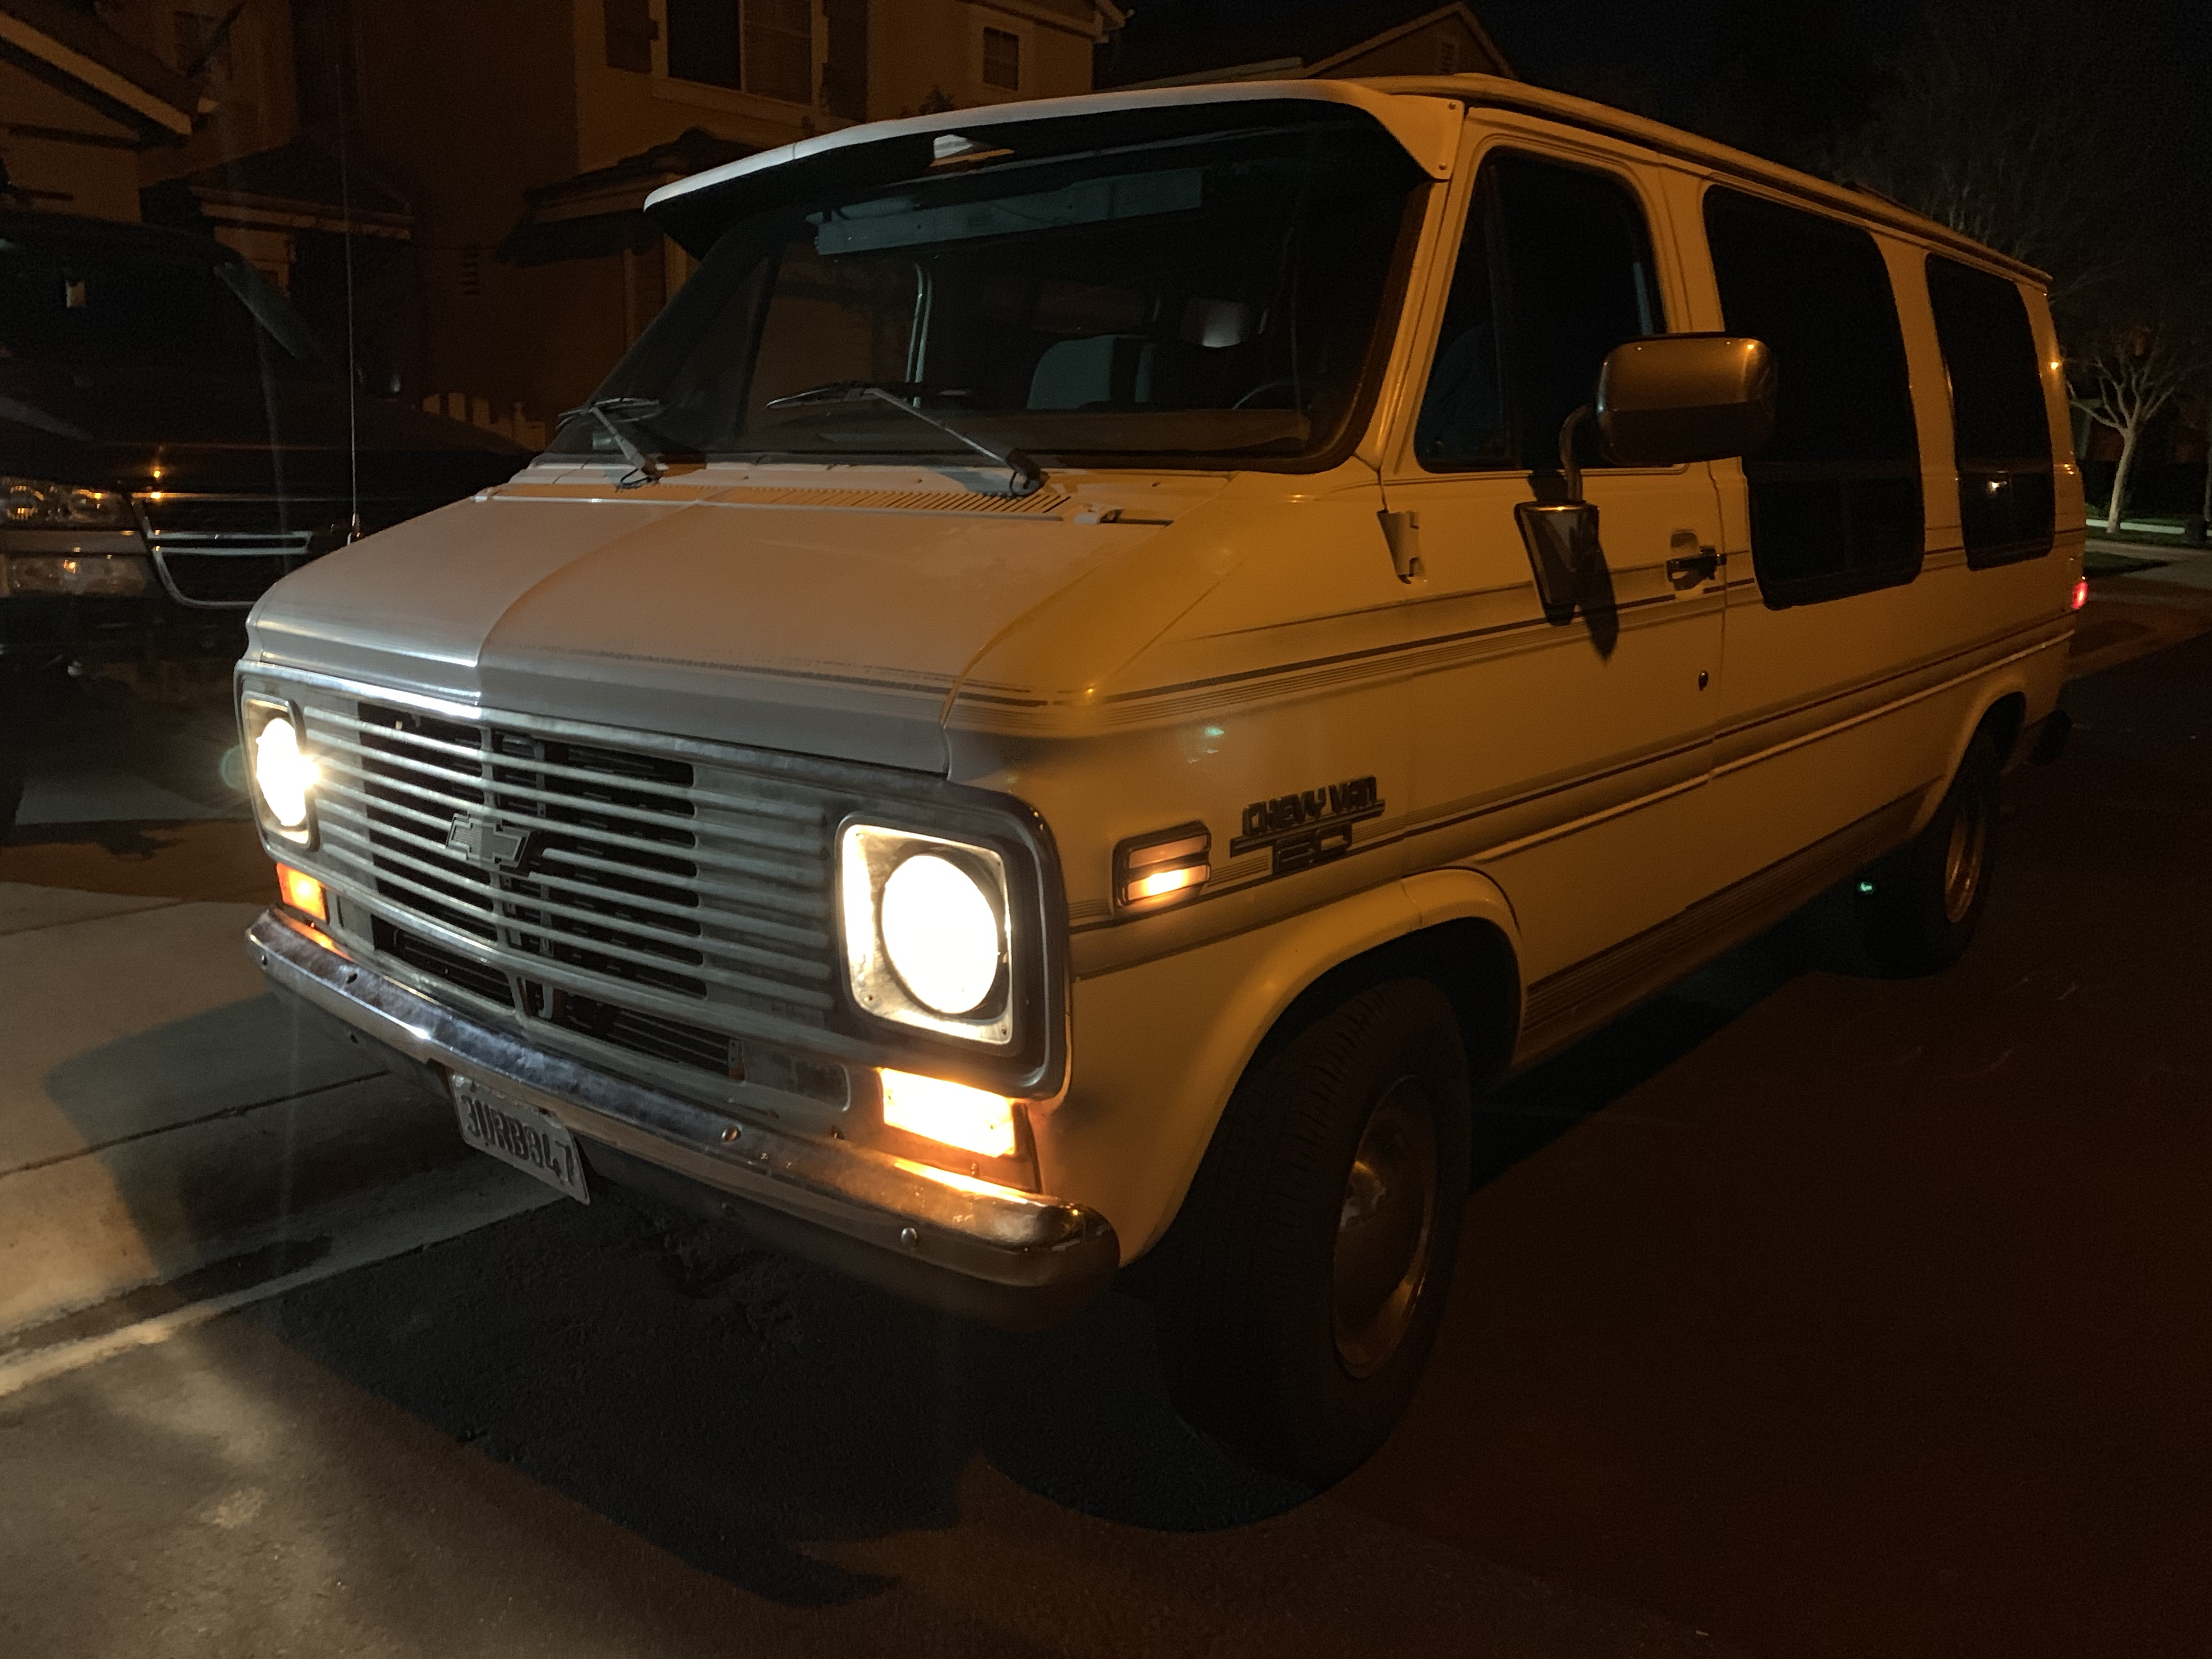
The final step in the whole front end swap was testing the function of the lights and going for a cruise.
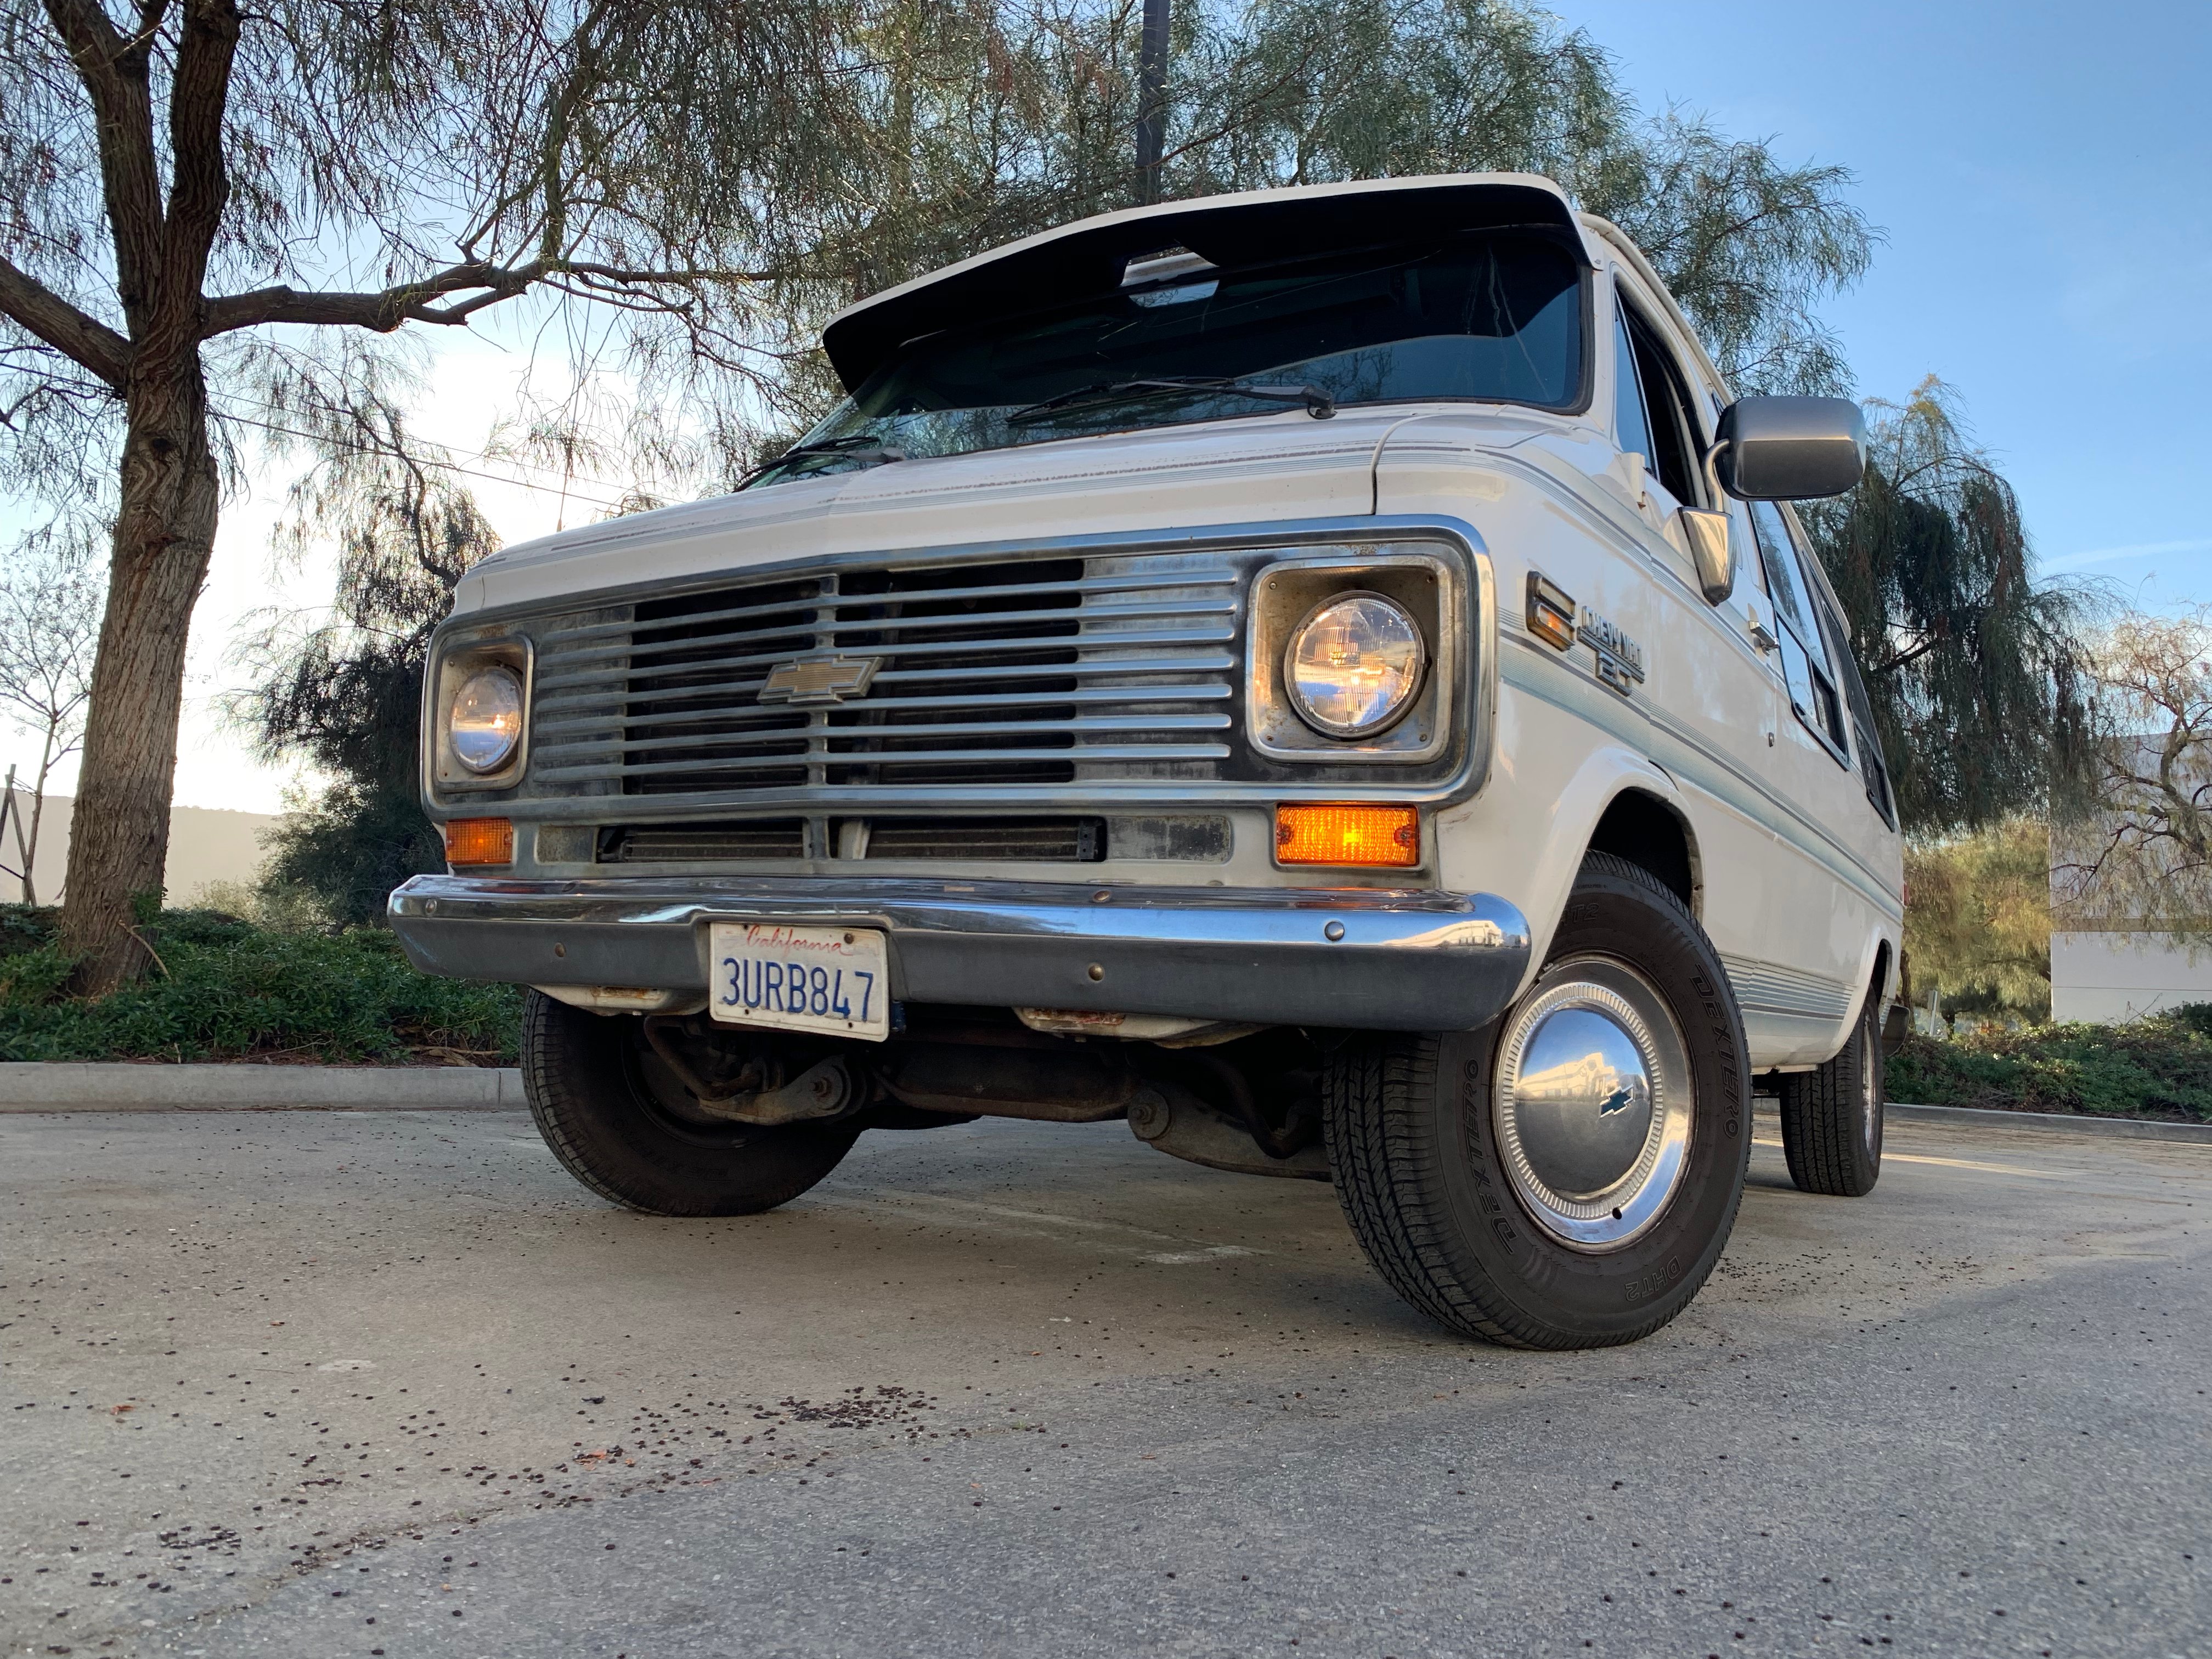
Paint and polish came later for Project Heavy Metal’s new front end, but after a weekend of hard work, the big ol’ Chevy van was looking fantastic compared to before! In fact, buying all these parts secondhand saved me a good amount of money. Currently, there are no aftermarket companies reproducing these parts, so after hunting on eBay, these backdated parts turned out to be cheaper than replacing the broken pieces of ’93 grill and headlight trim, if you can believe that!
Tune in to the next installment when I show you how I got rid of the outdated ’90s vinyl graphics and replaced them with some ’70s-era pinstriped flames!