When the muscle car entered its heyday back in the 1960s, so did the manufacturers’ implementation of a lighter-weight “unibody” chassis design. With individual subframes based around the front and rear suspension, the overall chassis’ rigidity relied on the body shell to support the car’s center section. When horsepower was increased beyond factory levels, the lack of a full-frame caused these cars to exhibit twisting and flexing problems during dragstrip launches and hardcore cornering. it didn’t take long until the bolt-in subframe connector was developed.
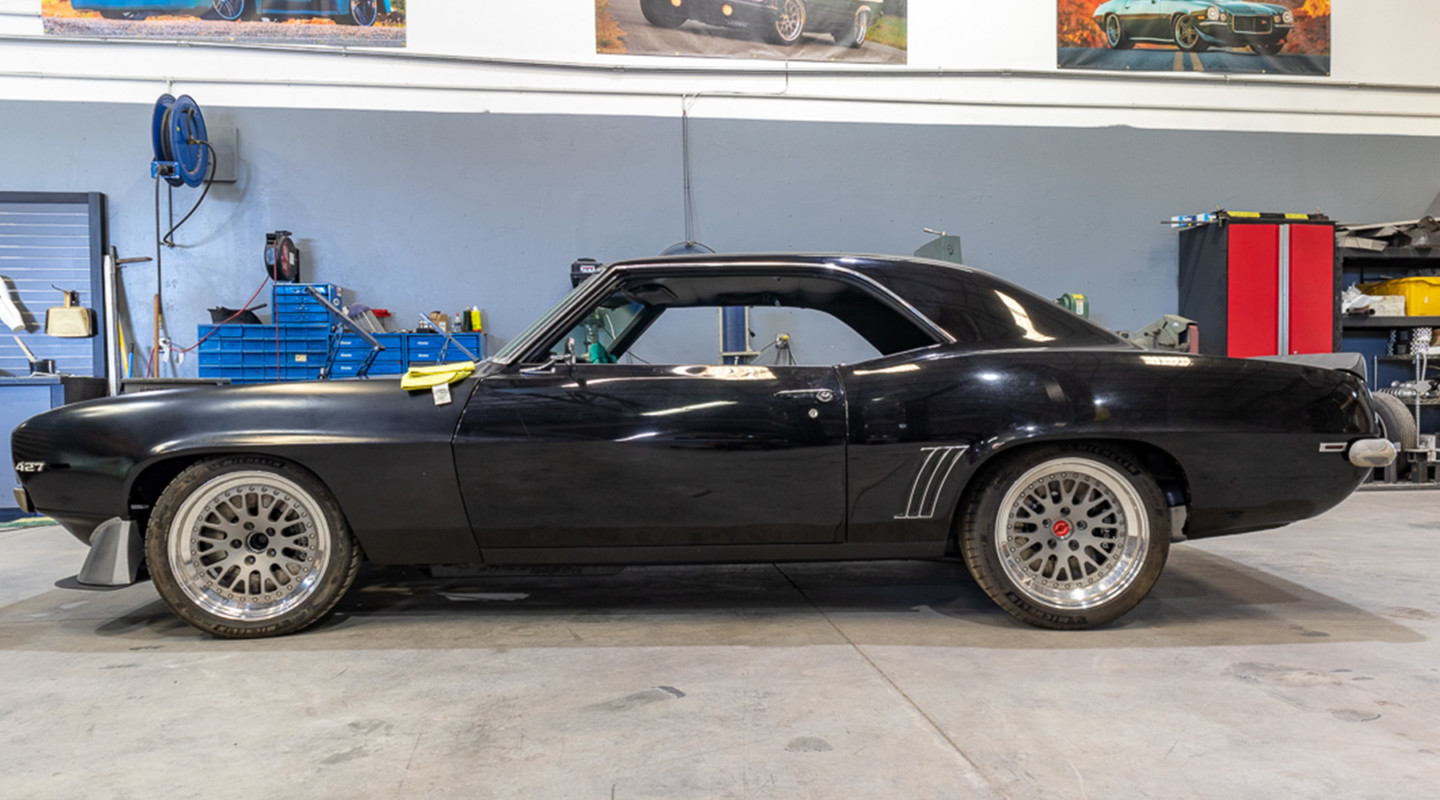
Speedtech took us through an in-house frame connector installation with a customer’s Camaro. Their professional fabricators meticulously follow their own instructions each time to find opportunities to perfect their installation manuals.
The first bolt-in subframe connectors did serve the purpose of stiffening the cars. But, just like overpowering a stock body, once you reached an even higher power level and/or increased launching and cornering demands, they also found their limits. A recent development in subframe design by Speedtech Performance created not just a subframe connector, but rather, a system incorporated into the floor pan. It also features an integrated crossmember that ties the frame sections together. This design is a game-changer for handling even the most extreme body flex.
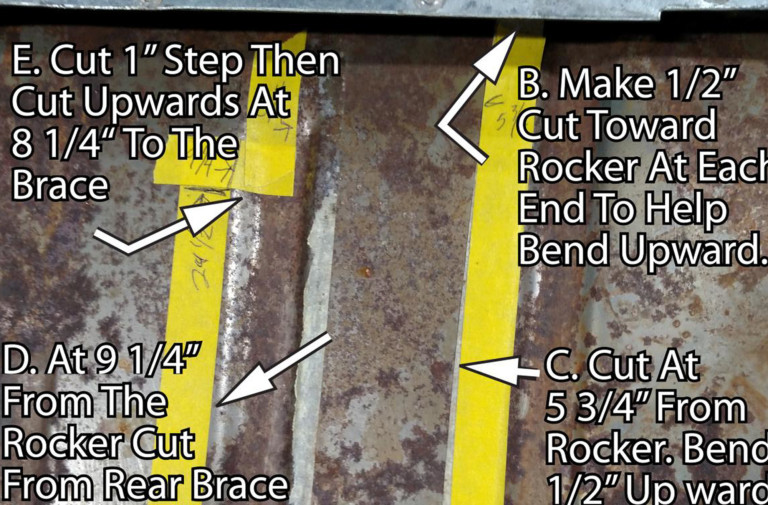
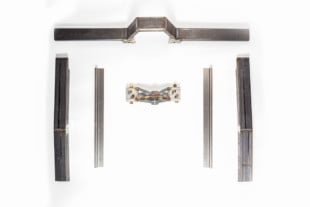
The kit is fabricated from rectangular steel tubing and includes very detailed instructions for every cut and weld. Speedtech designers have found that some reproduction floorpan panels may not be accurate for measurement, so they describe how to overcome these difficulties within their instructions.
Crossbar Strength
Thomas LeClair, a marketing specialist at Speedtech, describes their new ’67 through ’69 Camaro subframe connectors. “Our frame-connector crossmember design adds strength by integrating it into the floor pan. With that, it also does not extend lower than the front subframe, making it very street friendly without sacrificing any ground clearance.”
Speedtech’s instructions may first appear intimidating to anyone short of an experienced chassis builder, but LeClair assures, “We designed the instructions to be very detailed. That does not mean they are overly complex. The instructions are explained down to the finest details and measurements to make exact cuts and fitment into your floorpan.”
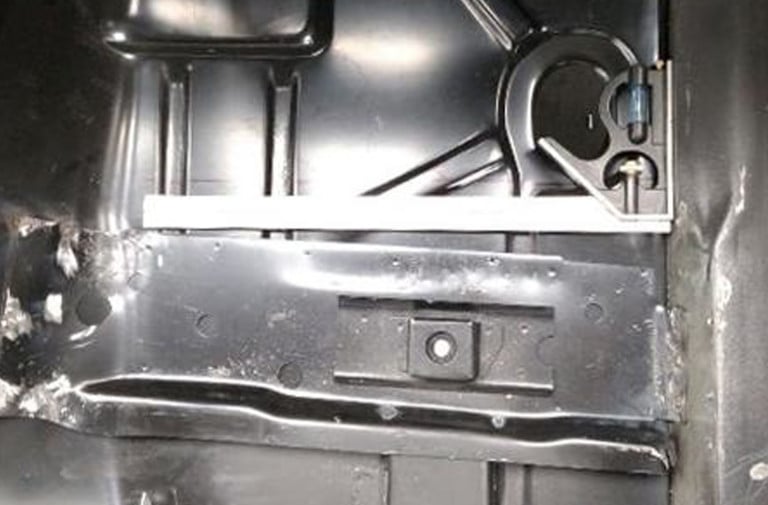
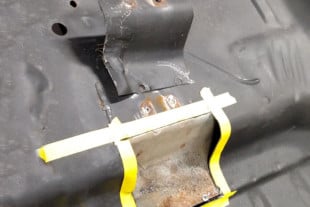
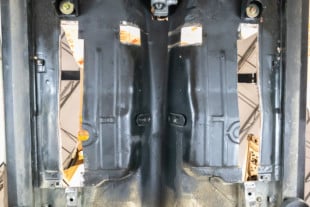
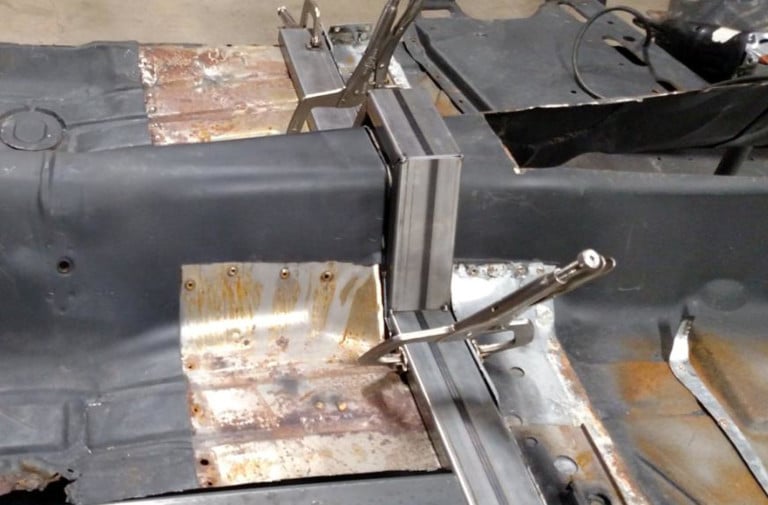
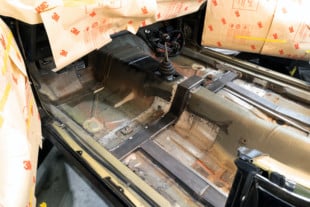
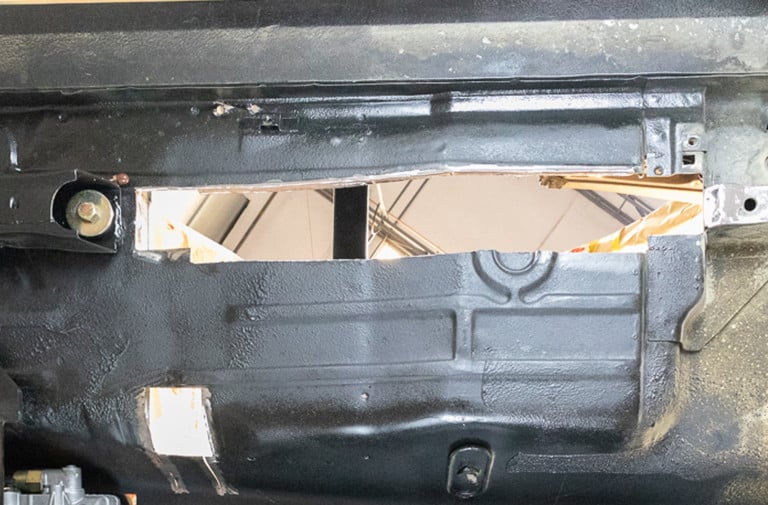
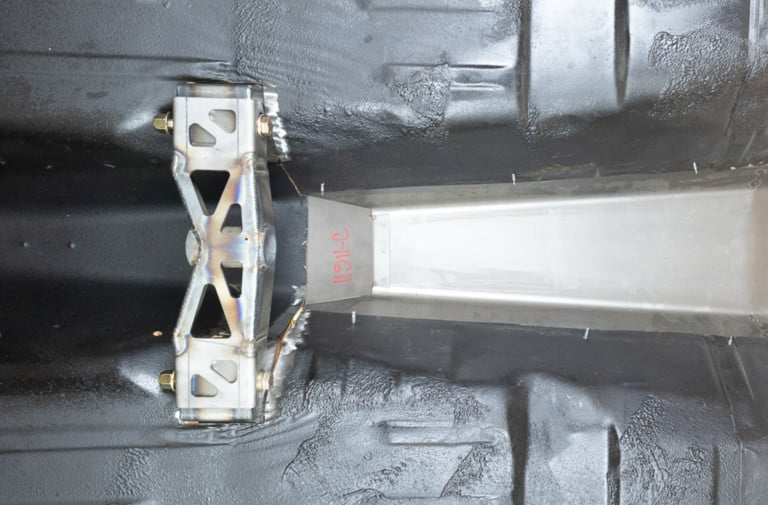
The floor is cautiously cut to match the kit's tubing. The bracing is welded mid-way between the interior and exterior so as not to overly protrude into either. In one case, a pocket is cut to access the inner rear frame support plate without totally cutting through. The removed plate is retained for later use.
Metalworking Skills
“It is a bit of a job to cut the floor,” adds LeClair. “You need to cut ‘windows’ in the floor to accept the crossmember and subframe connectors. It’s a little bit of a welding chore, but if you have good skills, a cutoff wheel, and a welder, you can do this job in your garage.”
We want to reiterate, be ready with plenty of cutoff wheels, and follow the directions to the letter. One of the first steps is to use a proper drill or spot weld cutter to remove both seat mounting pans. The use of the right tools is paramount. In the case of these seat pans, as little molesting as possible is necessary since you will be reinstalling these pans later.
Very Detailed Instructions
The Speedtech instructions even illustrate the possibility of some reproduction floor pans that may be slightly off. Their directions describe workarounds if certain points in the floorpan or subframe braces are not true factory dimensions.
Most kits can strengthen the unibody car in a front-to-back manner, but our frame connector also strengthens side-to-side geometry for the strongest car possible. – Thomas LeClair, Speedtech
“Our frame connector kit ties into the floor pan just 1/4-inch away from the front subframe,” notes LeClair. “We don’t offer the instructions about how, but you can tie those two together, and the car is essentially a full-frame car at that point. Even without attaching it, you’re within a 1/4-inch of being a full frame car, if you want.”
Rear Suspension Adaptability
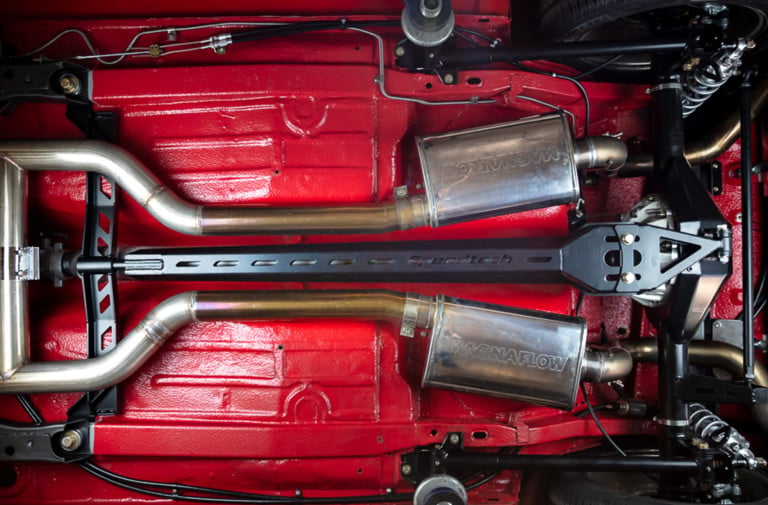
The Speedtech kit does not interfere with the factory leaf spring mounting points of the rear suspension. This retention of the factory spring mounts offers you a wealth of aftermarket suspension options from leaf springs to three- and four-bar suspension designs. Another effective option is Speedtech’s torque arm rear suspension.
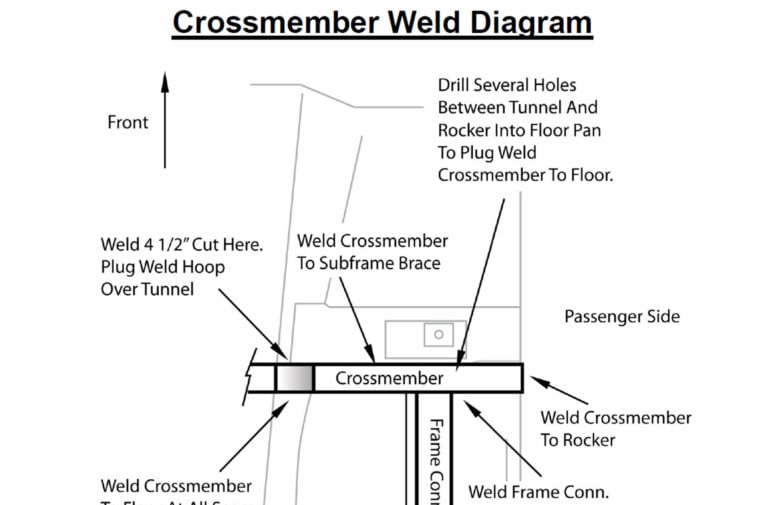
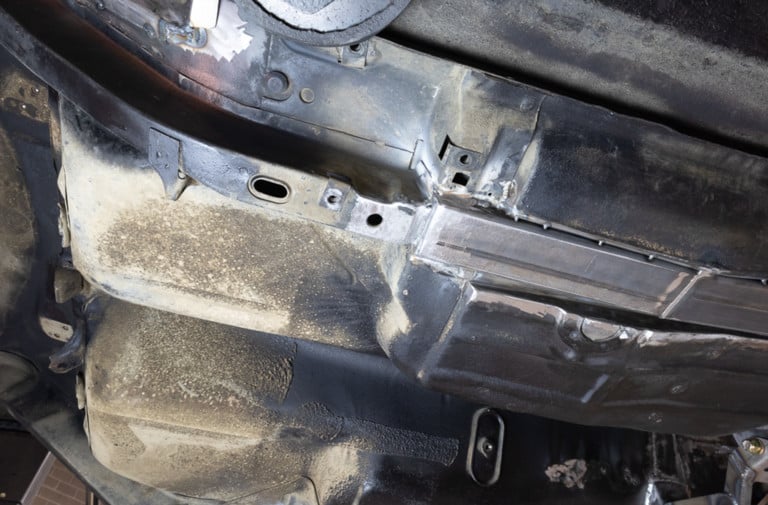
With a snug fit established between the floor pan and frame connectors, the Speedtech instructions guide you through the welding process.
The Speedtech torque arm suspension is akin to the suspension design basics of many late-model performance rear suspensions. The torque arm suspension uses lower control arms, coilover shocks, and a Panhard bar around an engineered and fabricated center torque arm.
Speedtech’s subframe connector kit has the torque arm suspension in mind and includes a torque arm front pinion pin mount. This mount doubles as a drive shaft safety loop even if utilizing another style of suspension.
“Our torque arm system offers extreme adjustability for those who want to finish out with our rear suspension system.” points out LeClair. “One of the nicest features is the two-piece trailing arms. If for any reason, you need to move your axle forward, backward, or simply square it up in the car, it is easy.”
LeClair offers more thoughts concerning their torque arm mounts and the pinion mount. “You might get a tiny change of pinion angle if you are wailing on the car launching or autocrossing, but beyond that, you don’t get any pinion angle change. This pinion angle rigidity is because of the way the torque and trailing arms are designed together.”
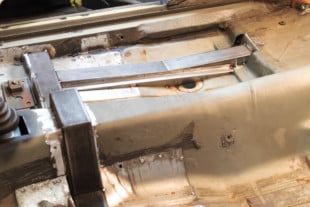
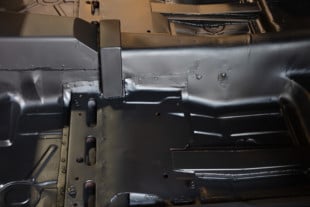
With the assembly bracing between the subframes, you see how the beefy tubing does not overly protrude into the interior. The seat pan is then notched and installed over some of the crossmember.
The last attribute LeClair notes, “Whether you want anything from a robust pro-touring suspension or more of a stock look with a 60- or 70-series tire, the Speedtech torque arm suspension is easily adjusted to have your car driving a lot nicer but look relatively stock. It’s totally doable.”
General Tools
Again, the subframe installation can be done in your garage or shop if you have the right tools and some fabricating skills. Taking time to precisely follow the instructions is paramount, and you’ll need a proper welder. I joked about the old adage about “measure twice, cut once” to LeClair regarding the fabrication of the subframe bracing system. He adamantly agreed and stressed that success is in the details.
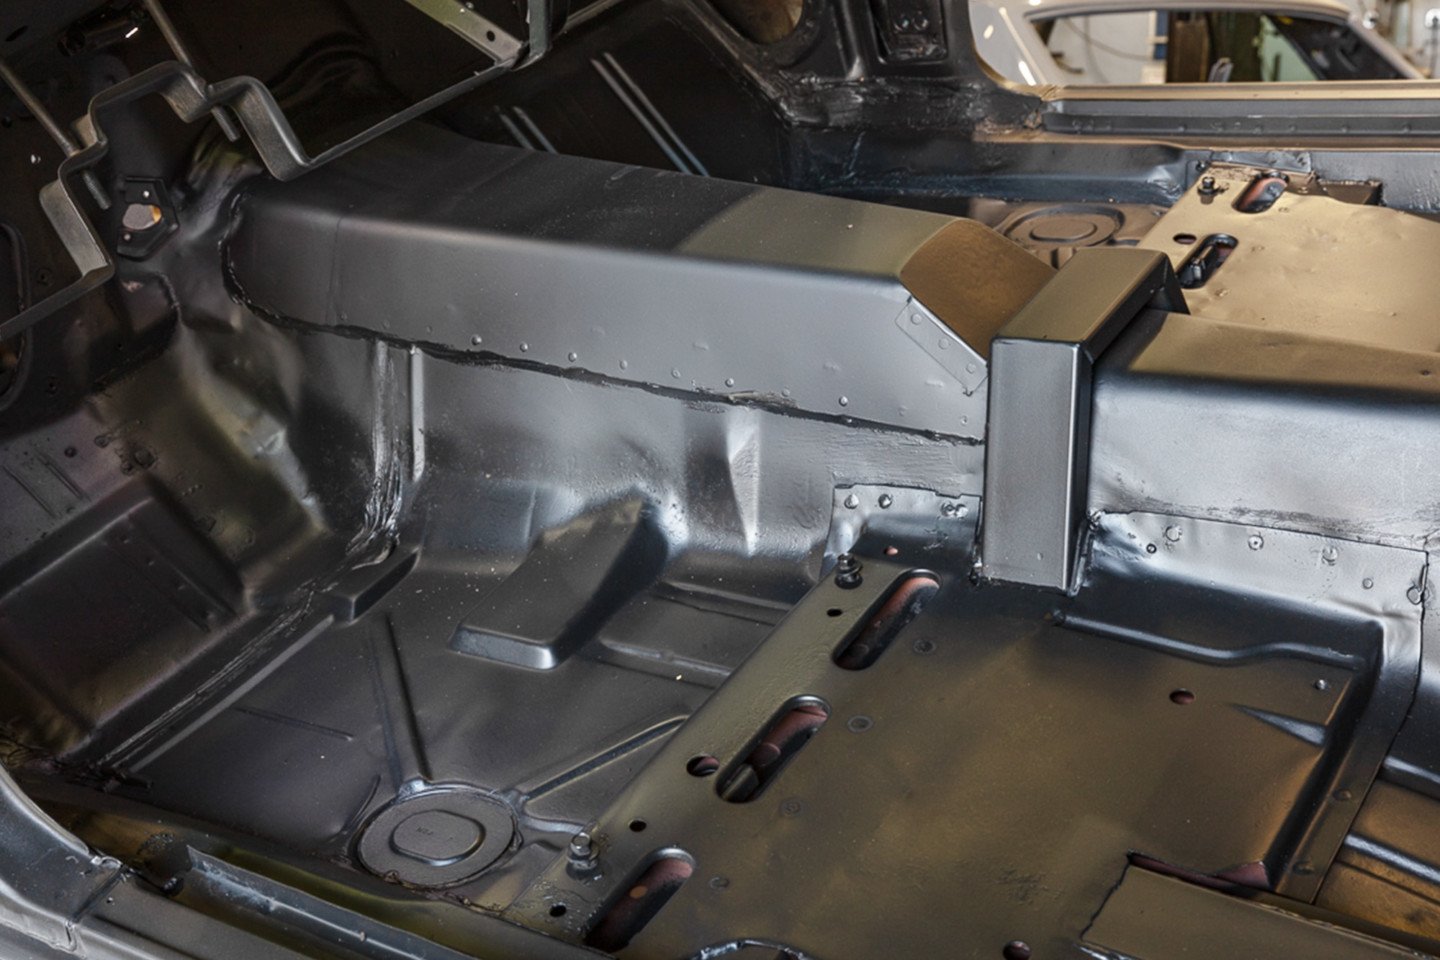
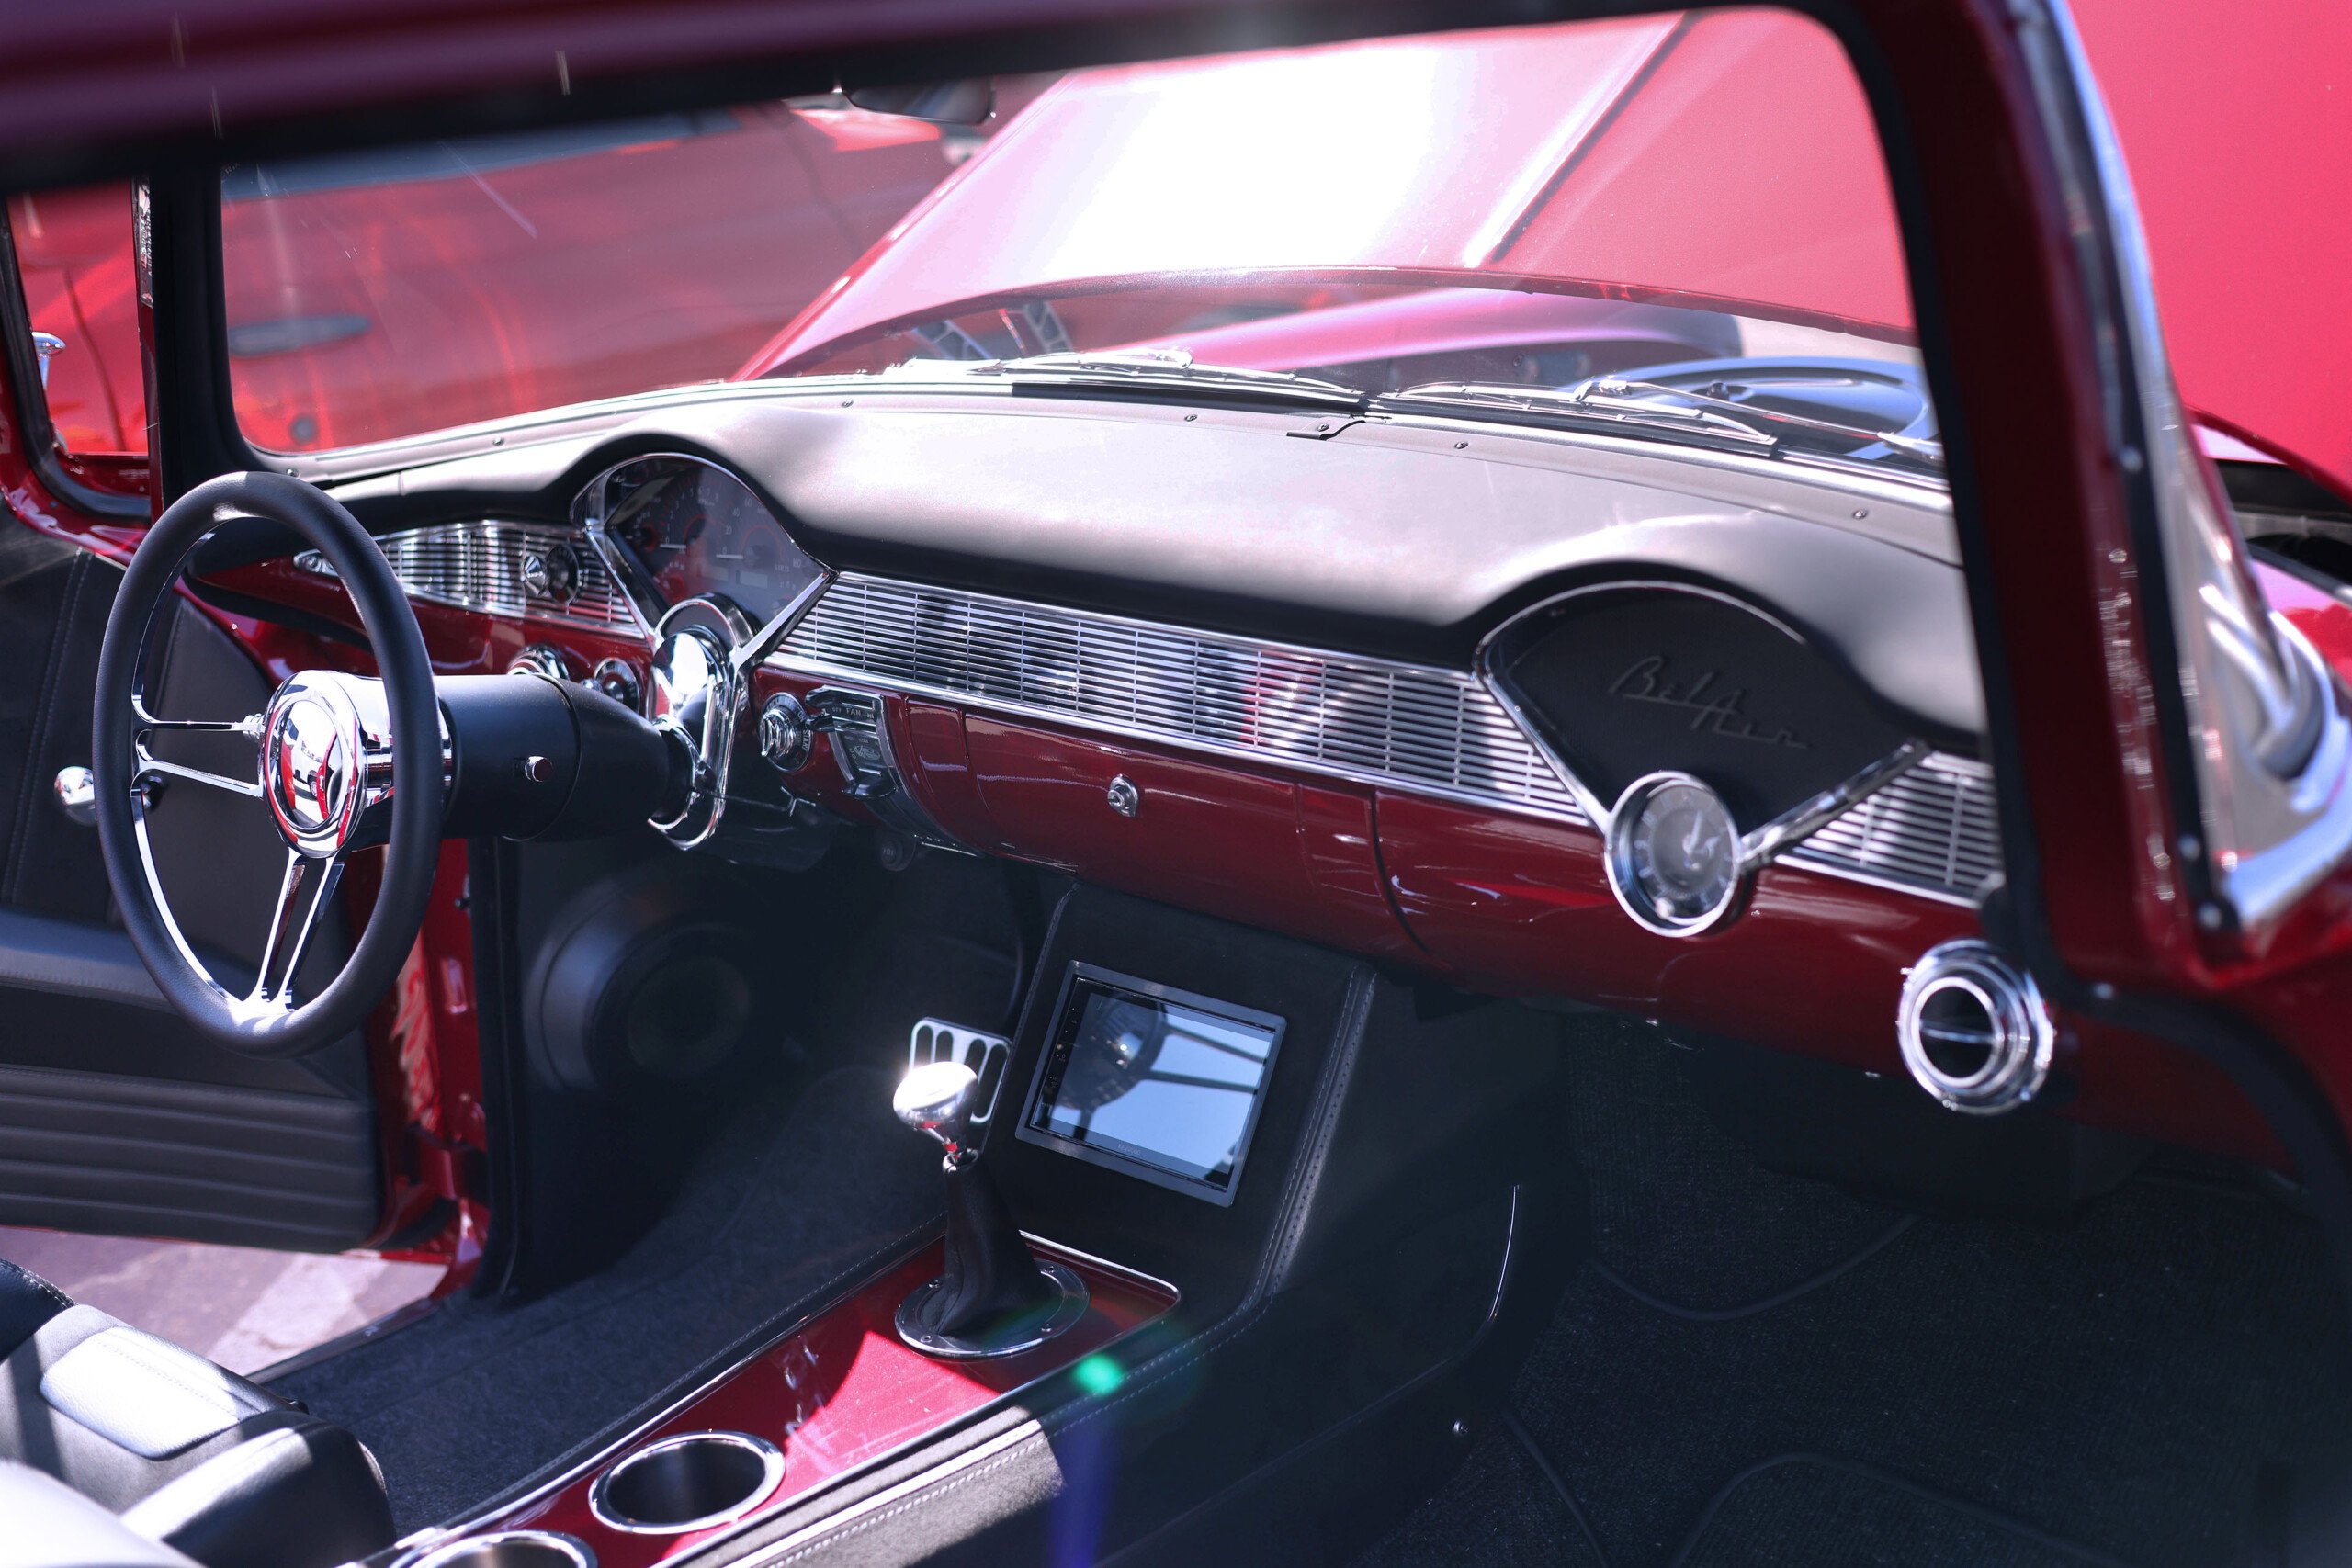
The frame connector prevents the use of a factory floor shift console, but many customers opt for Speedtech’s extreme transmission tunnel cover which aids with clearance with both late-model transmissions and lowered suspensions.
Speedtech, as a company, also practices what they preach with a full-service research and development center that can double as a chassis shop. They recently took on a project Camaro for a customer who wanted the subframe connector system, torque arm rear suspension, and their extreme tunnel cover kit installed.
The Speedtech tunnel cover kit allows for a larger aftermarket manual transmission within the Camaro’s transmission tunnel and provides more drivetrain clearances with lower suspension heights.
The rear of the kit boxes over the rear subframe for a solid connection. LeClair notes that the frame connectors are installed within 1/4-inch from the front subframe and that many customers tie the front together.
“Tackling a project like this gives our technicians every opportunity to double-check our design and instructions,” explains LeClair. “While going through the installation, we check our current products and are always looking to develop new ideas. We ask our technicians to use the instructions to the letter — even though they helped us create them. This allows us to explore any opportunity to improve the instructions to make them more understandable.”
“It’s a nice system,” LeClair says. He provides an amendment they recently made to the instructions. “That is how we learned of some of the problems with some reproduction floor pans. We found some do not offer certain measuring points as perfectly square. Our technicians stopped their current project and revised the details in our instructions to properly bypass those problem measurements and continue cutting the floor at the precise points.”
The Camaro crossmember also provides a connector across the transmission tunnel area that allows for a Speedtech Torque Arm front pinion mount. Even if you are not using their torque arm suspension kit, it doubles as a driveshaft safety loop.
LeClair also stresses to customers, “Before making any final cut or weld, you can always call us if something is not understandable or there is a possibility that your car is slightly different when measuring. Previously repaired panels may have you running into a situation different from our instructions. Feel extremely comfortable calling us. We like to think we offer the best customer service in the business.”
The meticulous way this subframe connector is designed illustrates what Speedtech wants to accomplish by creating products that add rigidity and suspension performance while also not hindering the aesthetics of a classic car.
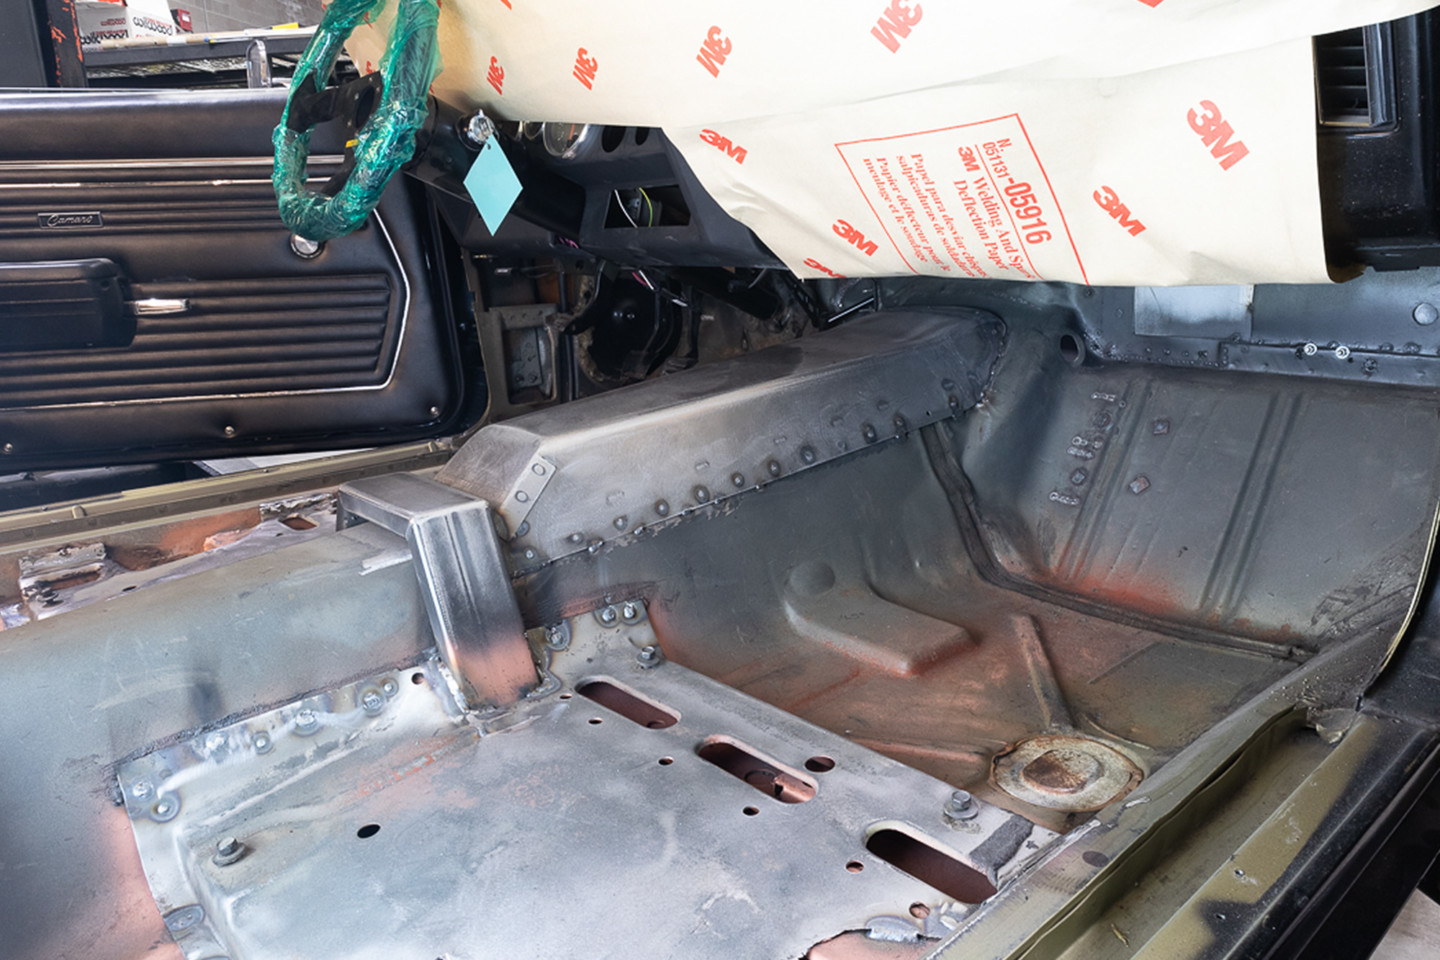
With some patience and your garage radio blaring, you can convert your Camaro/Firebird floor pan into something that can handle the horsepower and torque you throw at it.
Dig into the instructions Speedtech offers on their website for their crossmember/frame connector. You may discover that carefully following their in-depth instructions may convert you into a chassis fabricator before you know it. In addition, keep looking through their extensive online catalog, and you might find yourself being the fabricator of your own complete corner-carving first-generation Camaro.
“Many customers are quite surprised at the difference in their car after installing subframe connectors,” states LeClair. “There are usually fewer squeaks and rattles, and they notice a more solid feel while driving.”
Overall, a quality subframe-connector system is a simple upgrade that helps to create a better car and a better platform on which to build — no matter what type of fun you are looking to have. If this inexpensive upgrade can make your car great, we think it’s one that should be on everyone’s list to complete.

