It’s no secret that LS swaps have dominated the muscle car, hot rod, and resto-mod market for years, and as such, fitting that modern LS- or LT-based power plant into your ride is easier than ever. These modern engines offer all their power and performance as well as many creature comforts to those vehicles where they are planted. Thanks to Eddie Motorsports, getting your engine’s accessories to look as great as they work is simple.
The folks at Eddie Motorsports have been whittling billet into a variety of products for the automotive and marine markets for decades. The company produces everything from steering wheels to a variety of hinges, and its complete accessory drive systems are quickly becoming the industry leader. Eddie Motorsports offers V- and Serpentine belt accessory drive systems for various engines with the serpentine, LS-based kits comprising approximately one-third of the company’s sales. Eddie also offers kits for eight-rib and Gen-4 Variable Valve Timing (VVT) applications. All Eddie Motorsports drive units are designed to be used with an electric cooling fan(s) and will not facilitate a mechanical fan to cool the engine.
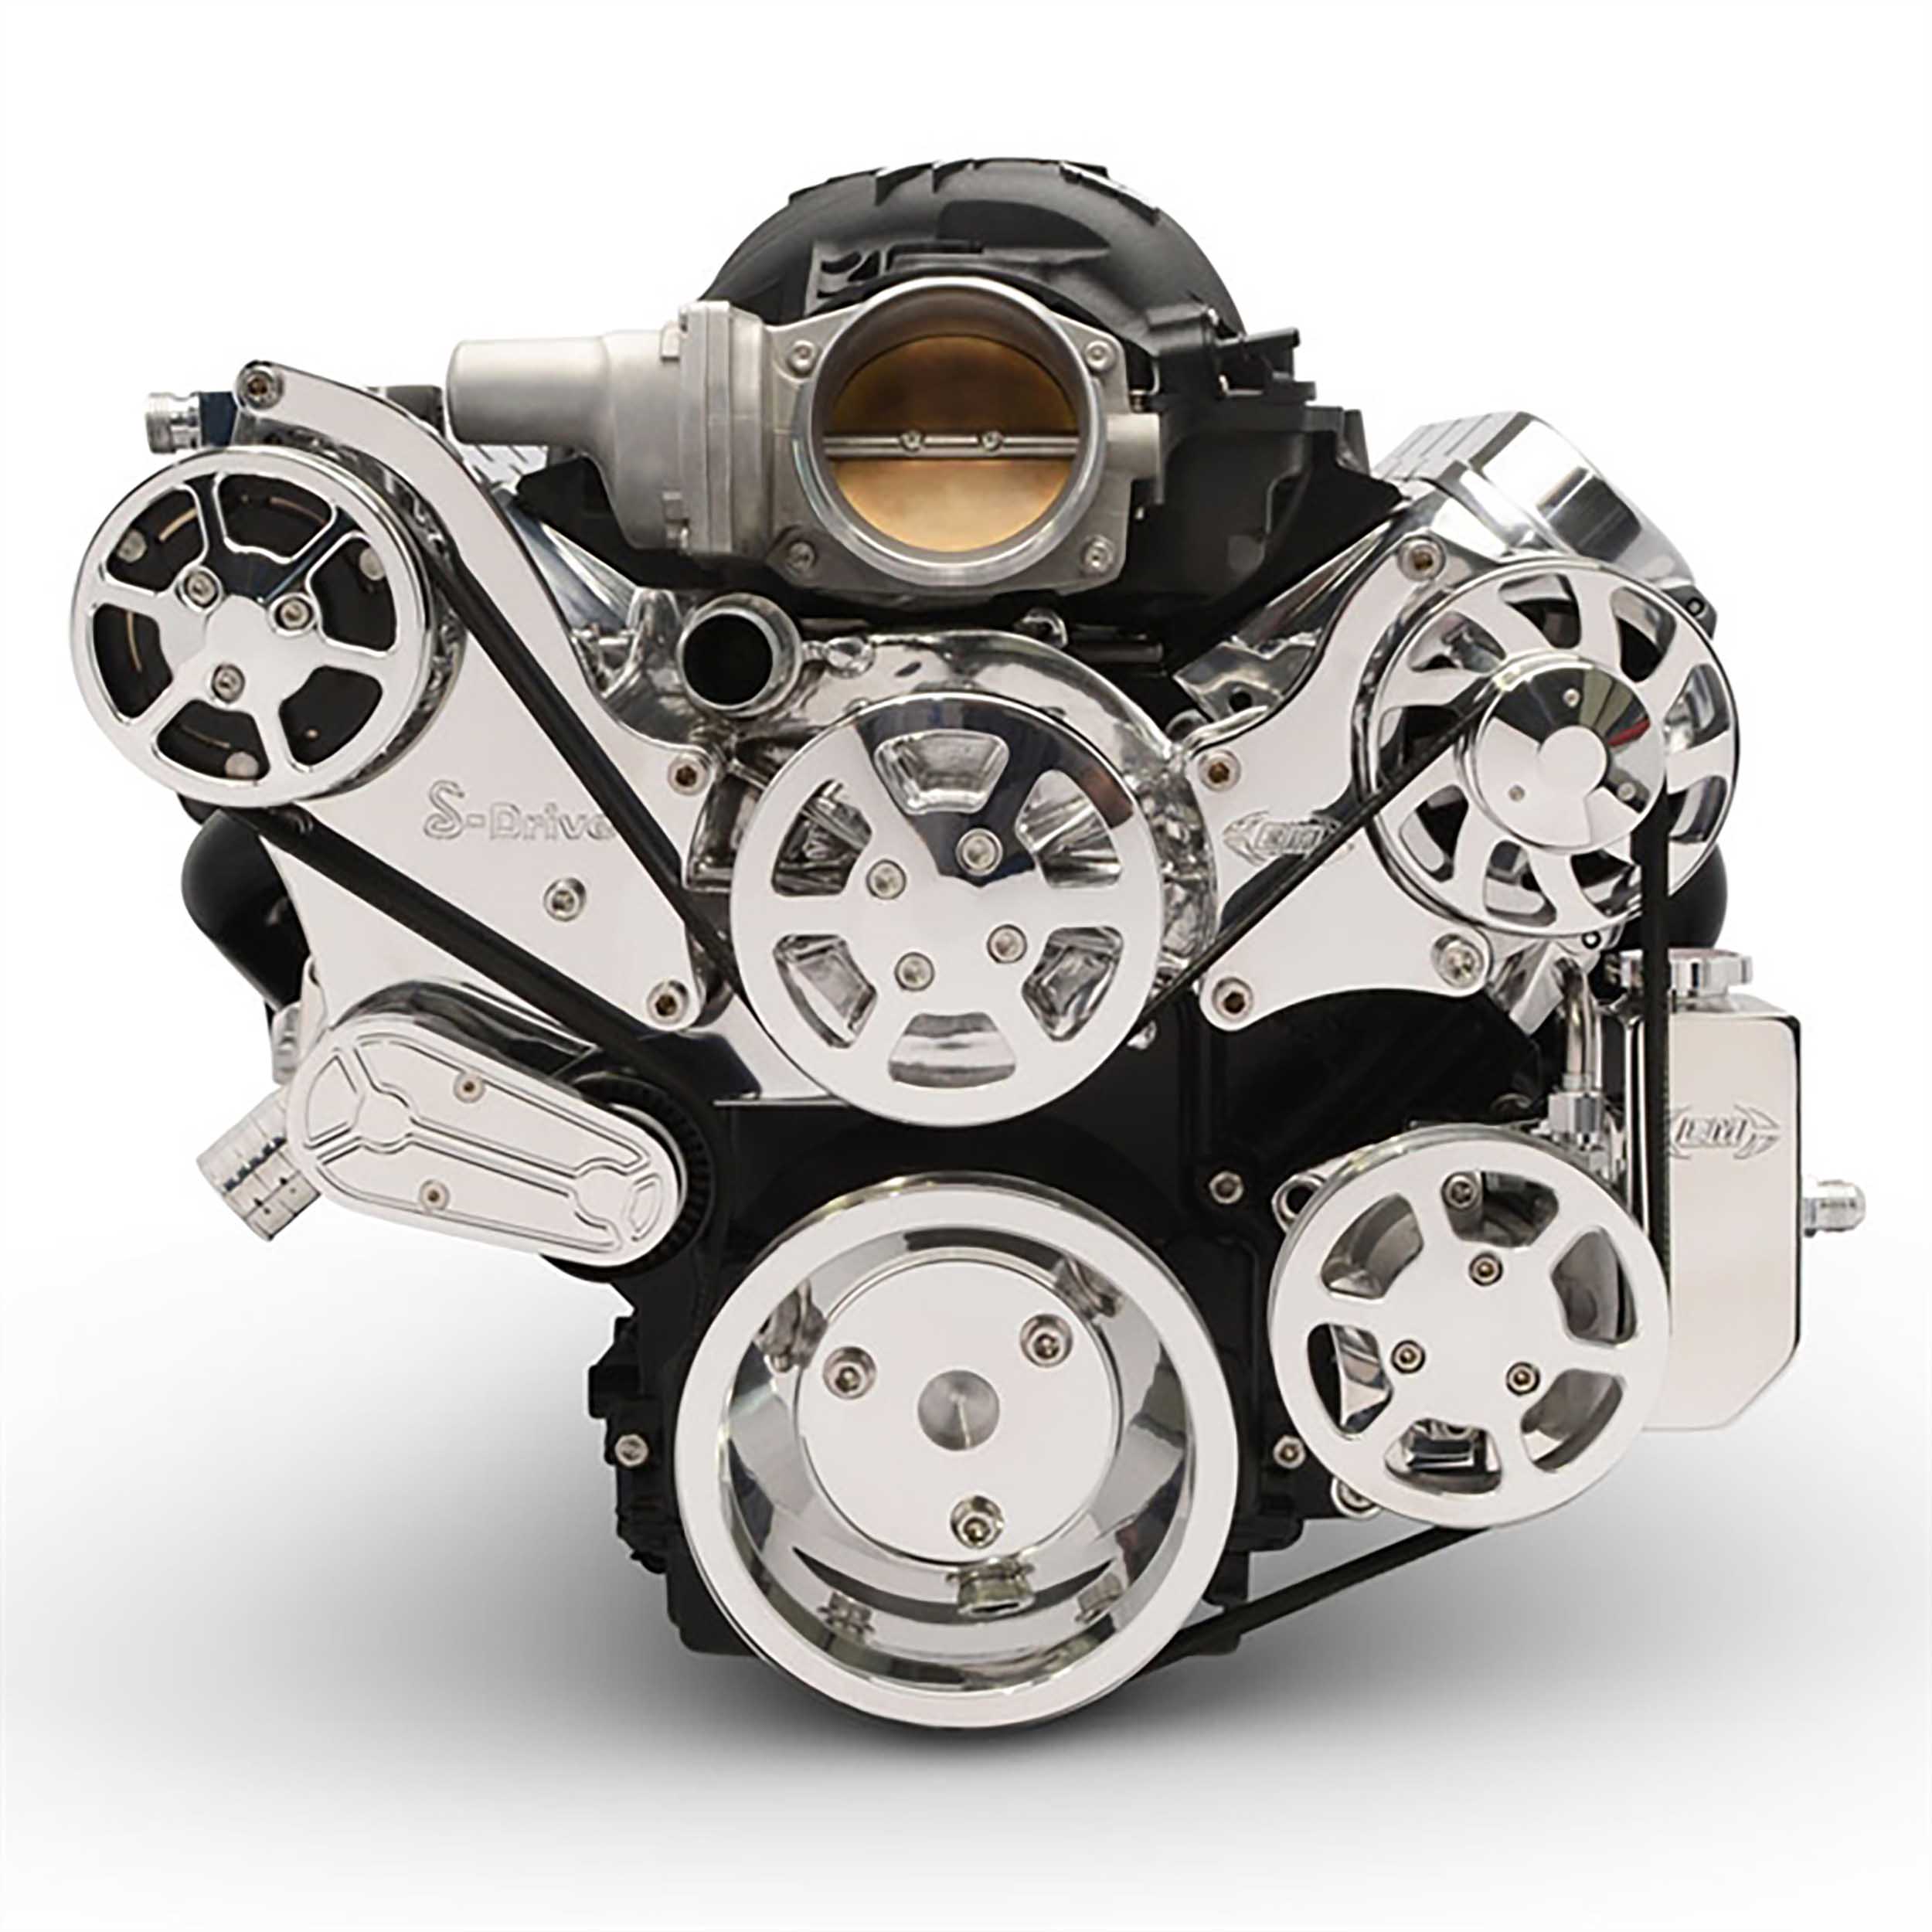
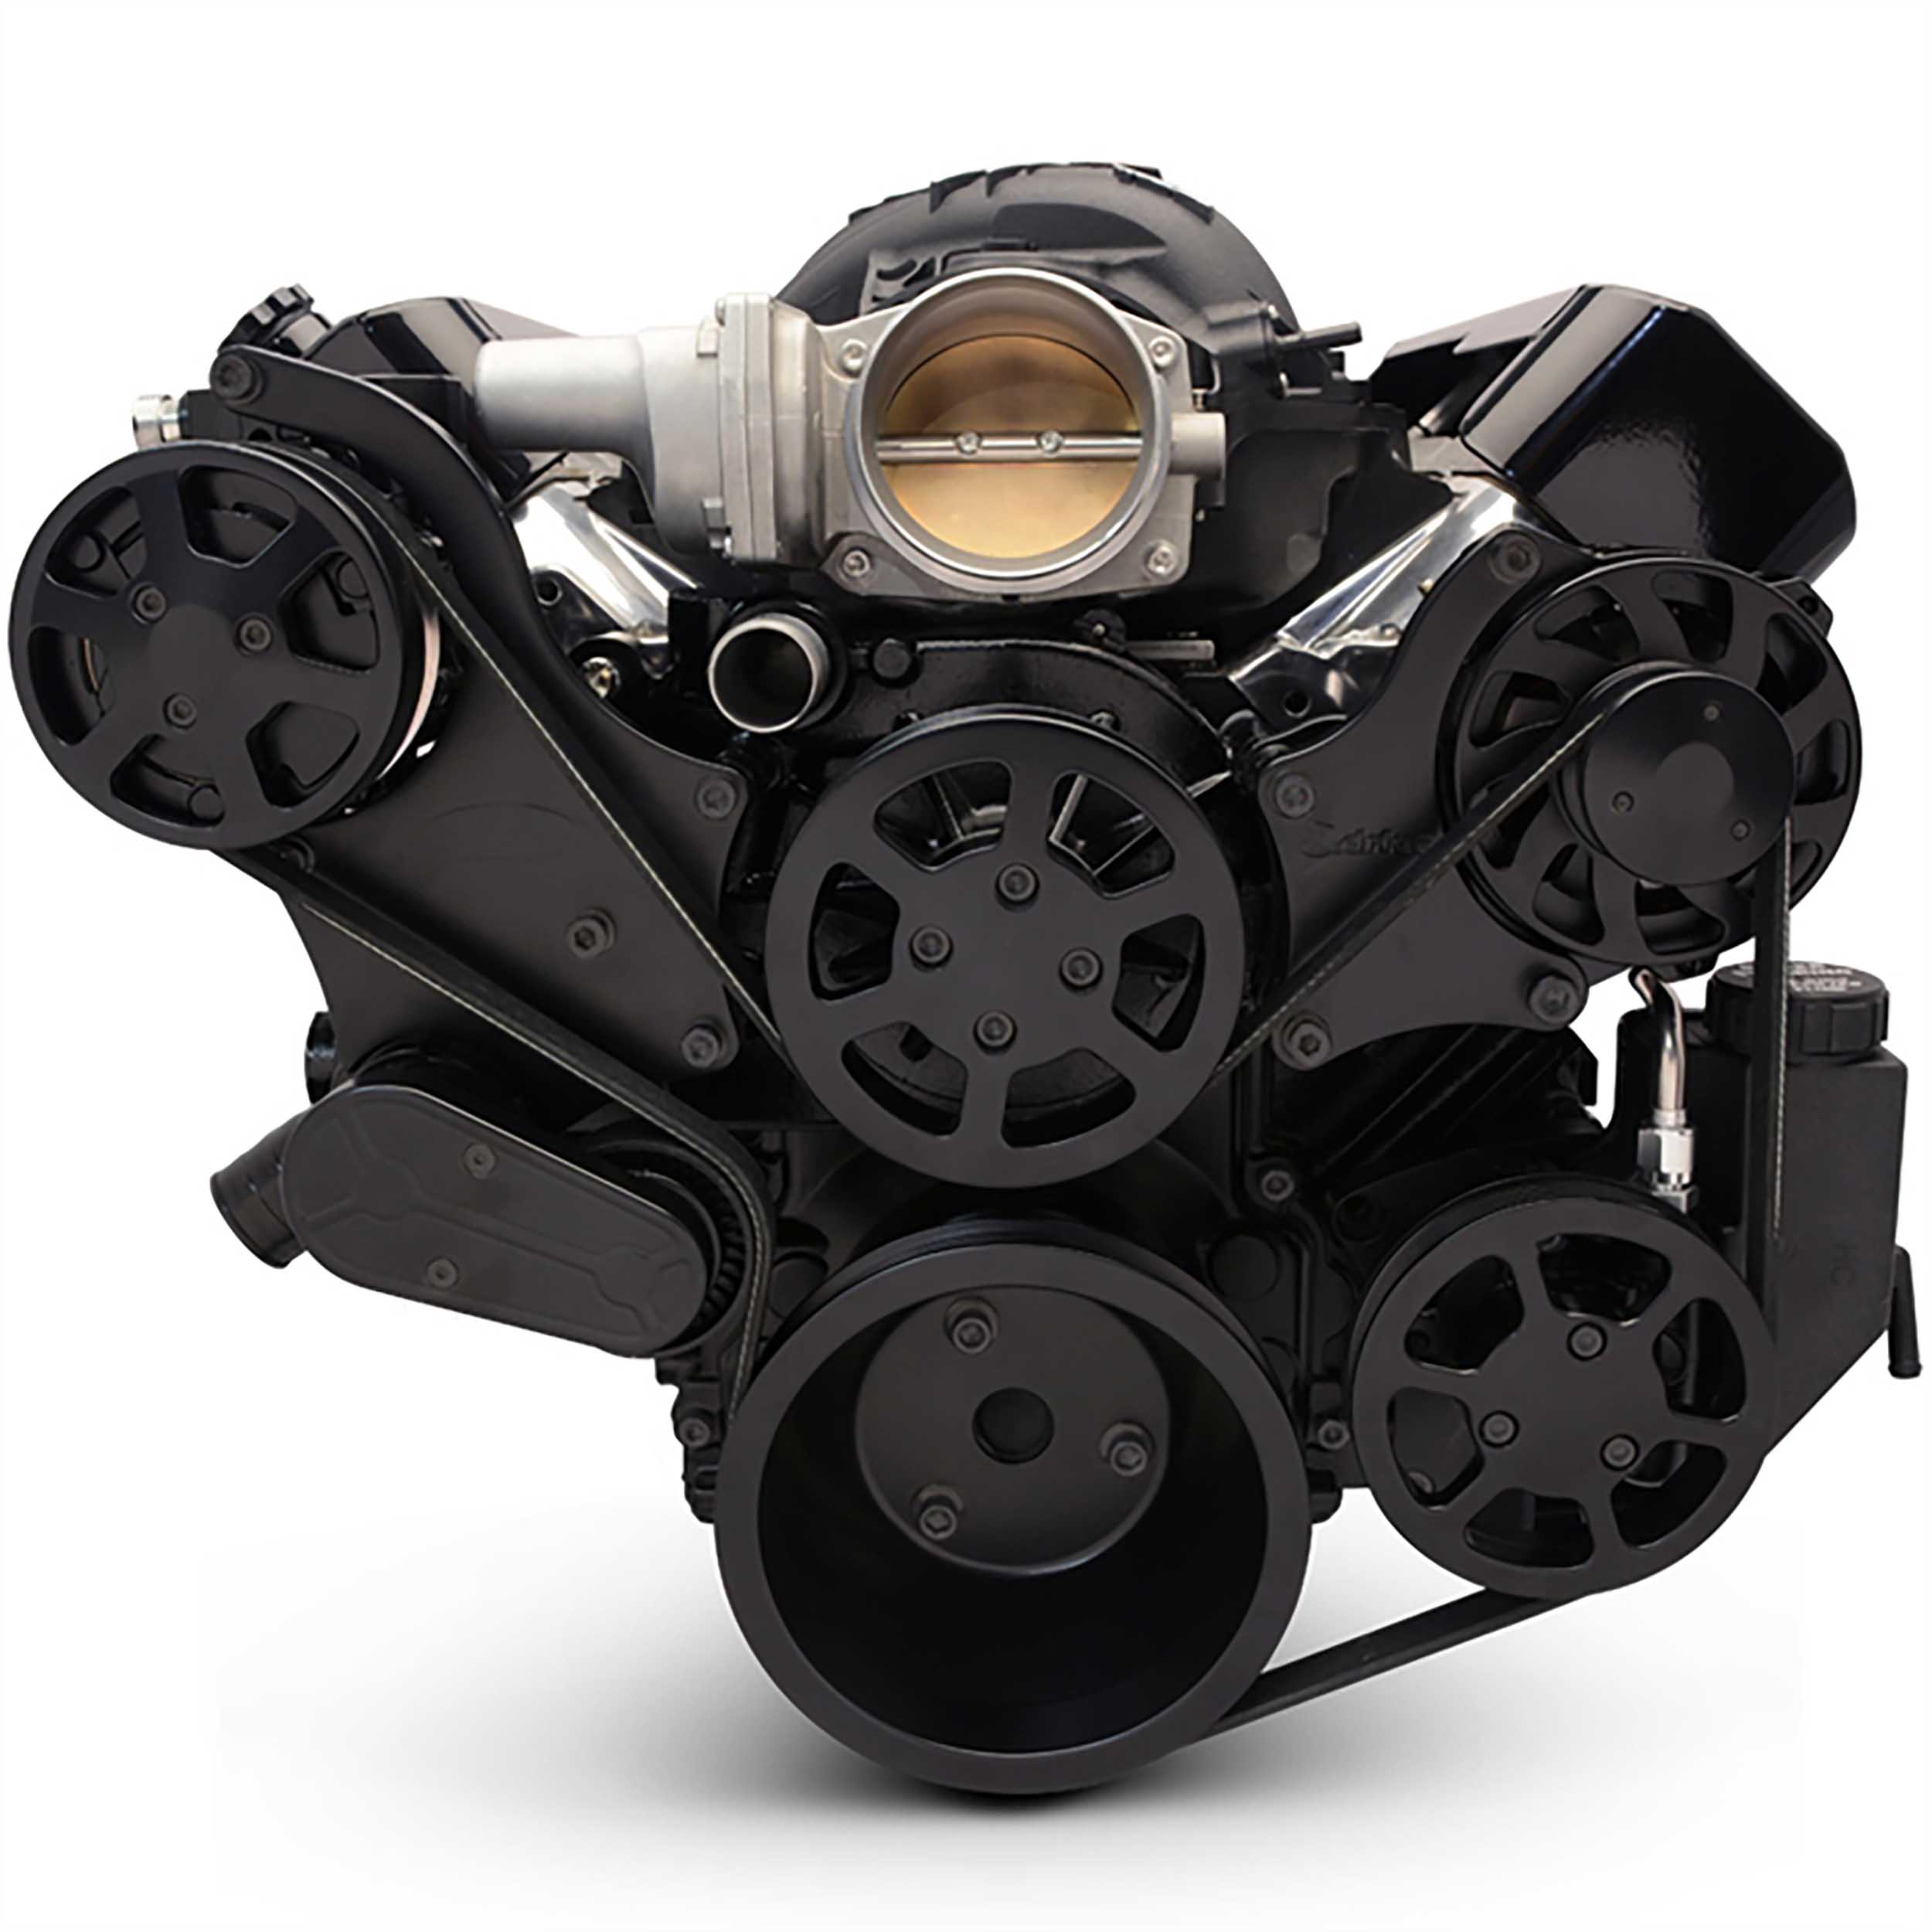
Eddie offers raw machined finishes as well as various gloss or matte black finishes. They also have accessory drive systems for LS engines using a Magnuson supercharger!
We contacted Eddie Motorsports for the accessory drive for one of our project cars because we’re looking for a compact, all-inclusive assembly that will serve us with years of reliability. All Eddie Motorsports products are manufactured in-house at their state-of-the-art facility in Southern California which gives them unprecedented control in regard to their product and the ability to create an accessory drive system to your specific preferences.
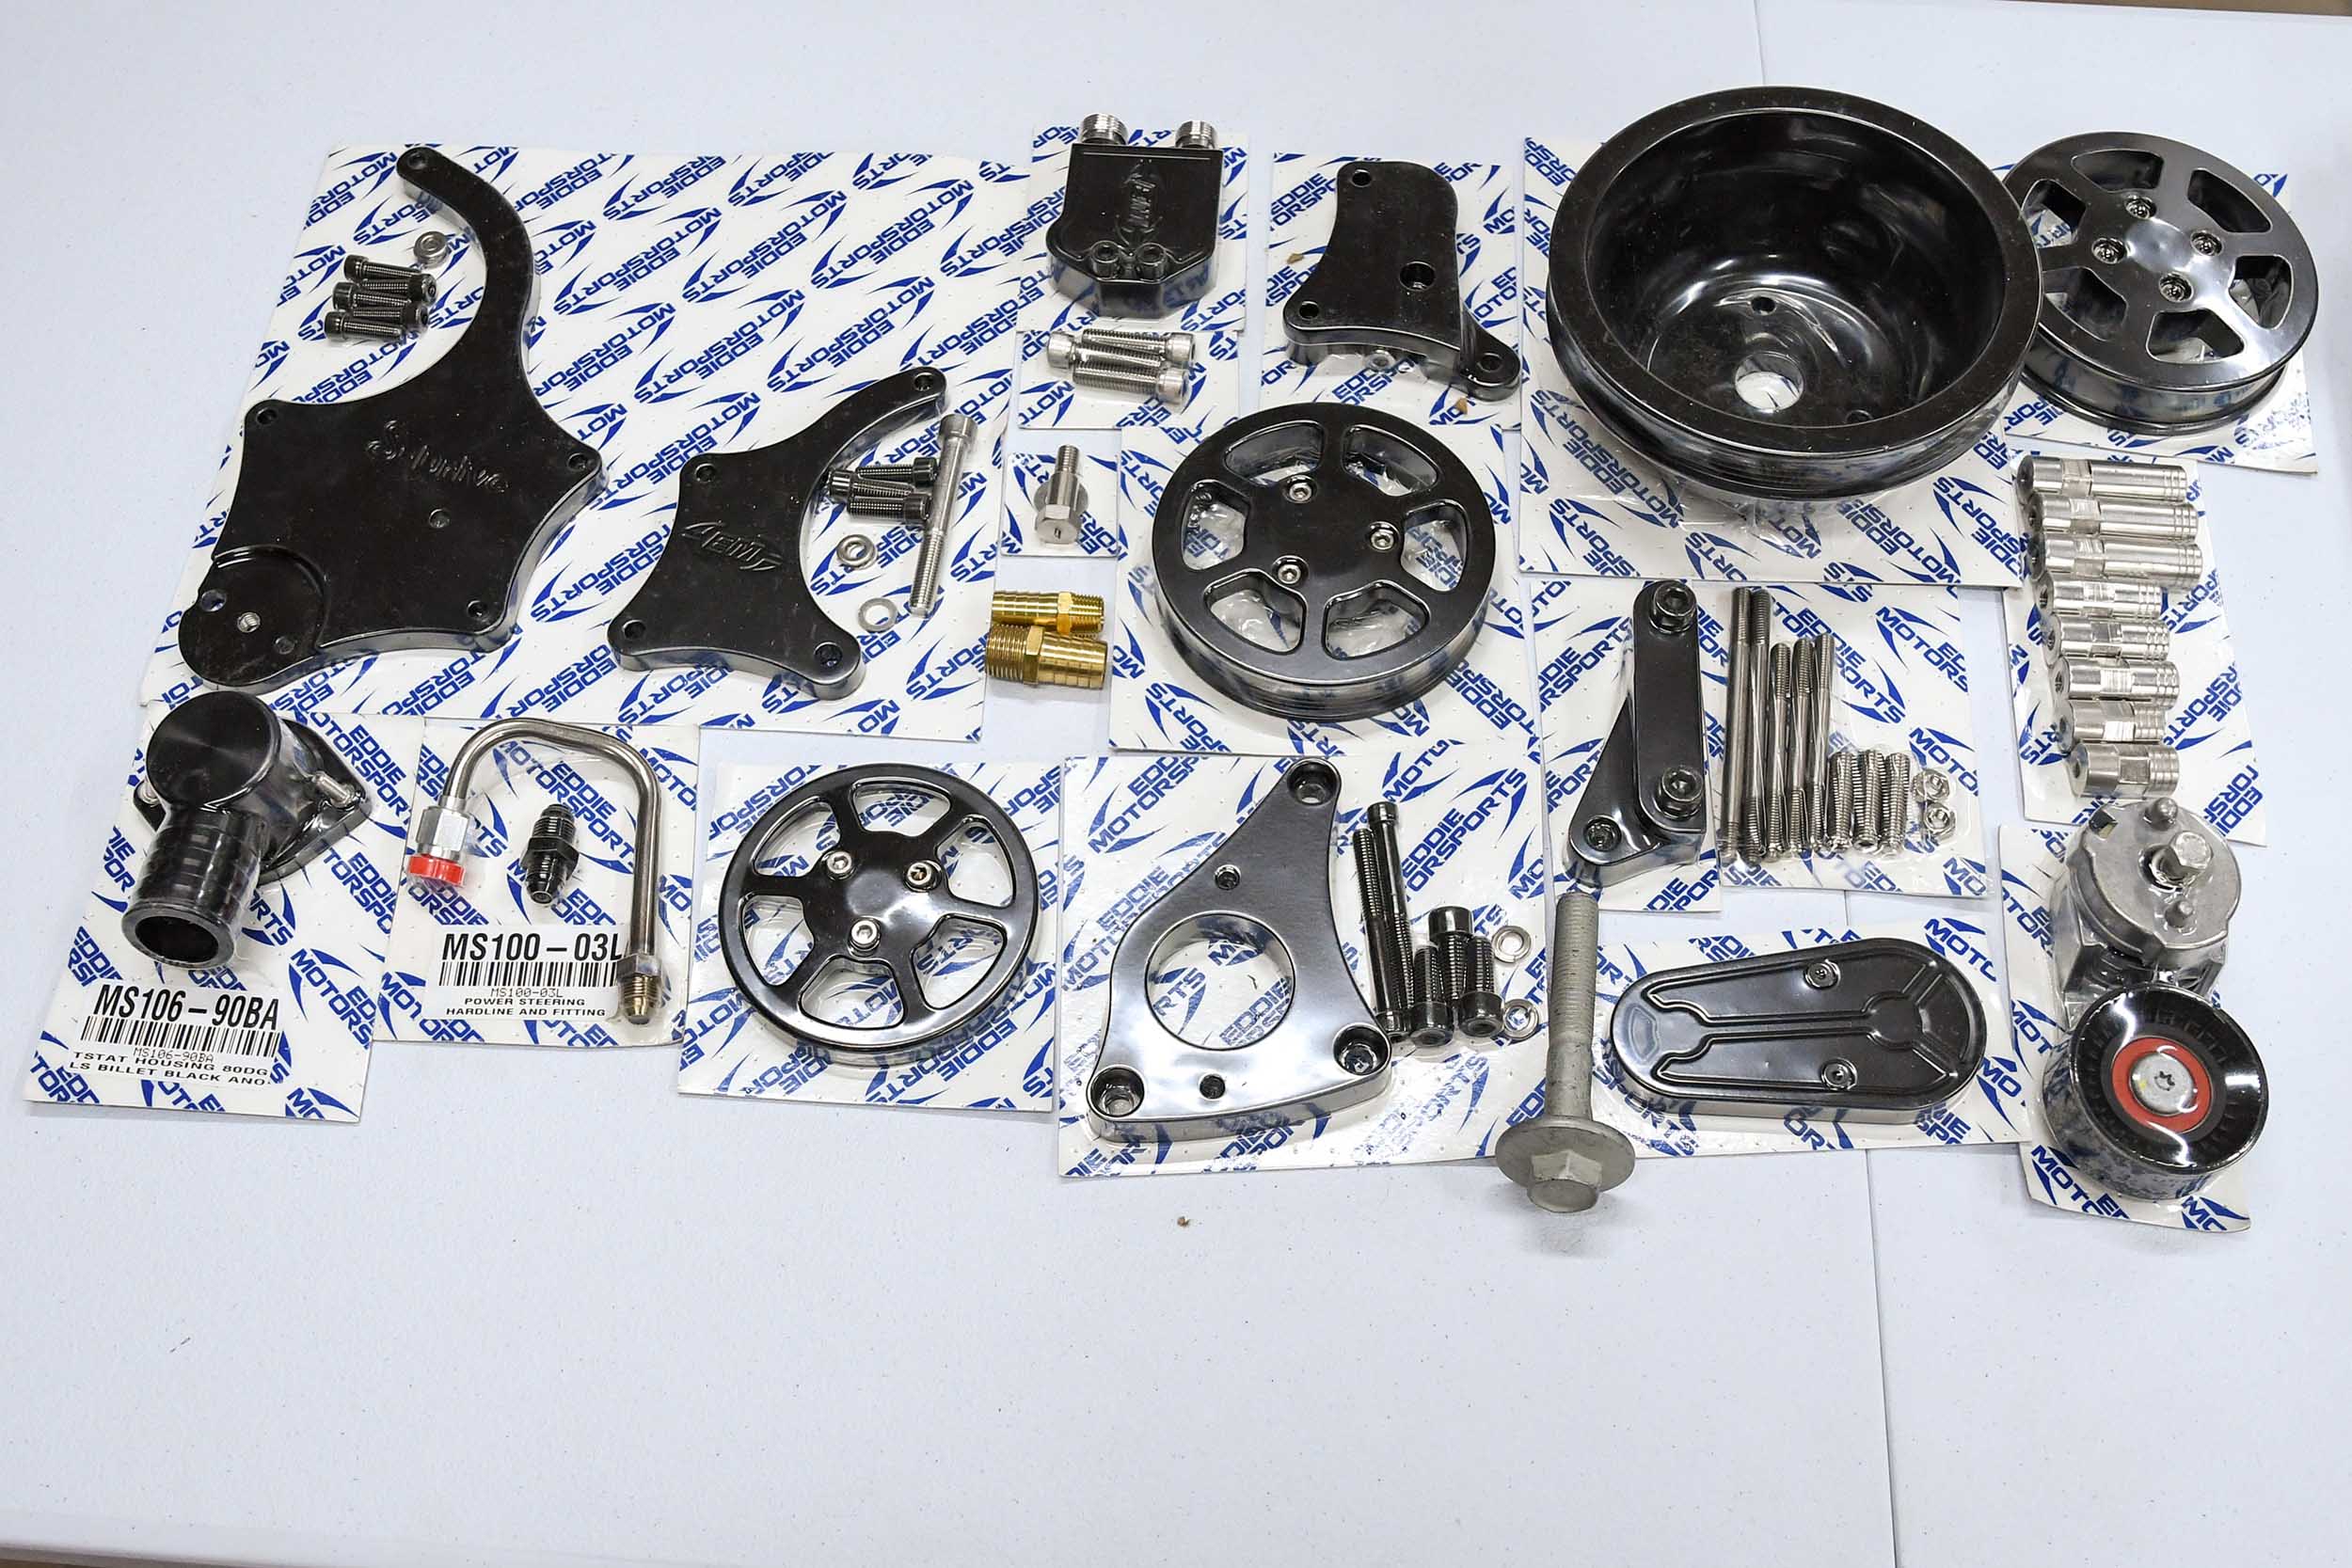
Kits come complete with all of the necessary precision-CNC-machined billet aluminum brackets, pulleys, and high-quality components. Everything we needed came in two boxes and included the hardware required for the installation.
Parts are machined in batches and then sent to Eddie’s in-house finishing department for polishing, anodizing, or Eddie’s proprietary coating, known as Fusioncoat. Customers can also order their kits in several configurations, such as with or without A/C, with or without power steering, a power steering reservoir of plastic, billet aluminum, or a remote-style reservoir.
Installing Accessories To The LS Engine
Since LS- and LT-based engines provide excellent power and drivability, as well as many creature comforts such as power steering and air conditioning, we wanted to keep all these benefits. And since the Eddie Motorsports kit delivers a package that is even more compact and much better looking than the OEM system, the choice was a no-brainer.
We began by removing everything from the front of our engine. This is a good time to do any necessary cleanup so you don’t taint your new components with greasy fingers. Eddie Motorsports has complete installation instructions to help lead you through the entire installation.
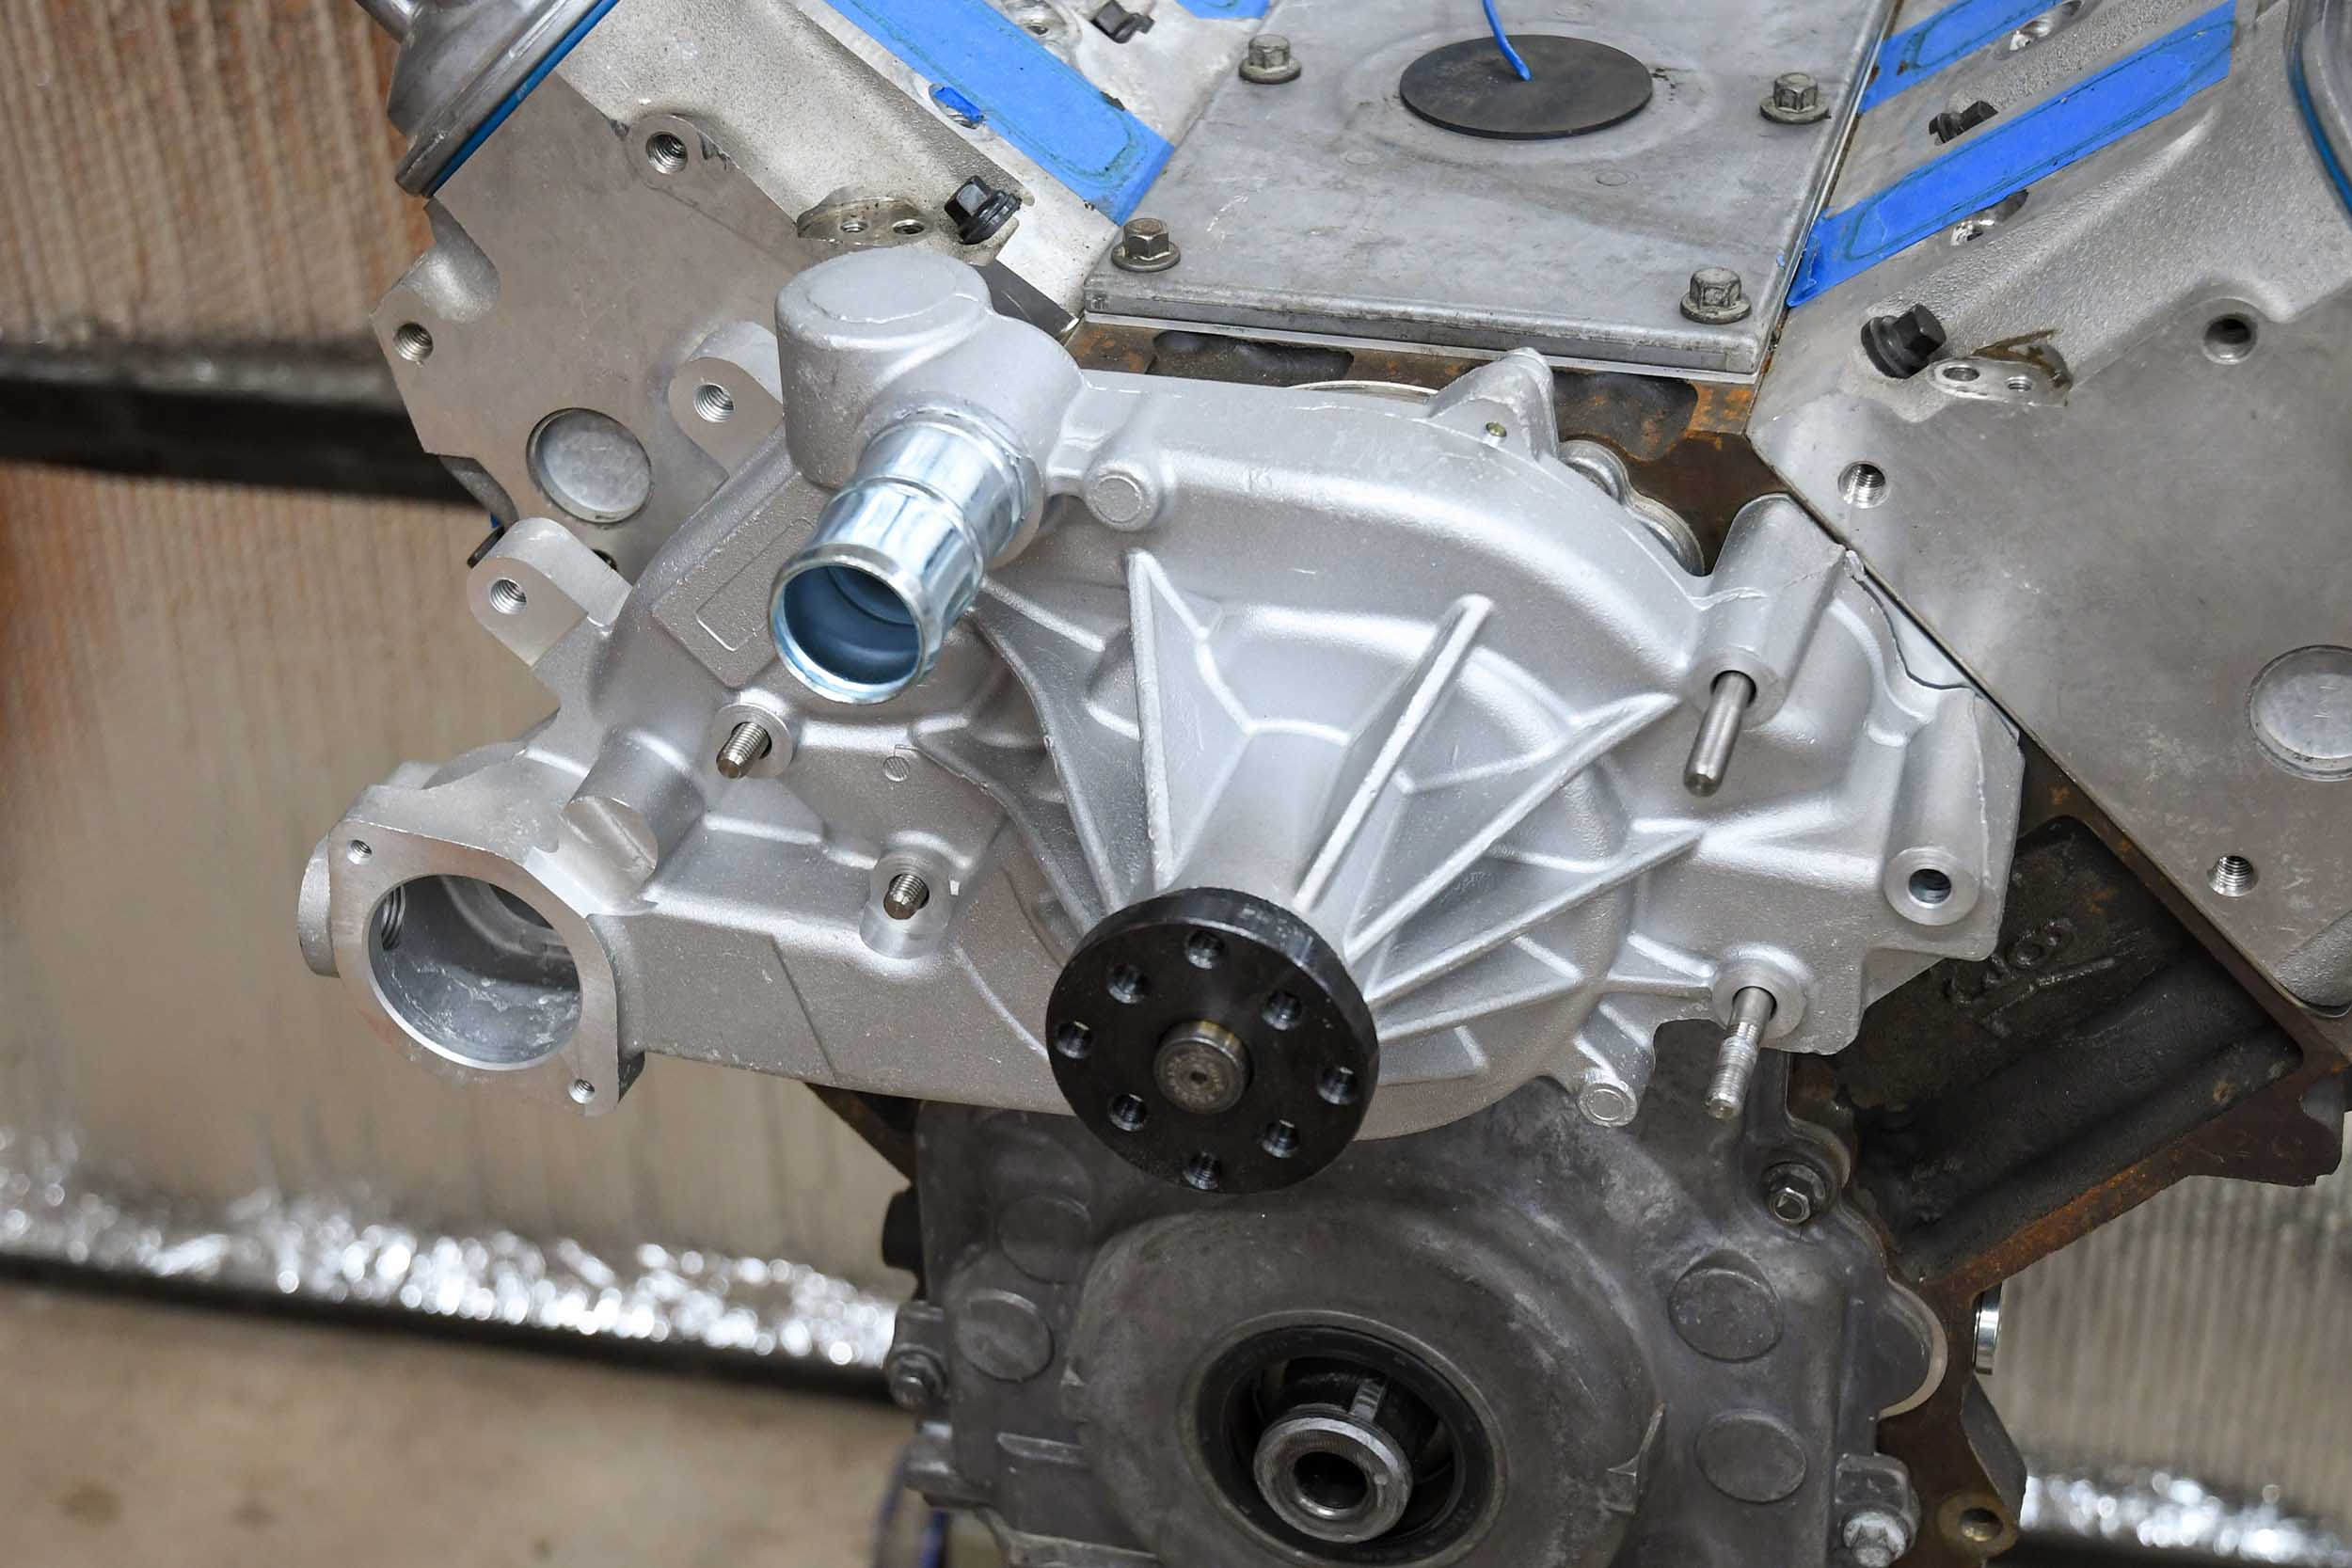
Pay attention to the directions as there are specific length studs and places that should get either anti-seize or sealant on the threads. Spacers ensure that everything gets aligned properly and the thermostat housing is clockable to ease hose routing. Just be sure to tighten the housing before installing the A/C compressor mount.
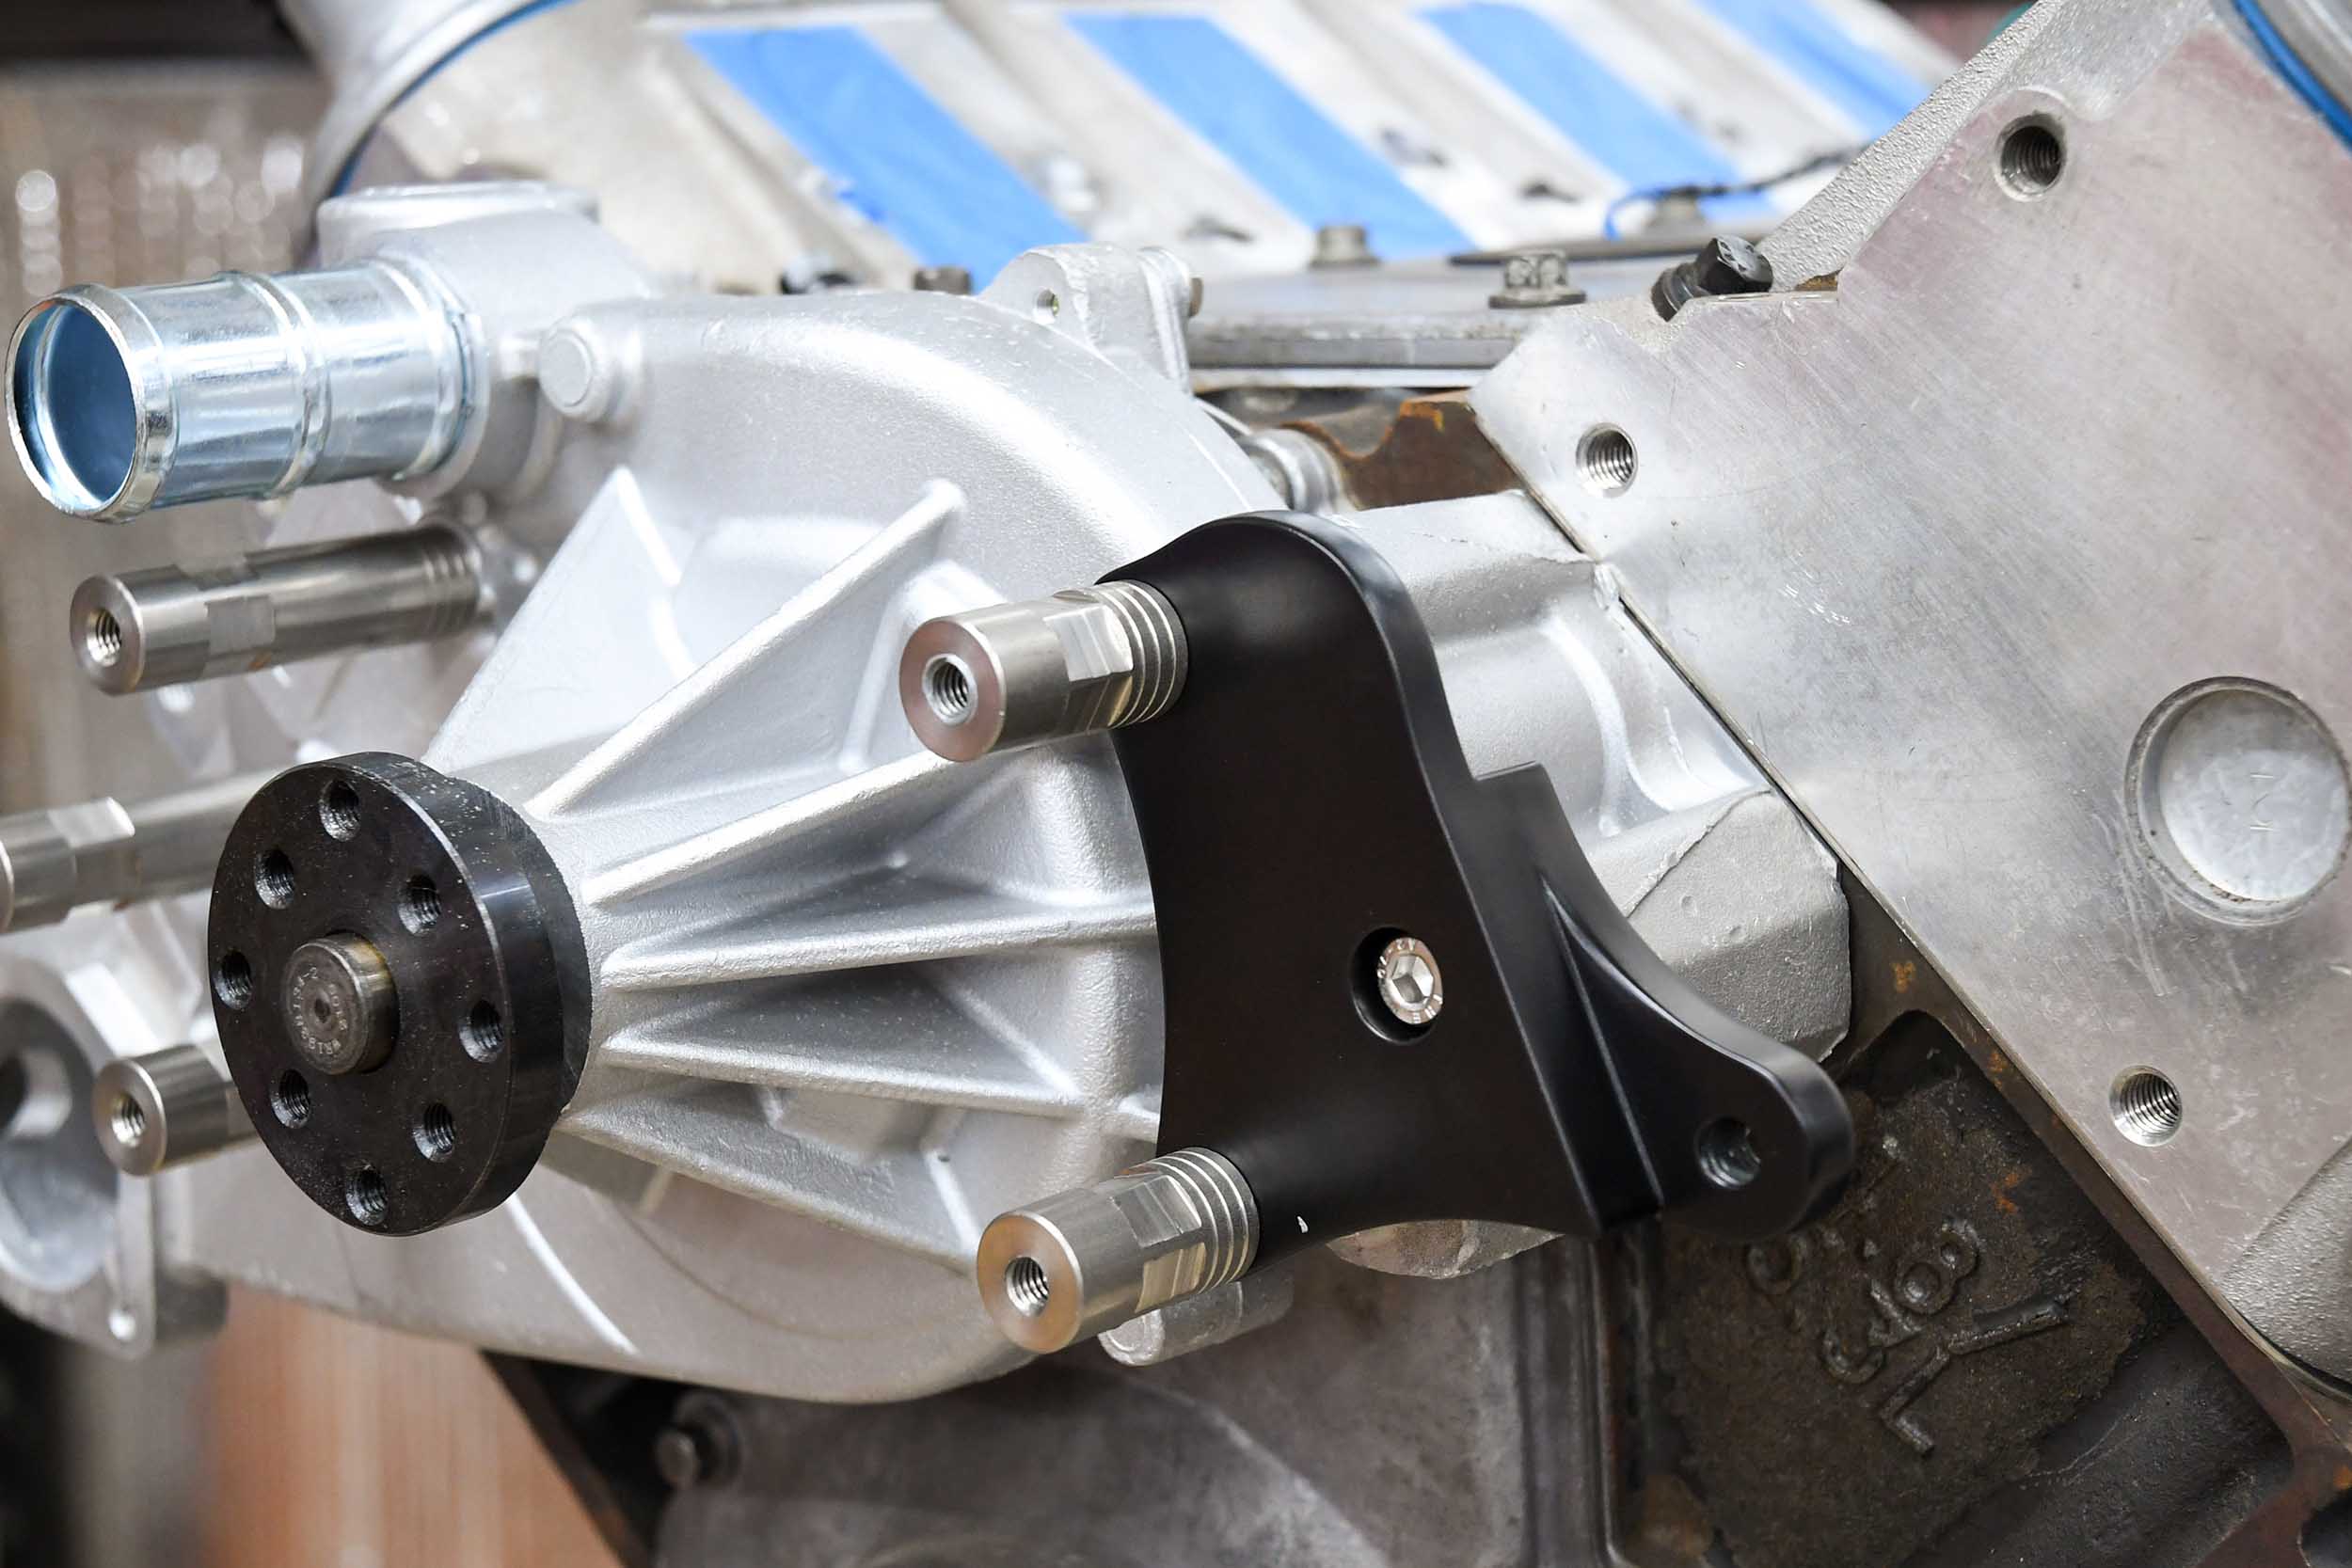
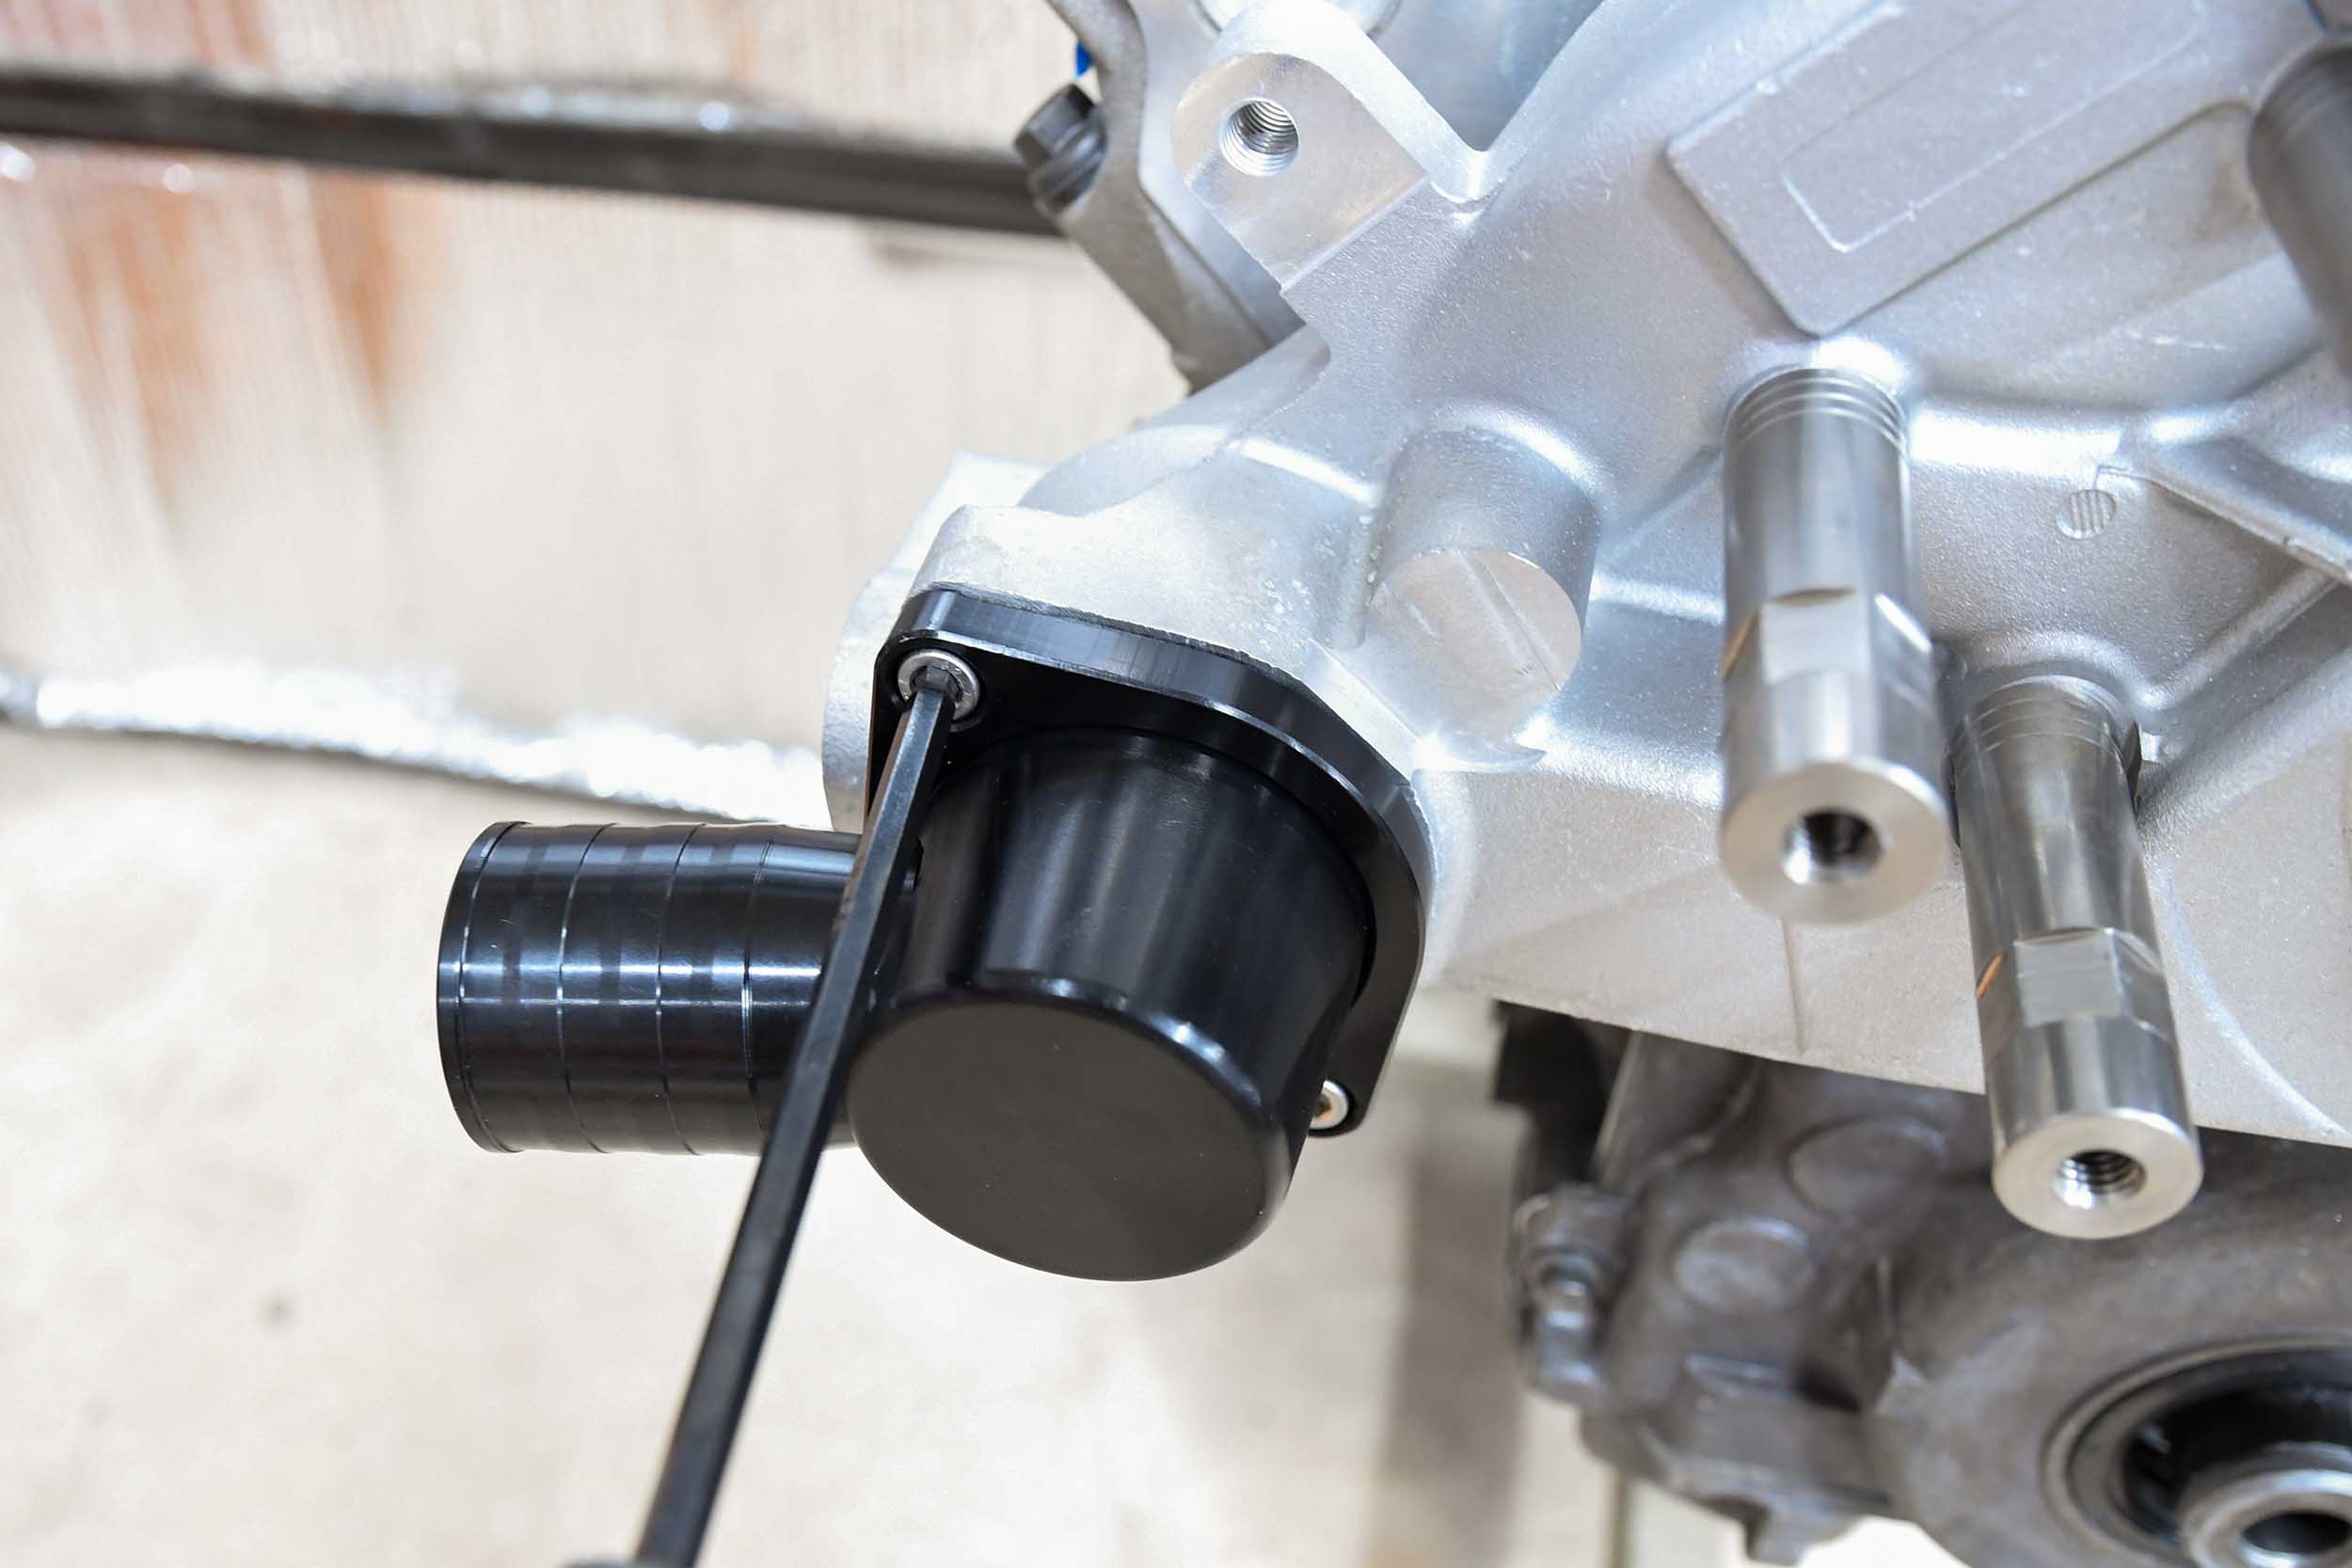
The water pump is the first to be installed. There are studs that hold the pump to the block with spacers that will serve as the mounting surface for the accessory brackets. Be sure to follow the directions and measure the studs so you get the proper size studs in the right places. The thermostat housing on the coolant inlet side is adjustable to allow for a variety of installations.
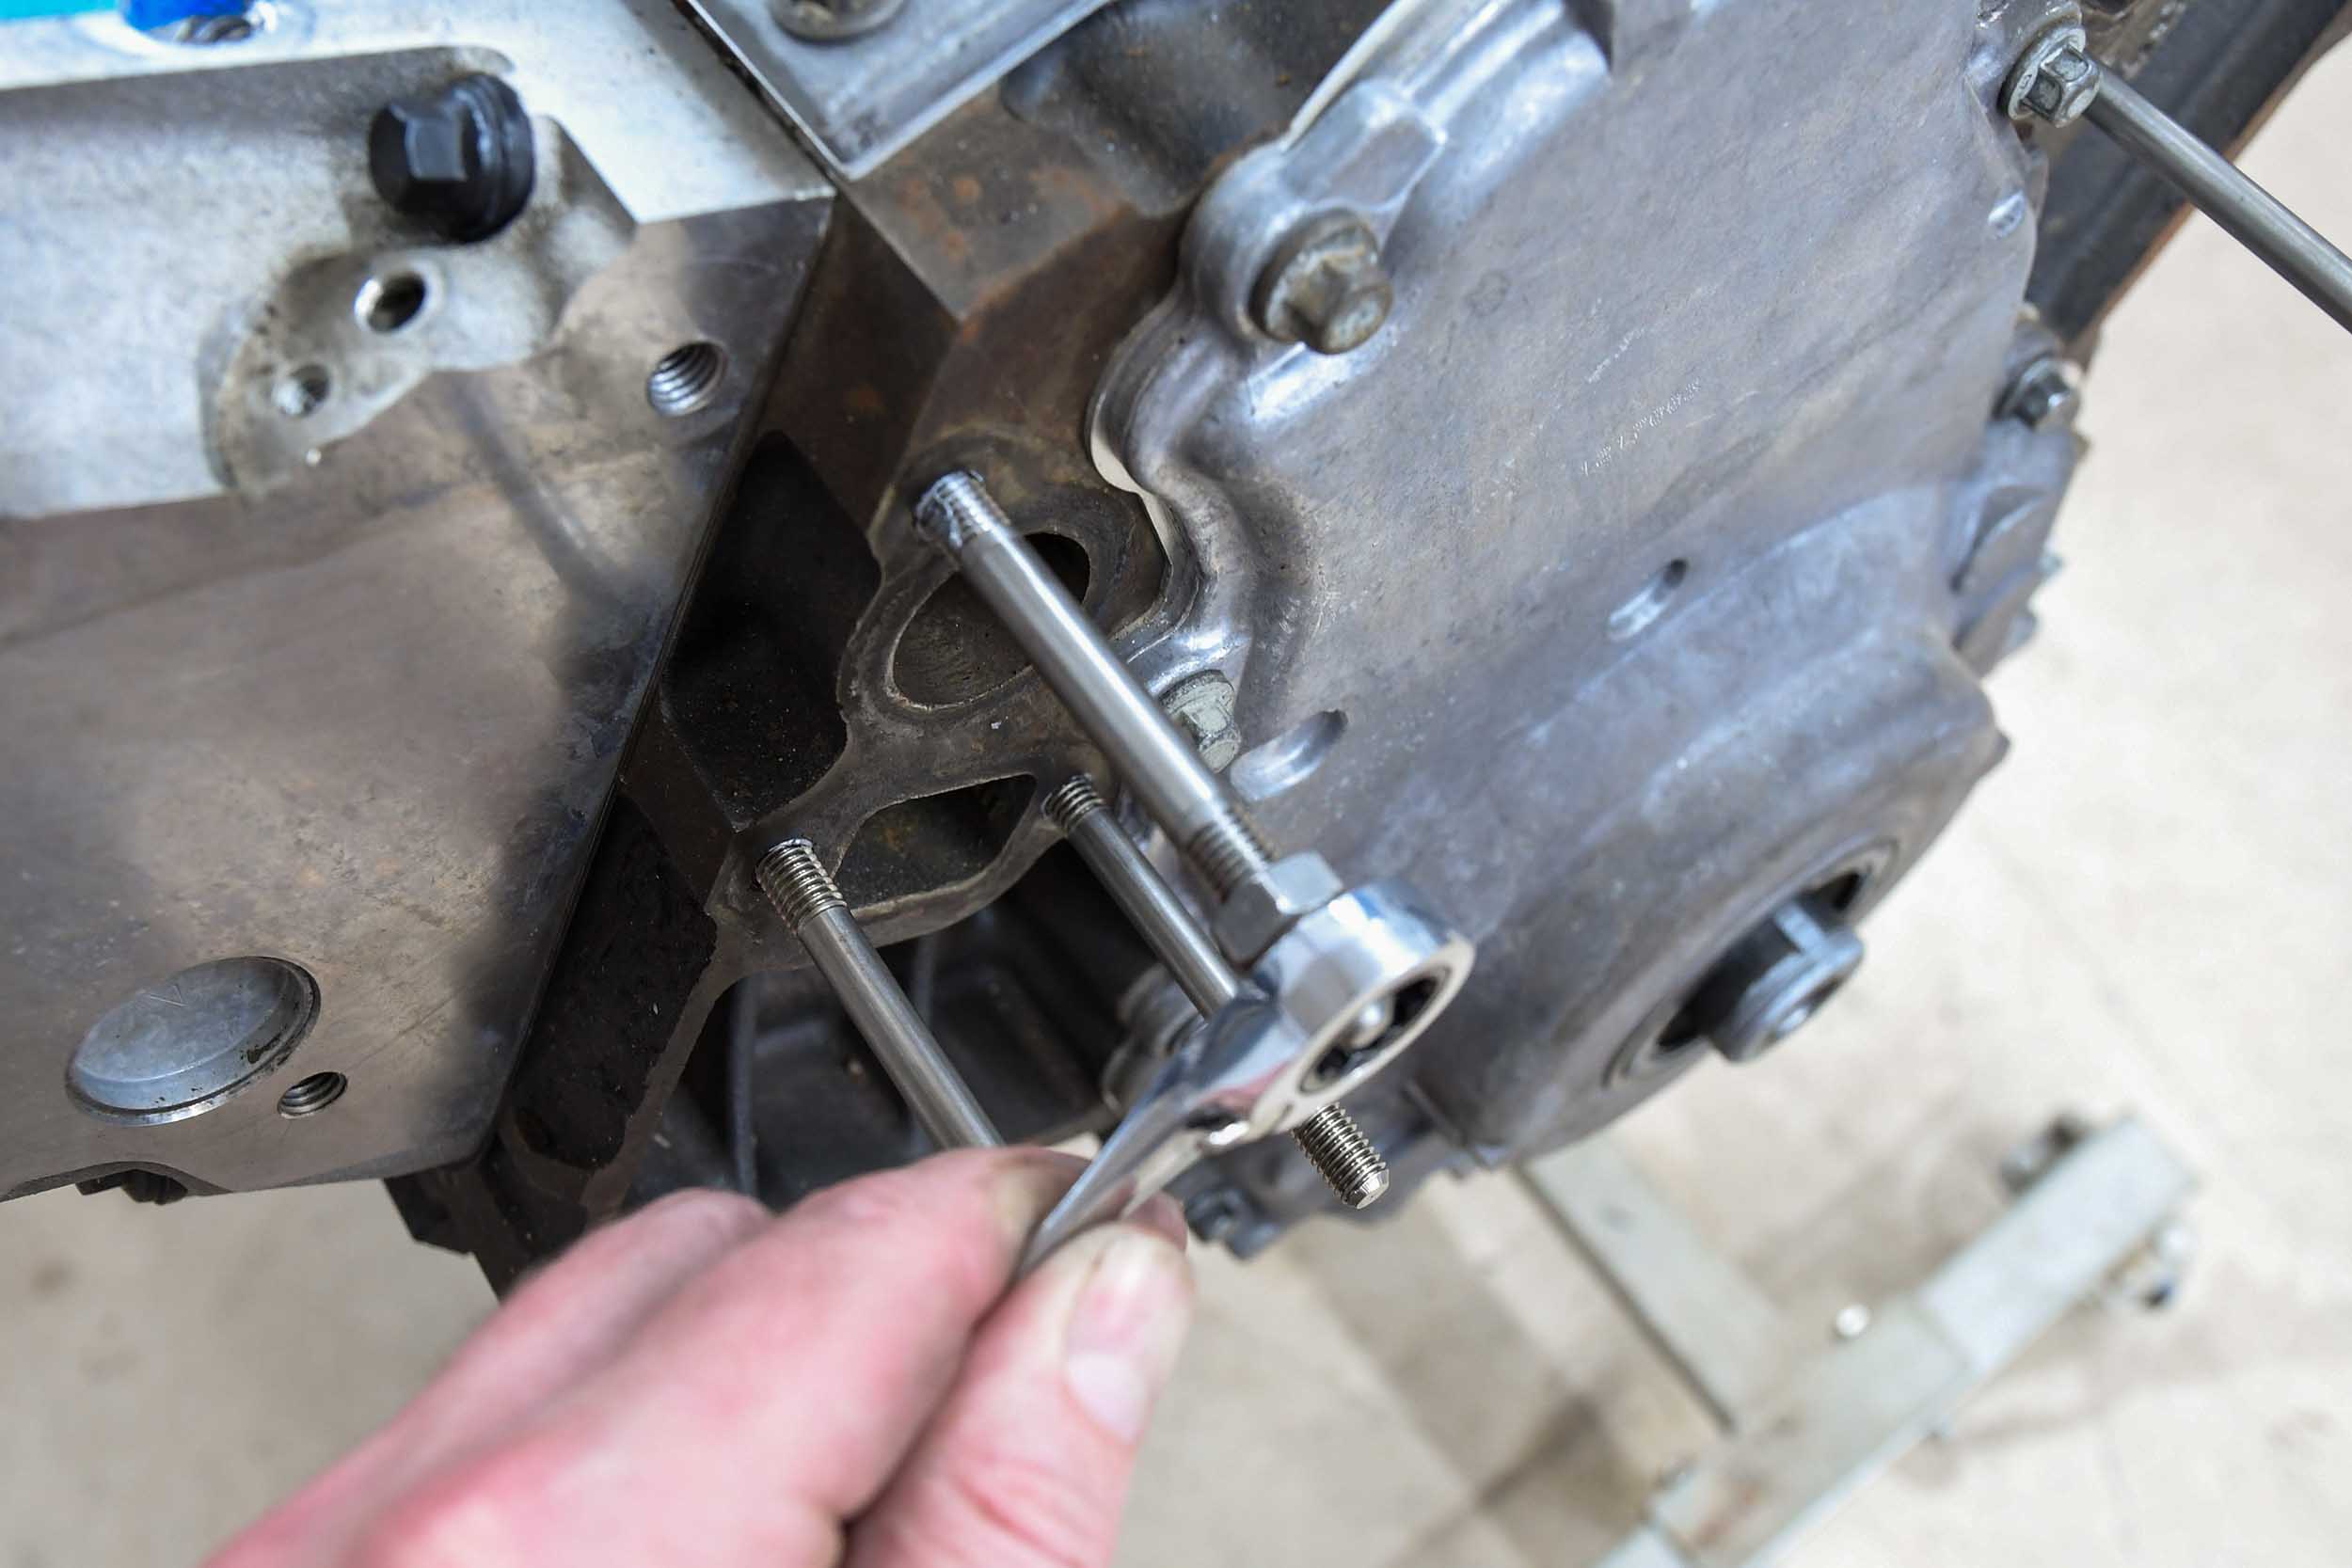
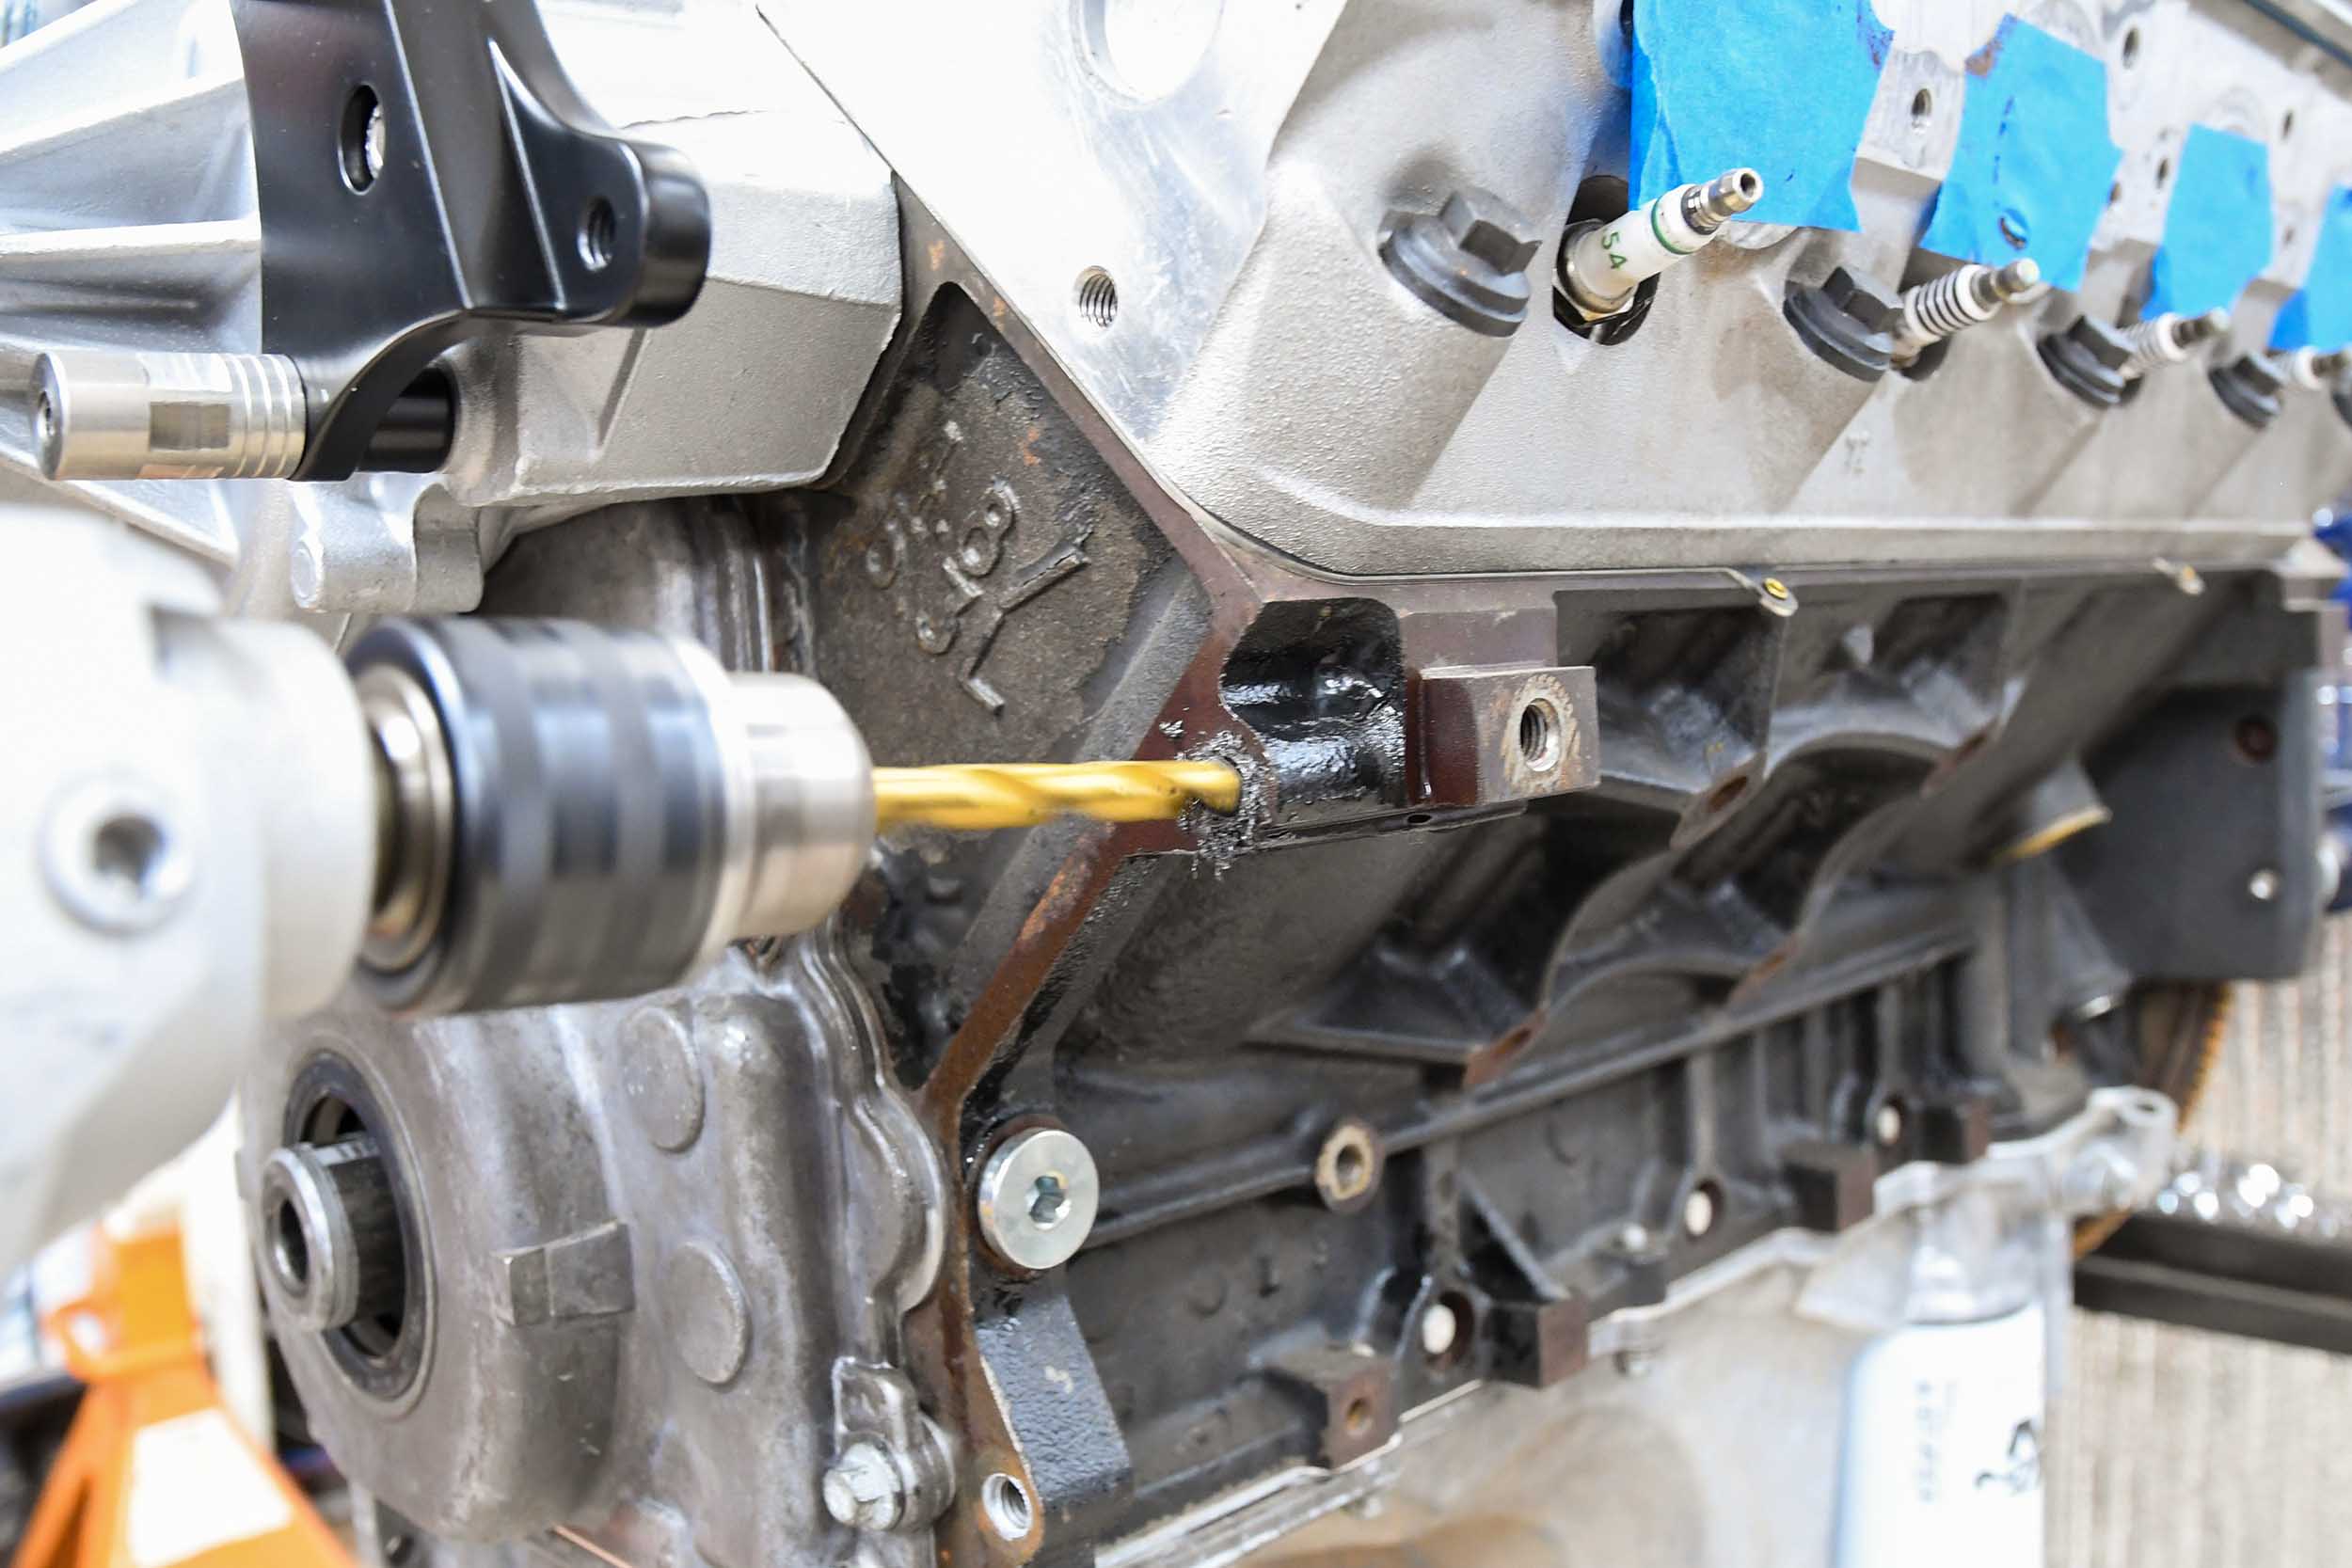
The one bit of drilling you might need to do depends on which block you have. We had an iron block from a truck and one boss for the power steering pump was not drilled. It has been our experience that the aluminum blocks used in passenger cars already have this boss drilled and tapped. We simply mounted the power steering mount directly to the block so we could mark where we needed to drill a hole 11/16-inch deep using an 8.5mm or “R” drill bit. We then cut threads using an M10 x 1.5mm tap. After that, we installed the threaded stud into our newly drilled hole.
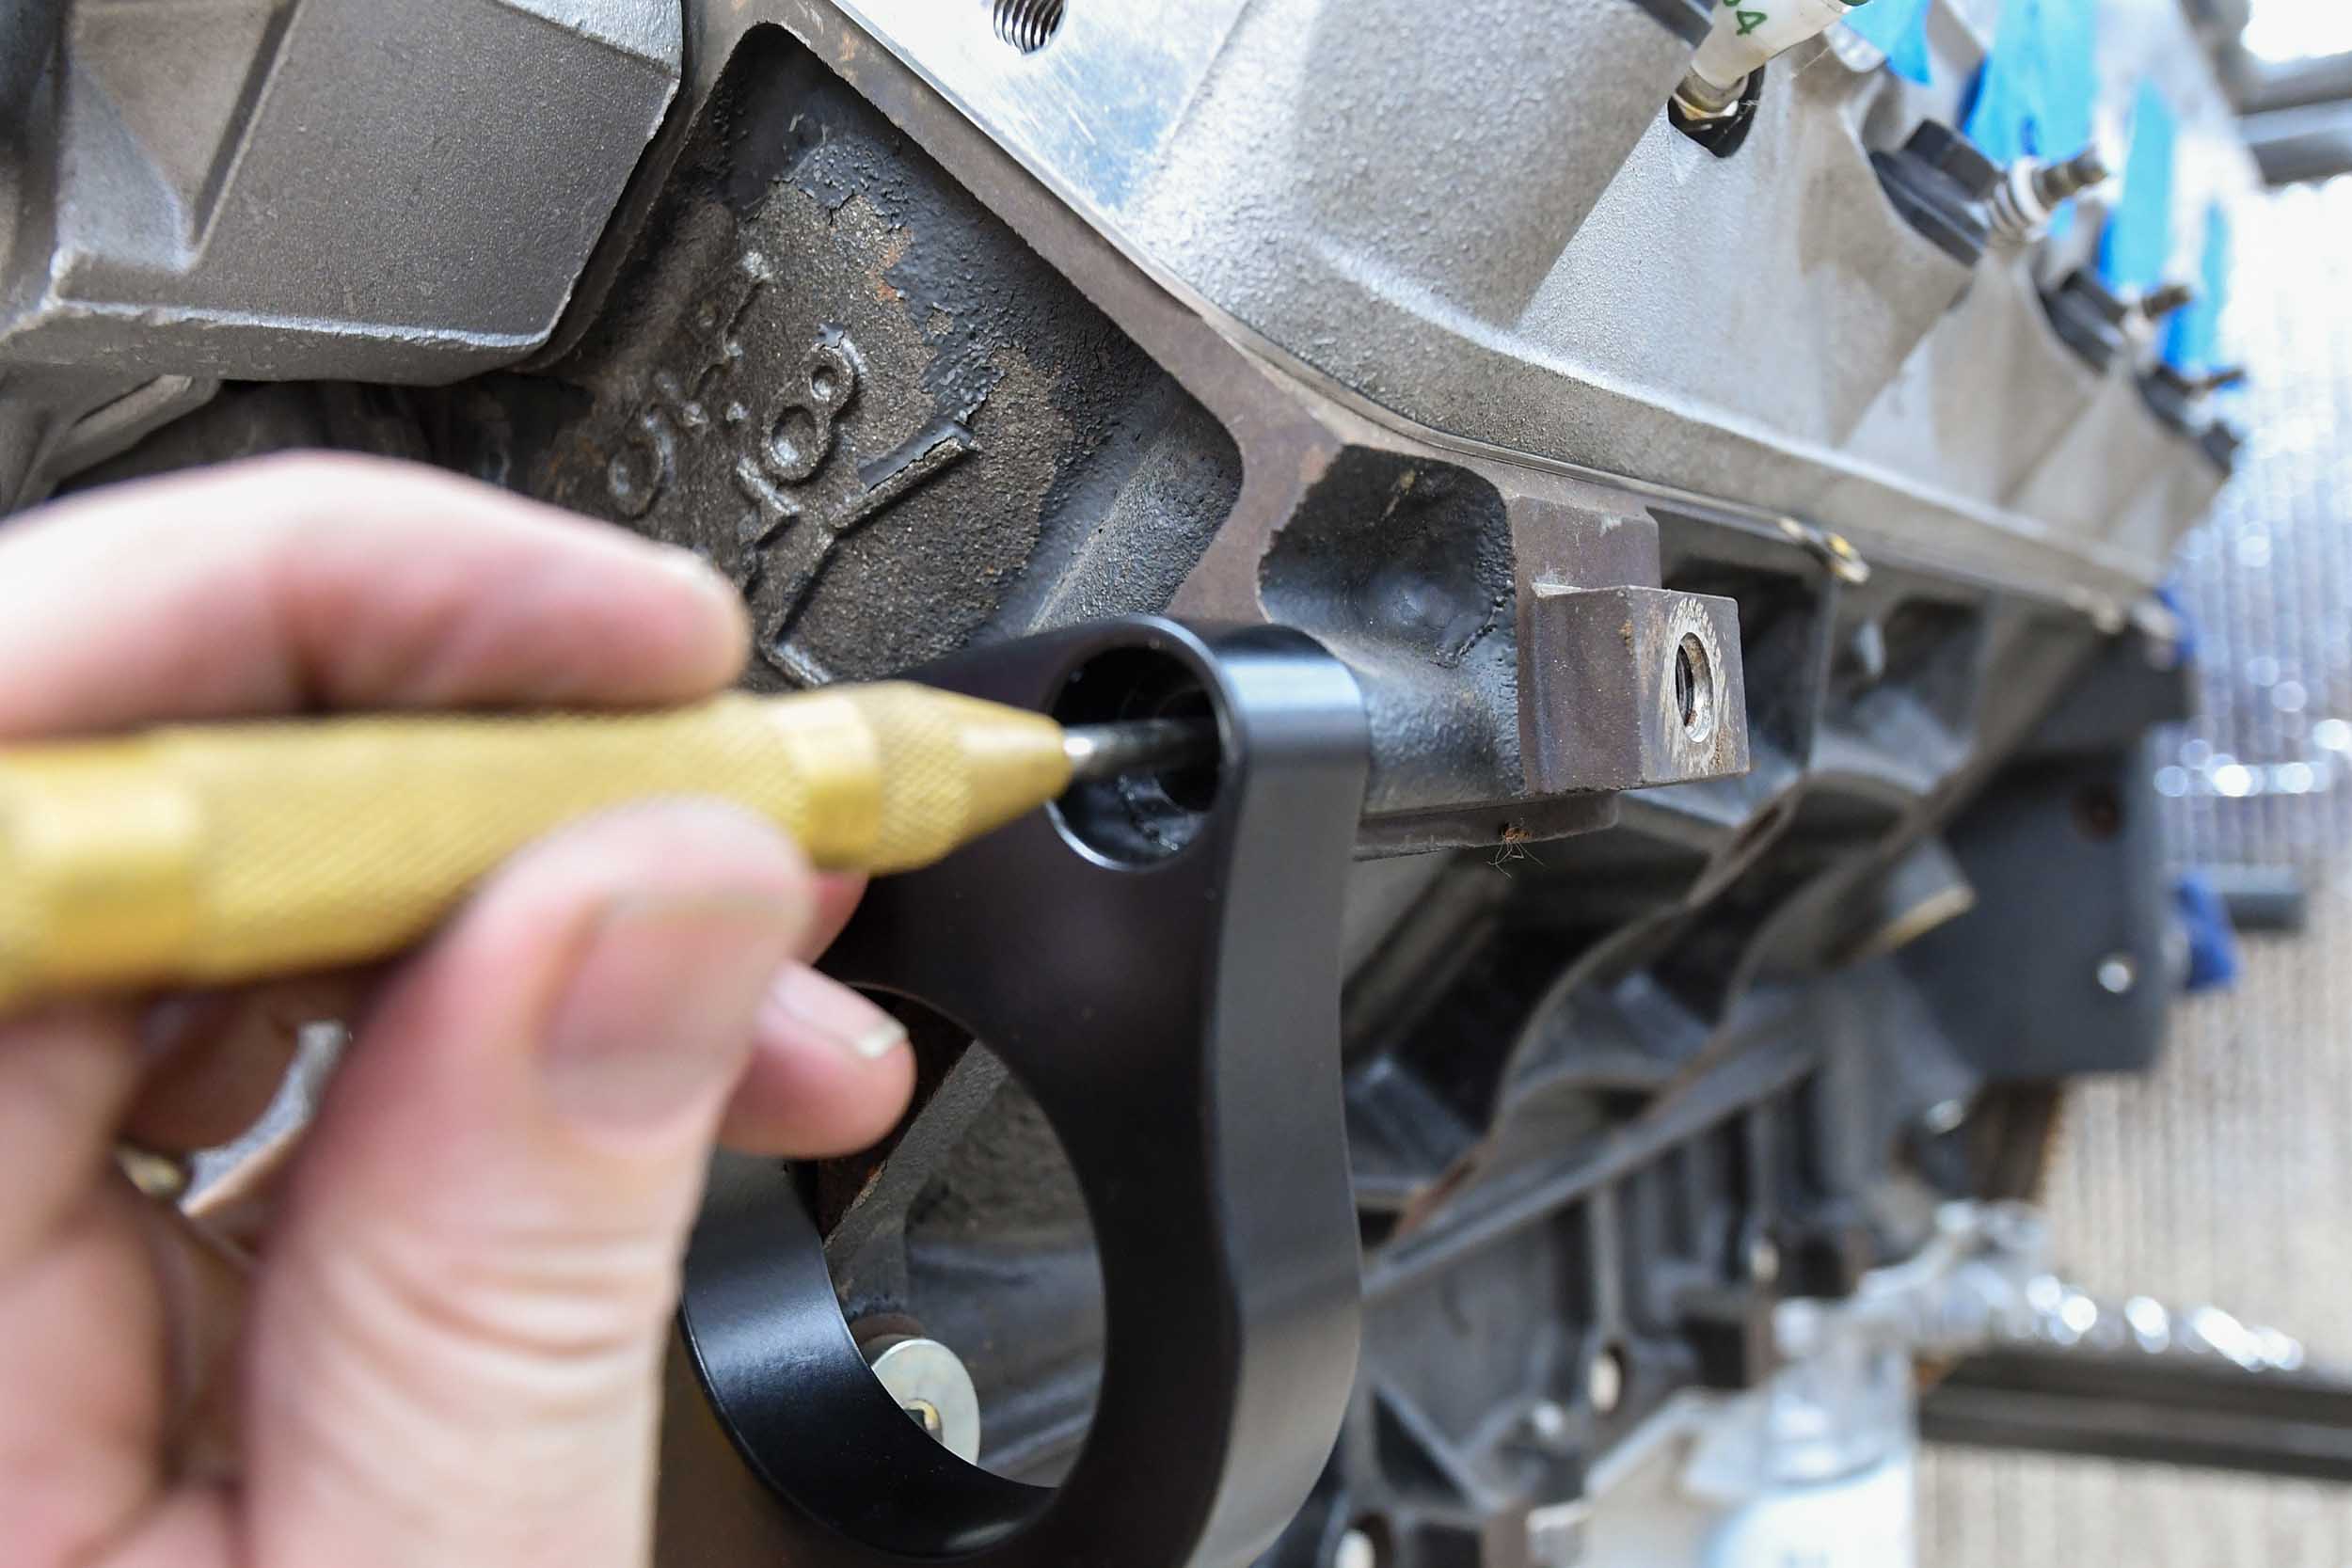
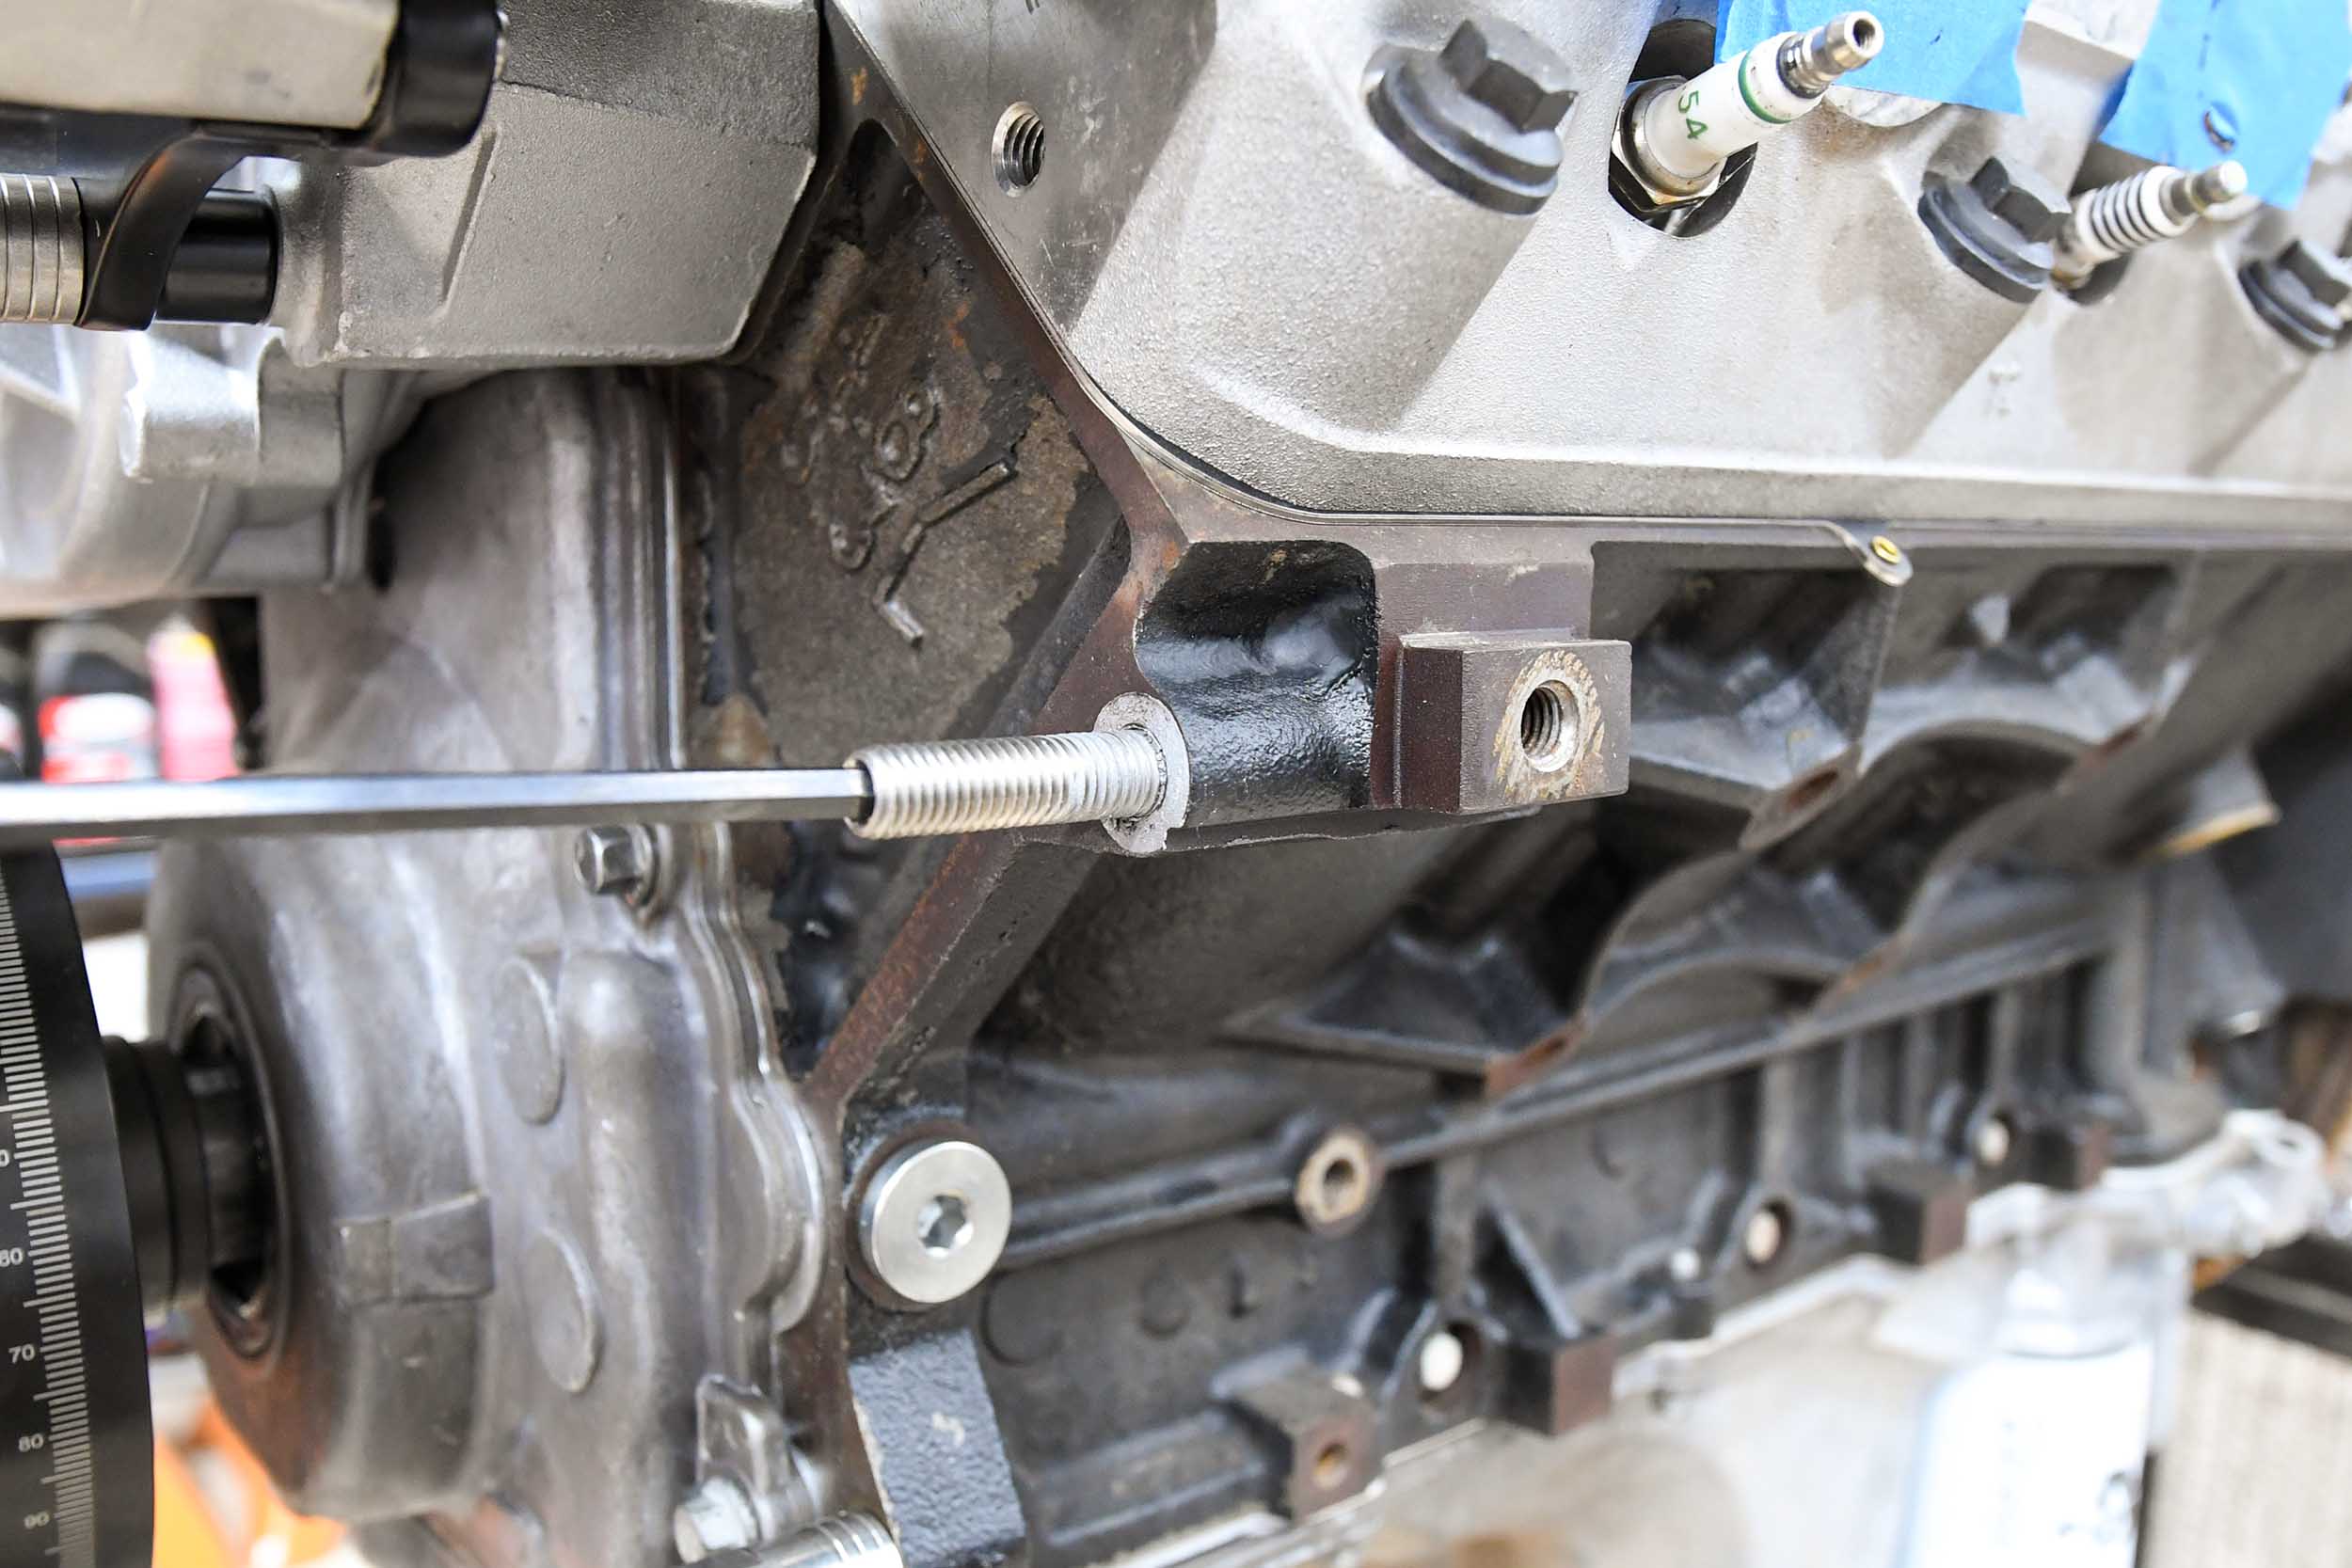
Once we drilled and tapped the block, the power steering mount fit perfectly. At this point, we needed to install the threaded stud and standoffs so that the belt grooves would line up properly.
Although our block only had provision for two mounting bolts and we drilled and taped the third hole, according to the instructions, using only two of the three mounting points on the power steering bracket is acceptable and will not affect performance or reliability.
Now is a good time to mention that in order to prevent galling of the stainless-steel fasteners, you need to apply an anti-seize compound to any threads not calling for a sealer. Eddie states emphatically that fasteners that have been seized due to galling will not be warranted.
We assembled the power steering pump assembly according to the directions. We chose a billet reservoir in Fusioncoat for our application.
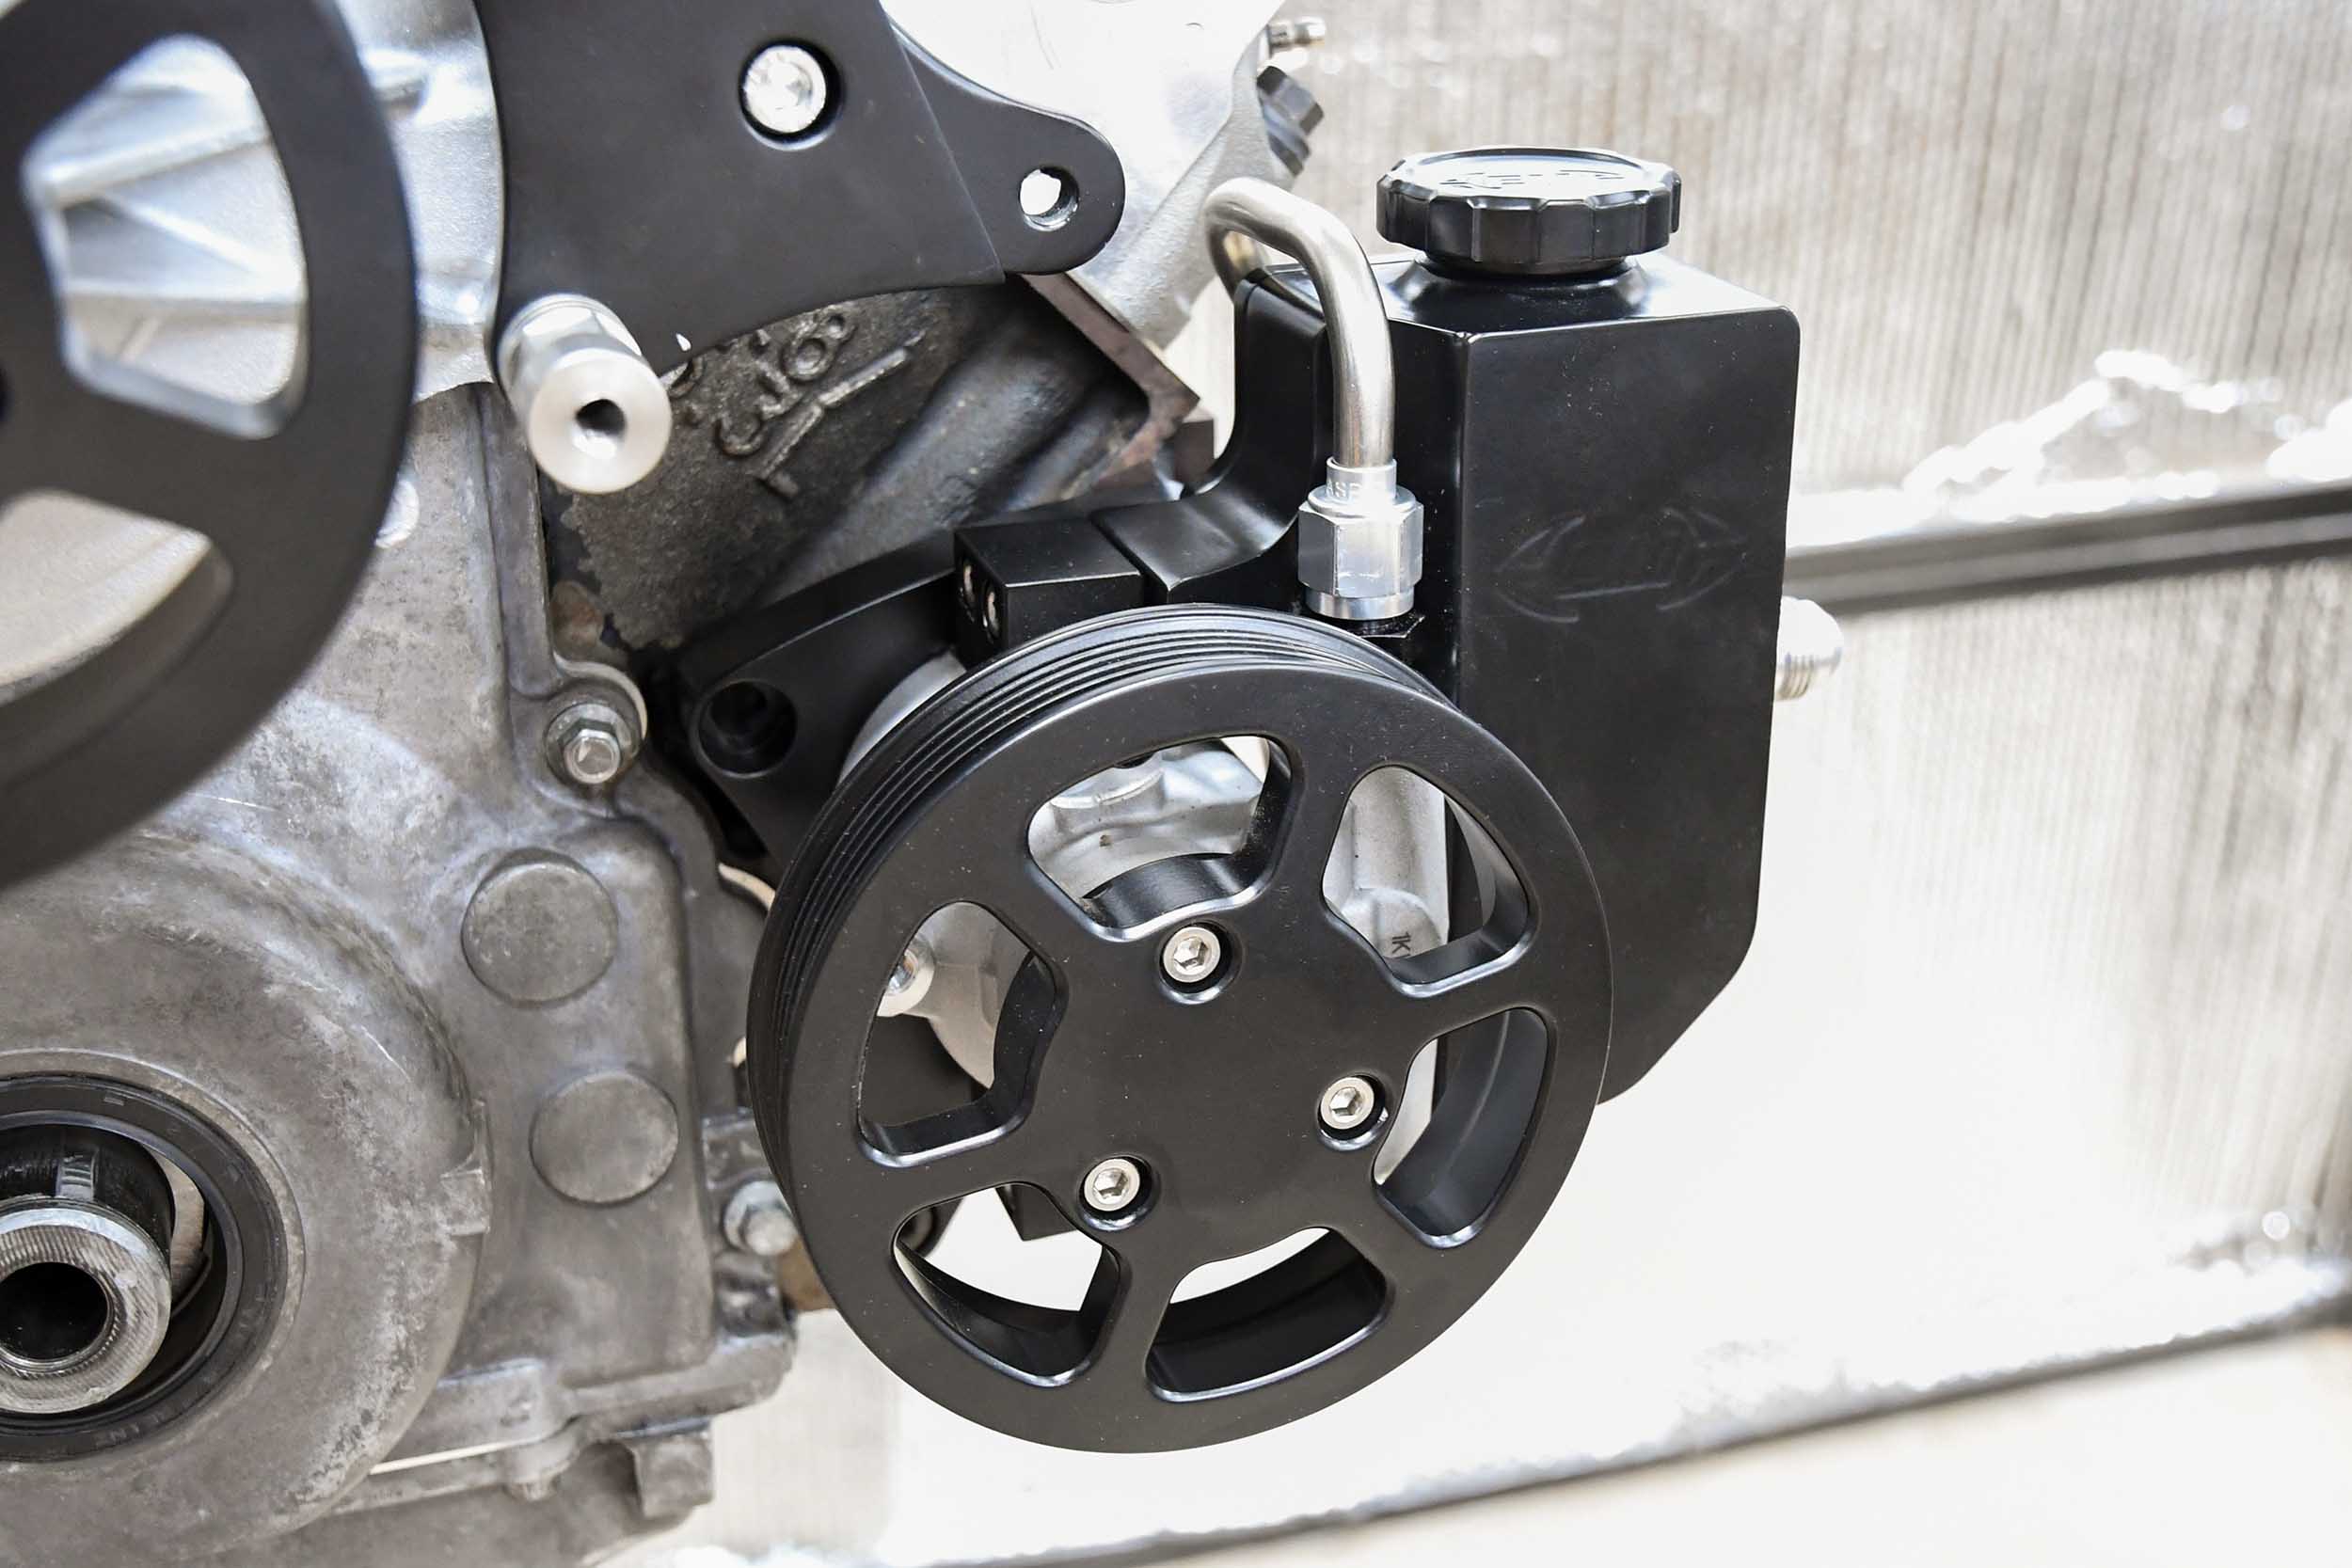
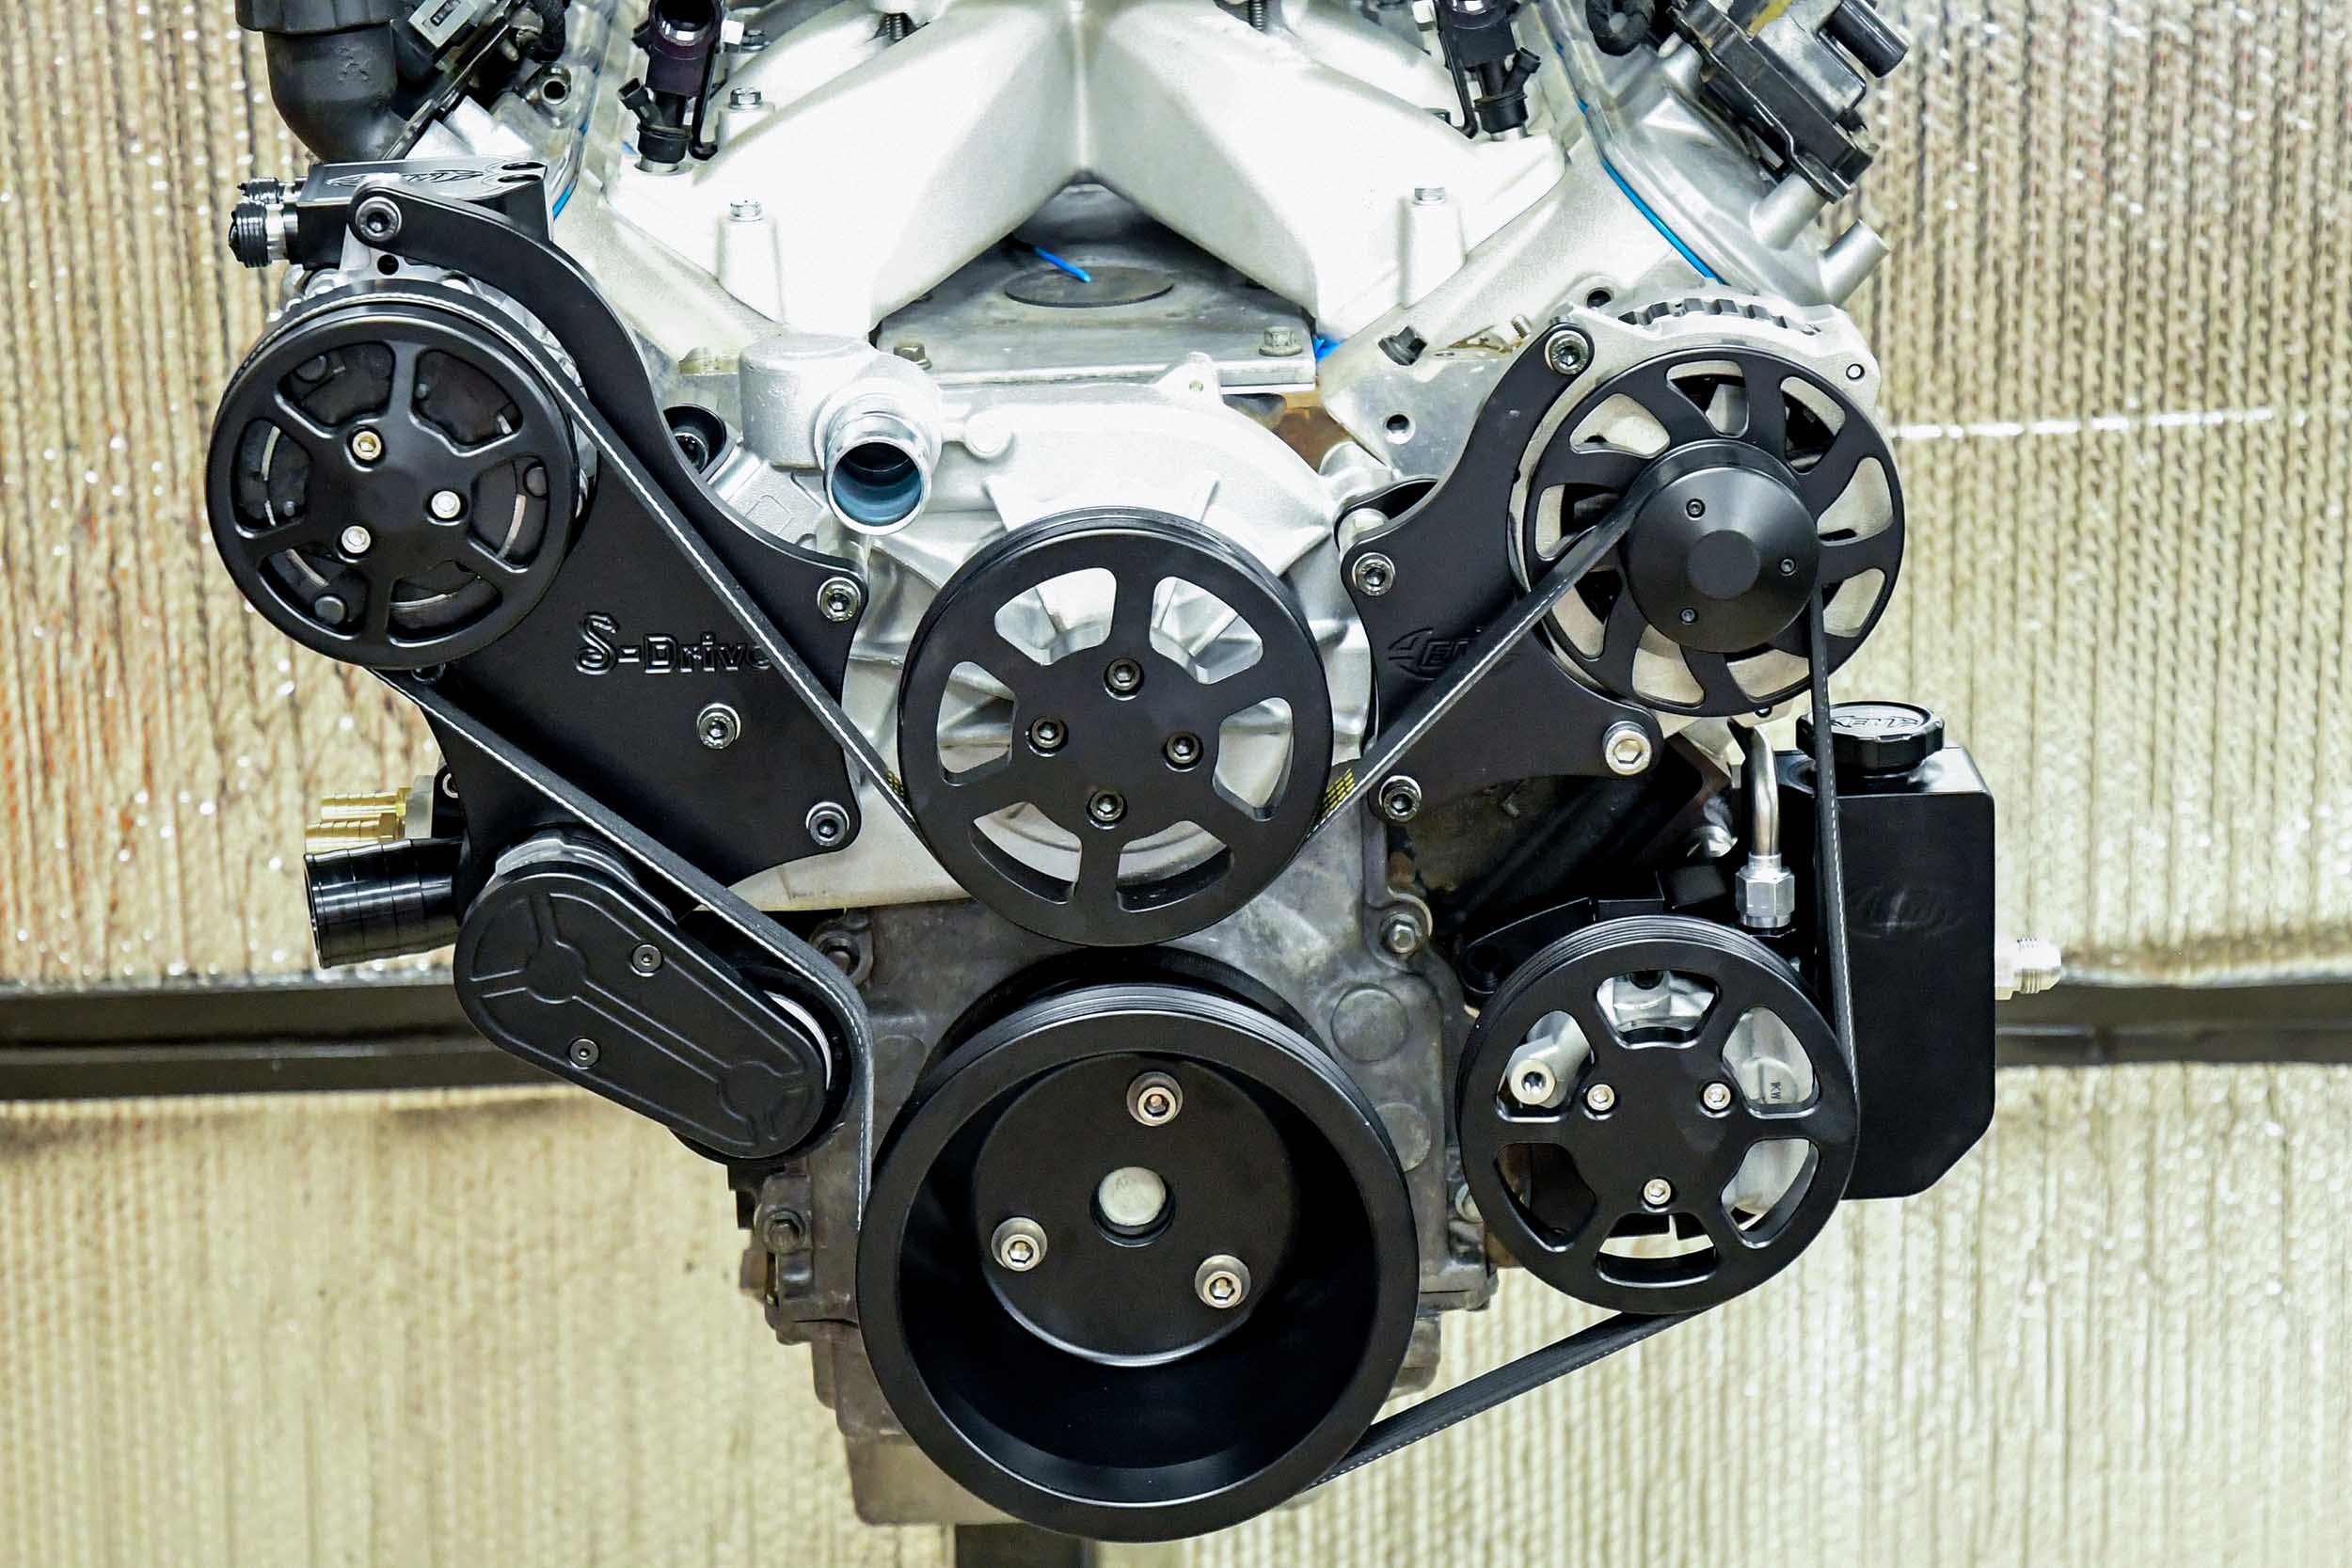
The Eddie Motorsports kits come with high-quality components such as a 140-amp alternator and the A/C compressor. We installed the alternator bracket and alternator next. The A/C compressor also mounts onto the studs provided on the passenger side of the engine. Make sure you have the coolant thermostat and housing secure before installing the compressor mount as you won’t be able to get to it after the mount is installed.

The Fusioncoat pulley and fan were already installed onto the alternator, simplifying installation.
The A/C compressor mounts onto the passenger side of the engine and uses the standoffs from the water pump. Remember, to tighten your thermostat housing before installing the A/C compressor mount.
The new Sanden compressor comes sealed with this block-off plate. This plate will need to be removed before installing the billet port cover supplied by Eddie. The instructions recommend not installing the cover or even wiring up the compressor until you are ready to charge the system.
The compressor came from the factory filled with Nitrogen and was capped off with a plate to keep it sealed until use. Eddie recommends not removing the plate from the compressor and installing the supplied A/C port until you are ready to connect, fill, and seal the system.
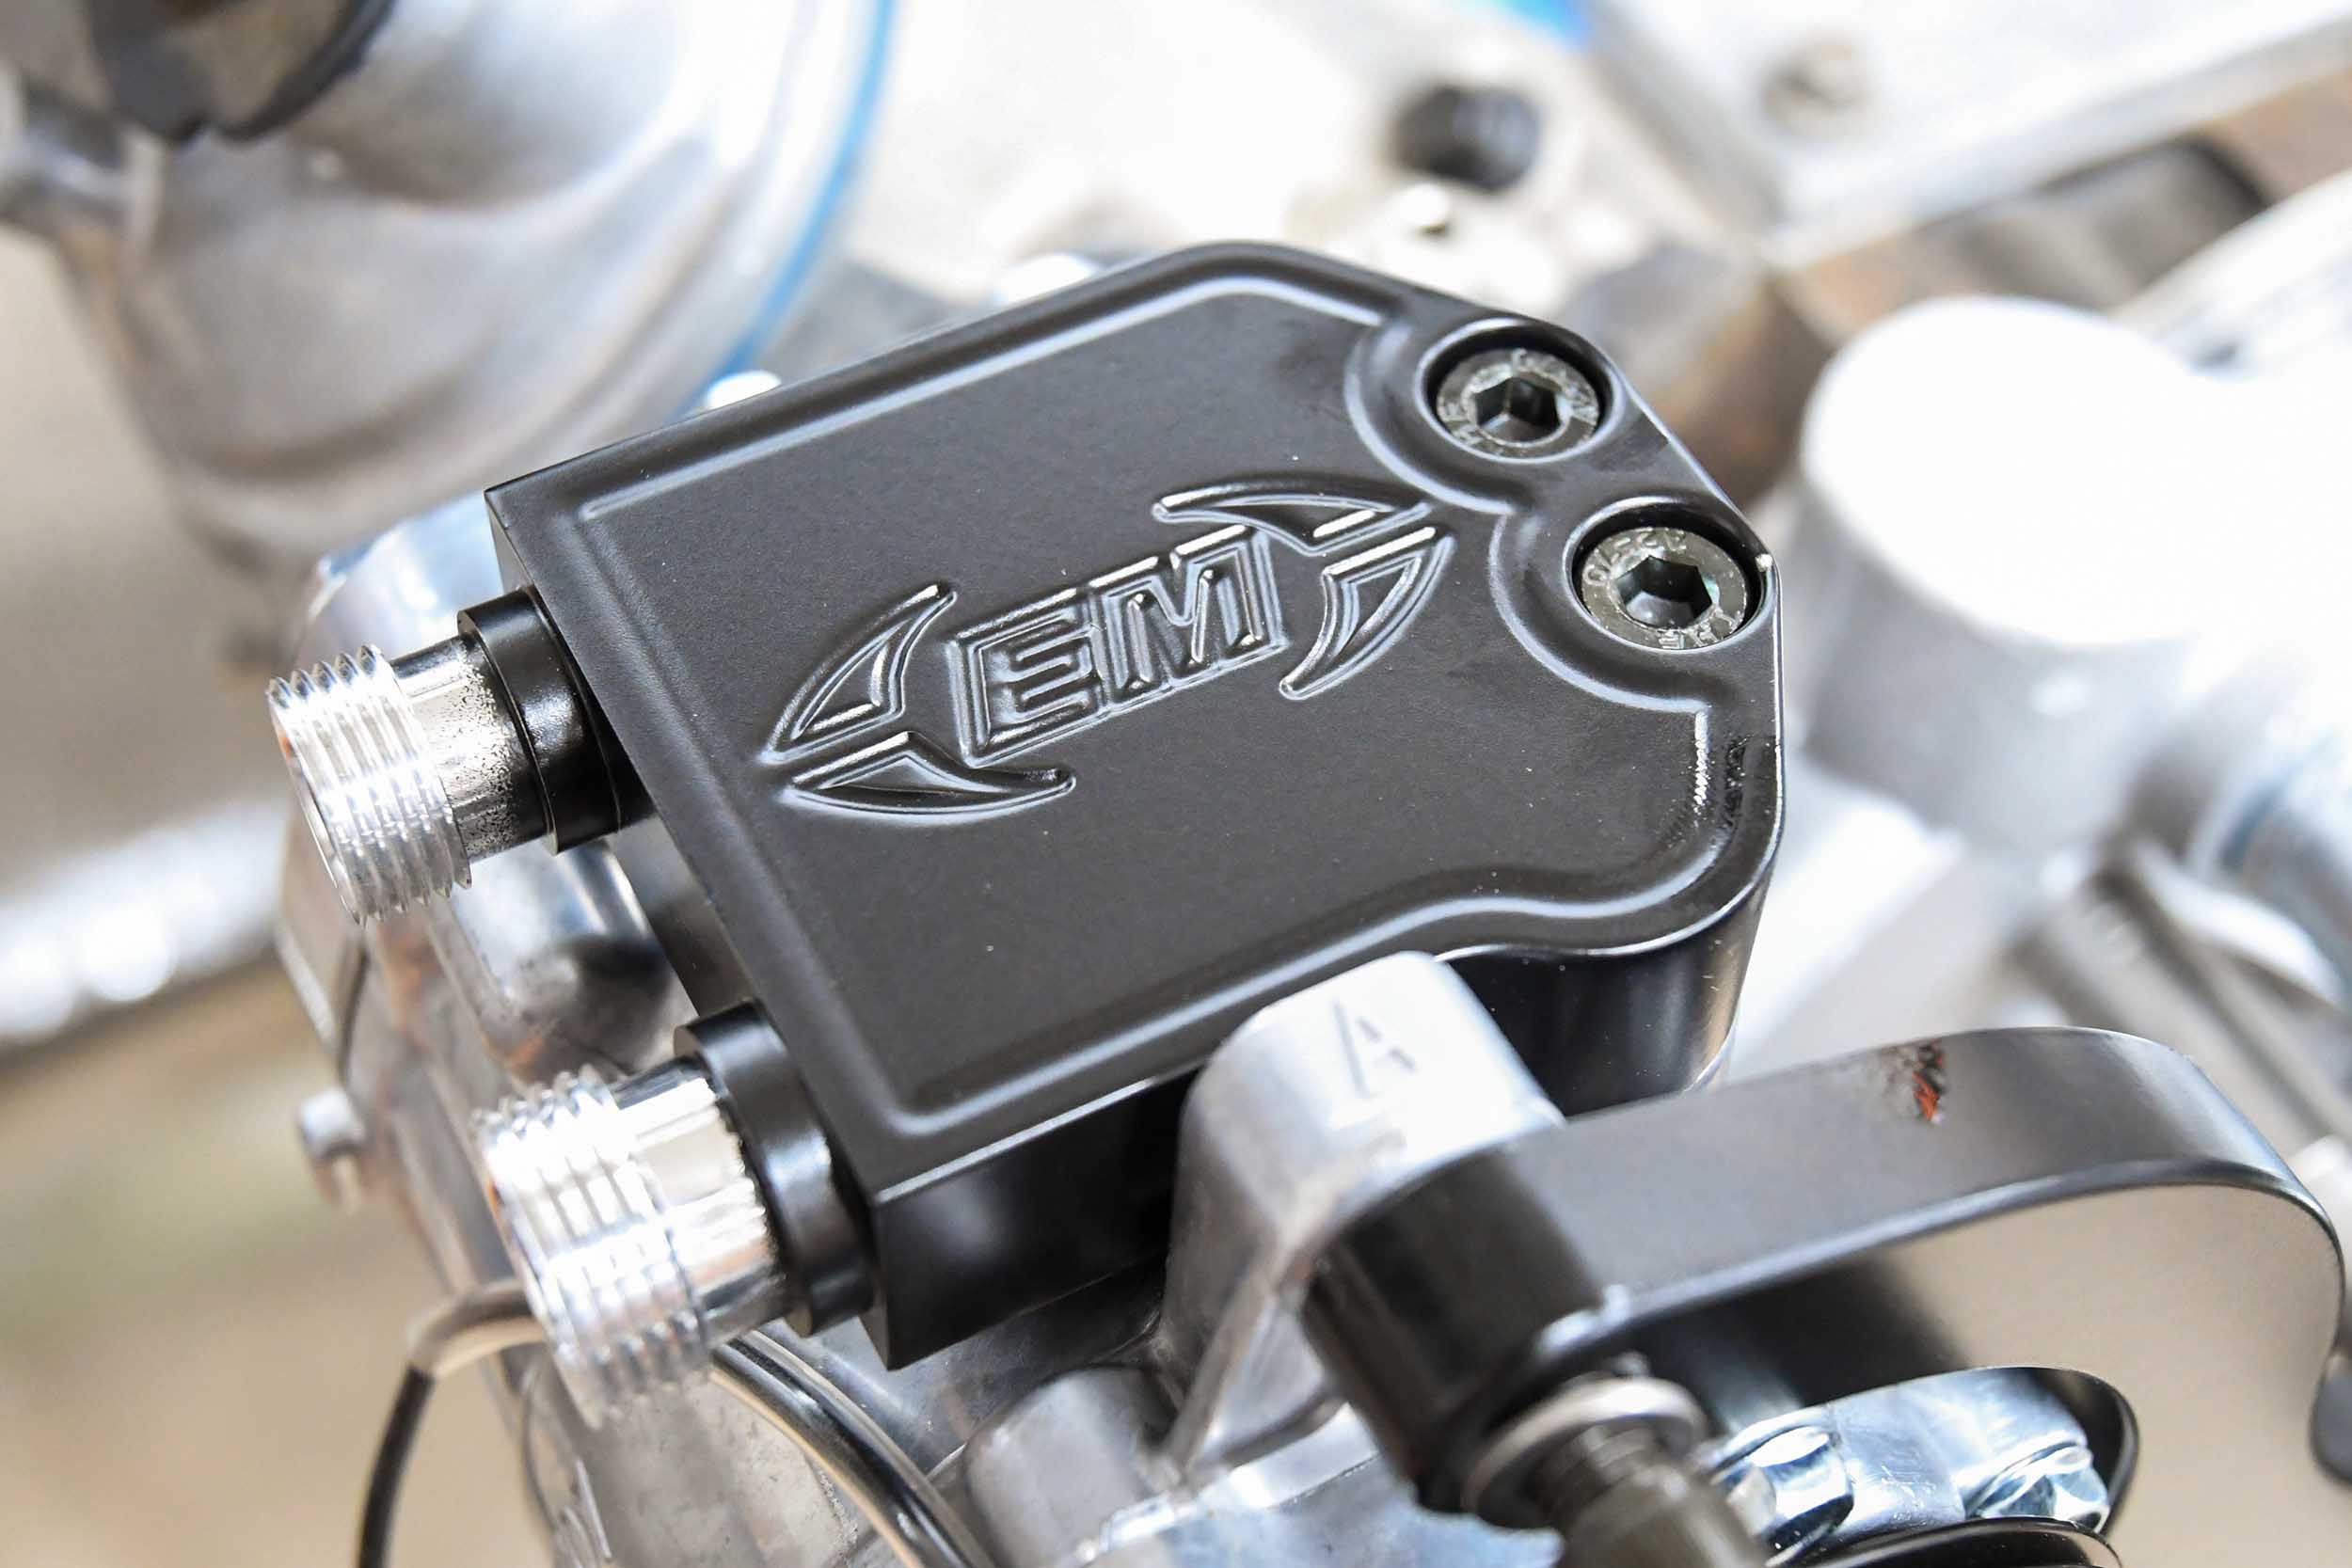
The front cover gets bolted to the compressor clutch and Eddie supplies this cool compressor port cover.
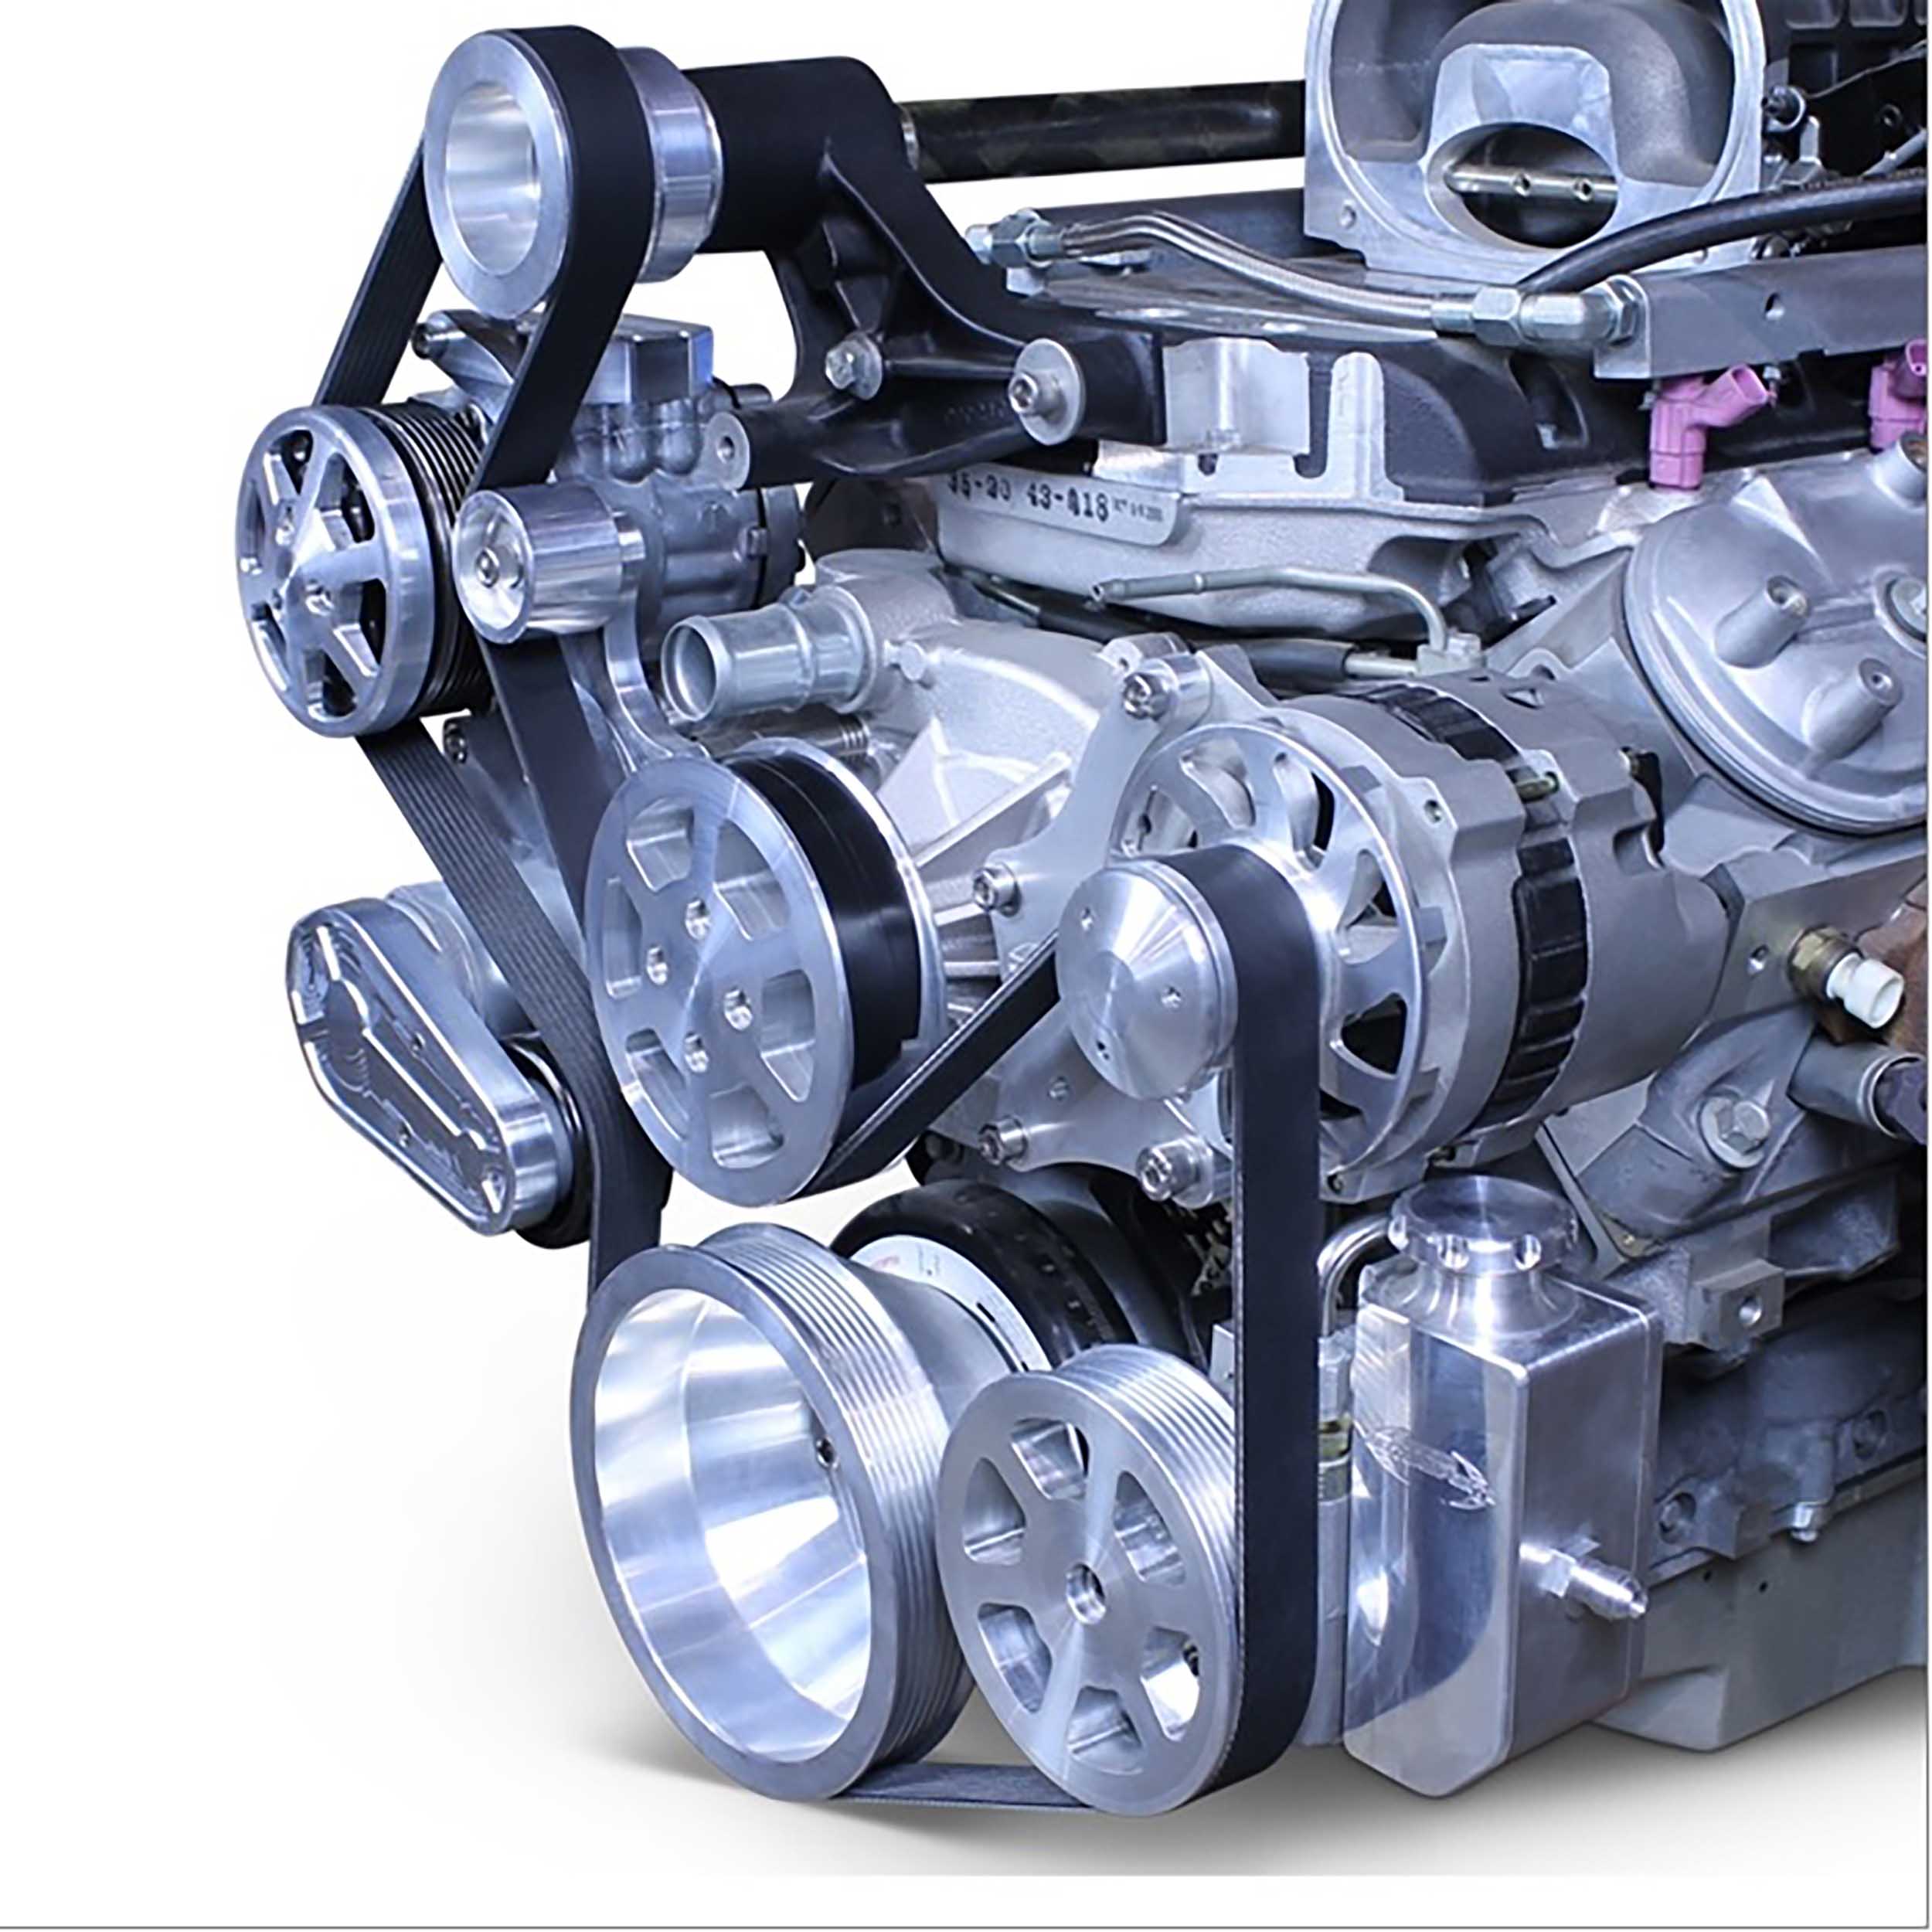
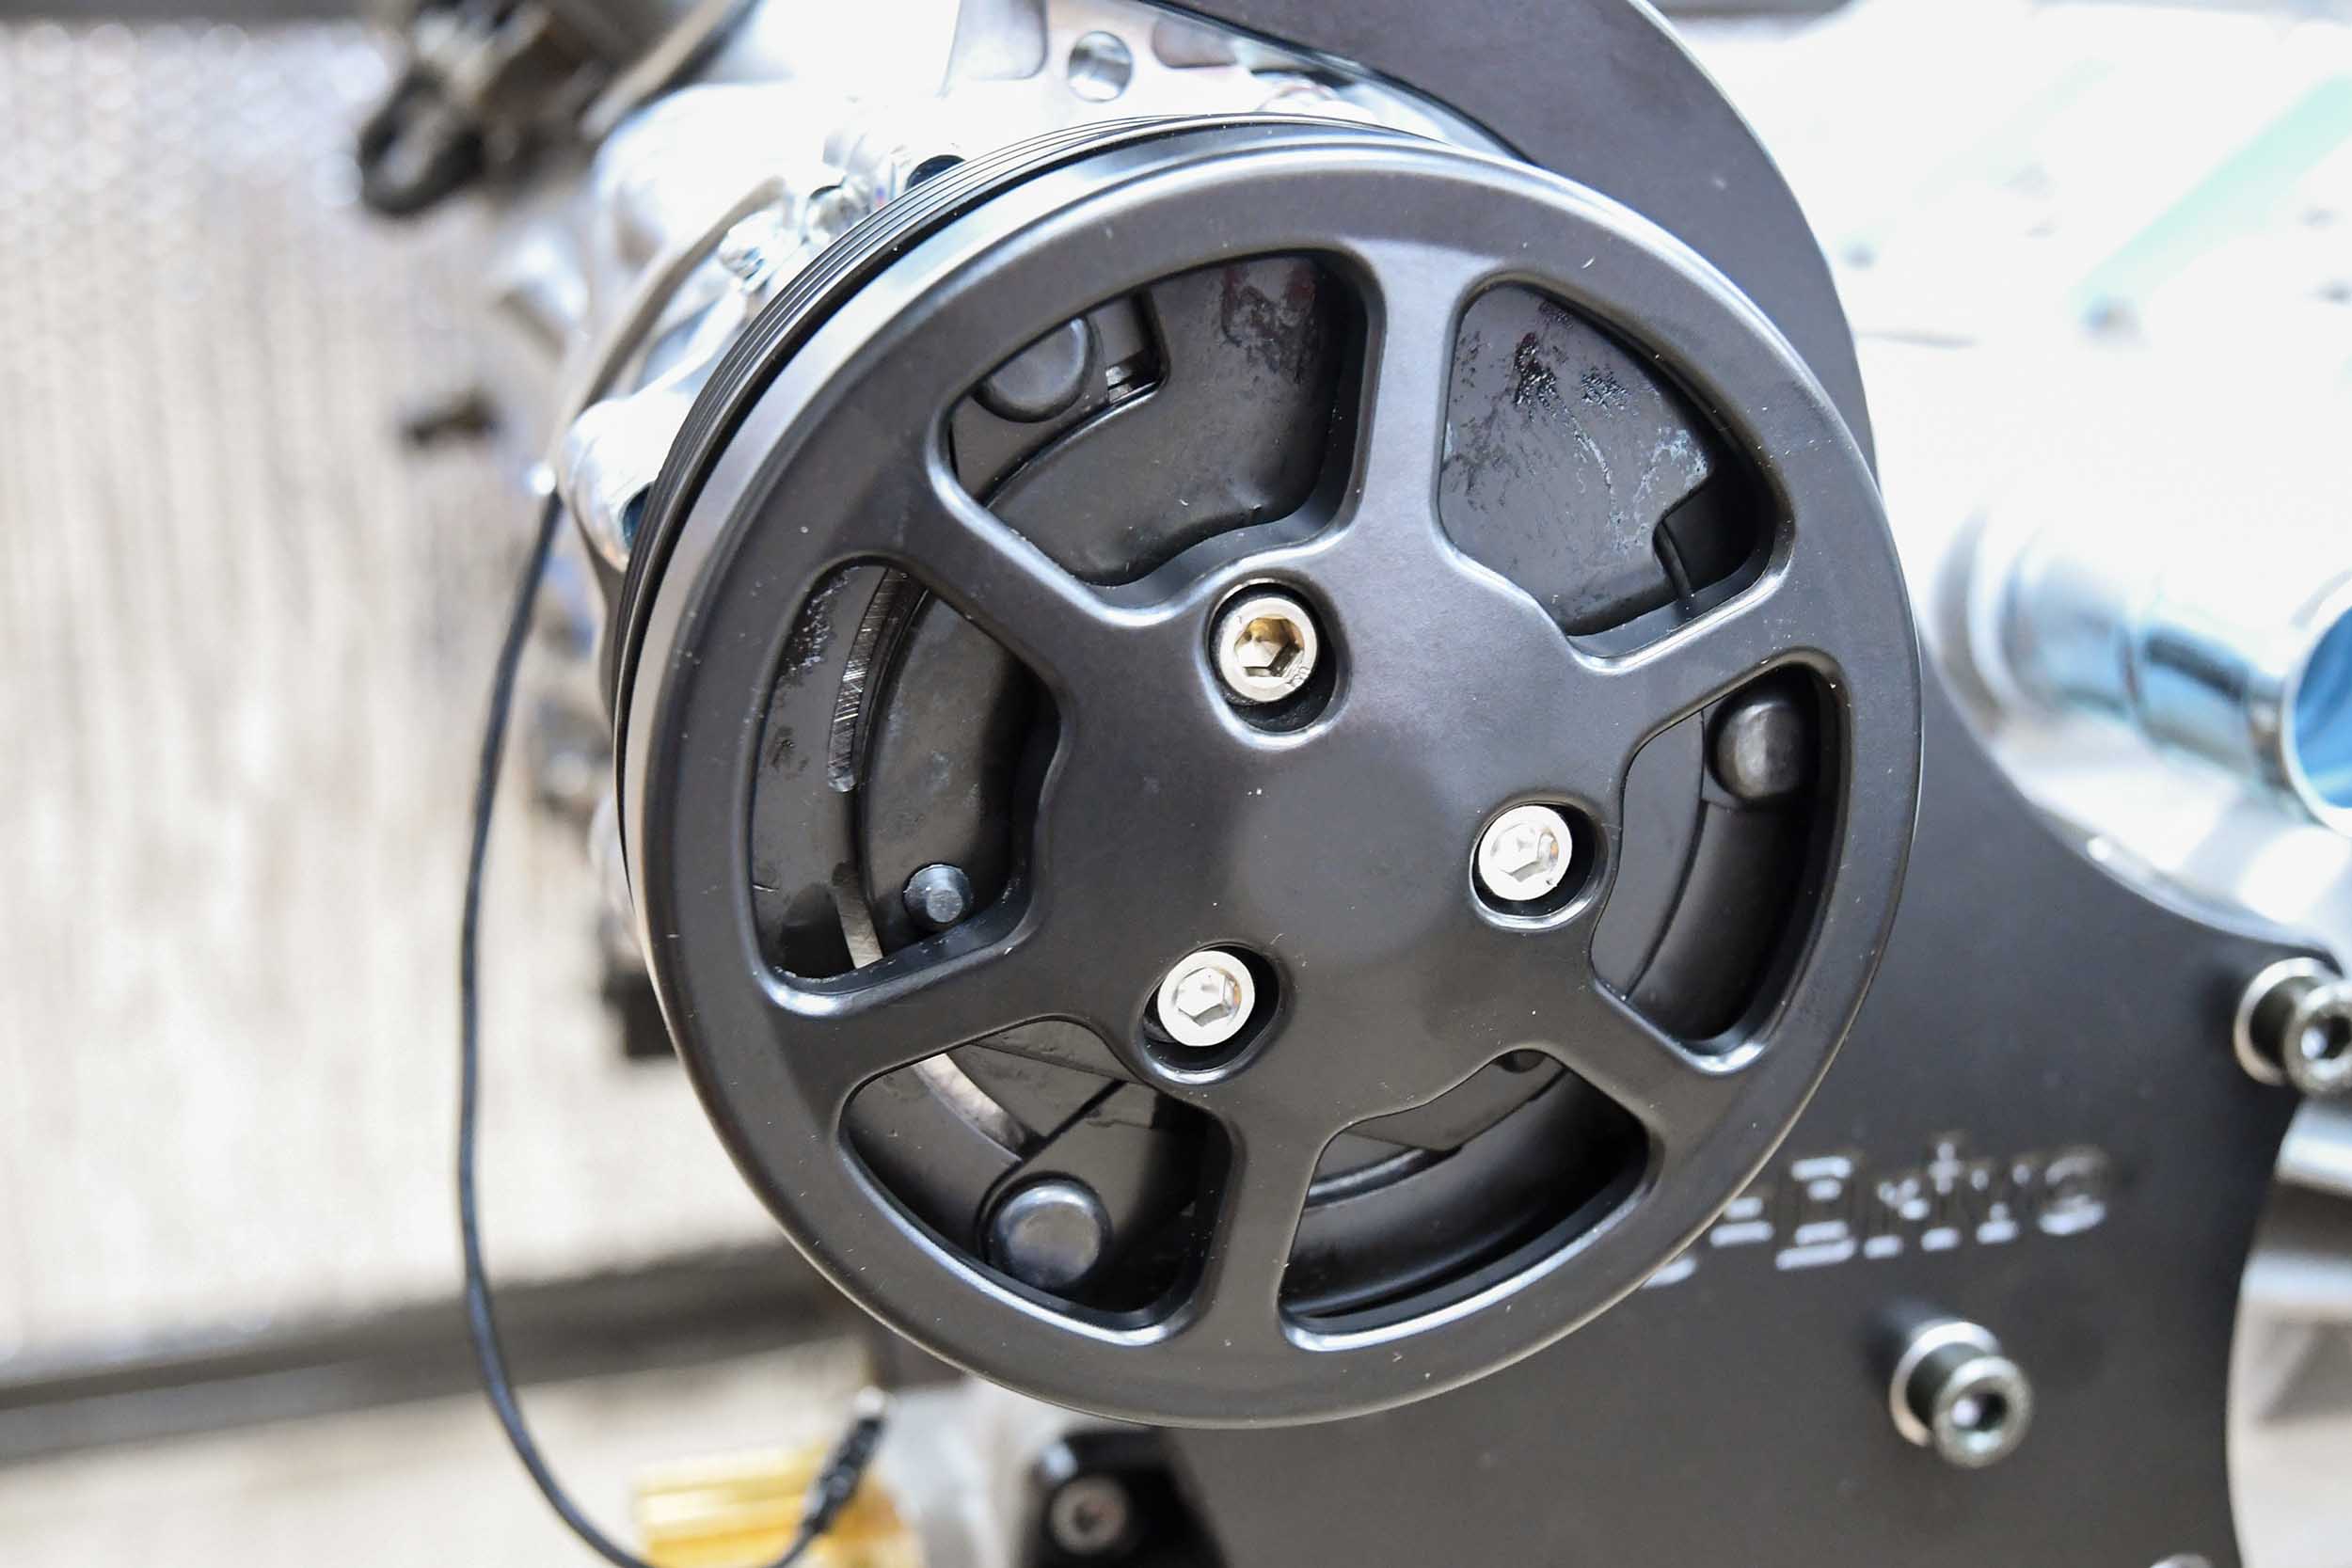
The crankshaft is where all the action originates and the Eddie Motorsports kits feature SFI-certified harmonic dampers and the correct pulley so that everything aligns perfectly once the belt is installed. Before installing the hub and balancer, this would be a great time to replace the front crankshaft seal if your engine has a few miles on it. Be sure to follow the instructions to correctly install the balancer hub and damper assembly that is supplied with the kit.
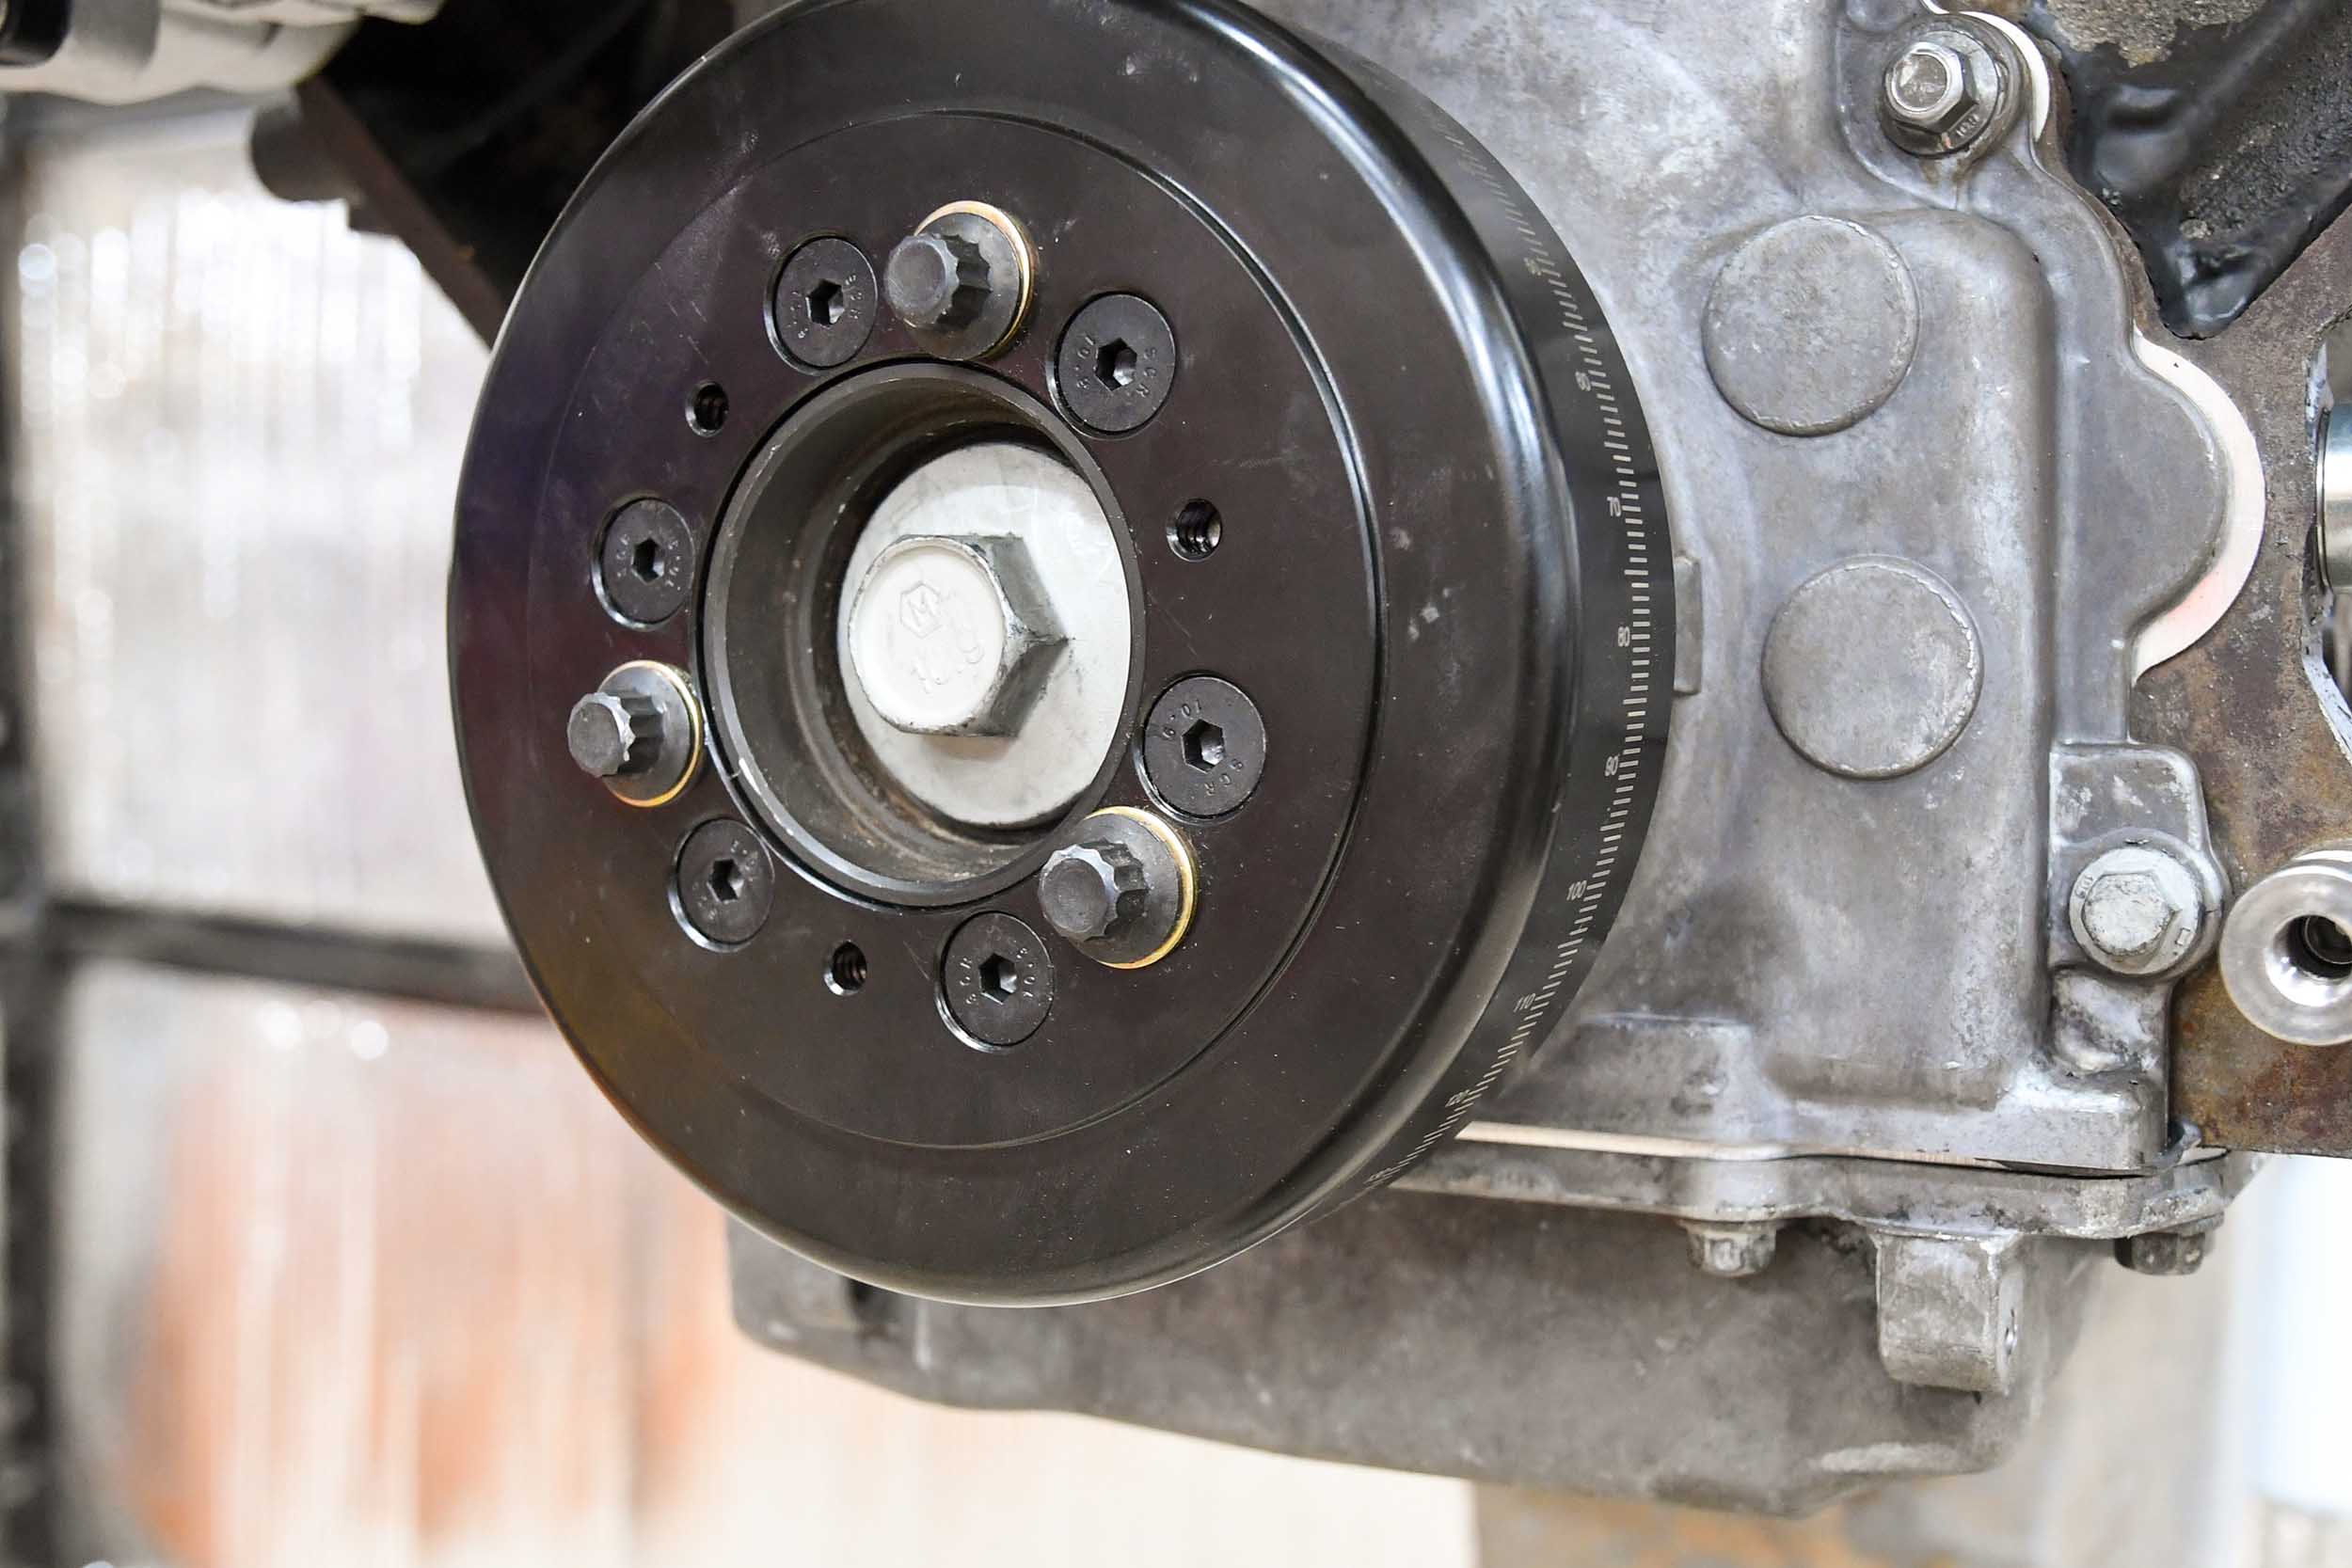

The lower pulley was installed after the crank hub and damper. It was nice having everything line up the first time without mixing and matching spacers and pulleys to get everything to line up.
The only thing left to add is the belt tensioner. Once that was installed, we had to take a step back and enjoy the view.
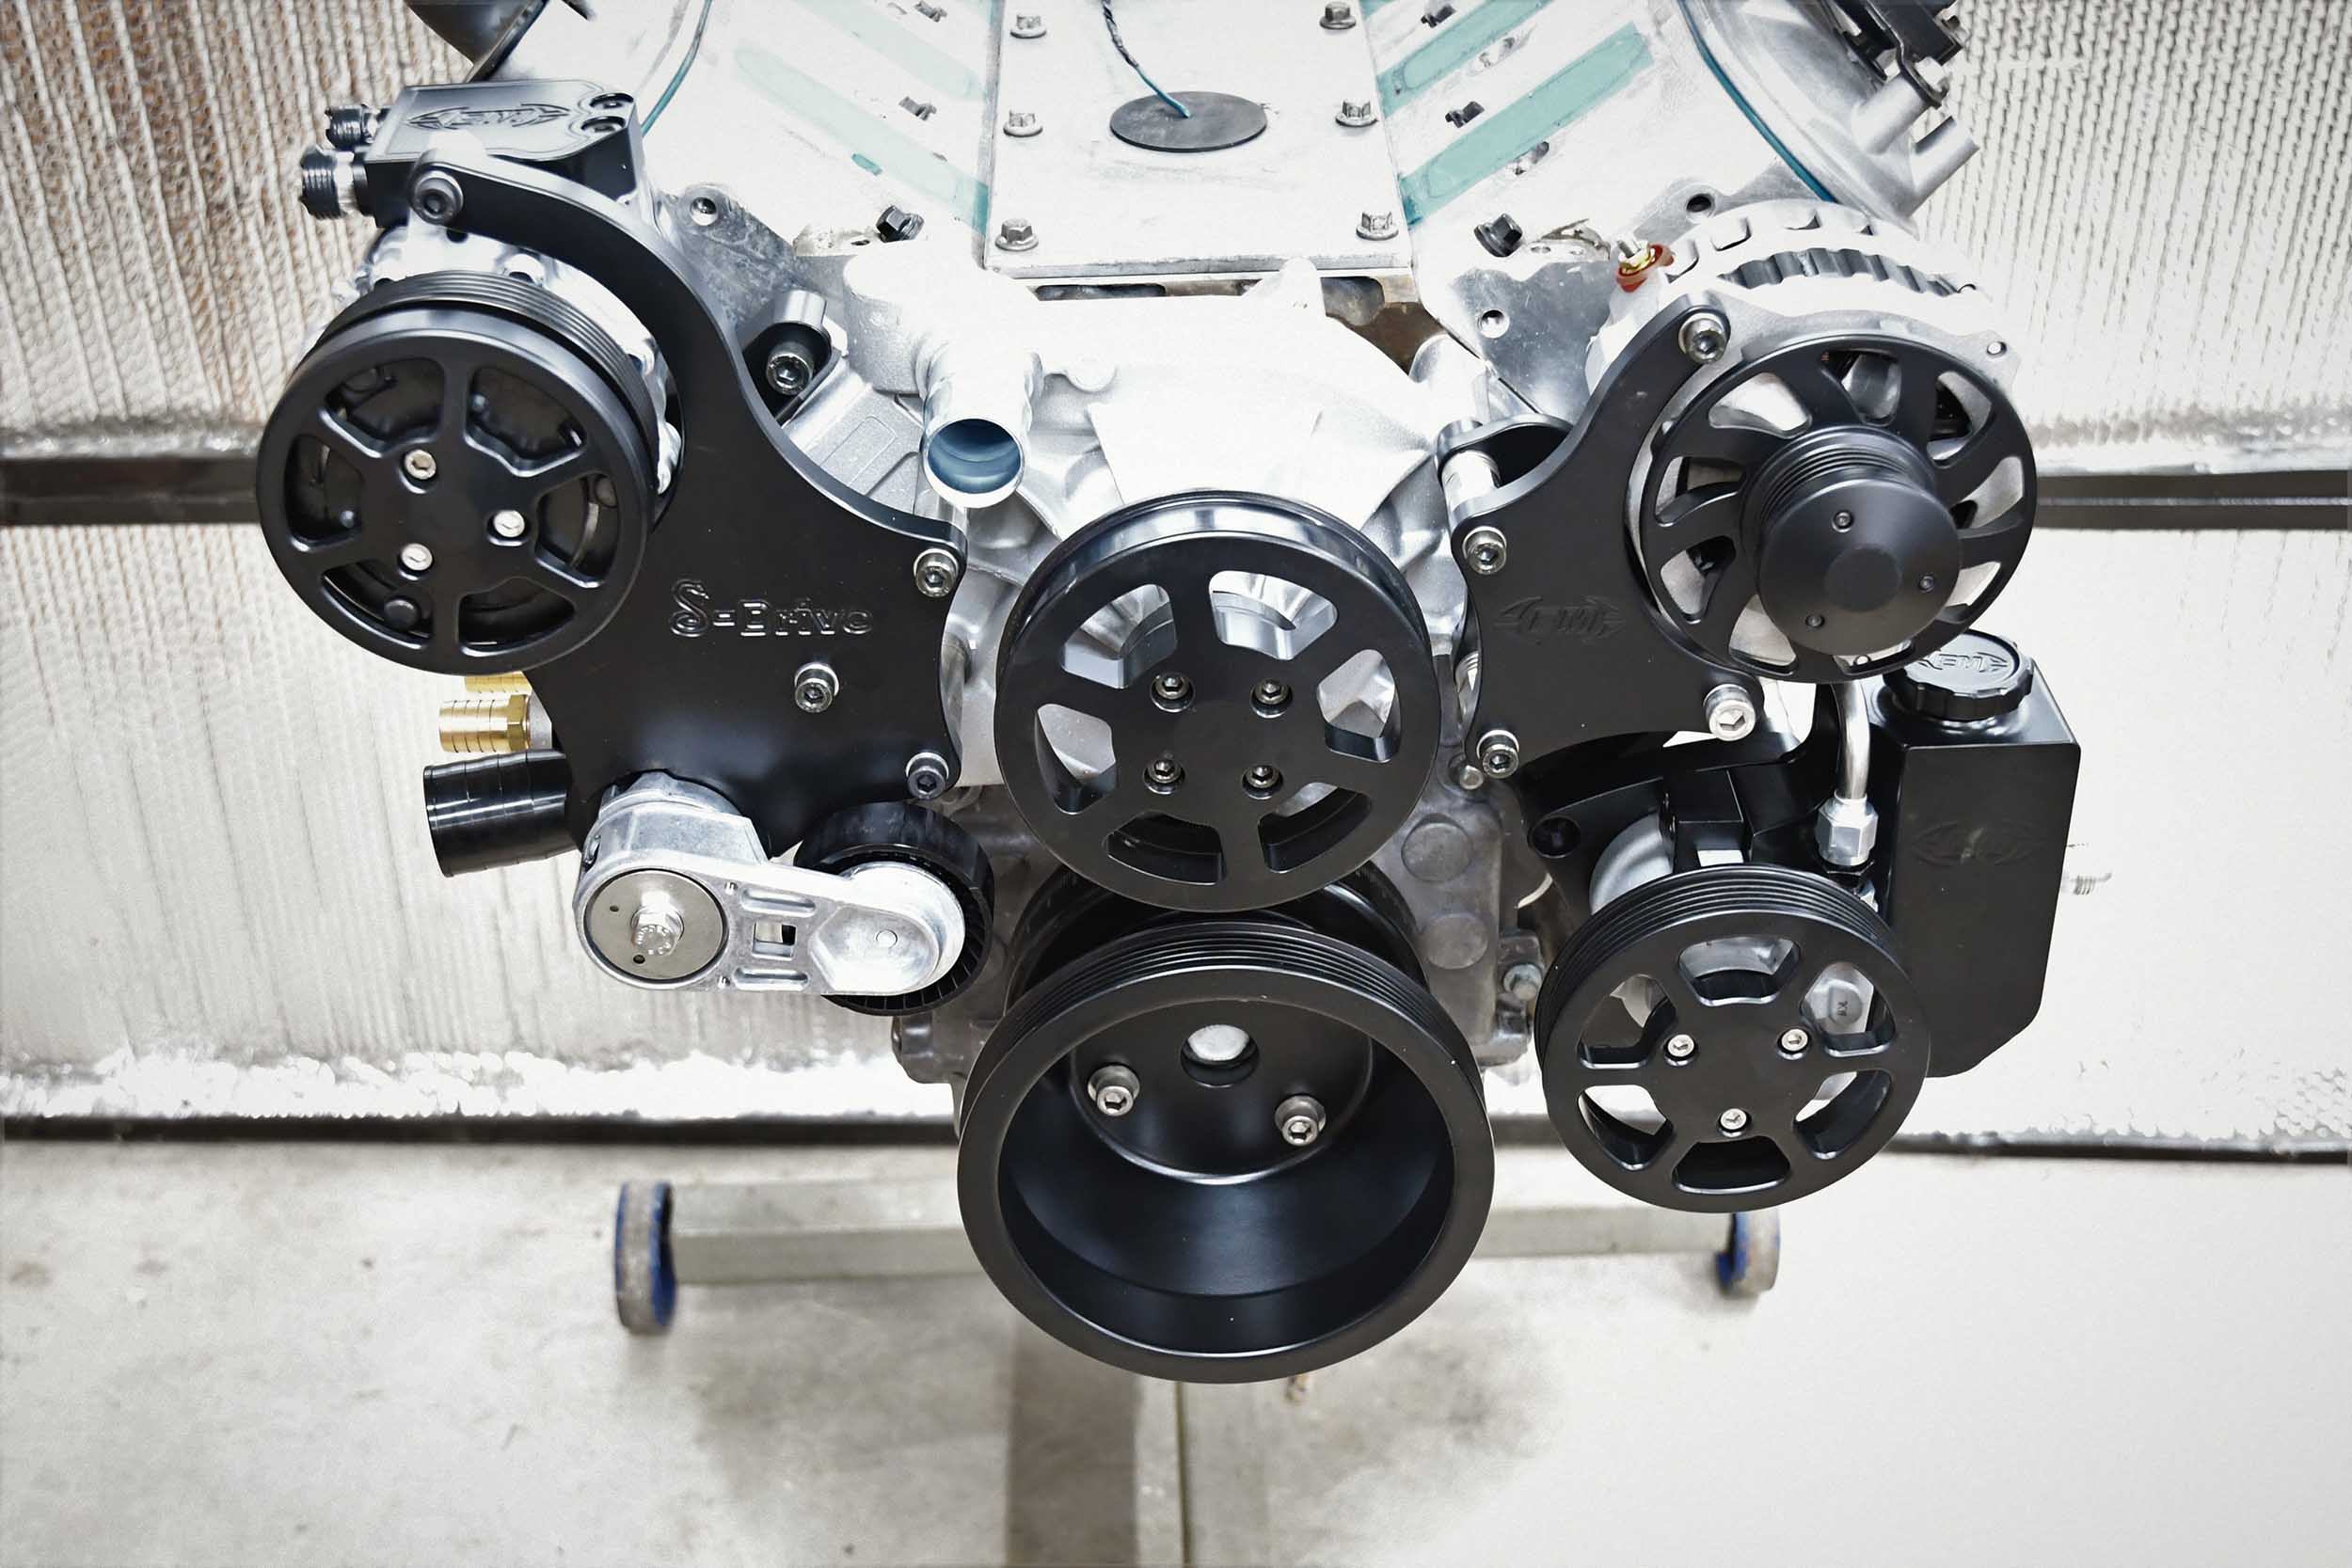
The new Eddie Motorsports S-Drive looks much better than the OEM setup.
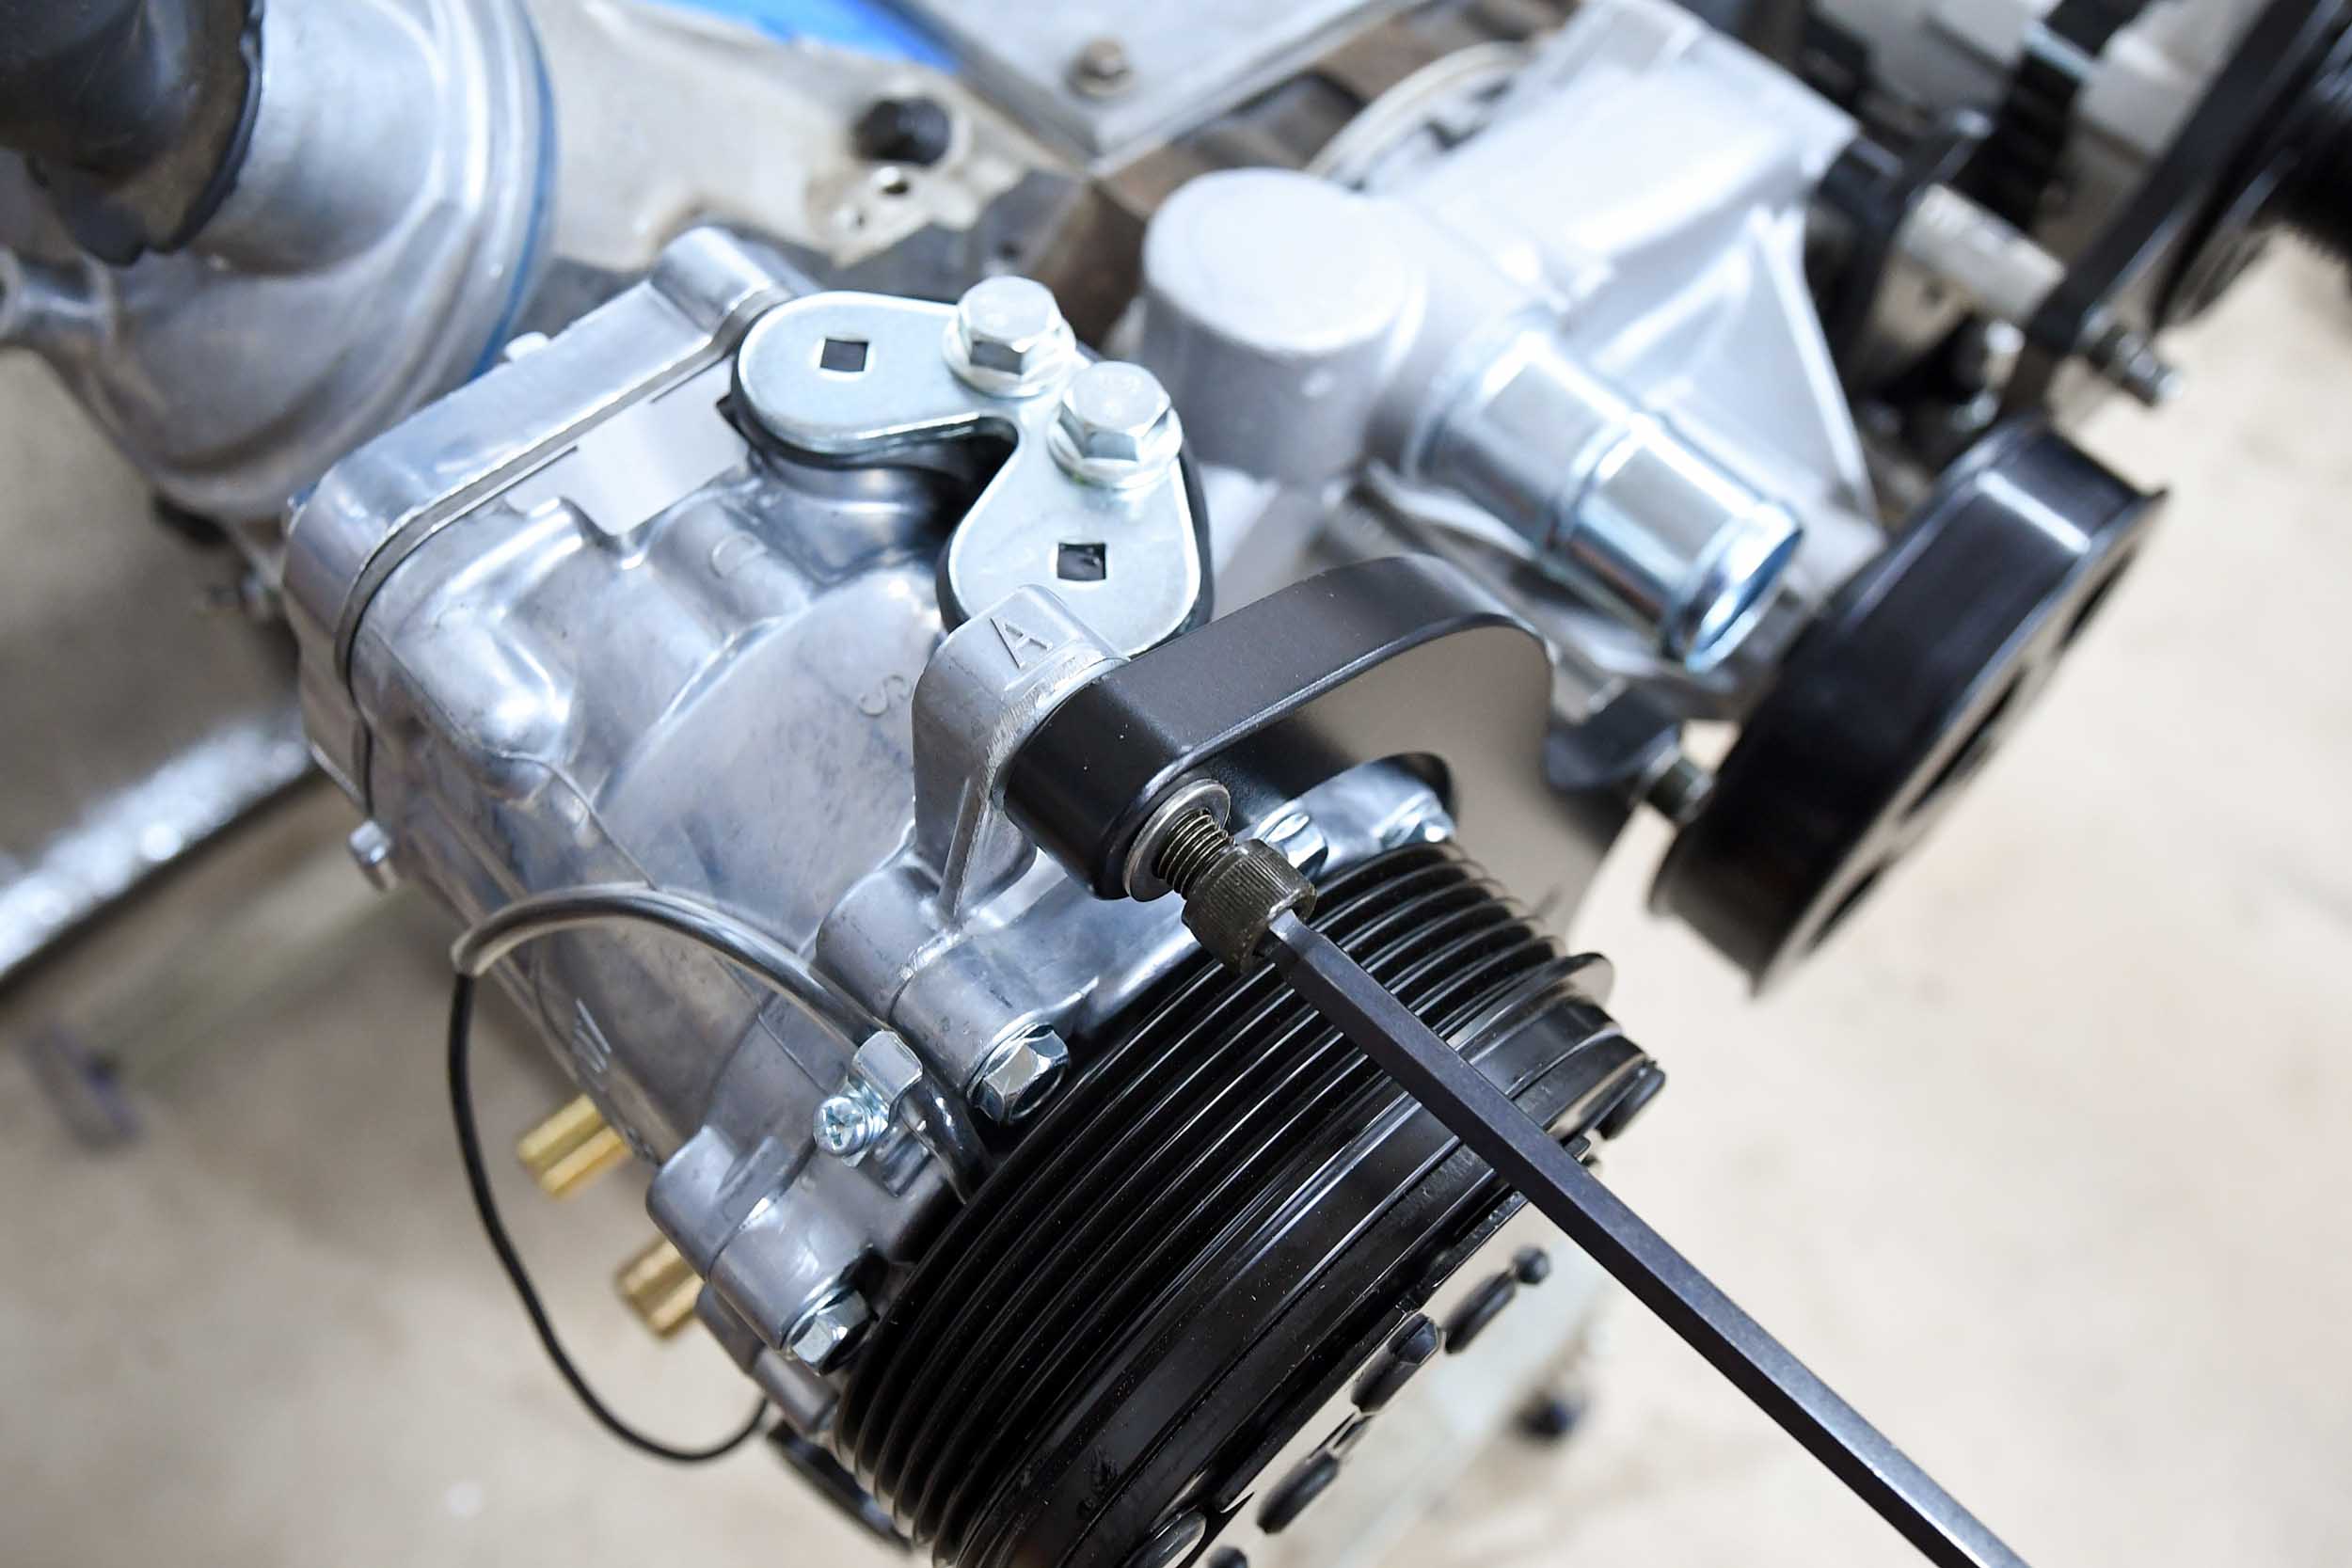
Before we could put the cover on the belt tensioner, we needed to install the belt. There is a square tab in the casting which allows you to remove the spring tension from the belt. Belt changes will be a snap from now on.
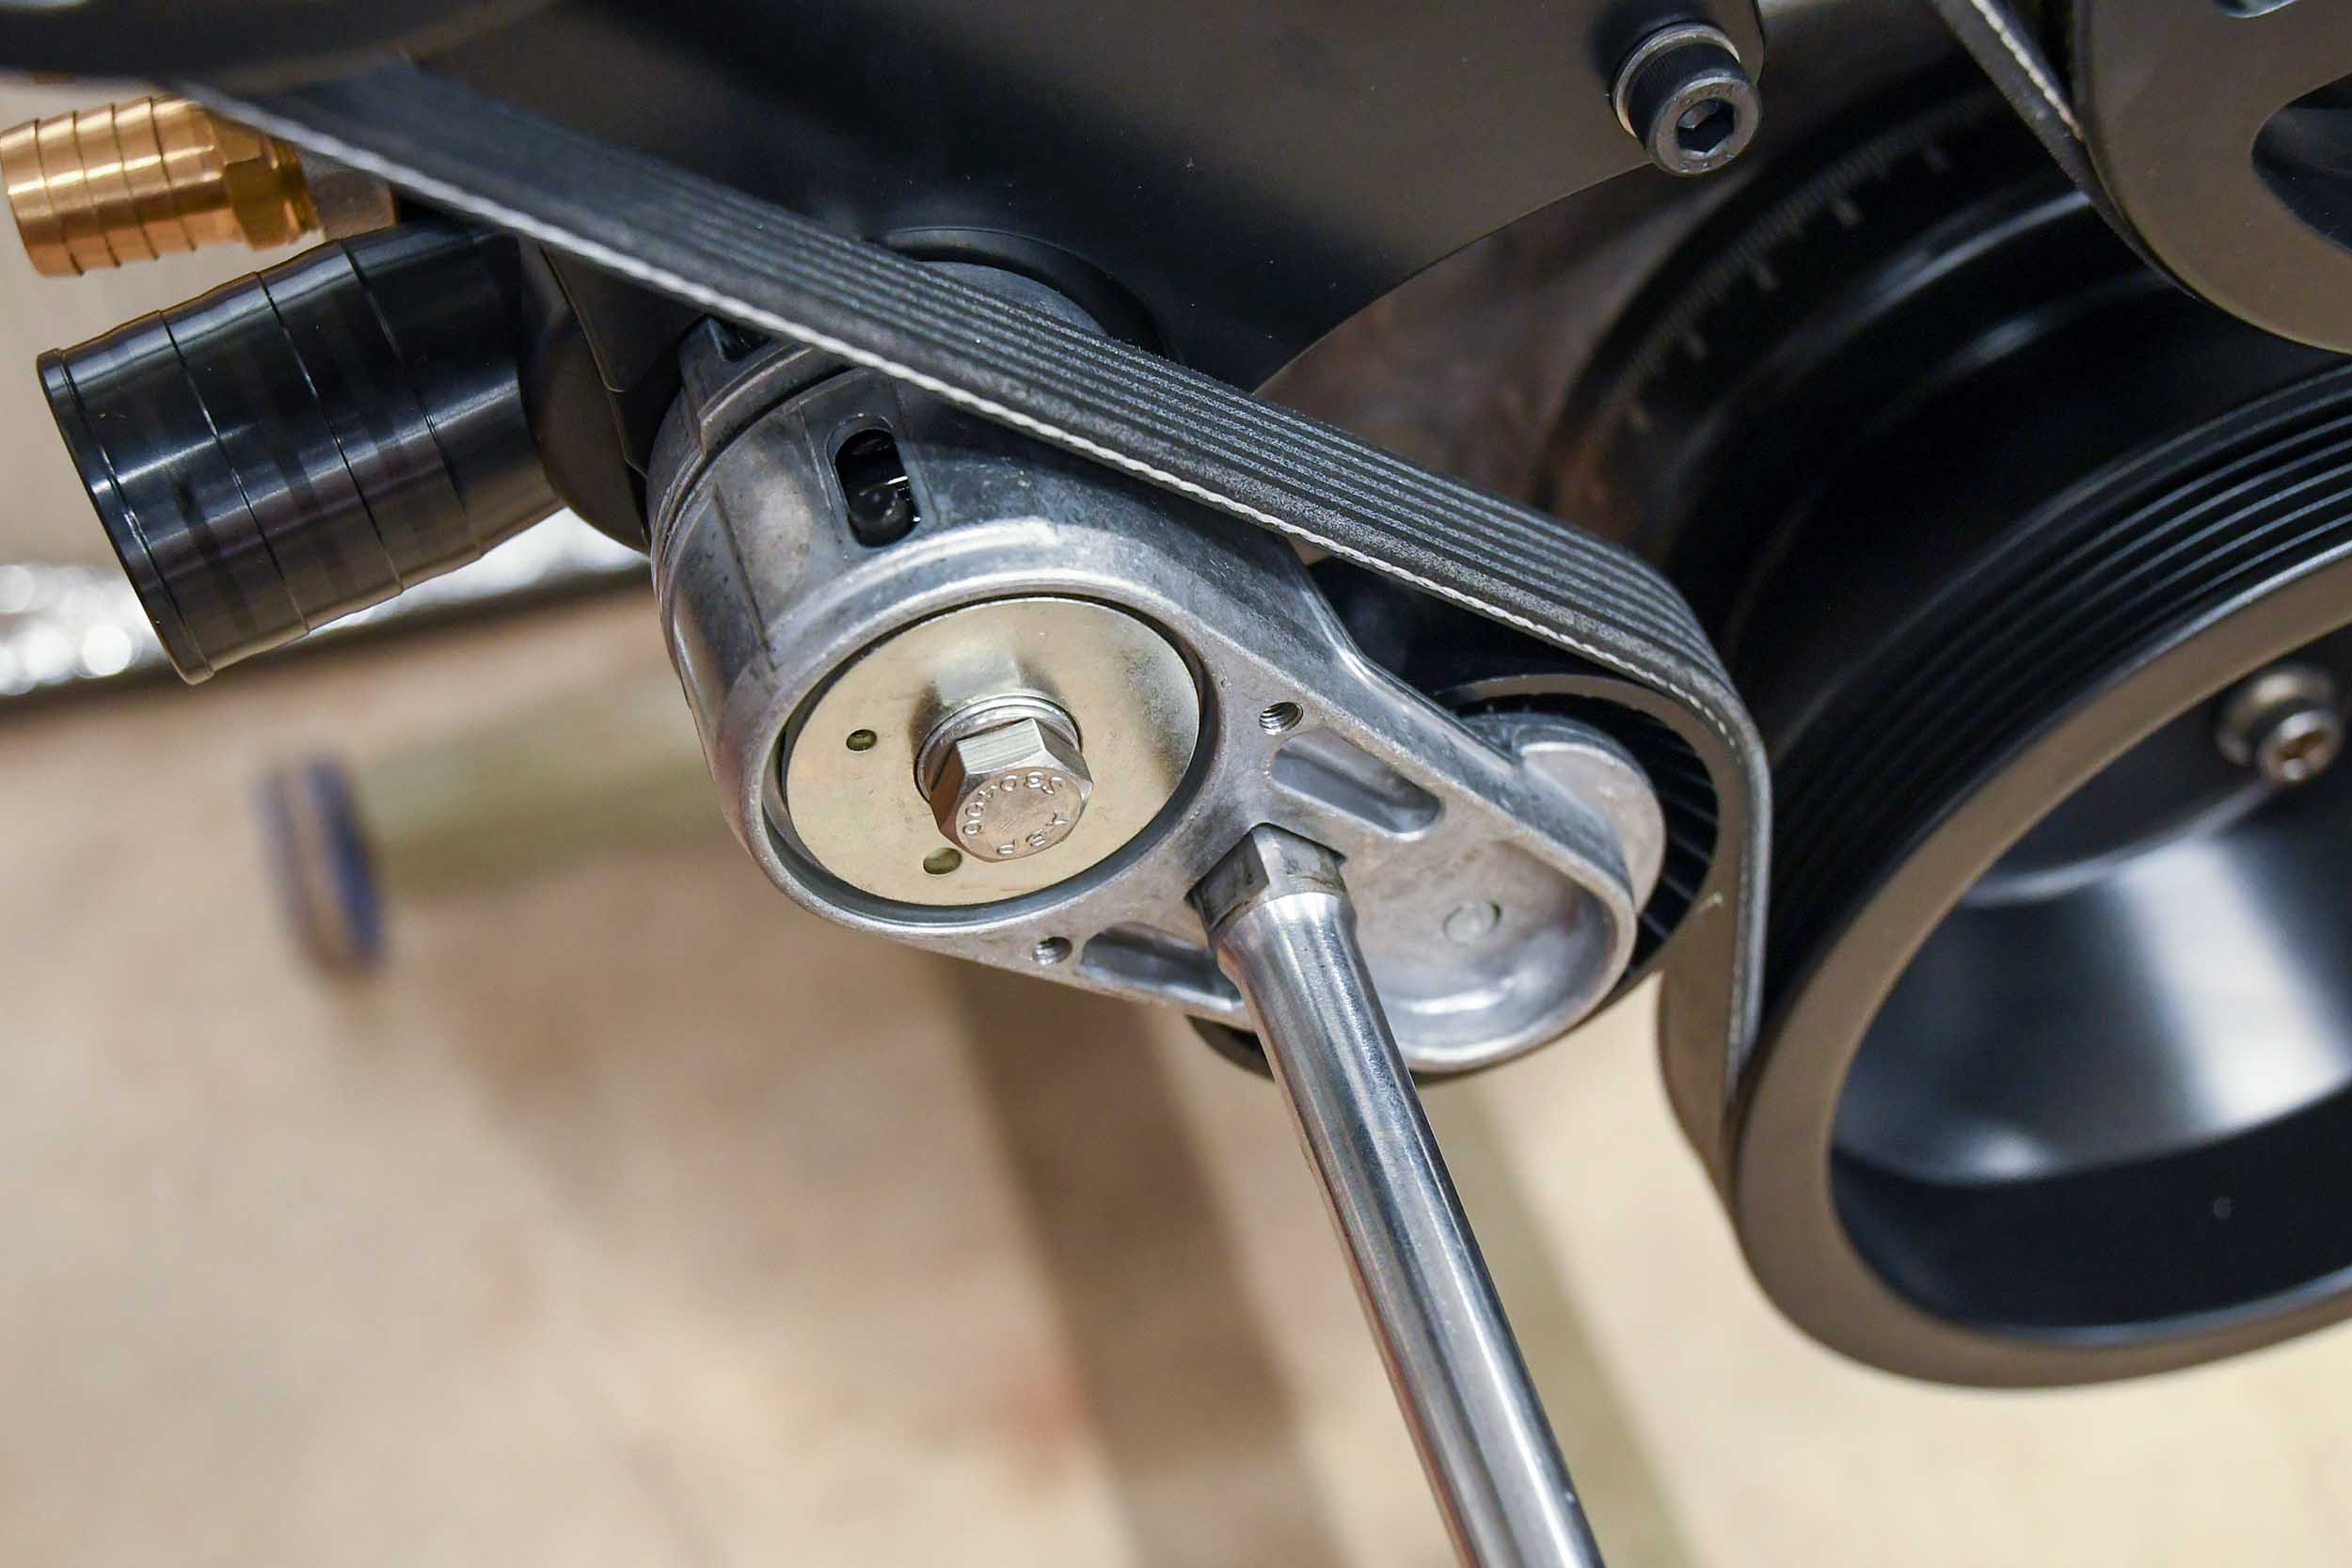
With the belt installed, we could then put the cover on the belt tensioner to finish the installation.
We can’t wait to get this engine up and running in our 1996 Caprice sleeper project vehicle. We’ll be sure to show you more once we’ve had a chance to put a few miles on it! Stay tuned.
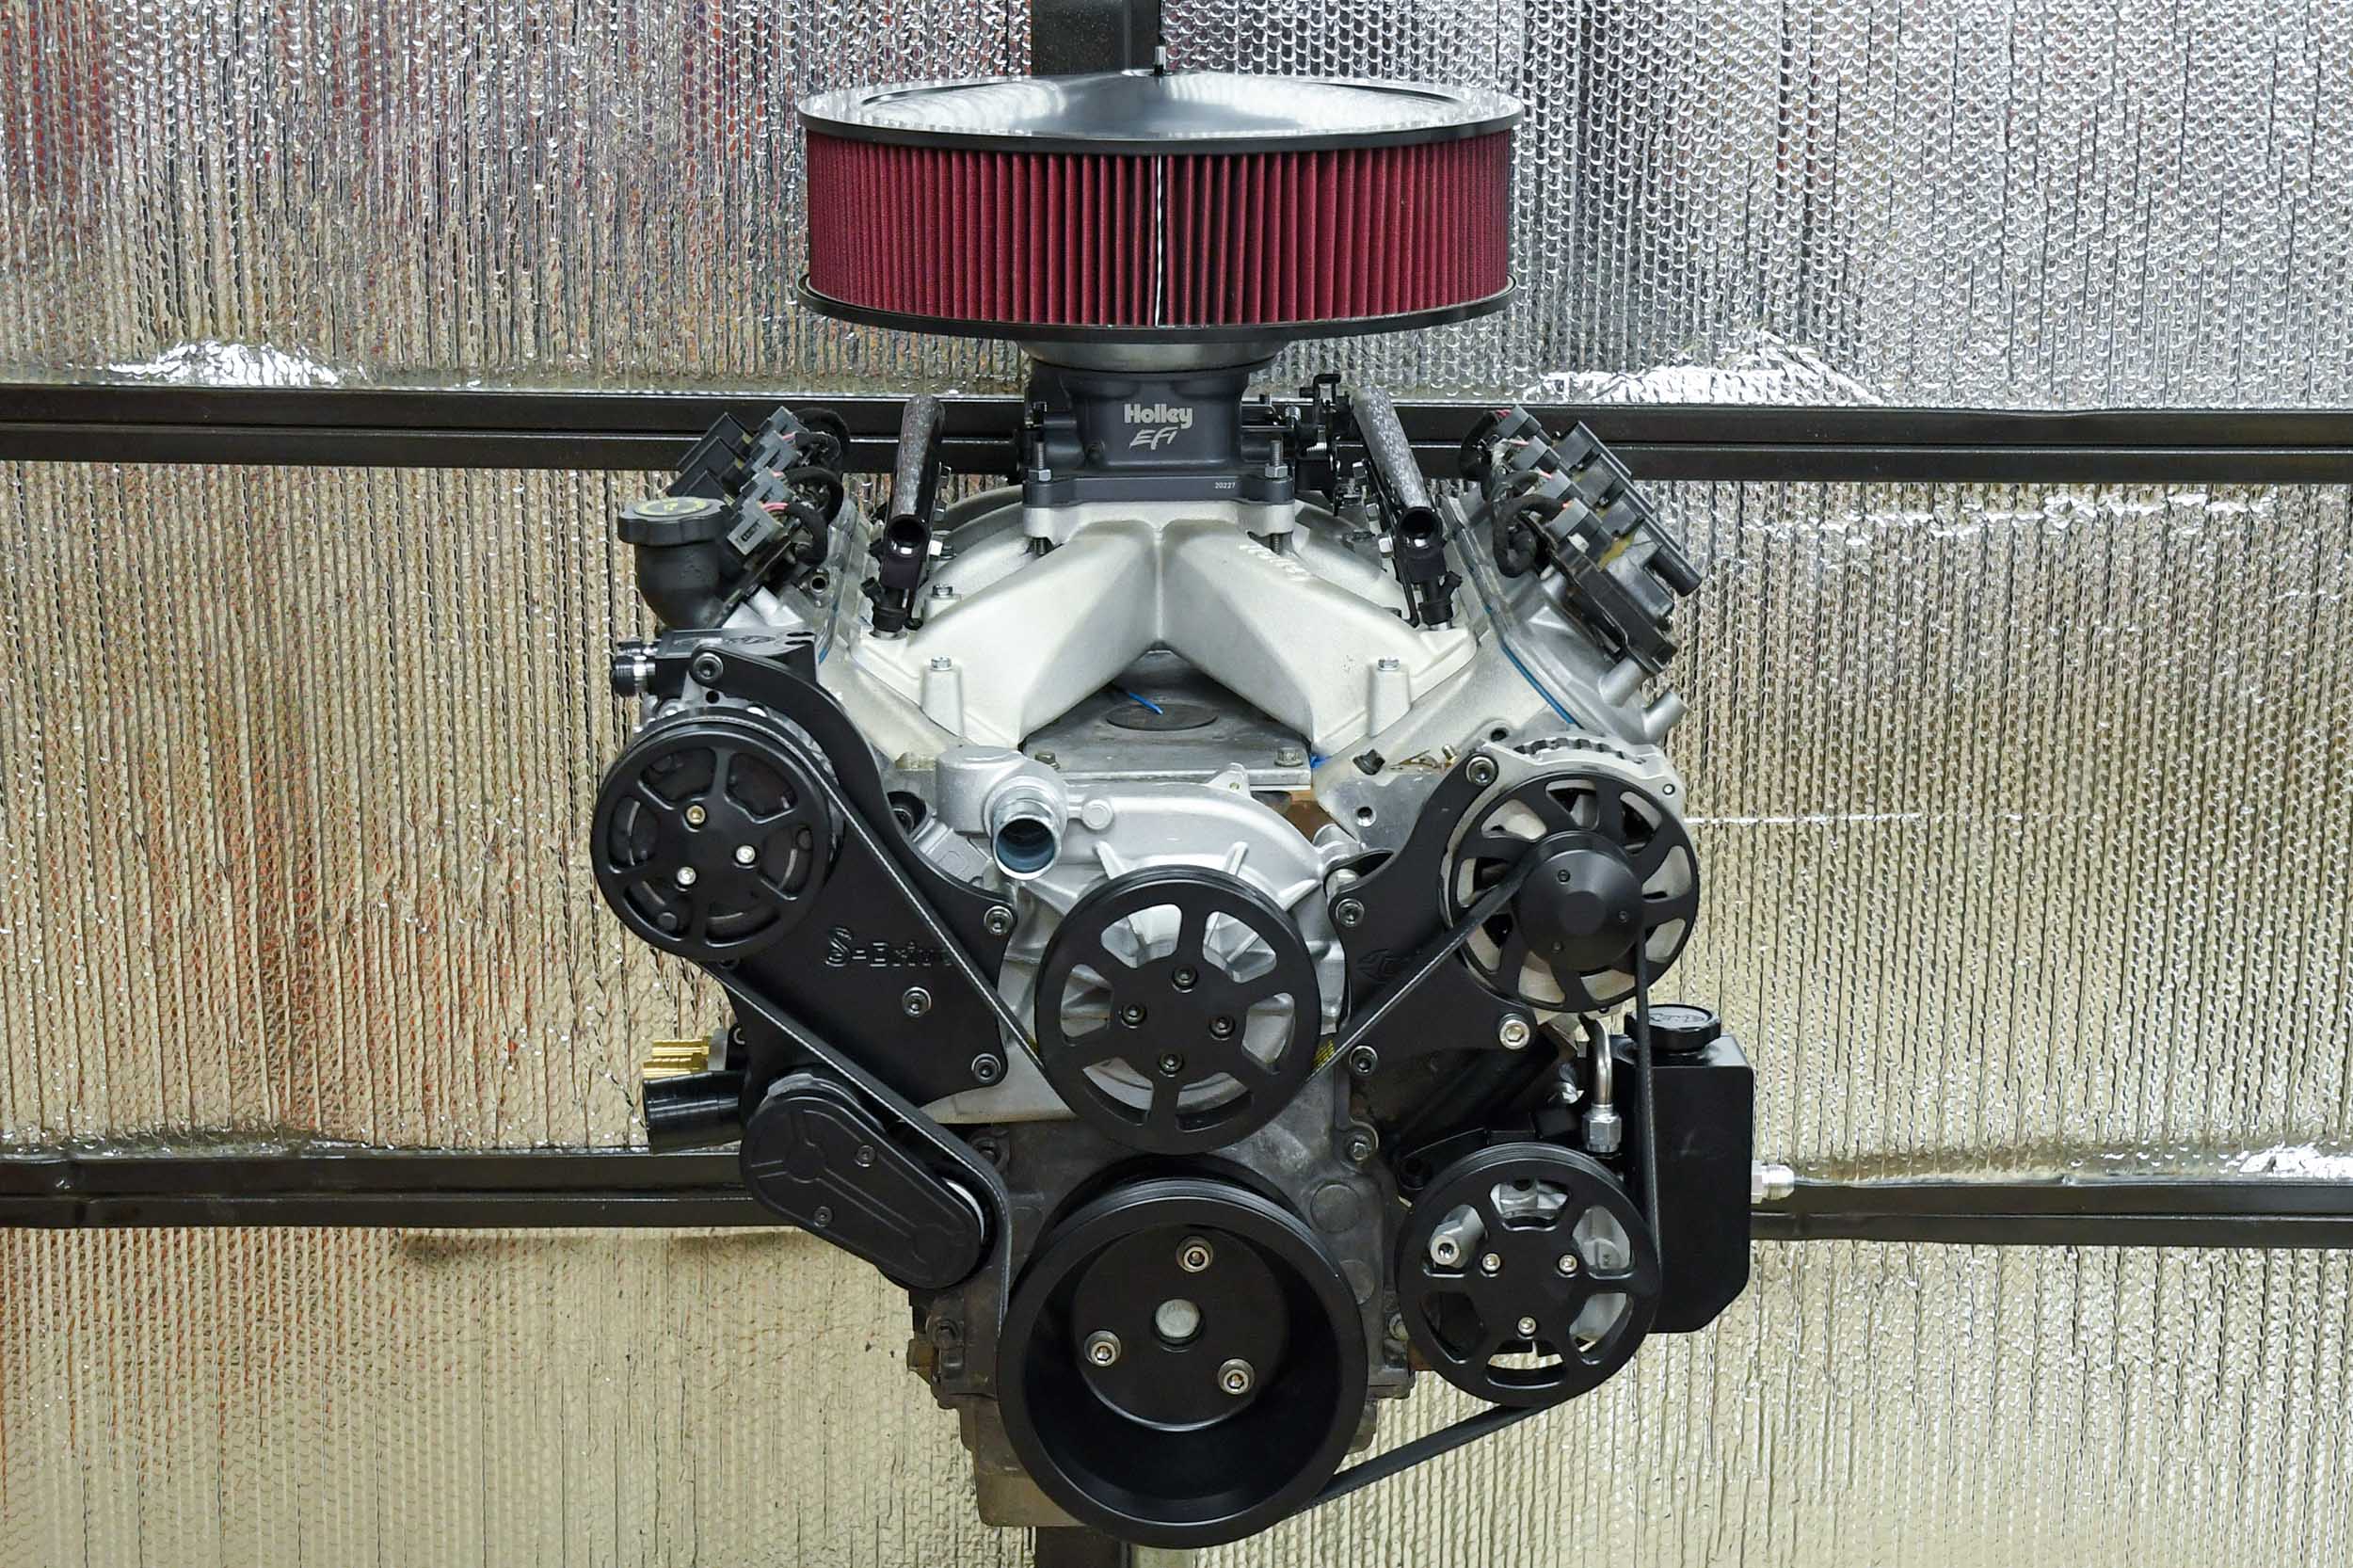
Okay, we couldn’t resist plopping the new Holley EFI system onto the top of the engine just to see how everything looks.