
 We’ve gotten down to the final touches on our completely transformed project car. Project Swinger was the first true project car in the Power Automedia stable having earned a spot in the empty garage at our first facility in the Inland Empire region of Southern California.
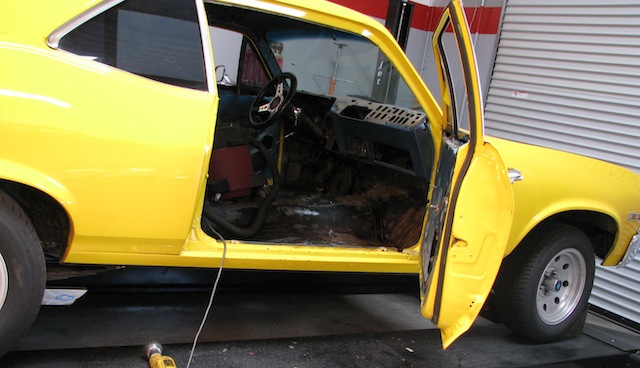
Project Swinger Nova came to us with seven layers of the ugliest paint ever created, license plates that said “Swinger” and rust in all the hidden crevices. Replacing many of the hidden components became a seemingly endless search for parts. That search finally ended when Classic Industries began distributing a part that no one else offered. A common window regulator.
The once proud economy GM car had seen its fair share of abuse – at least one roll-over and what appeared to be a full gallon of Bondo under 7 layers of paint and a botched panel replacement. This ugly duckling has been under the torch for eight years and we were finally getting down to putting the final touches on what has become a beautiful swan.
Having replaced almost every conceivable part in the interior of the car, we ran into a component that was not readily available. We could not locate a new window regulator in the previous seven years of the rebuild. As luck would have it, we were not the only ones that experienced this problem.
“A red flag went up for us when one of our merchandisers was going through the catalog looking for a window regulator for his ’70 Nova SS. We hunted around and discovered that no one else made this part either,” said Paul Lach of Classic Industries. “That alerted us to the Nova enthusiasts’ need for this part in the marketplace.”
Classic Industries was founded in 1976 and quickly found a spot in the marketplace selling hard-to-find items for early Camaros. The company has since become a leading distributor of GM licensed restoration parts and features a showroom, call center, shipping center and an expansive warehouse for housing one of the largest inventories of parts and accessories in the business.
These window regulators are a perfect example of how the engineers at OER reverse engineered the product to replicate the original parts exactly.
“Once we discovered that no one made a restoration window regulator for the ’69 to ’72 Novas, we contacted our friends at OER (Original Equipment Reproduction). Because OER is a licensed GM manufacturer, they can sometimes get the original tooling or duplicate the original tooling to produce parts that are equal to or better than the originals,” explained Lach.
One of OER’s founding beliefs is to provide accurate restoration parts that meet the criteria of OE components that were installed on the cars as they came off the assembly line. These window regulators are a perfect example of how the engineers at OER sought original GM regulators, then reverse engineered the product to create their own tooling that replicated the original parts exactly. Once they could manufacture all the parts, the company completed the assembly and now offer them for sale through the OER dealer network.
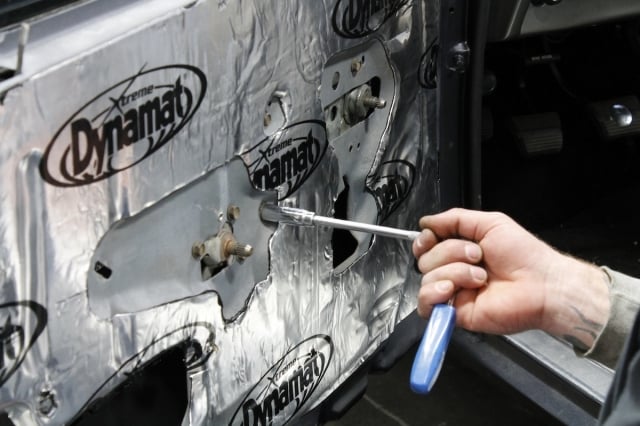

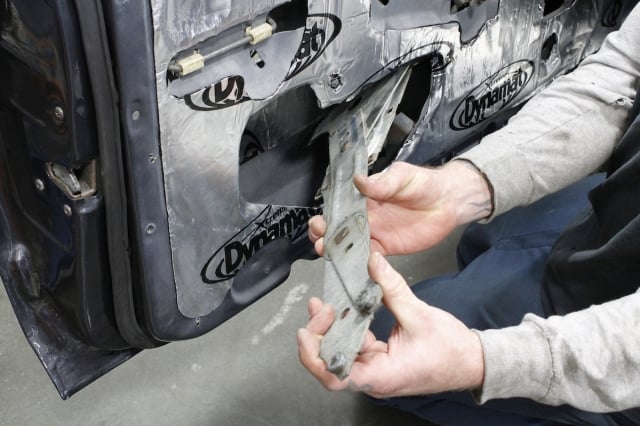
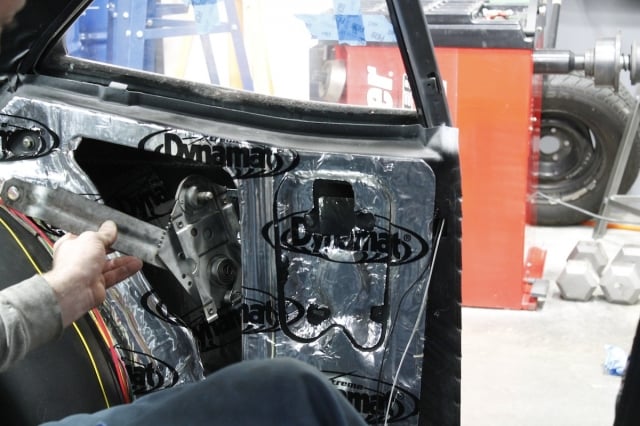
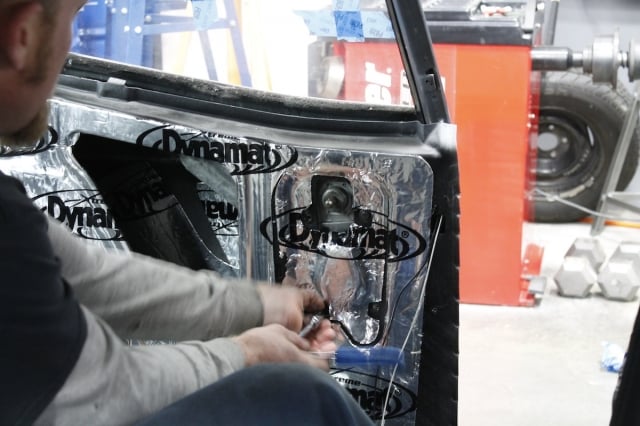
We removed the bolts holding the window regulator in place, taped up the window glass to prevent it from falling, then removed the old window regulator assembly.
The Window Regulators
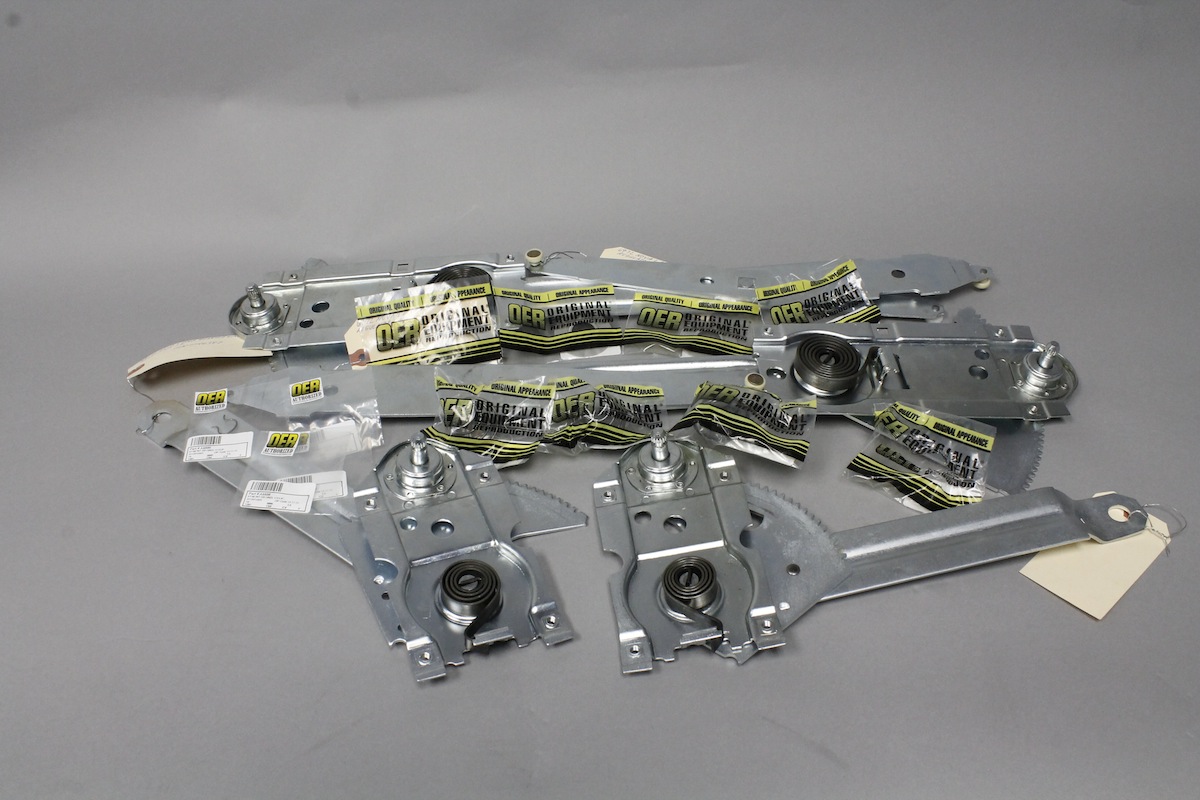
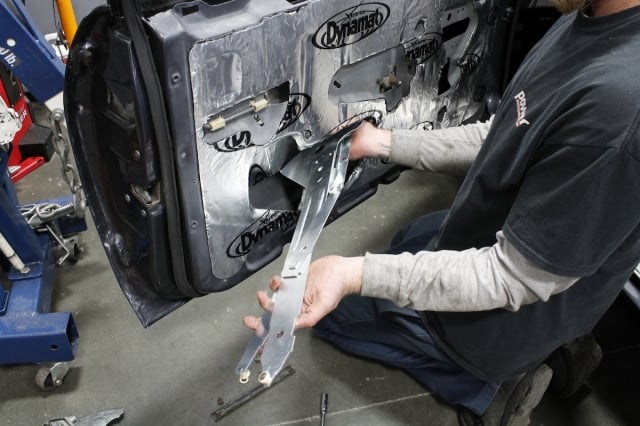
Our Nova required regulators for both the driver and passenger front doors as well as the small quarter windows for the passengers in the back seat. A window regulator is the internal mechanism for raising and lowering the window. When it comes to the window systems, these items eventually show the most wear because of their frequent use.

Nova Window Regulators
Window Regulators and Accessories Used:
- 1969-72 Nova 2-Door Front Window Regulator, Right Hand, OER Part Number 8767854
- 1969-72 Nova 2-Door Front Window Regulator, Left Hand, OER Part Number 8767855
- 1968-71 Nova 2-Door Quarter Window Regulator, Left Hand, OER Part Number 7746387
- 1968-71 Nova 2-Door Quarter Window Regulator, Right Hand, OER Part Number 7746388
- 1947-2002 Window Crank Handle Washer Plate, OER Part Number 20393850
- 1947-1992 Interior Window Crank handle C-clip, OER Part Number A9886
Unfortunately faulty window regulators are not rebuildable. These reproduction OER assemblies feature a correct fit and are a precise reproduction of the front and rear window regulators.
While we were doing the window regulator replacement, it only made sense to change the associated hardware for the assembly. The window crank handle washer plate that is sandwiched between the window crank and the door panel, is there to prevent the window crank handle from damaging the door panel when the handle is turned. These were installed in almost every GM model from 1947 to 2002 without power windows.
Another often overlooked component in this replacement is the window crank handle spring. This is the spring that mounts between the window regulator and the door panel, whose purpose is to keep tension on the panel where the crank handle mounts.
Not using a new crank handle spring is just sloppy work and will show in the final product. High end restoration companies recommend that this spring be replaced anytime the window cranks or door panels are replaced.
Classic Industries recommends replacing the window crank handle C-clips when replacing the window regulator. These C-clips are designed to hold the window crank handle onto the window regulator shaft. Using an old rusty window handle C-clip is begging for trouble.
Murphy’s law states that a reused window crank handle C-clip will break at the most inopportune time and the window crank will fall off and roll around on your floorboard along with the empty YoHoo bottle.
Installation
Our installation of the window regulators was fairly simple. We began by removing trim, replacing the window regulator and re-installing the components. It’s just that easy. For the detail minded home restorers, here is our step-by-step installation instructions:
Once we discovered that no one made a restoration window regulator for the ’69 to ’72 Novas, we let our friends at OER know. – Paul Lach

- Remove the trim bezel that surrounds the inside door handle on your Nova. There is a small screw that retains the bezel. You can use a Phillips screwdriver to remove that screw, then pull the bezel from the interior door panel.
- We found it best to use a GM window crank removal tool to remove the window crank handle. Align the tool with the handle, and slide the tool between the handle and the door panel. This will disengage the steel retaining clip and allow you to pull the handle off the regulator shaft.
- Remove the armrest. The retaining bolts are concealed under small trim pieces along the inboard face of the armrest. Gently pry these off with a flat-head screwdriver. Then remove the retaining bolts and the armrest.
- Our Nova does not have remoter control mirrors but if your Nova is equipped with them, you must remove the plastic trim piece that houses the control knob. Using a Phillips screwdriver you can pull out the singe screw that retains the trim piece for removal.
- Now you can remove the interior door panel. There are hidden plastic clips that retain the door panel. Insert a wide, flat paint scrapper between the interior door panel and the steel door frame. Side the paint scrapper around the door frame until you contact one of the clips. Pull straight out, away from the door frame, to disengage the plastic clip from the door frame. You need to continue around the door until all the clips are disengaged. Then lift the door panel straight up to separate the top of the panel from the door.
- If you Nova still has the plastic water deflector shield, carefully remove it. The shield is held in place with tape. To remove the shield, simply pull it off, but be careful not to tear it.
- Lower the window fully then remove the weatherstripping from around the window by gently prying it out with the flat-head screwdriver.
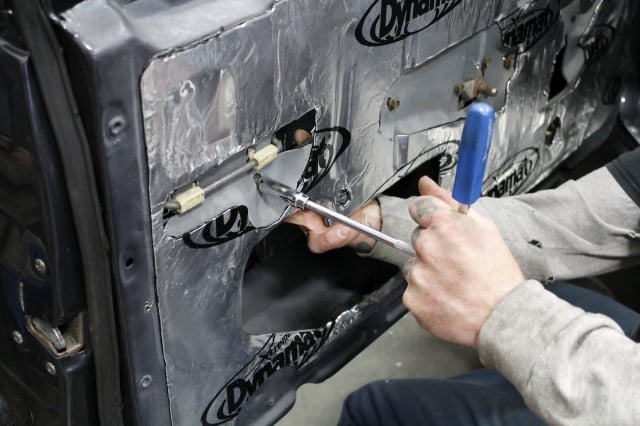
- Use a wrench to remove the bolt that connects the window regulator arm to the steel glass channel attached to the bottom of the window glass. Then carefully lift the glass up through the window opening, and remove it from the car.
- Remove the window regulator attaching bolts and remove the window regulator through large access hole.
- To install, reverse removal procedure.
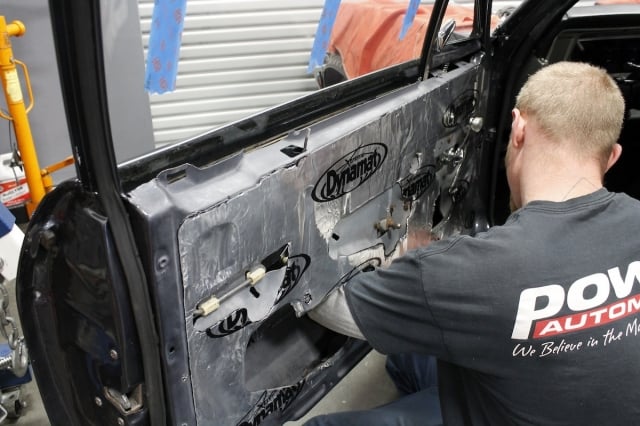
Installation of the new window regulator was the reverse of the removal process except that we used a new spring, washer plate and C-clip.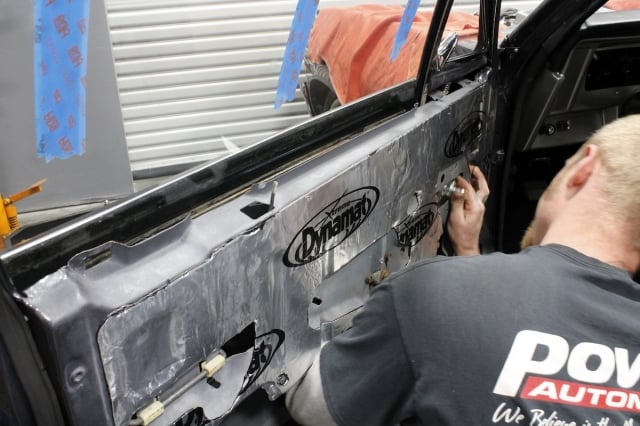
Installing the New Door Glass
- Carefully slide the new window into the opening at the top of the door.
- Reinstall the bolt that connects the window regulator arm to the steel glass channel.
- Reinstall the weatherstripping around the window opening by carefully pressing it into the channel in the window frame.
- Reinstall the plastic water deflector shield. Use masking tape to secure it to the door frame.
Installing the rear quarter window regulators was virtually identical to the fronts
Reinstalling the Interior Door Panel
- Lower the interior door panel into position over the door. Make sure the tab at the top of the interior door panel engages the groove on the inside of the door at the bottom of the window opening.
- Use the palm of your hand to press the plastic clips into the holes in the door frame. Continue around the interior until all the clips are pressed in.
- Reinstall the plastic trim piece that houses the remote mirror control knob. Lift the trim piece into position, and reinstall the screw that retains it.
- Lift the armrest into position, and reinstall the three screws that retain it. Then press the screw covers into the armrest.
- Reinstall the window crank by pressing it onto the regulator shaft.
- Slide the trim bezel into position around the interior door handle, and then reinstall the screw that retains it.

Classic Industries is also a distributor of high end products like the Ring Brother’s Billet Hood Hinges for Novas, making them a complete one stop shop.
One Final Upgrade
Before we call this project complete, there was one last upgrade that we wanted to make. Classic Industries is not only a distributor of licensed GM Reproduction Parts from OER, but they also carry several other brands of products for their customers. “We really want to be the one stop shop when it comes to restoring musclecars,” said Lach. “For the custom or restomod and show builds, we offer parts like the Ring Brother’s billet hood hinges.” (Part Number CB61011 – 1968-1974 Chevy II and Nova).

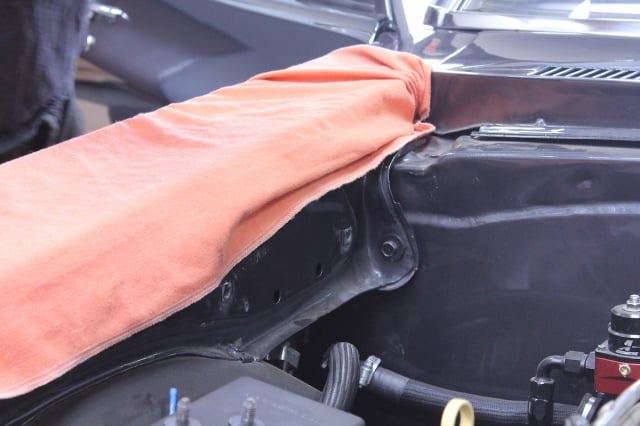
Installing the Ring Brother's Billet Hood Hinge is a straight-forward operation, as long as you follow all the steps in the instructions.
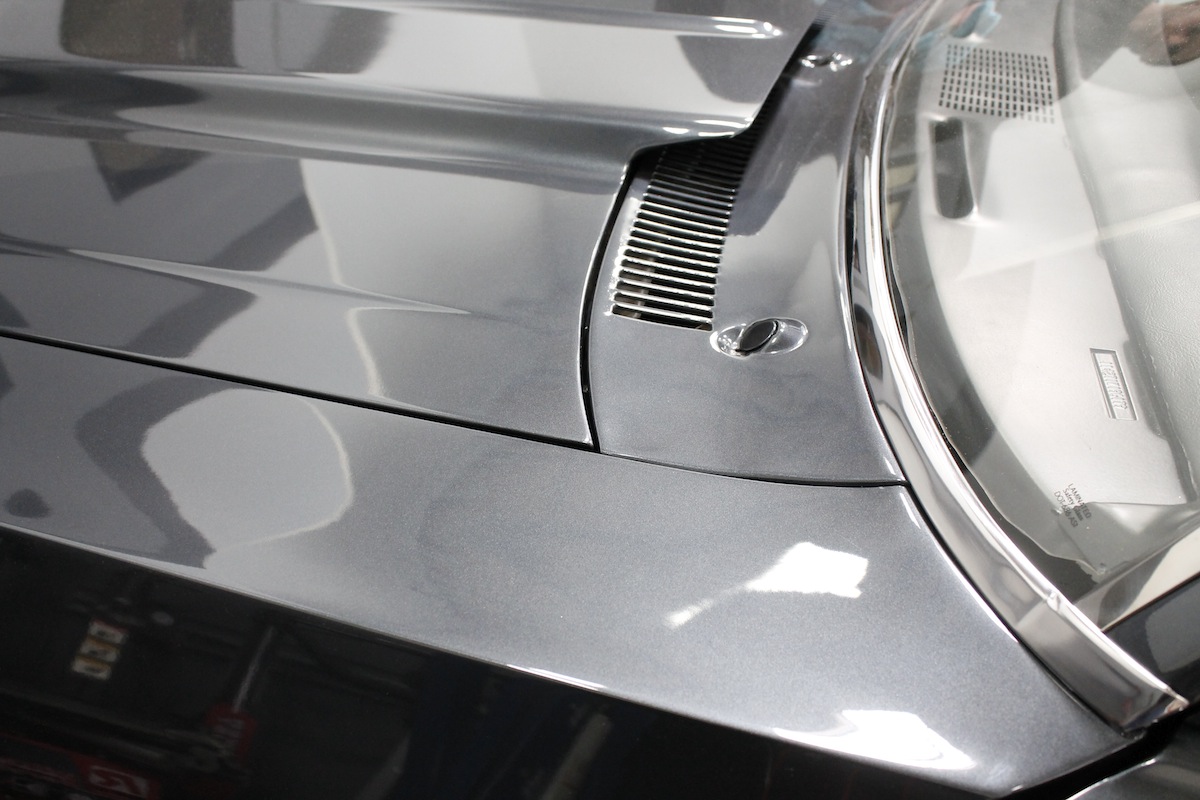
Granted, these aren’t for everybody but we felt our Nova deserved this final, but seriously glamorous touch. These hood hinges were designed to replace the functional but plain-looking original hood hinges with a set of premium quality billet hood hinges.
These are CNC machined from solid 6061-T6 billet aluminum, and they are a direct replacement piece with no modifications necessary. For smooth operation these hood hinges feature ball bearing pivot joints and gas shocks. All the necessary installation hardware and a comprehensive set of instructions are included in the kit.


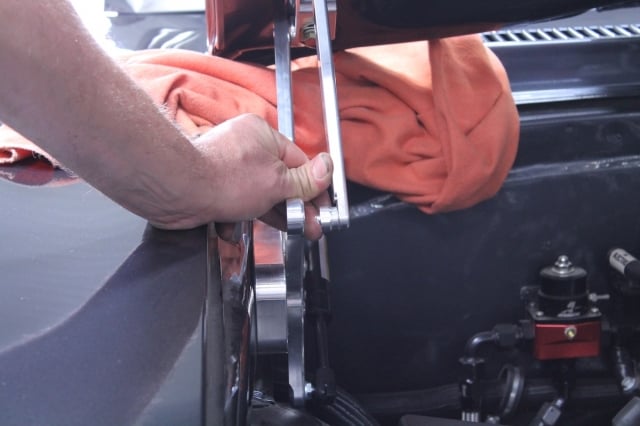
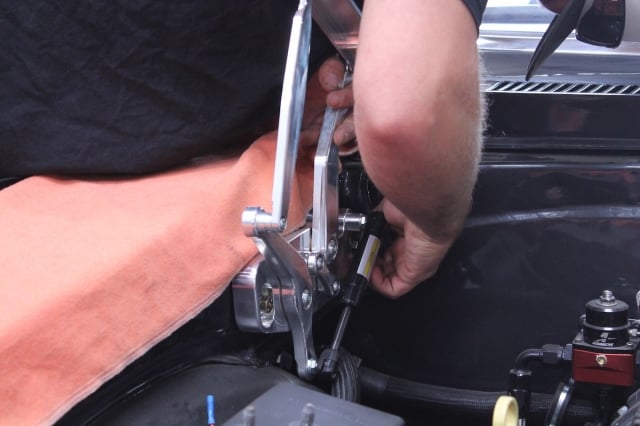
On our first attempt to install these high end hinges, we skipped the step that requires the hinges to be square to each other. As a result, we broke one side and had to reorder a single replacement piece.
We quickly discovered that these high end hood hinges required some attention to detail in the installation process. Measuring from the bolt holes on each side and comparing them to the width and length of the engine bay to ensure that the hinges are perfectly square to each other is essential. Skipping that step can be a show-stopper for the show quality piece.
We found out the hard way and had to reorder one side. Paying attention to ALL of the instructions, we were able to install the new hood hinges and enjoy how they look and operate.
On our second attempt we were spot on. The hood hinge worked flawlessly and the fit and finish was better than we could have hoped for.
Wrapping Up The Deal
These final restoration improvements and upgrades represent the end of the project swinger build. It’s finally time to take the newly restored Nova out to the streets and enjoy the fruits of our labor. There may be a road course in our near future. Perhaps a cruise or even a few trips around the autocross course. Stay tuned as we plot our next steps with the Swinger Nova. Rest assured that we will document our travels!
Check out the Classic Industries website for your restoration and rebuild needs, which includes both interior and exterior trim and finish panels, as well as suspension, steering and mechanical parts to bring your classic car back to looking original.


