If you drive a high-mileage 1999-2009 GM truck, then you’re probably familiar with the dreaded steering clunk. Not sure what we’re referring to? Let us elaborate.
The Problem
As these vehicles age, the steering shaft wears out, causing an audible clunking noise which can also be felt in the steering wheel. While this problem is not as noticeable on the highway, it’s super annoying while driving around town since the issue is caused by suspension and body flex. Fortunately, Borgeson offers a heavy-duty replacement shaft that will outlast another factory replacement because it’s better by design.
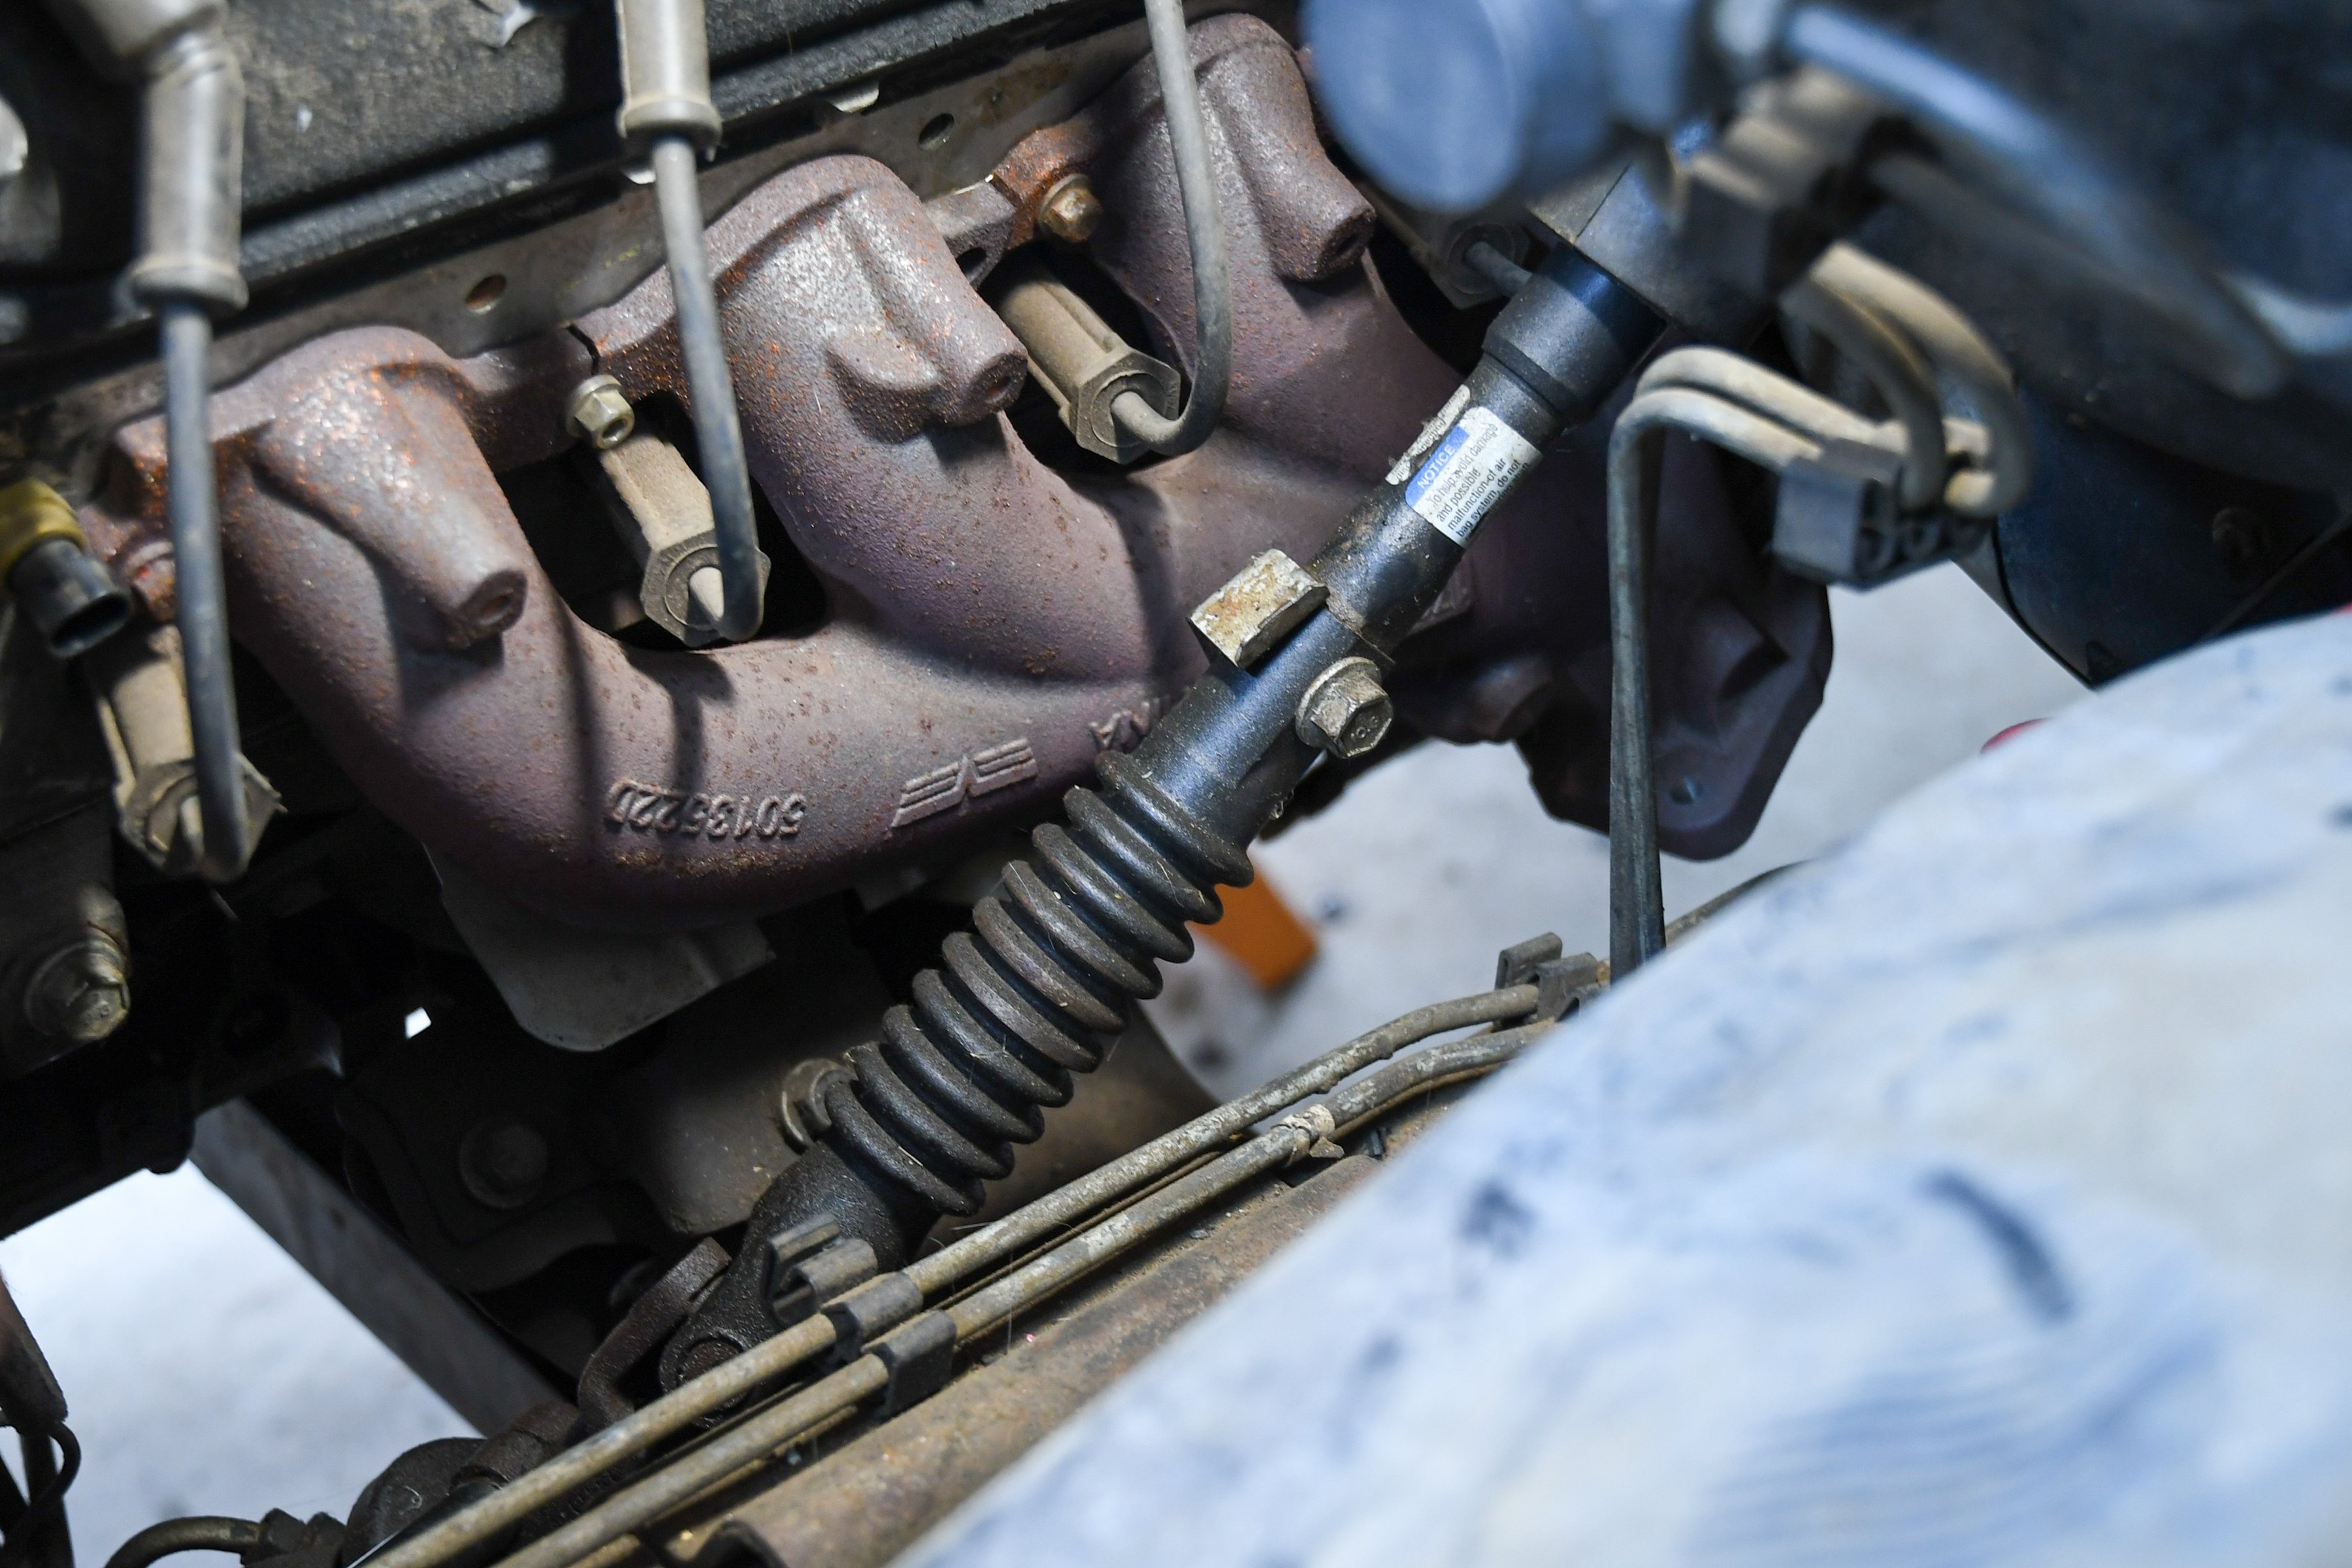
The factory shaft in our 2000 Silverado had a lot of play in it and was constantly rattling as we drove it.
To get the details on the shortcomings of the factory GM steering shaft for the ‘99-09 trucks and SUVs, we reached out to Jeff Grantmeyer, Borgeson’s Sales Manager. Grantmeyer said, “The factory shaft uses a splined telescopic section with poor machining tolerances that the factory takes up with a Teflon coating. The Teflon coating quickly wears out at a point on the shaft where there is flex between the body and chassis. This creates a dead spot in the shaft that leads to a clunk being felt and heard every time the truck flexes past this point.”
Now, you might be thinking, “Why doesn’t GM make a solid shaft to eliminate this problem?” That’s a valid question. These shafts are designed to compress if the vehicle is involved in a front-end collision as a safety measure. If they were solid, then the impact would thrust the steering column and steering wheel at the driver. And while driver-side airbags are a marvelous invention, you can imagine what would happen if the steering column was launched at your face as the airbag went off.
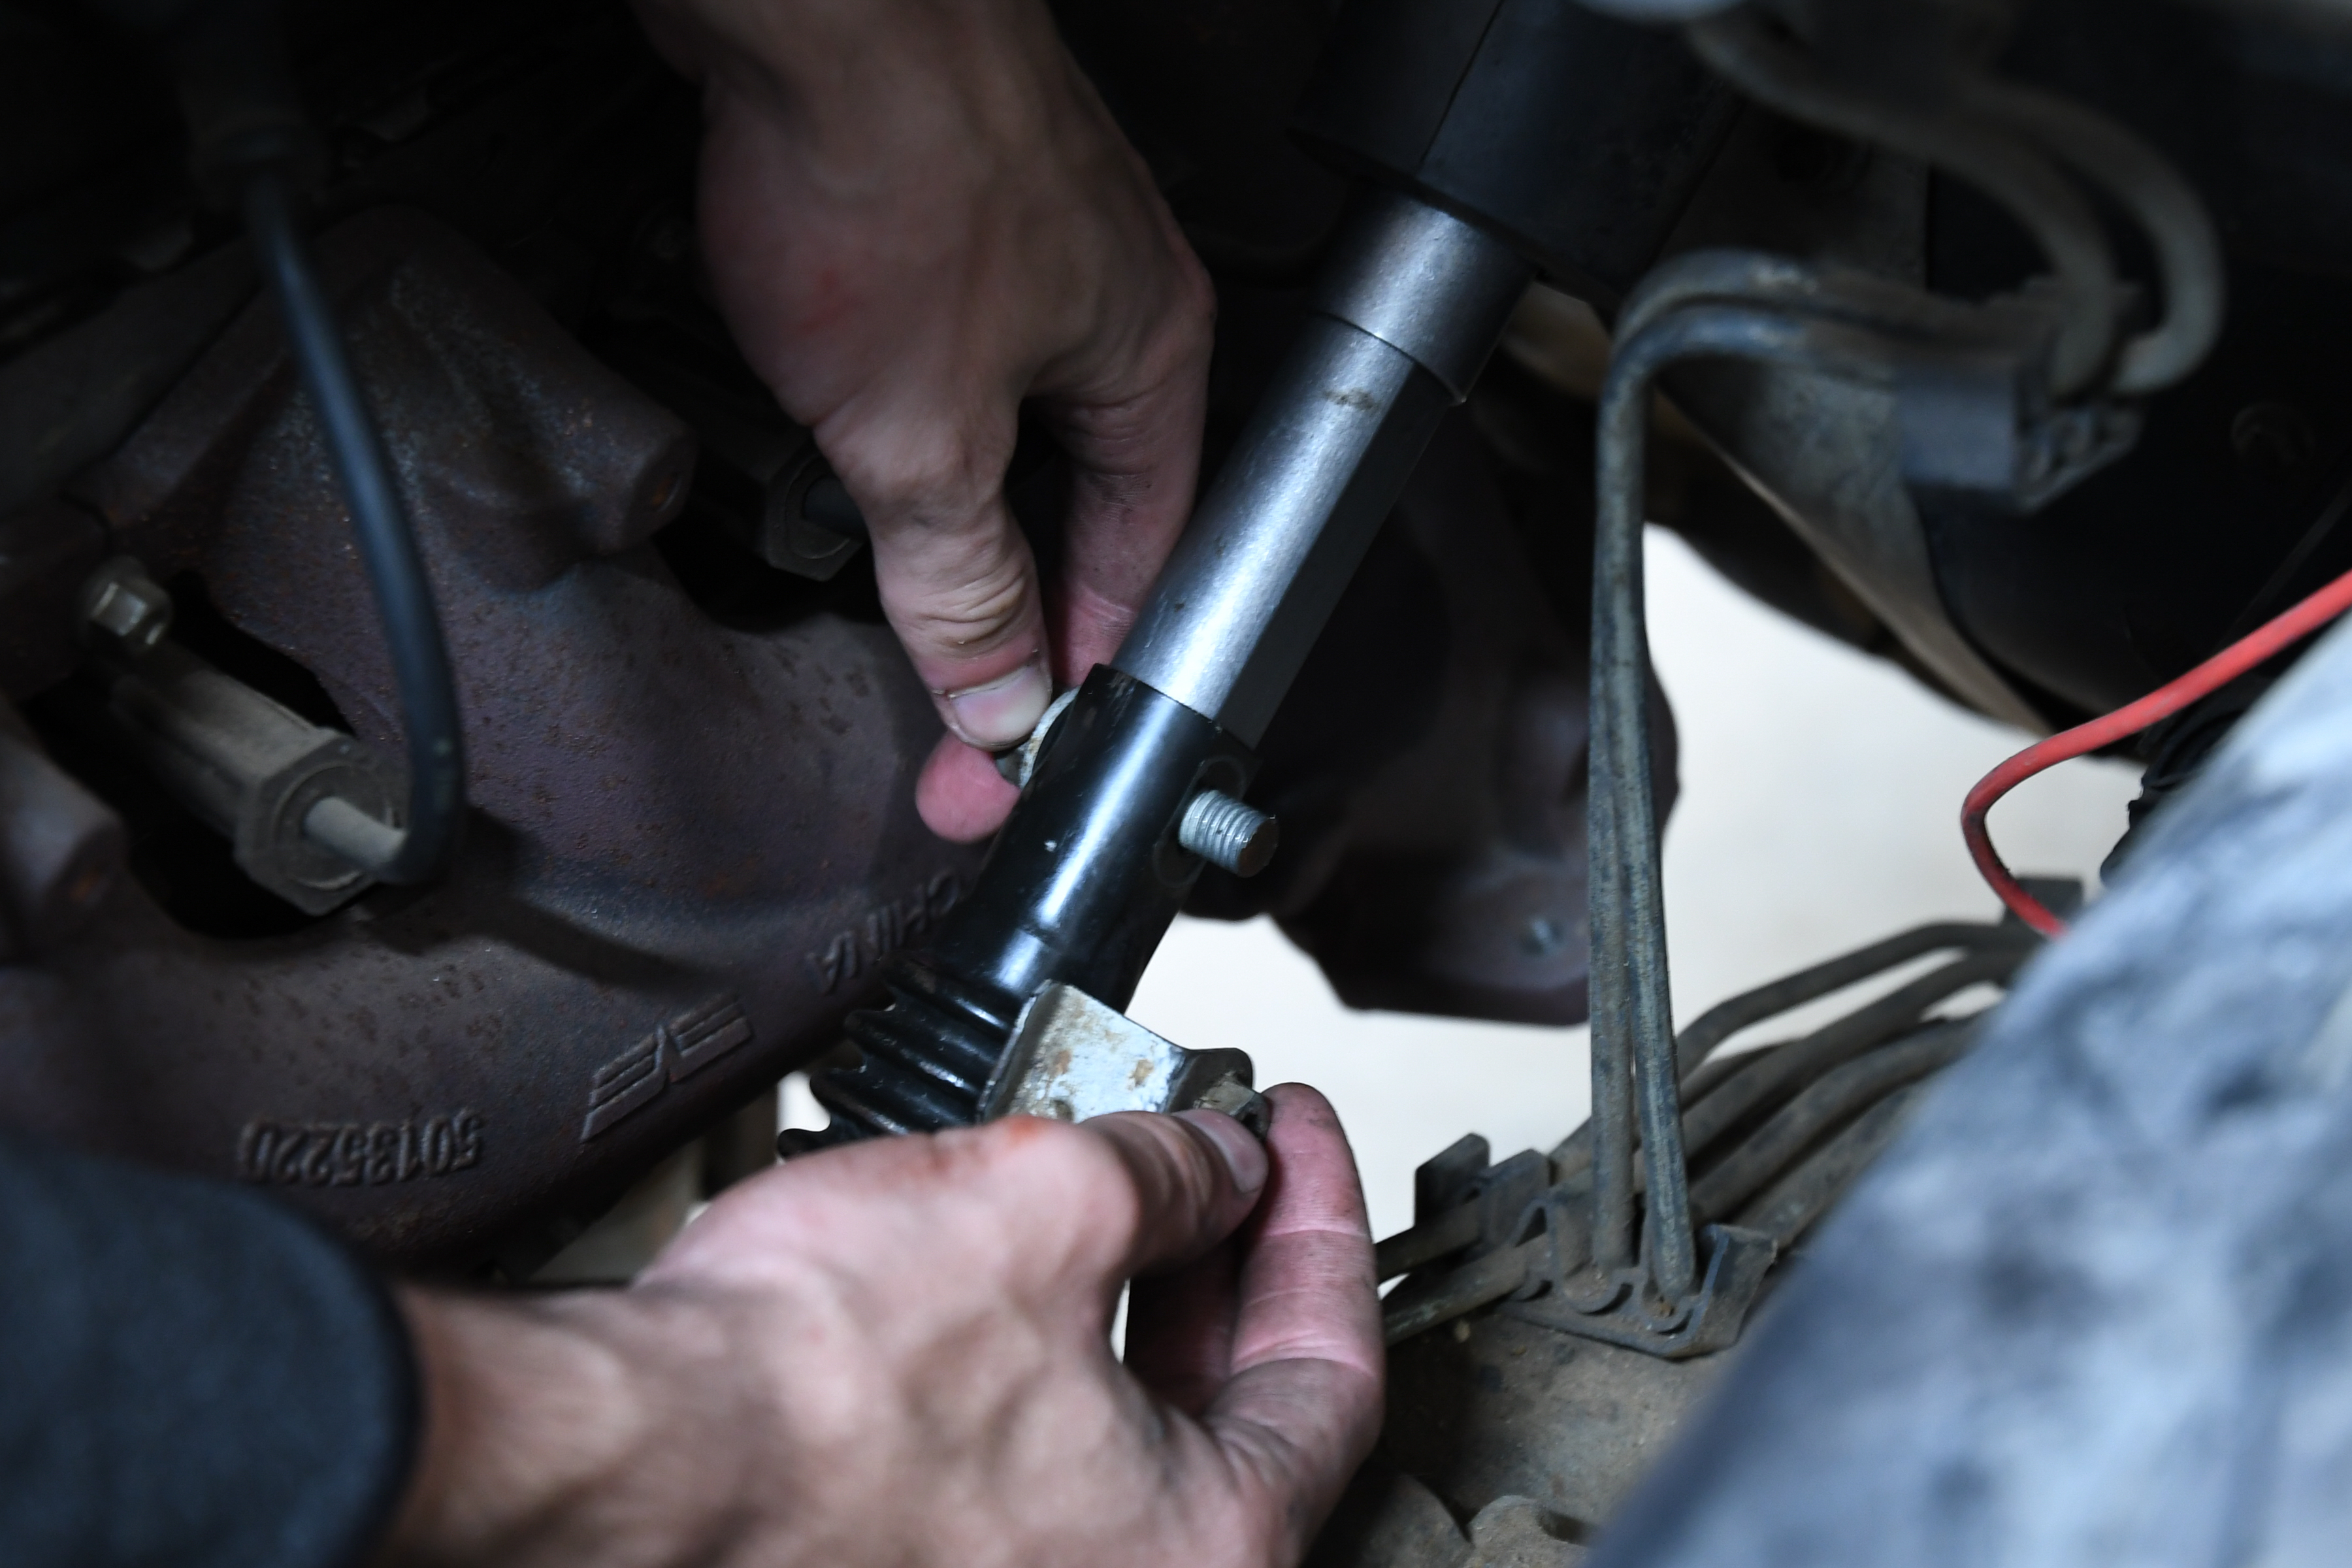
The removal of the factory shaft is a simple process that doesn’t take very long. In this image, we unbolted the shaft so we could slide the old unit out and replace it.
To fix this issue, Borgeson designed a completely new product with tighter thresholds and better materials. “The Borgeson shaft utilizes a D-style telescopic rod with precise machining tolerances,” Grantmeyer explained. “Our units don’t require any extra coatings that can wear away, resulting in a product that will last and be able to deal with body/chassis flex for a very long time. The shaft incorporated with our billet vibration reducing universal joint creates a far superior assembly to correct the annoying clunk experienced in these trucks.”
Our 2000 Silverado has 200,000 miles on the clock, and the steering shaft needed to be replaced long ago. After we received the Borgeson unit (PN 000937), we were ready to install the new part. Well…almost.
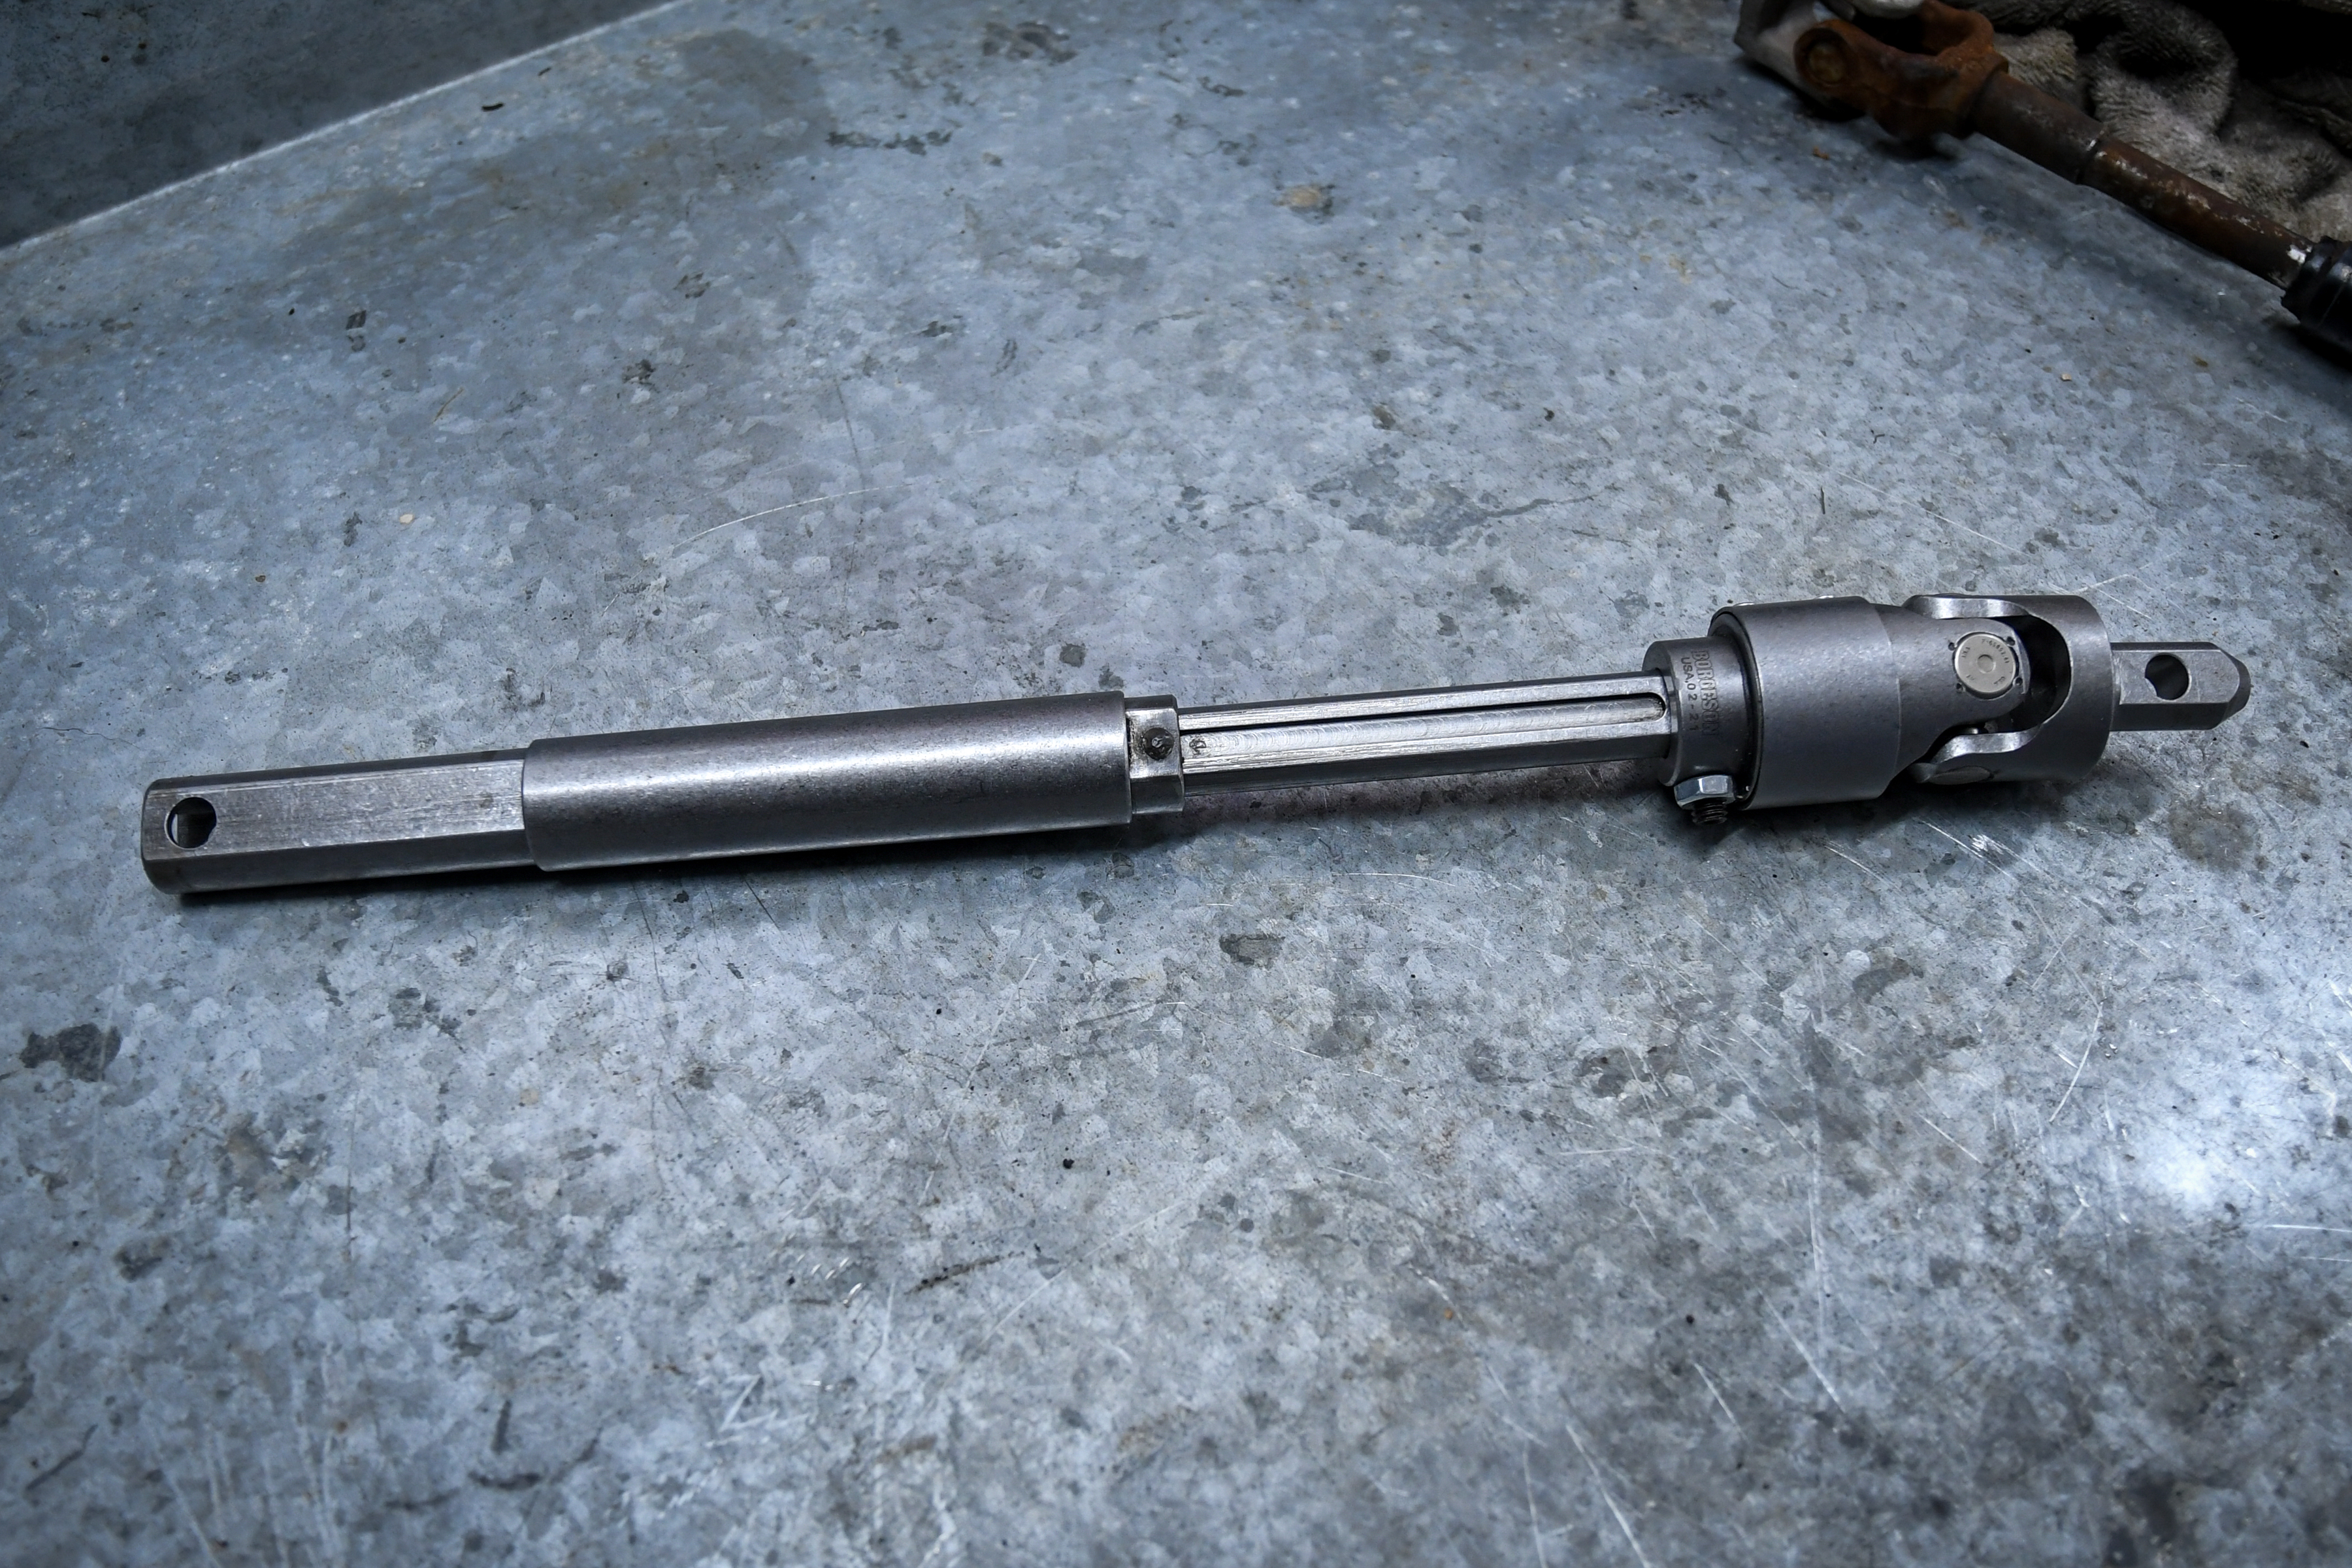
The Borgeson replacement steering shaft is a heavy-duty unit. Unlike the OEM piece, Borgeson utilizes tight machining tolerances so that a Teflon coating is not needed.
Grantmeyer said, “It’s always a good idea to replace the plastic lower steering column bearing at the same time you do the installation.” So we hopped on the internet and ordered one from Amazon. However, after receiving the part, we highly recommend ordering a GM unit instead. The piece we received was junk. It has a very clunky feel, and after we removed the factory unit, you could see a significant difference in design. The GM part uses a much better bearing than the cheap model.

The factory GM bearing on the left is a much better unit than the green one we purchased on Amazon. If we hadn’t broken the OEM bearing, we definitely would have used it again and not the new part we purchased.
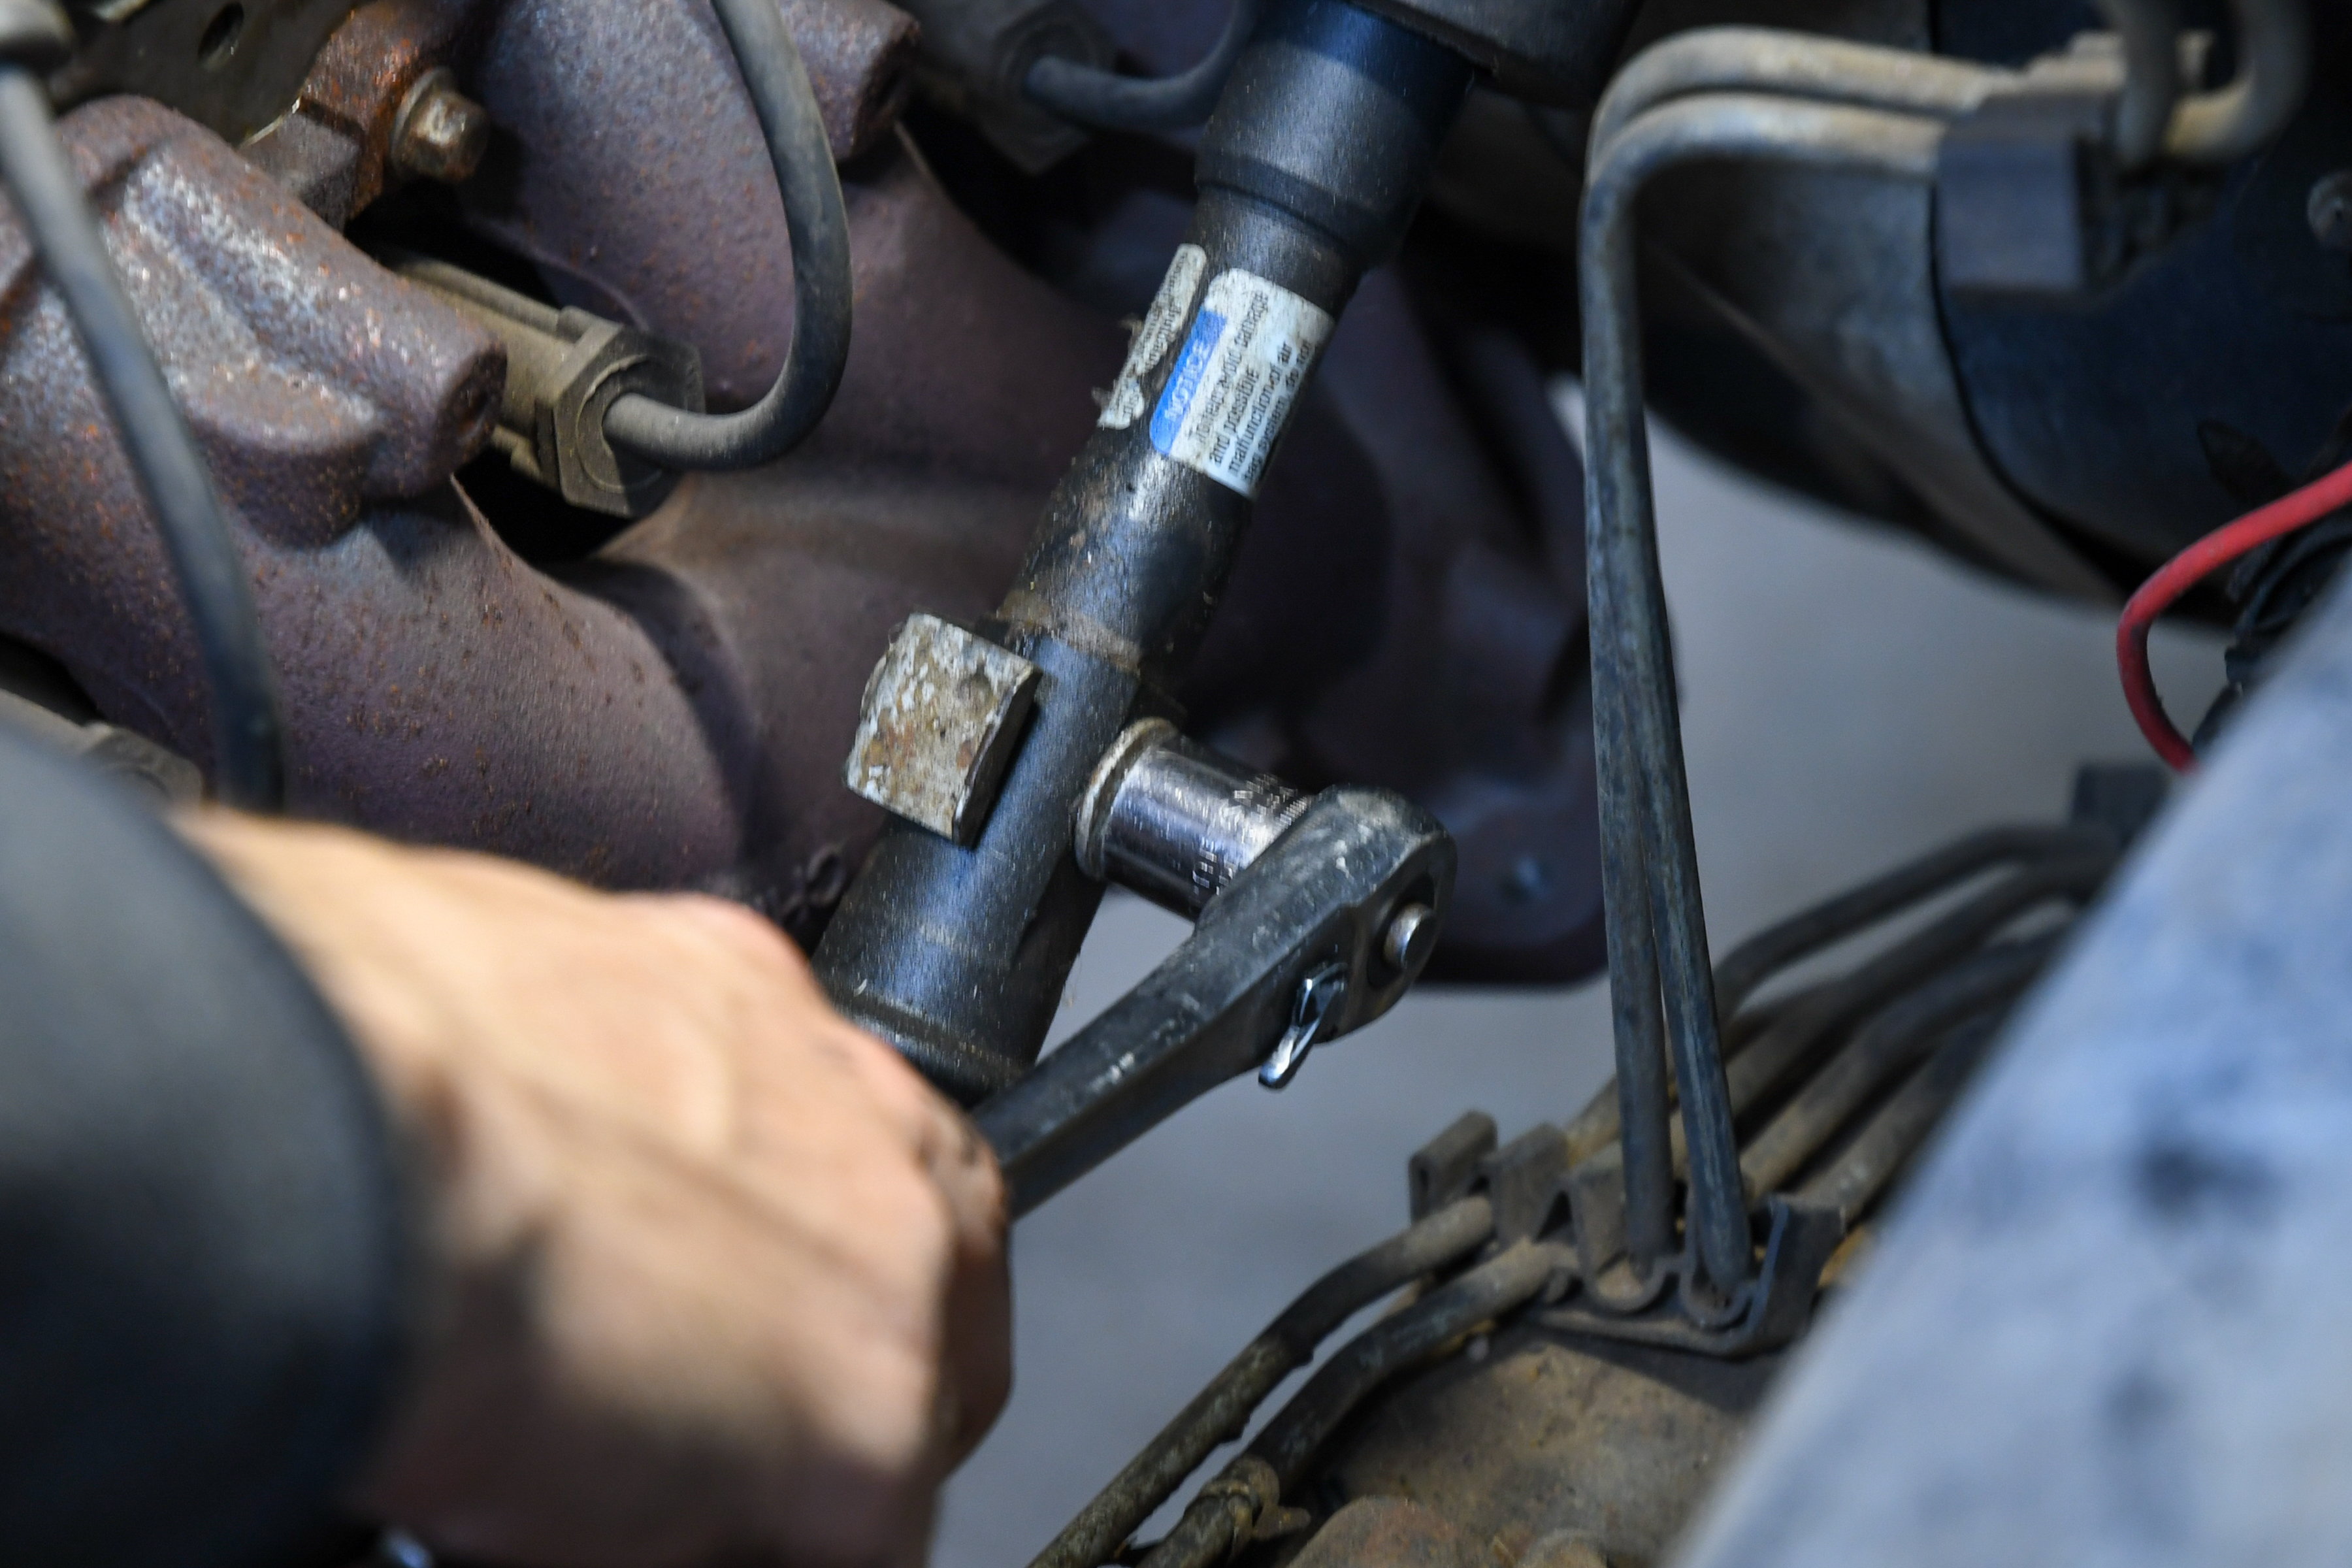
We reluctantly started the installation with the new parts in hand, knowing we would need to pull it back apart after the GM column bearing shows up. The first objective is to remove the factory shaft, which is an easy process. Before you start, it’s a good idea to make sure the steering column is locked so that your steering stays straight during the disassembly and assembly process. You don’t want to have a crooked steering wheel after the procedure is all said and done. We then loosened the bolt from the middle of the shaft. You can collapse the unit if you like, but since ours was so dirty, we unbolted the joint at the rack and pinion, as well. While this step is not required, we took advantage of this to clean up the lower part of the shaft since it will be reused.

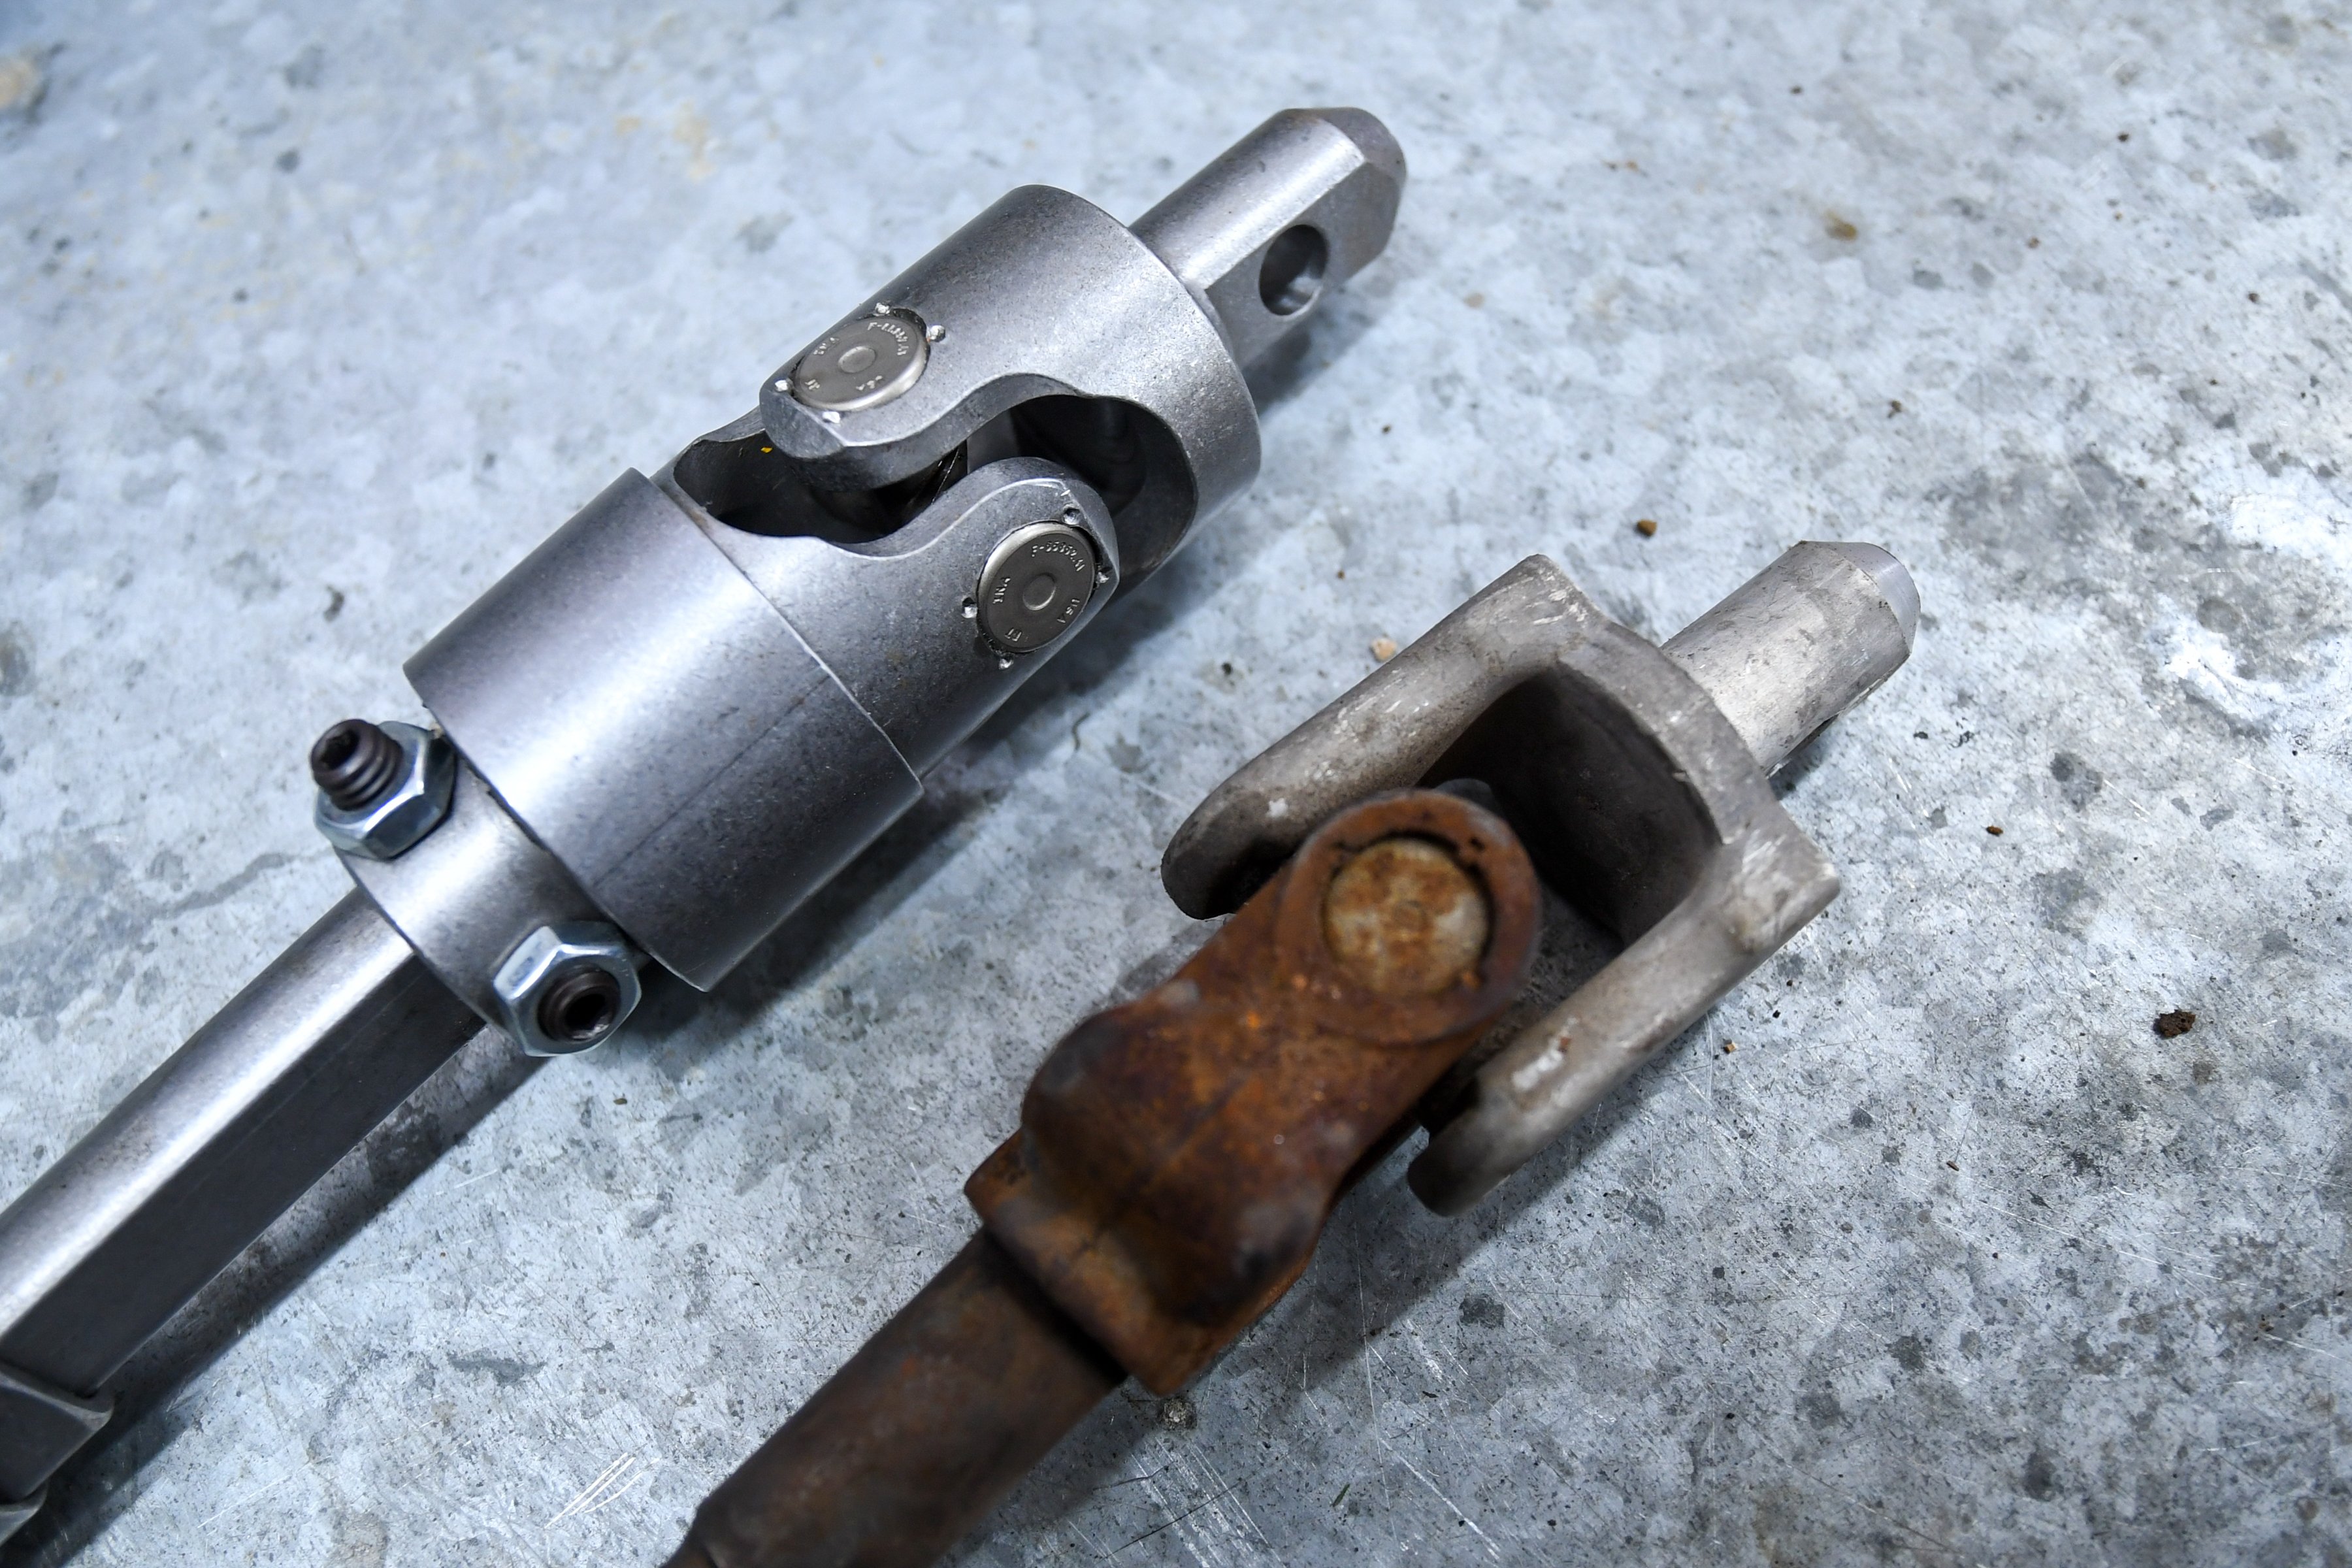
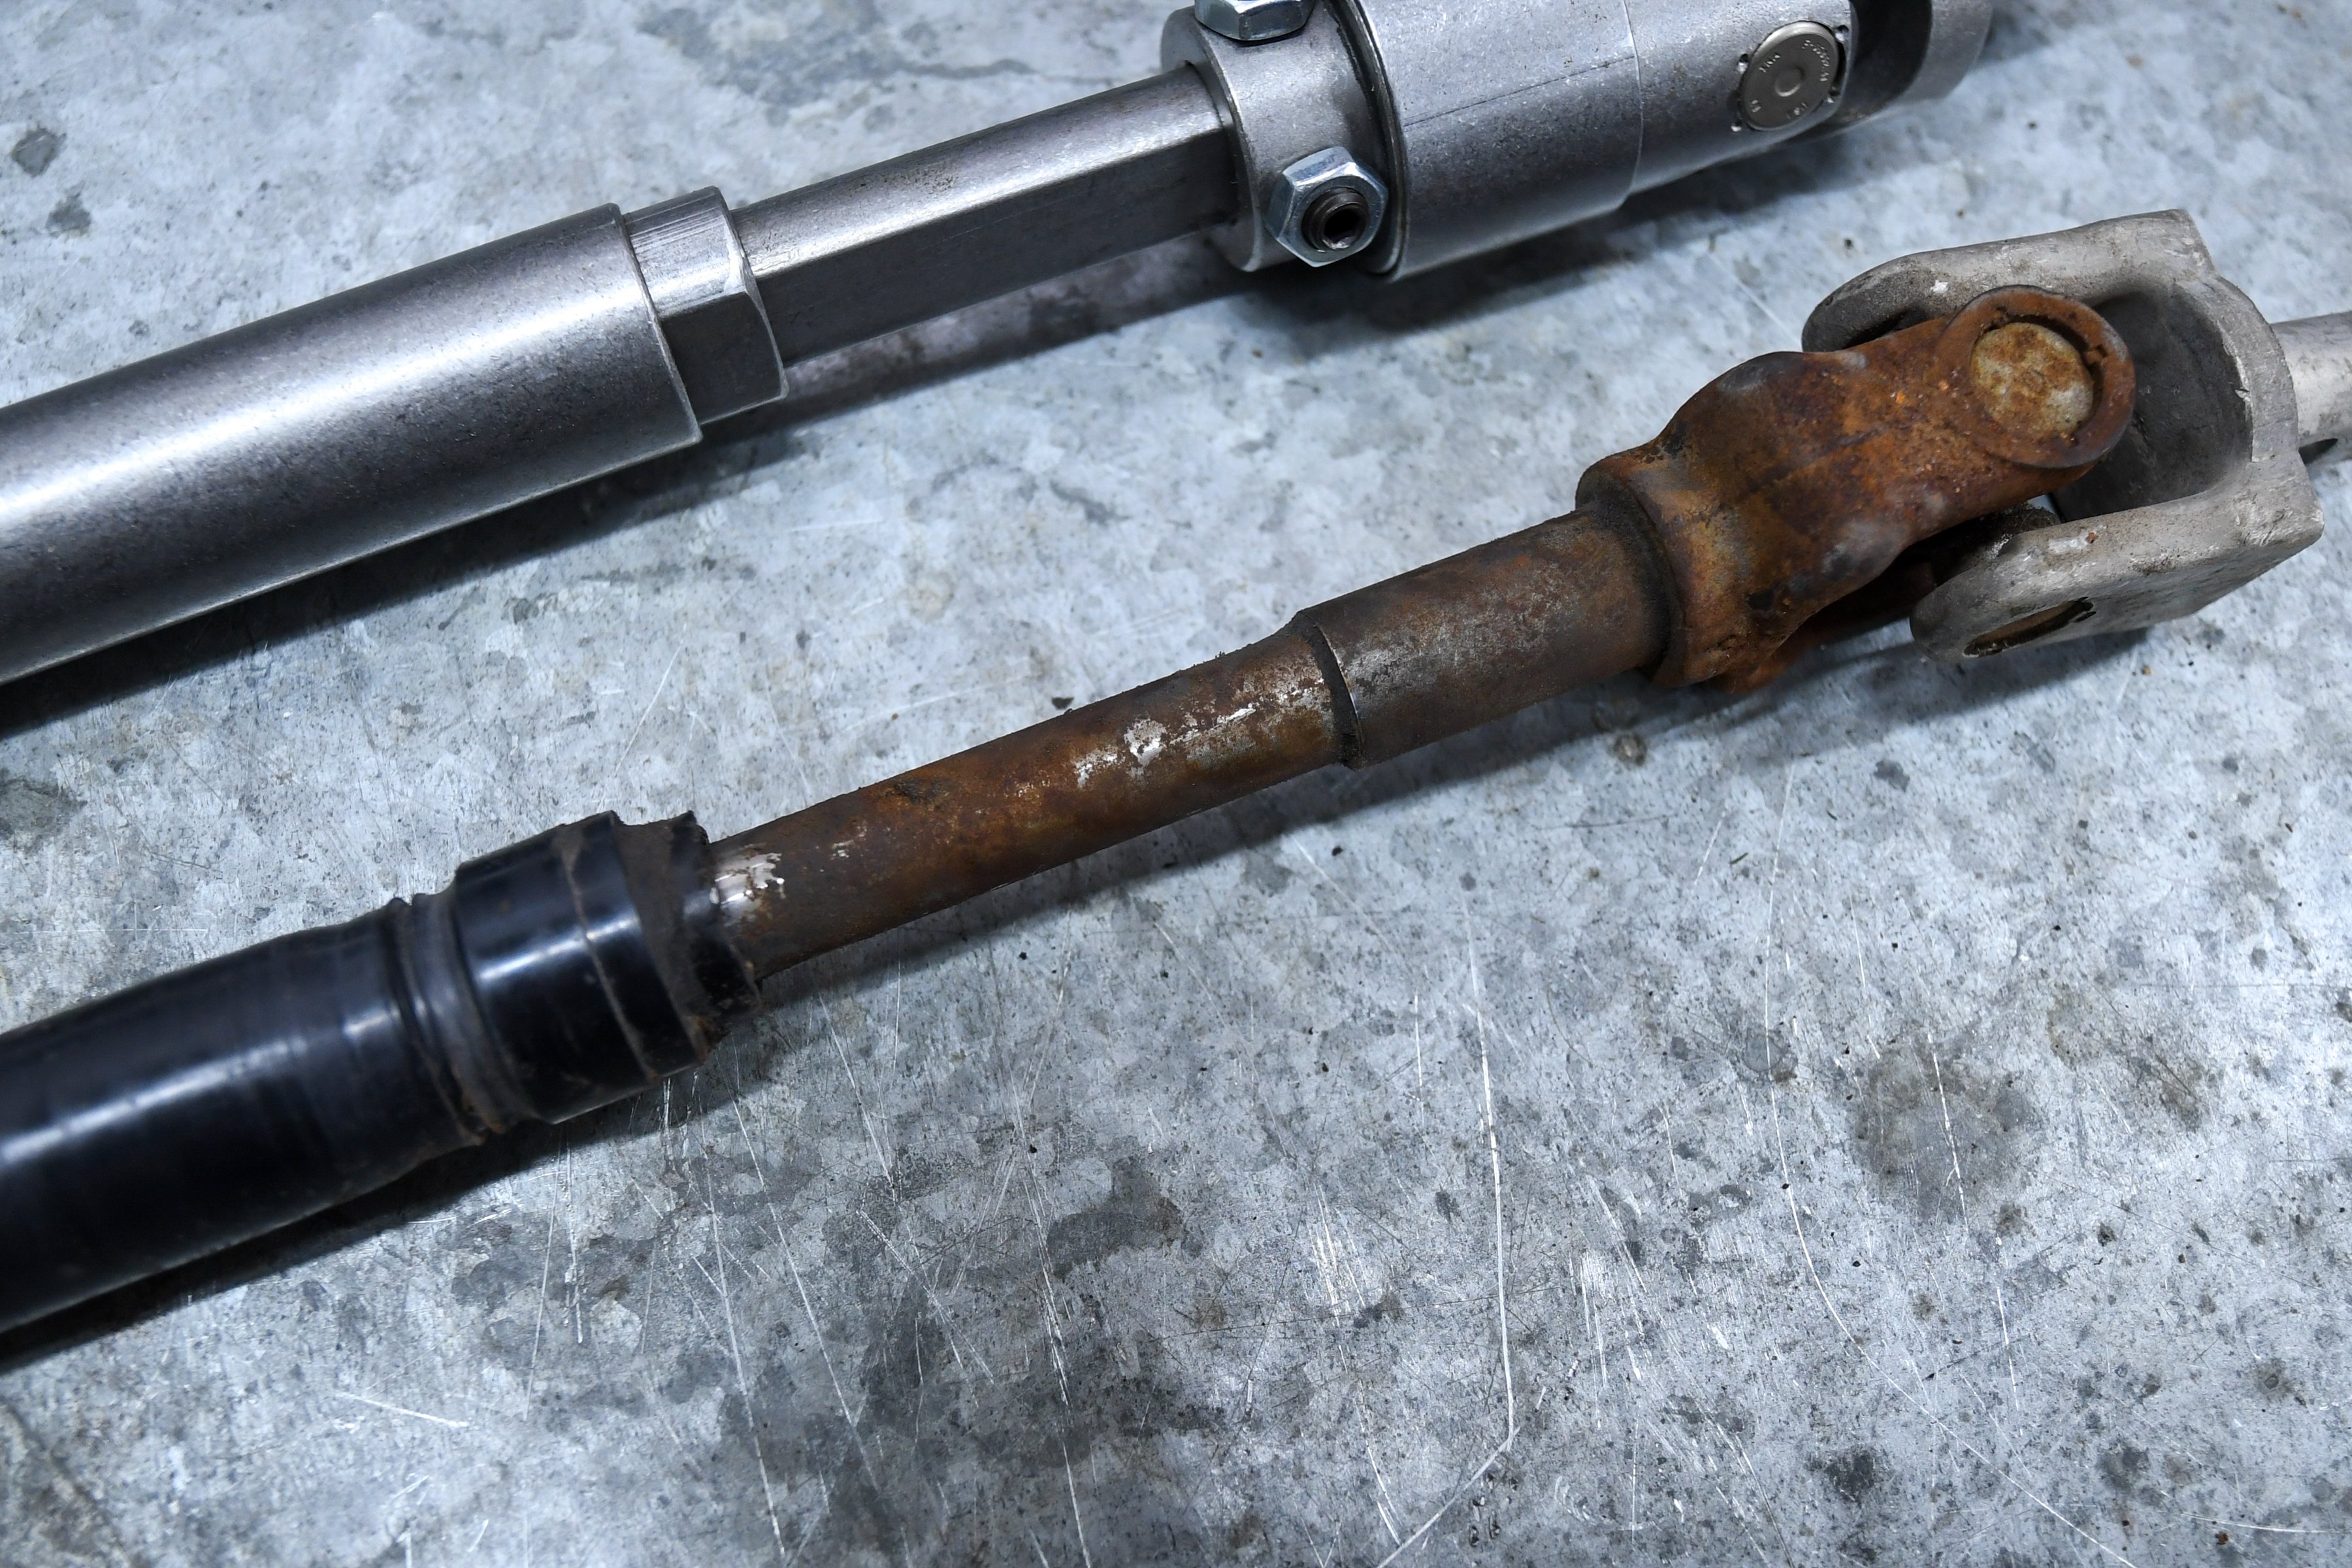
It's easy to see the differences between the Borgeson shaft and the OEM unit when they're placed side by side.
After we had everything unbolted under the hood, we turned our attention to the interior of the truck. There’s only one bolt to loosen on the shaft, and then you can slide the unit out through the firewall into the interior. You can also slide the OEM shaft through the firewall to the engine bay for removal, but you won’t be able to reinstall the Borgeson unit in this way. You will need to start with the aftermarket part in the interior before working it through the grommet in the firewall. But, before you can install the Borgeson shaft, you’ll need to replace the column bearing.

In the above image, you can see the new bearing in place.
The column bearing removal was the most challenging part of this installation. Since the shaft inside the column was rusted and dirty, the bearing didn’t want to come off. We used a large screwdriver wedged against the brake pedal to get it to move, but not before we snapped a chunk off the housing. However, this freed the unit enough where we were able to work it out slowly. With the now-damaged part out of the way, we slid the new bearing into place. It has a notch that will only allow it to go in one way, so take note before installing the new bearing.
After sliding the Borgeson shaft in place, you will need to reinstall the factory hardware and torque the bolts to factory specifications.
To install the new shaft, you will need to slide it through the firewall before you can attach it to the steering column. We used the OEM hardware and reconnected the Borgeson shaft to the steering column. With the bolt and nut tight, we then moved our attention to the engine bay. First, we reinstalled the piece to the rack and pinion and retorqued the factory bolt. Then we extended the Borgeson shaft and mated it with the factory piece, again with the OEM hardware.
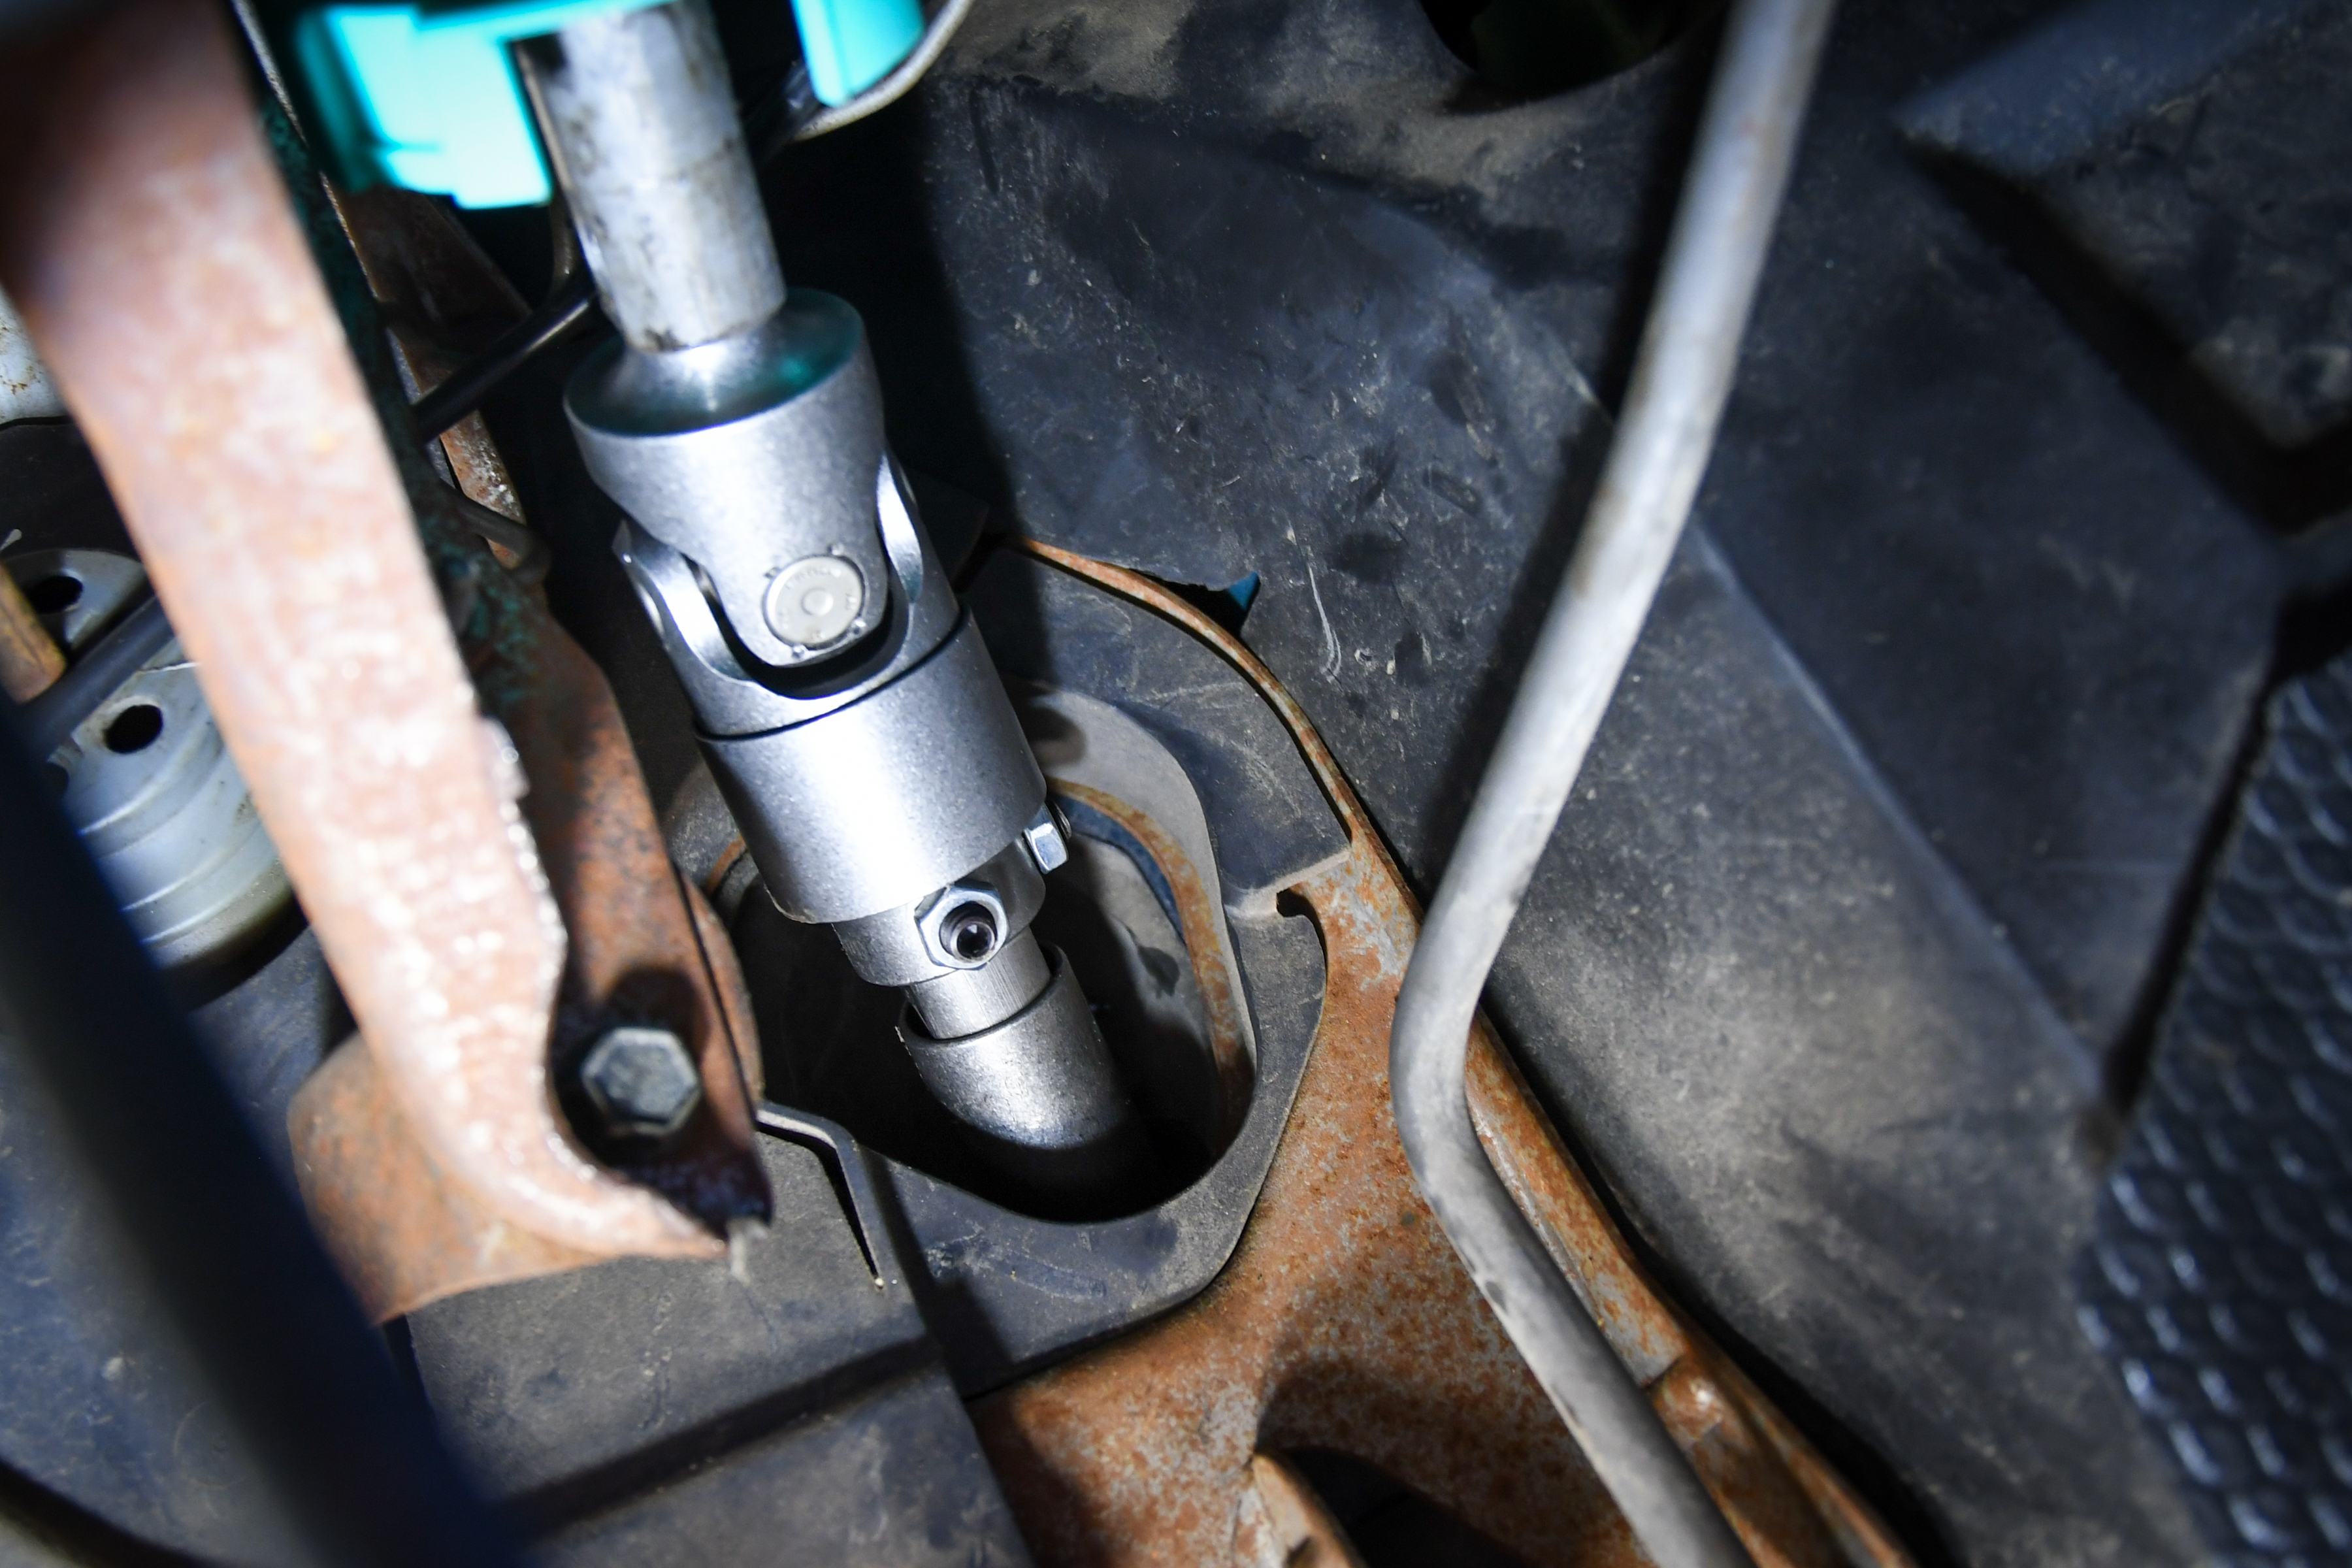
With everything buttoned up on the interior, we slide the Borgeson shaft into the part that connects to the rack and pinion and then installed the factory hardware.
The entire installation process took less than an hour from start to finish. And while we’re not excited about having to redo this process to replace the cheaply-made column bearing from Amazon, it’s not that big of a deal. We’re ecstatic that we’ve eliminated the annoying clunking noise in the truck, and we won’t need to worry about this problem ever again, thanks to the Borgeson shaft.

With the new shaft installed, the annoying clunking noise is gone.