
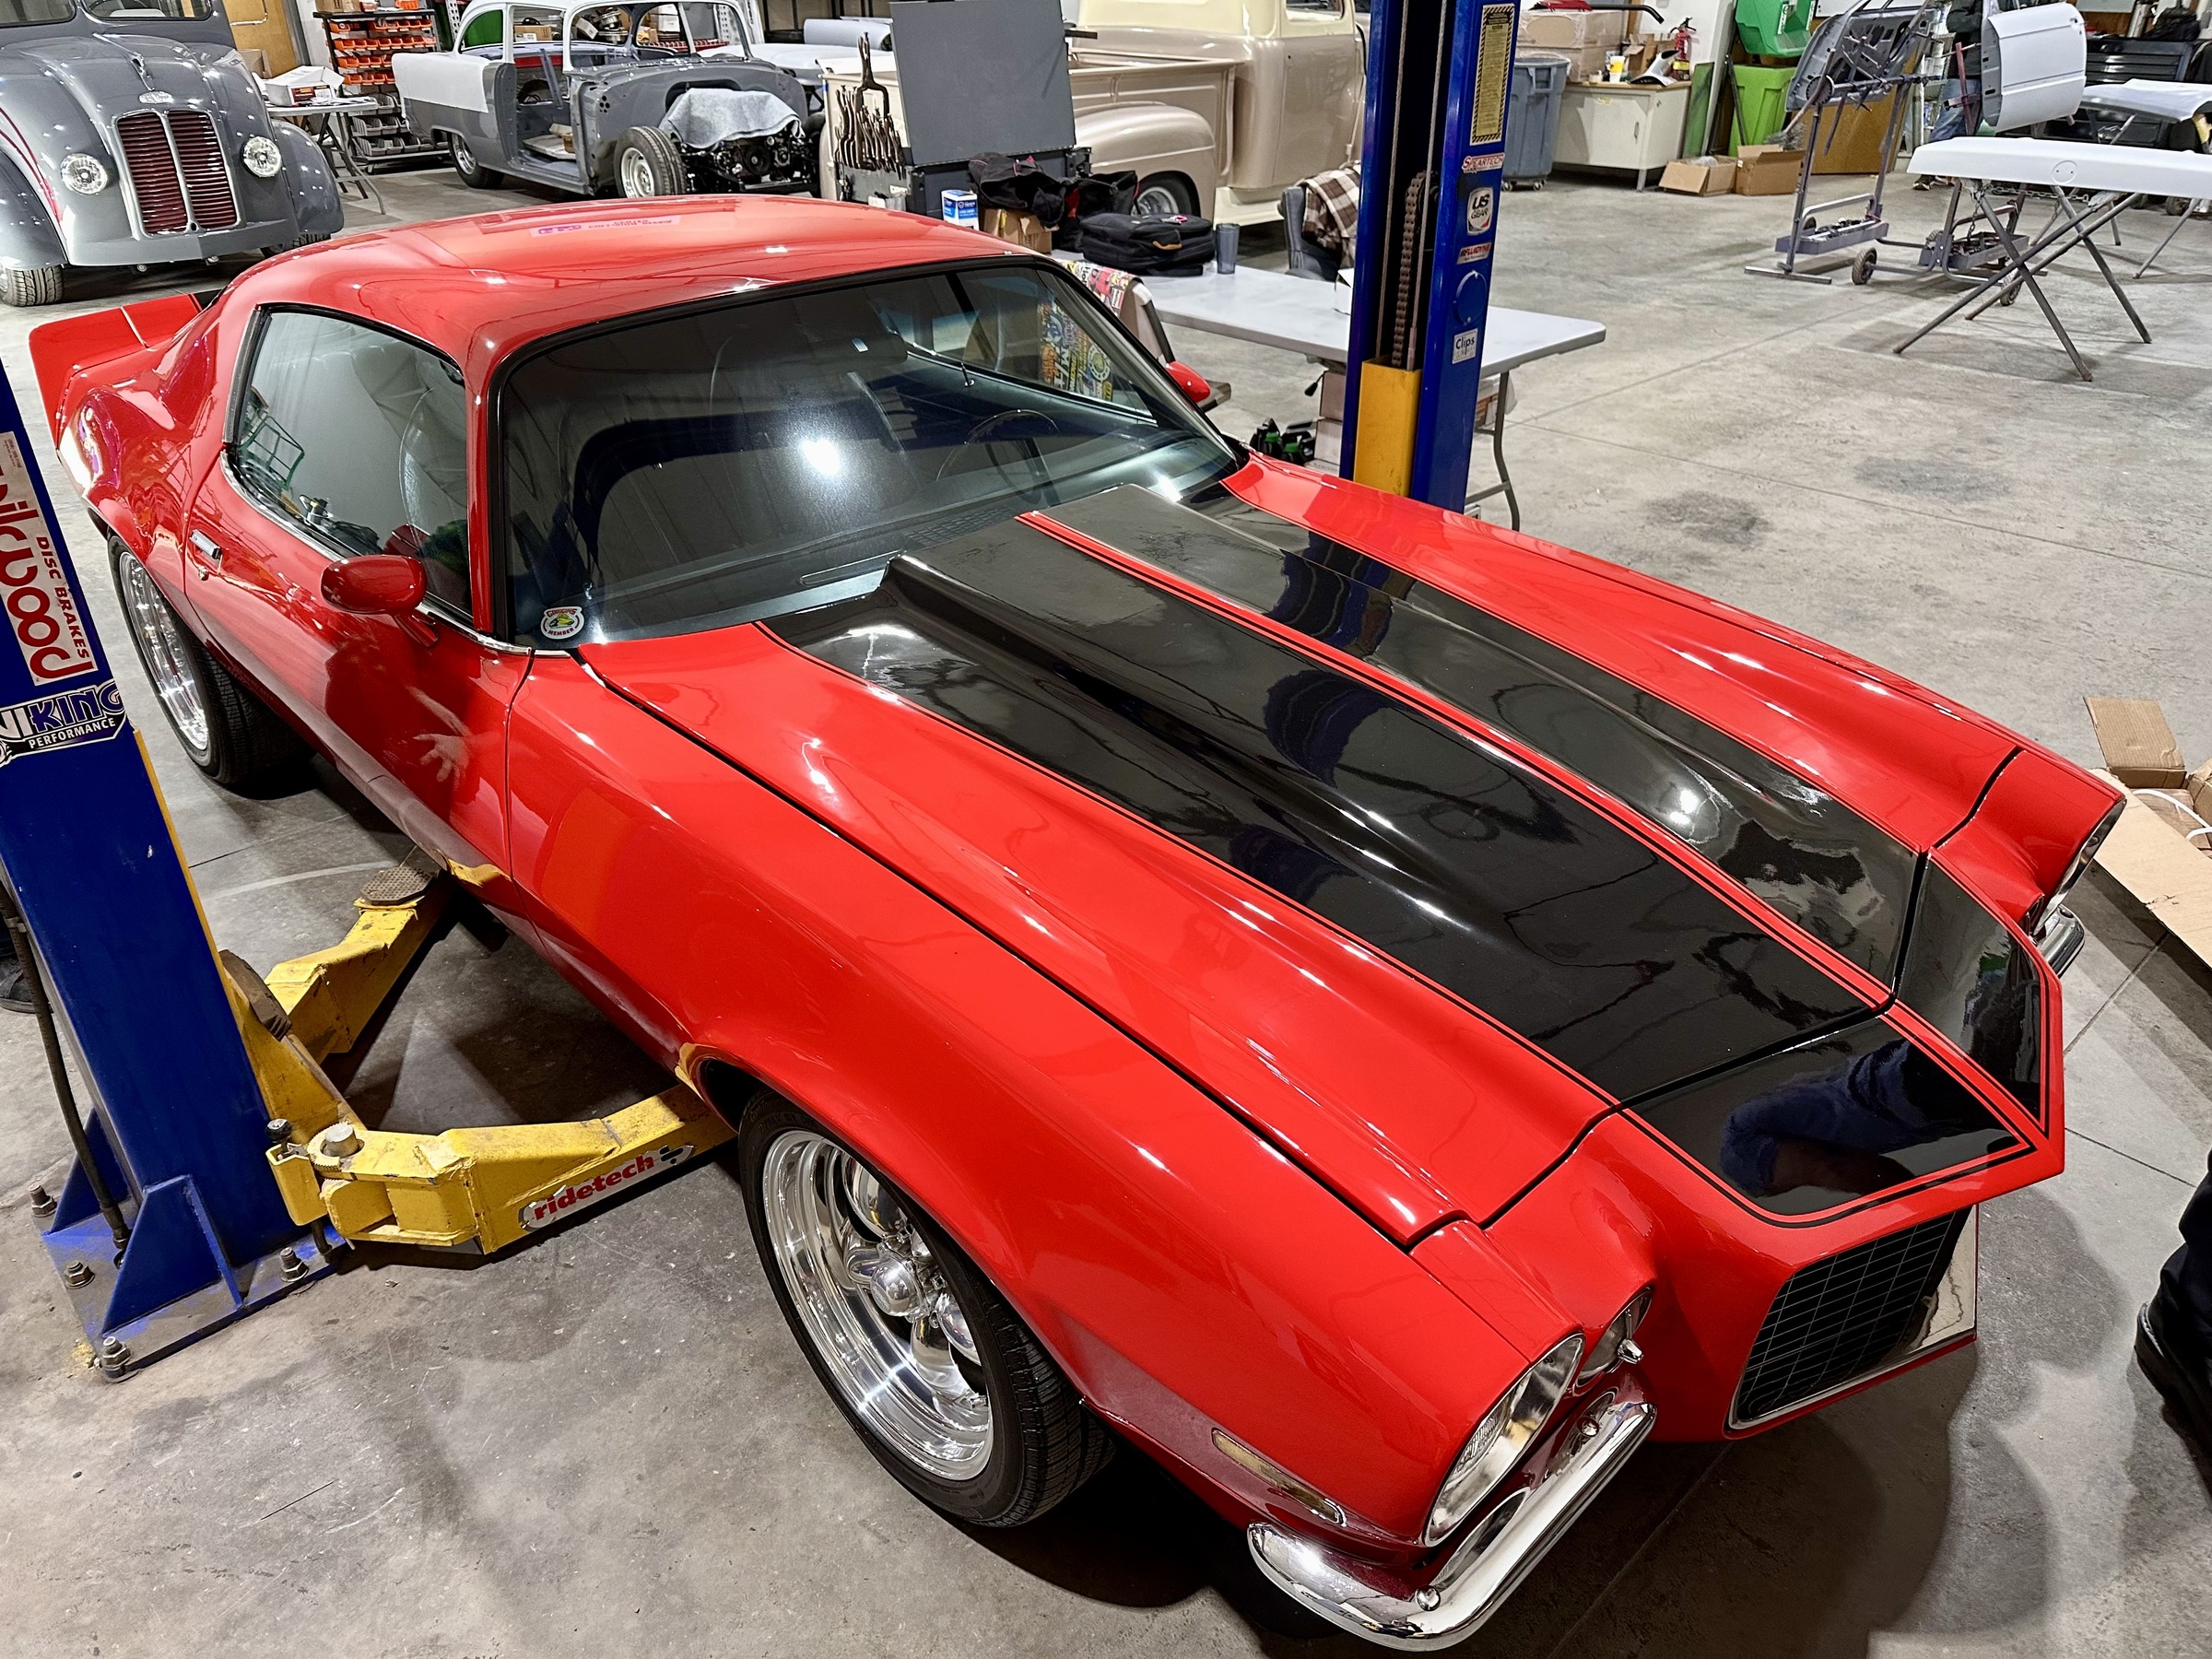
I’ve been building on this 1973 Camaro since I was 16. I never wanted a track car or anything high-maintenance. The goal was always a solid muscle car — functional, fun, and good-looking. Something timeless. The current drivetrain started with a kitted Turbo-Hydramatic three-speed, evolved to include a small-block 400 with a fairly hot cam, and eventually landed on an Auburn Posi with 3.73 gears. It’s a fun old muscle car that, most importantly, still feels like an old muscle car.
That said, we all know what Chevy’s small-block 400 is famous for: Glorious low-end torque. And with that torque comes the reality that GM’s stock axles were never designed for this kind of load. I’m probably one or two mods away from twisting the factory shafts into pretzels. The core issue is the tapered design of the original axles. GM likely had good reasons for that choice at the time, but in a modern street build with real torque and real tires, tapered axles become a liability, especially during hard launches. The bottom line is simple: If you want to reliably cruise a car that makes solid power, upgrading to stronger axles like these Moser bolt-in units (P/N A102803-1) is essential.


Beyond being non-tapered and significantly stronger than factory pieces, Moser’s axles are forged from premium alloy steel using Moser-designed tooling. Each axle is 100-percent Magnafluxed and heat-treated before final machining to maximize torsional strength. The result is superior metallurgy, precise engineering, and proven reliability, exactly what you want when you’re trying to enjoy a car instead of worrying about breaking it. Add in hardened bearing seats, precisely machined C-clip grooves, and OEM-style fitment, and you’ve got an upgrade that installs cleanly without reinventing the rearend.
The Preparation
If you’re doing this job on the ground, start by chocking the front tires and breaking the rear lugs loose. Jack up the rear housing and place the car on jack stands, then put the transmission in neutral. Putting the transmission in neutral is critical because you’ll need to rotate the carrier to access the cross-pin retaining bolt. If the transmission is in park, the parking pawl will fight you the entire way. Since I’ve officially retired from crawling around on concrete, I brought the car to my friends at ForgeSpeed in Mooresville, North Carolina, where a lift and impact wrenches made life much easier.
With the wheels off and the car off the ground, we went ahead and opened up the differential. Draining the old fluid is simple: Pop the fill plug and loosen the cover, making sure you’ve got a drain pan ready. Once the fluid was out, we turned our attention to the brakes. I’m still running drums, so they came off without drama. If your car has rear discs, unbolt the calipers and pull the rotors, taking care not to stress the brake lines. This is also a good time to disconnect the parking brake cables if they’re in the way.


With the brakes out of the picture, grab the axle flange and rotate the axle by hand. This gives you a good sense of bearing condition. Some in-and-out movement is normal with C-clip axles, but excessive endplay, grinding, roughness, or noise points to worn bearings. Check the back of the flange for signs of leaking seals as well. Since everything but the axles was replaced when I installed the Posi, my Camaro didn’t need bearings or seals this time around.
The Deconstruction
With the housing drained and cleaned up, rotate the carrier until the cross-pin retaining bolt comes into view. Remove the bolt carefully and slide the pin out. This is a good time to inspect the pin and replace it if it looks worn, pitted, or scoured. On more aggressive builds, a hardened pin is cheap insurance, as completely ignoring a worn or weak cross pin can lead to accelerated gear wear or outright failure–all because of one small, overlooked part. By the way, this is also a great opportunity to clean up your factory cover if you’re still running one.


With the pin out, push the axles inward and remove the C-clips. Carefully slide the axles out of the housing. Since we reused the existing bearings and seals, it was especially important to take our time here, but slow and deliberate removal is always good practice. Forcing axles out can damage the housing, create leaks, or soak the brakes in gear oil. Once removed, inspect the bearing journals for grooves, discoloration, or scoring. This is where you’d replace bearings and seals if needed.

The Reconstruction
Installing the new axles requires the same care as removing the old ones, especially when reusing bearings and seals. Slide the axles in carefully, make sure the splines fully engage the side gears, reinstall the C-clips, and pull the axles outward to seat them. One standout feature of the Moser axles is their machined C-clip grooves. Unlike factory axles, which often rely on inconsistently stamped grooves, Moser machines theirs to tight, repeatable tolerances. That means the clips seat evenly, are properly retained by the cross pin, and are far less likely to deform or fail.

Machined grooves also reduce stress concentrations, improving fatigue resistance, which is especially important for hard launches, sticky tires, and high-torque applications. When the clips are accurate, the crosspin can properly retain the axles, improving axle endplay control and axial movement during cornering or launches. It’s really one of the smartest upgrades you can make while still running a C-clip rear.


Before reinstalling the cross pin, make sure both axles are fully seated outward so the C-clips are properly engaged in the side gears. If an axle is pushed inward when the pin goes in, the clip can pop out later with catastrophic results. Align the spider gears carefully and rotate the carrier by hand until the pin slides in smoothly. Never force the pin, as doing so could chip a gear or burr the pin.
Reinstall the retaining bolt and torque it to roughly 25 ft-lb. Inspect the bolt beforehand, use a drop of blue Loctite, and don’t overdo it, as snapping that bolt inside the carrier is a nightmare. Rotate the axles by hand and confirm everything moves freely with no binding or clicking.


With that done, reinstall the cleaned differential cover using a new gasket. Tighten the bolts in a crisscross pattern, working up to 25 ft-lb in several passes to avoid warping the factory cover. If you’re using RTV, it’s smart to torque halfway, let it set, then finish tightening. Refill the differential with gear oil, toss in some Posi additive (if needed), reinstall the brakes, mount the wheels, drop the car to the floor, and torque the lugs.


The Betterment
I know this car better than most people know their spouses, so the difference was immediate. The Moser axles tightened everything up, something that is especially noticeable since the three-speed keeps the engine at higher rpm on the highway. Acceleration feels more immediate, the rear end feels more planted, and power delivery is smoother and more predictable under hard throttle and sweeping turns.


At the end of the day, this Camaro is still exactly what it was always meant to be: a real muscle car. It looks right, sounds right, and, most importantly, feels right. This upgrade wasn’t about chasing numbers or changing the car’s personality. It was about creating a solid and reliable classic that I can enjoy driving. The improvement isn’t flashy or obvious. It’s about having confidence in a car that sees real street miles and isn’t afraid of spirited runs. Old-school fun. Old-school soul. And now, thanks to Moser, a rear end that’s finally ready for more glorious torque.
You might also like
The Exact Parking Habits American Drivers Use To Avoid Heavy Car Damage
Defensive parking habits keep your vehicle completely safe from terrible drivers. Avoiding the front row stops massive cosmetic damage.

