

As more electronics infiltrate today’s street machines and hot rods, it is imperative that the charging system is up to the task of creating enough current to keep everything running properly while maintaining a fully charged battery. Swapping in an alternator is a straightforward process, but there are several important steps to take when choosing and installing a higher output unit. We reached out to Powermaster Performance for five tips when it comes to choosing and installing an upgraded alternator.
When it comes to alternators, generators and starters, the folks at Powermaster have honed their craft for decades to bring quality parts and solutions for even the most vexing problems. That is one of the reasons we turned to them here. They’ve been at this game since 1981. They know their business.
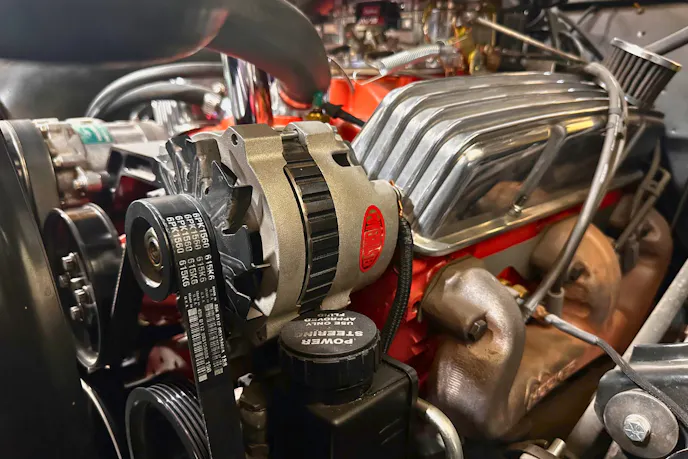
1. Alternator Output
Before even disconnecting the battery to install a new alternator, you need to select the right output for your application. We’re not just talking about the physical size and mounting locations, but to make sure the alternator is capable of supplying current to all the electronics and keep the battery charged. Alternator output varies per application and most aftermarket companies provide a rating for the peak amperage output such as 120, 160, and on, but which unit is right for you?
To answer that question you need to take stock of all the electrical components on your car and add up the current requirements of each. As an example, a standard electric fuel pump will use at least 15-20 amps and a single electric fan may pull 20-30 amps. Air conditioning will tack on another 20 -30 amps, an ECU for EFI, big stereo and more. It adds up quickly.
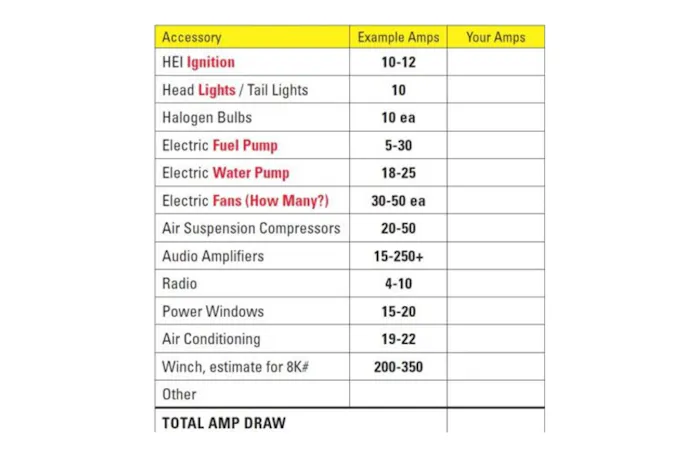
Once you have a better idea of your vehicle’s amperage requirements, it is imperative to consider the rpm range of the alternator’s output. Most alternators are rated at their highest output possible which generally occurs at peak rpm. For example, a 140 amp may only produce that amount above 2,500 engine rpm, but only about 70 amps at idle speed. If the alternator is only putting out 60 amps at idle while you’re waiting at a stop light with your electric fuel pump and fans pulling 100 amps, there are going to be issues.
In short, get an alternator that can support the electrical needs of your car while at low rpm such as Powermaster’s HPR series. These alternators are designed to produce high current at lower rpm and are available in two sizes; a Small Frame for older models, and a Large Frame for later model engines. The Small Frames are capable of 145 amps at idle with 180 top end while the Large Frames provide 195 amps at idle with 245 at peak!
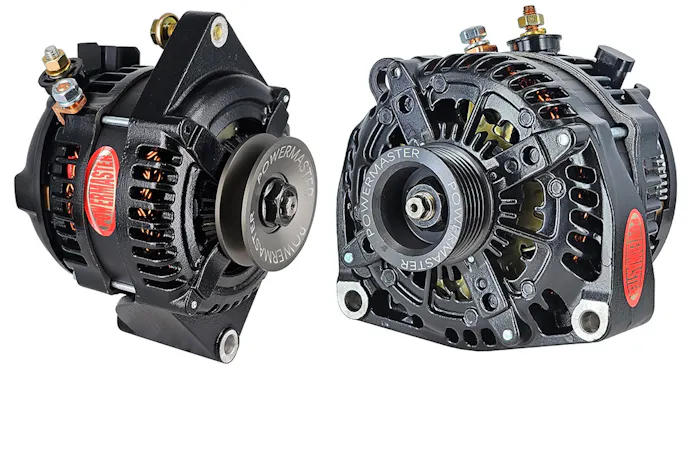
2. One-Wire vs Plug-In
You may hear the term one-wire or self-exciting when researching alternators. Original style alternators with a two or three wire connector have an activation wire that essentially tells the unit to start charging while a one-wire alternator automatically starts charging once it senses rpm.
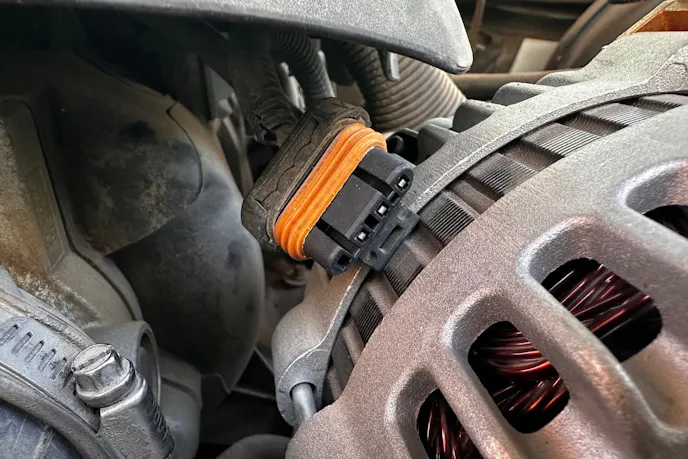
One-wire units are nice due to their simplicity and less wiring to route through the engine compartment. Their one criticism is that the engine needs to be revved after start-up to activate the charging of the alternator. Powermaster explained that its one-wire alternators, depending on the model, start charging when the engine reaches 600-800 rpm meaning the alternator starts charging once the engine is running.
The choice really comes down to the wiring harness on your car and whether the factory style connectors are in place or not.
If you’re doubling the alternator output, that thin gauge cable is not going to be able to handle the added current load.
3. Pulley Size and Swap
The majority of alternator swaps will be just fine using the pulley supplied by the manufacturer, but since we’re talking about muscle cars and performance, it’s important to consider the average engine rpm operating range and pulley ratio.
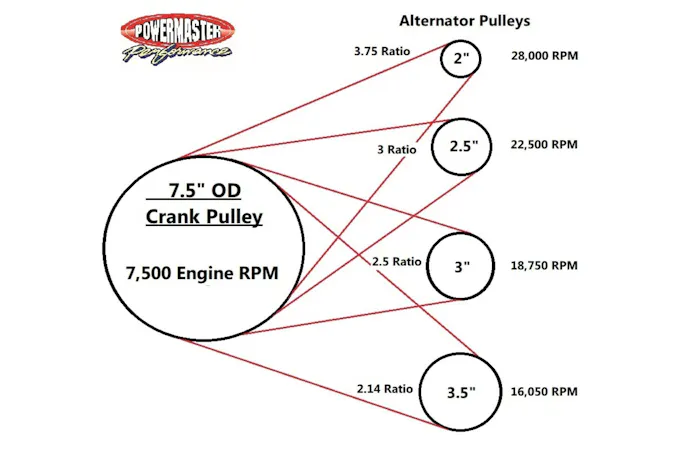
Pulley ratio is the result of dividing the diameter of the crank pulley by the alternator pulley. As an example, a 6-inch crank pulley used with a 2-inch alternator pulley comes out to a 3:1 ratio, which is a good rule of thumb for street cars. This means that when the engine is idling at 700 rpm, the alternator is running at 2,100 rpm. Conversely, at 6,000 engine rpm on the same setup, the alternator is spinning at 18,000 rpm.
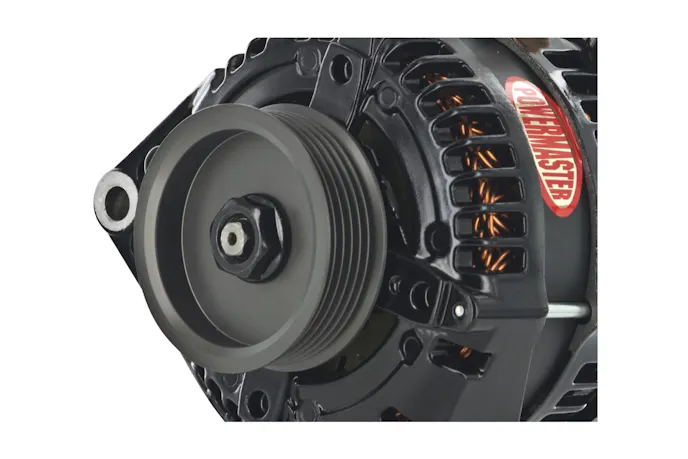
Powermaster noted that 18,000 rpm is redline for its alternators. If you plan to run high rpm for extended amounts of time such as on a road course or a burnout pit, it is recommended to install a larger diameter pulley on the alternator. For example, a 3-inch pulley with a 6-inch crank will produce a 2:1 ratio effectively slowing the alternator rpm to 12,000 rpm at 6,000 engine rpm, putting the alternator speed into a much safer zone.
4. Cables
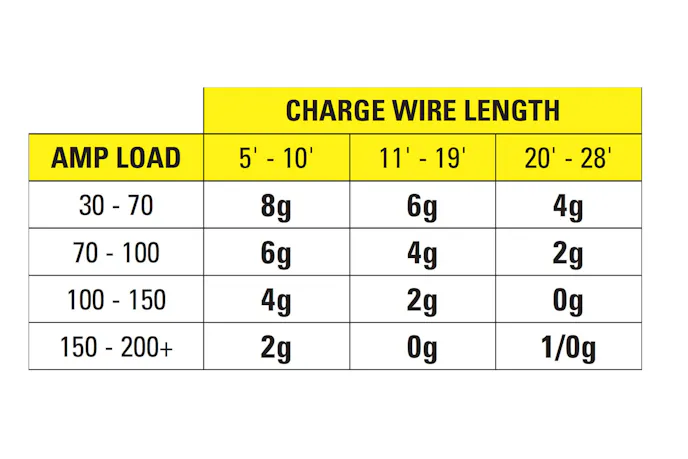
Speaking of wiring, when you step up to a higher output alternator, you need to inspect the charge cable going to the battery positive terminal. If you’re doubling the alternator output, that thin gauge cable is not going to be able to handle the added current load.
Be sure to replace the cable with a multi-strand, copper cable finished properly with securely crimped terminals. As for what gauge you should use, that depends on the battery location and alternator output. If the battery is under the hood and 2-feet away from the alternator, you can use a 4- or 6-gauge cable, however for trunk mounted batteries, it’s time to step up to a 2- or 0-gauge cable.
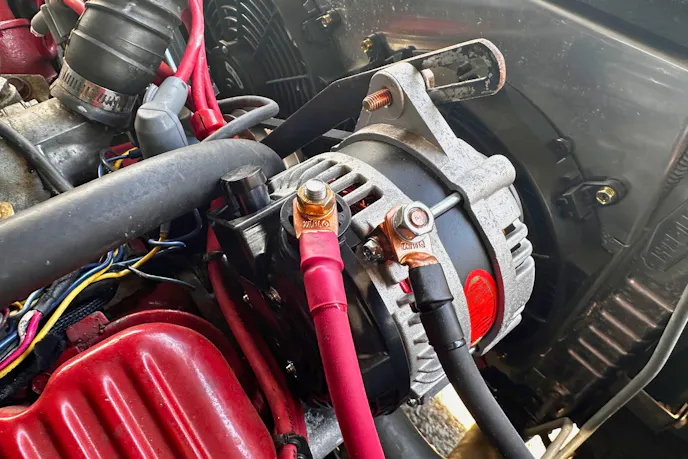
With most high output alternators, it is recommended to connect a ground cable of the same gauge from the alternator housing to the engine block. This ensures a quality ground and bypasses any painted and powder-coated brackets that create resistance on the ground side. Powermaster’s high output alternators have a ground stud to help provide a good ground connection.
5. Belt Tightening
If you’re running an old-school V-belt pulley on your new high-output alternator, Powermaster explained that the belt needs to be tight! A slipping belt will cause heat, glazing the belt and pulley surface causing damage to the unit’s electronics. Powermaster builds its alternators with strong dual bearings that can support the belt tension. As a rule of thumb, grab a ⅜-inch ratchet and put it on the alternator pulley — if you can turn the pulley, the belt’s not tight enough.
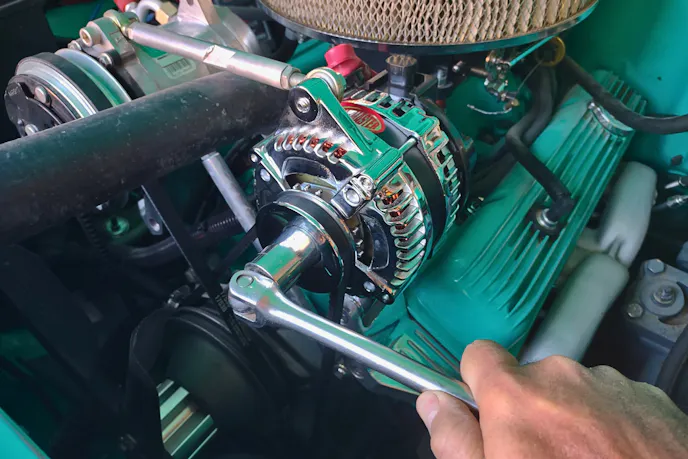
Again, installing an alternator is a straightforward task, but if you have a custom application or specific requirement, it’s always best to call the manufacturer for details or info you may not have considered. Powermaster has techs that will lead you through any options or items to consider to ensure you get the right alternator — and install it properly — so you have a reliable charging system for years to come.
You might also like
Grabber Orange Boss 429 Mustang To Sell This Weekend In Vegas
The exterior is finished in Grabber Orange, one of 68 so finished, but it is one of only seven in this hue with a white interior.