
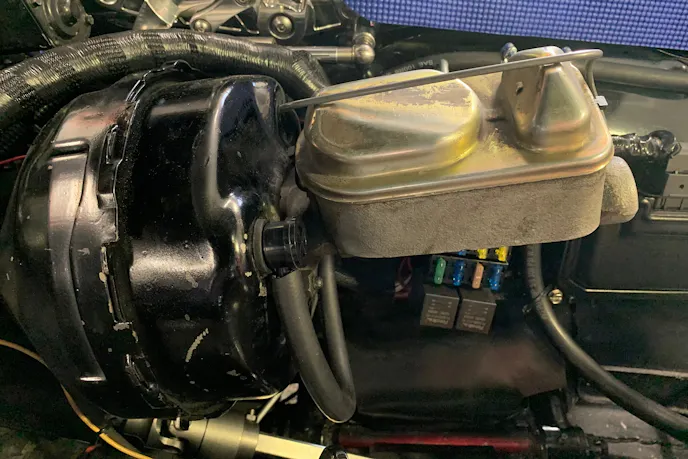
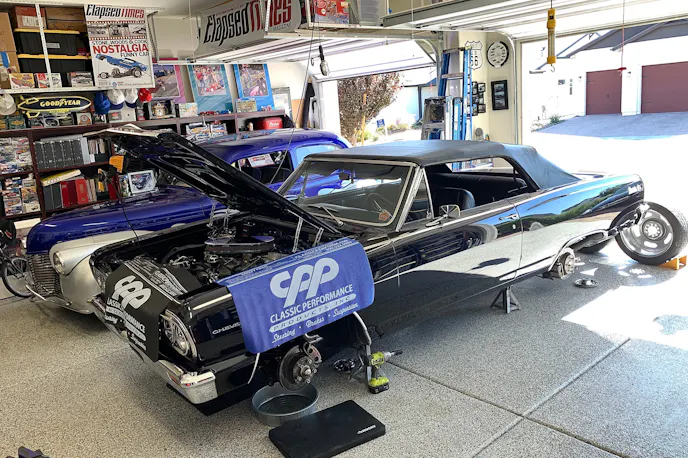
Massive acceleration is a nice to have, but it is a luxury. Stopping a car, however, is a necessity. When it comes to brakes, sometimes things look good and are good. Sometimes they look bad and aren’t. Sometimes they look bad and are. That was the case with the ‘64 Chevelle convertible you see here. The master cylinder was not looking great, but it was functioning OK. Until it wasn’t. The time had come to replace it, so while the owner was upgrading the master cylinder, he replaced the power brake booster, too.
We last saw this ’64 Chevelle on StreetMuscleMag when we added a Classic Performance Products (CPP) vacuum pump to make up for the losses we suffered after installing an Offenhauser cross-ram-style intake manifold with a dual throttle body setup from FiTech. There was no longer sufficient vacuum for the Baer disc brakes, but once we added the CPP vacuum pump, everything was hunky-dory.
CPP has been in business for 35 years and has been supplying the aftermarket with incredible parts from the simplest to the most advanced suspension goodies. Since we used its vacuum canister, we went back to them for the master cylinder and booster. We’ve never been disappointed with CPP products and they lived up to their reputation as top-quality stuff again.
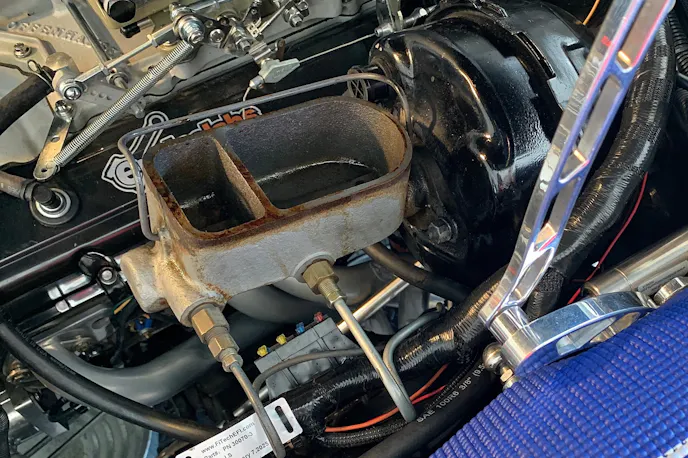
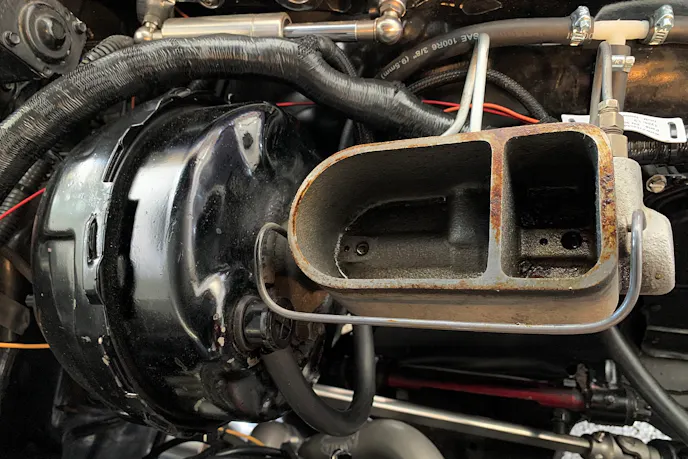
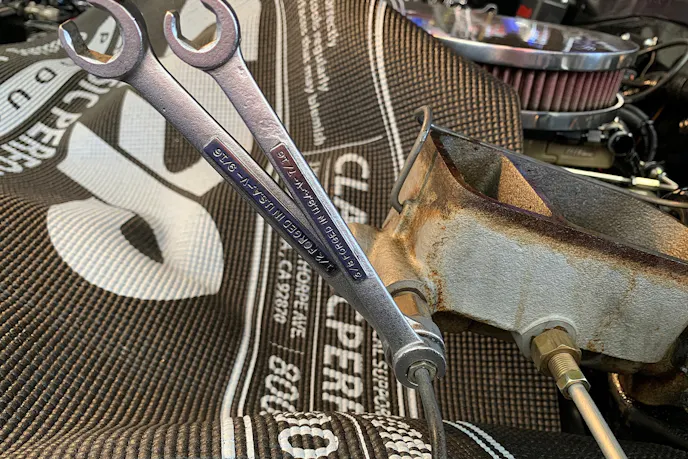
The master cylinder you use should always hold enough fluid to allow the brake pads to complete wear away without the risk of running out of fluid. This ‘64 Chevelle came from the factory with a single circuit master, but it had been converted to a dual-circuit set up when the disc brakes were added. The folks at CPP will be able to make sure you get the proper master and booster for your combination.
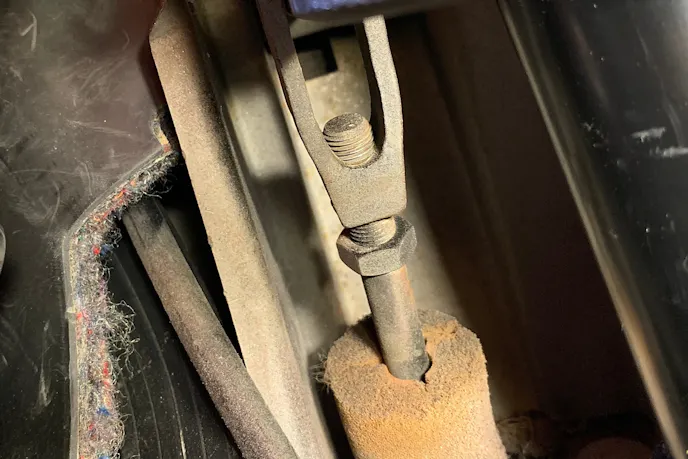
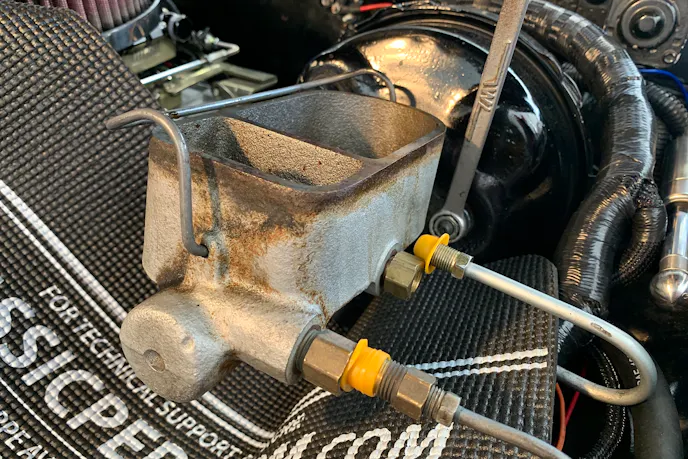
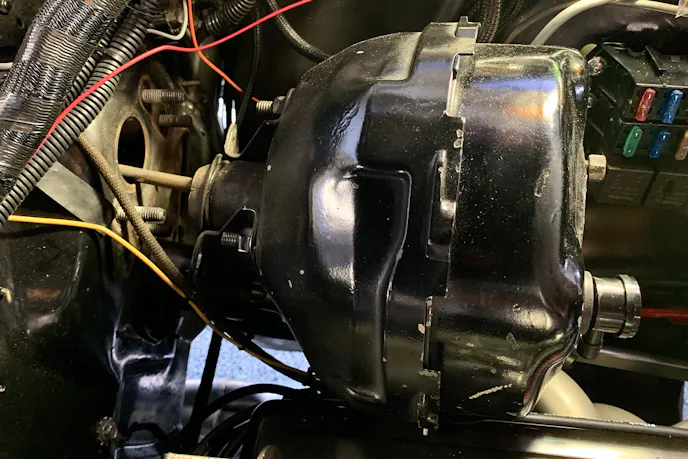
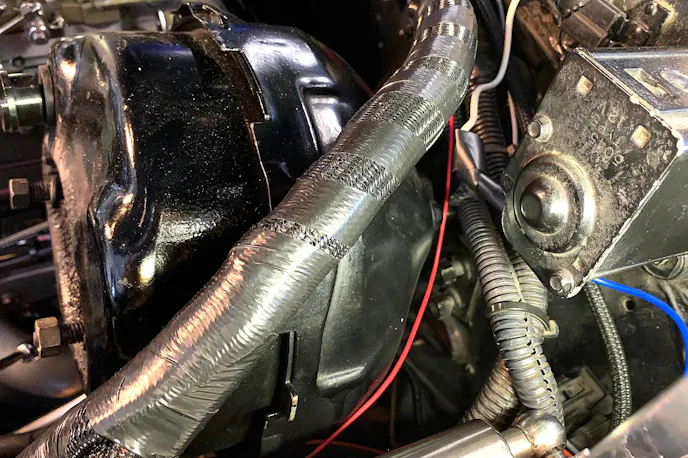
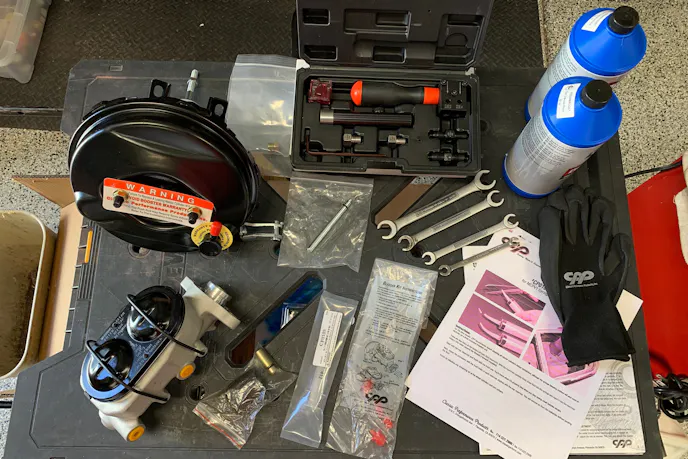
The parts we ordered came complete and we got everything we needed, including the 9-inch vacuum booster, CPP bleeder kit, a brake bleeding syringe with the curved tip, and (equally important) detailed instruction. Ed supplied a couple of quarts of DOT 3 brake fluid, so we had everything we needed right from the start.
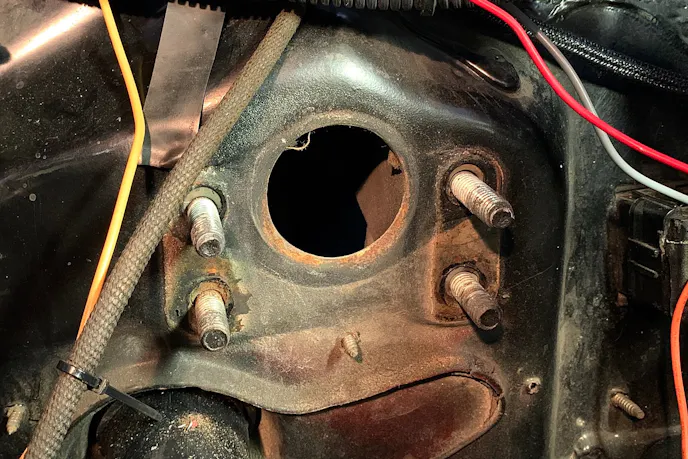
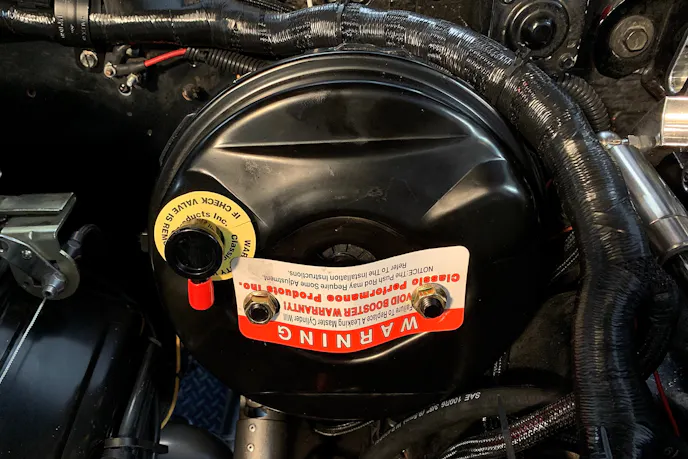
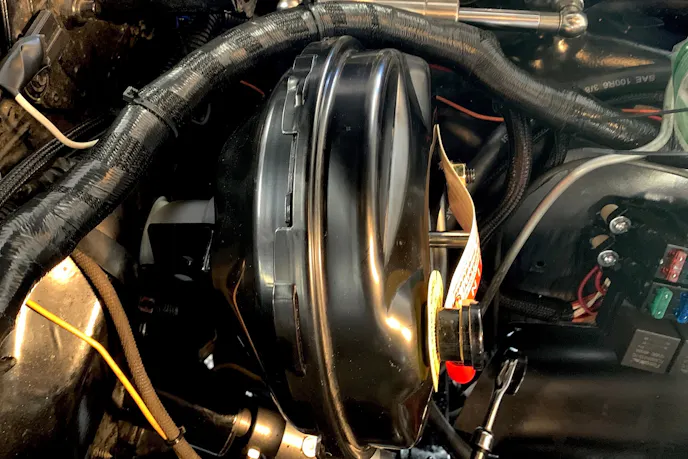
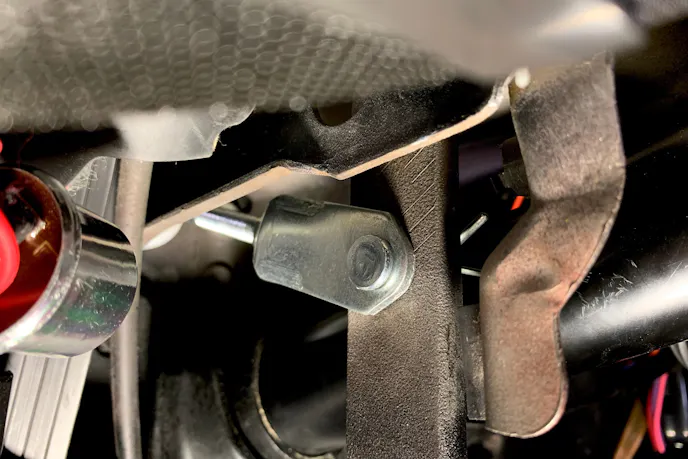
To get started, Ed depleted all the old fluid from the master using a syringe. He then broke out all the line wrenches and started loosening the brake lines at the master cylinder. This is all fairly straightforward stuff, but if you’ve never done it before it can be intimidating. Naturally, a good service manual always comes in handy, but CPP instructions are very clear and informative.
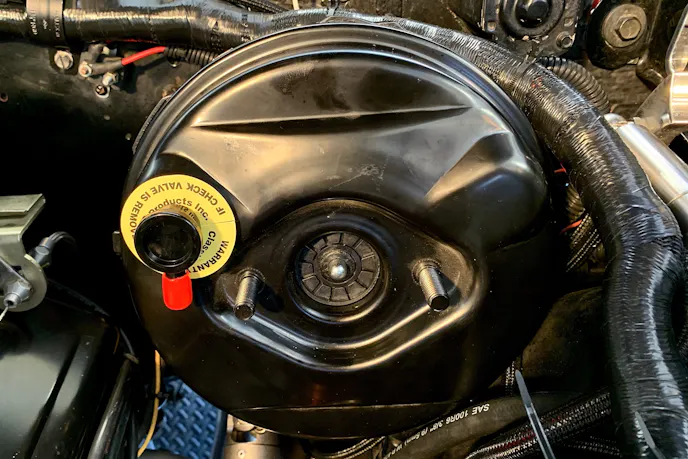
There are some things you should know before you purchase your master cylinder (and the people at CPP can help you with this). Determine which type push rod bore is needed. There are two different style push rods that are commonly used, the shallow bore (which can only be used with a brake booster) and the deep bore. The deep bore must be used with manual brakes, but it can be used with power brakes as well.
The trick part is putting the booster back on against the firewall. Ed used a speed wrench to get into the tight area behind the booster. Once that was in place, the new master was almost ready to go on. But not quite. Before the install, Ed used the kit he got from CPP to bench bleed it.
Bench Bleeding The Master
Bench bleeding your new master cylinder is a critical step that should not be overlooked. It removes trapped air from the internal bores and ports before the unit is installed on the vehicle. It will help prevent a spongy brake pedal. Air is compressible while brake fluid is not. Trapped air inside the master cylinder creates a soft or spongy brake pedal feel.
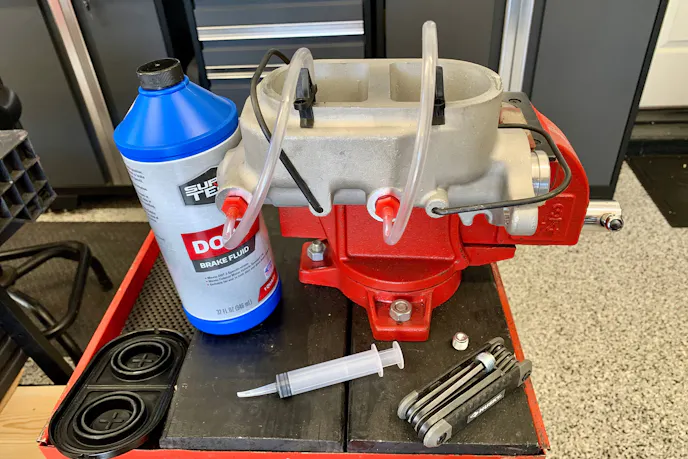
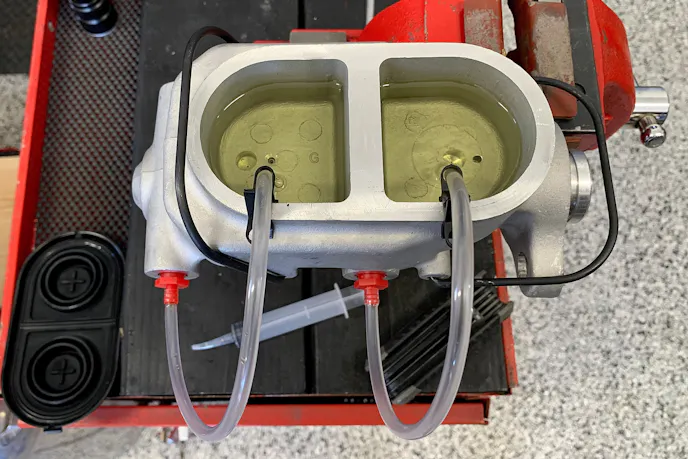
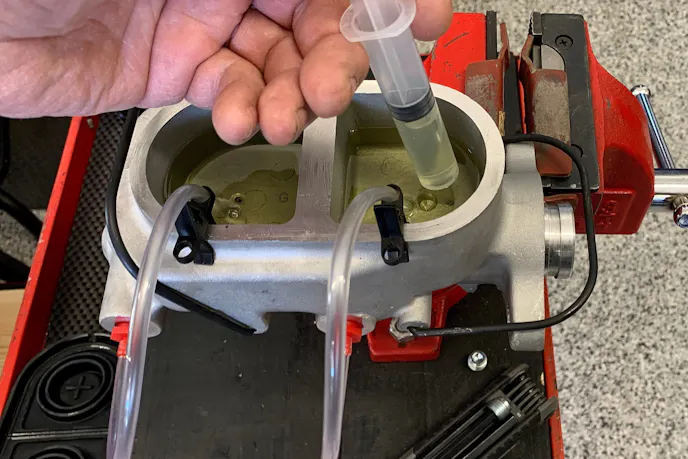
Once mounted in a vehicle, the master cylinder or its internal pistons may sit at an angle or lack full stroke travel from the brake booster, making it nearly impossible to purge trapped air through standard wheel bleeding alone. It’s also a time saver. Purging air on a workbench prevents you from repeatedly pumping air into your vehicle’s hard-to-reach brake lines, simplifying the final bleeding process. Ed ordered CPP’s syringe bleeding kit, and it comes with detailed instructions on how to use it.
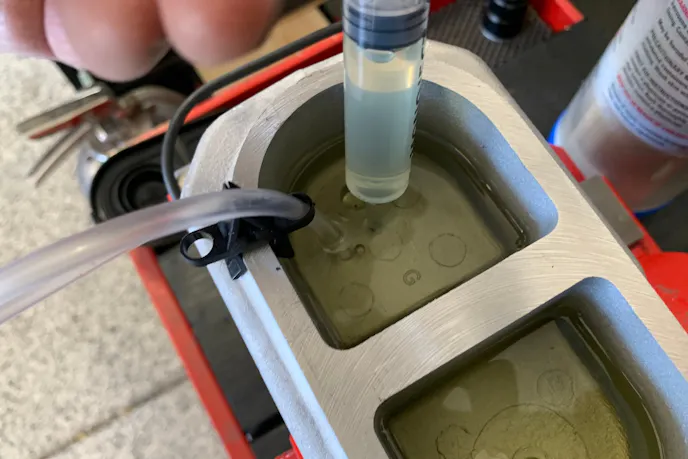
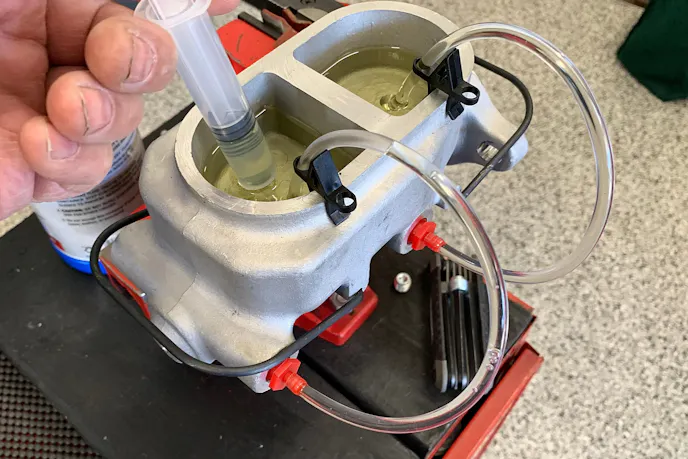
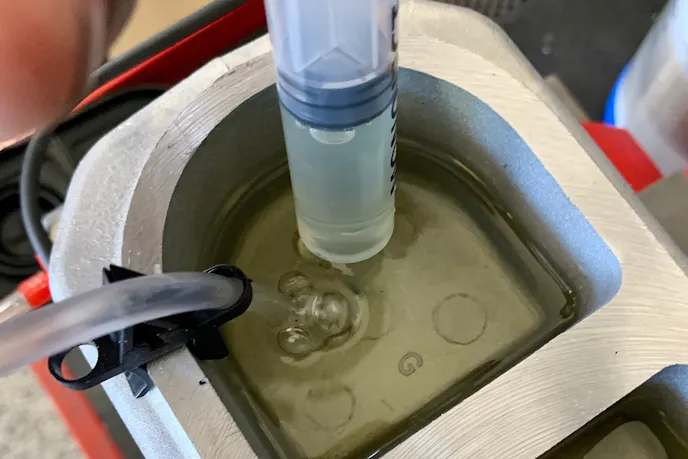
Once the master has been bench bled, it can be installed on the car and filled with fluid. Then it’s time for the traditional brake bleeding, starting with the right rear, left rear, right front, then left front — checking master after each wheel, topping off it off, and proceeding to the next wheel. Ed then repeated the process to assure there was no possible air left in the lines.
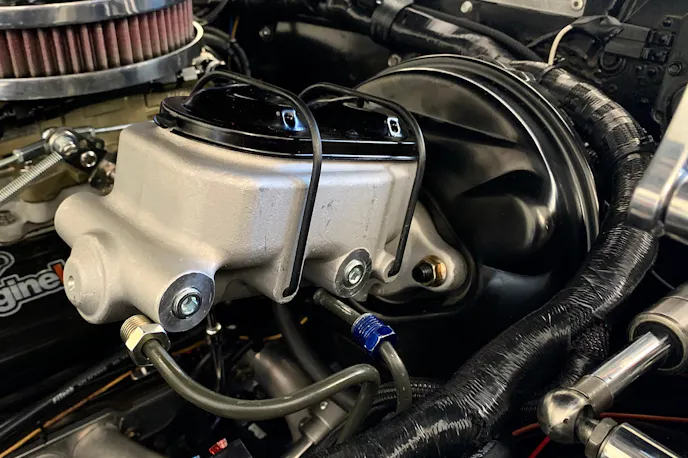
“With the new master and booster, the brakes are much more predicable and reliable,” Ed says. “Going into a corner, you can use the brake pedal and modulate it to get through the corner with confidence.”
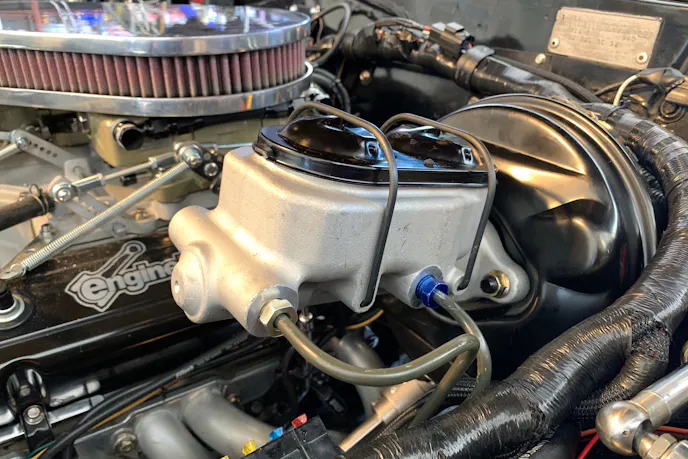
Overall, the brake pedal now delivers a more confident feel. With the vacuum back up where it should be and the master at 100 percent, Ed can attack corners with confidence, whether on the road or the local autocross. He can also feel confidence instead of fear each time he sees brake lights or a red light up ahead.
You might also like
500-Horse 1962 Bel Air Runs Like A Beast, Looks Like A Beauty
This spectacular ’62 Bel Air is a long way from bargain-bin transportation, which is how it started life. Under the hood is a fully built 383