
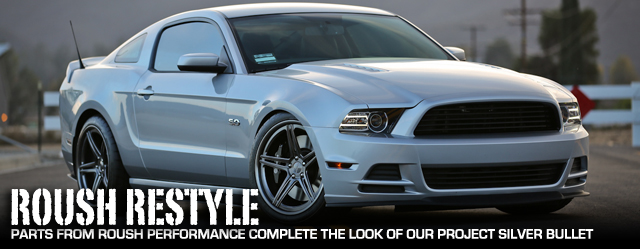
 From the outset of our 2o13 Mustang, Project Silver Bullet, we wanted to build a Mustang that looked like a ROUSH Performance RS3, but with a unique feel. So far we’ve addressed the horsepower, suspension, wheels, tires, and even the brakes. With our project moving closer to meeting all of it’s goals we thought it was time for it to look the part of the RS3 that inspired it and served as our benchmark for the build. For that we turned to ROUSH Performance for some components to get our car looking the part.
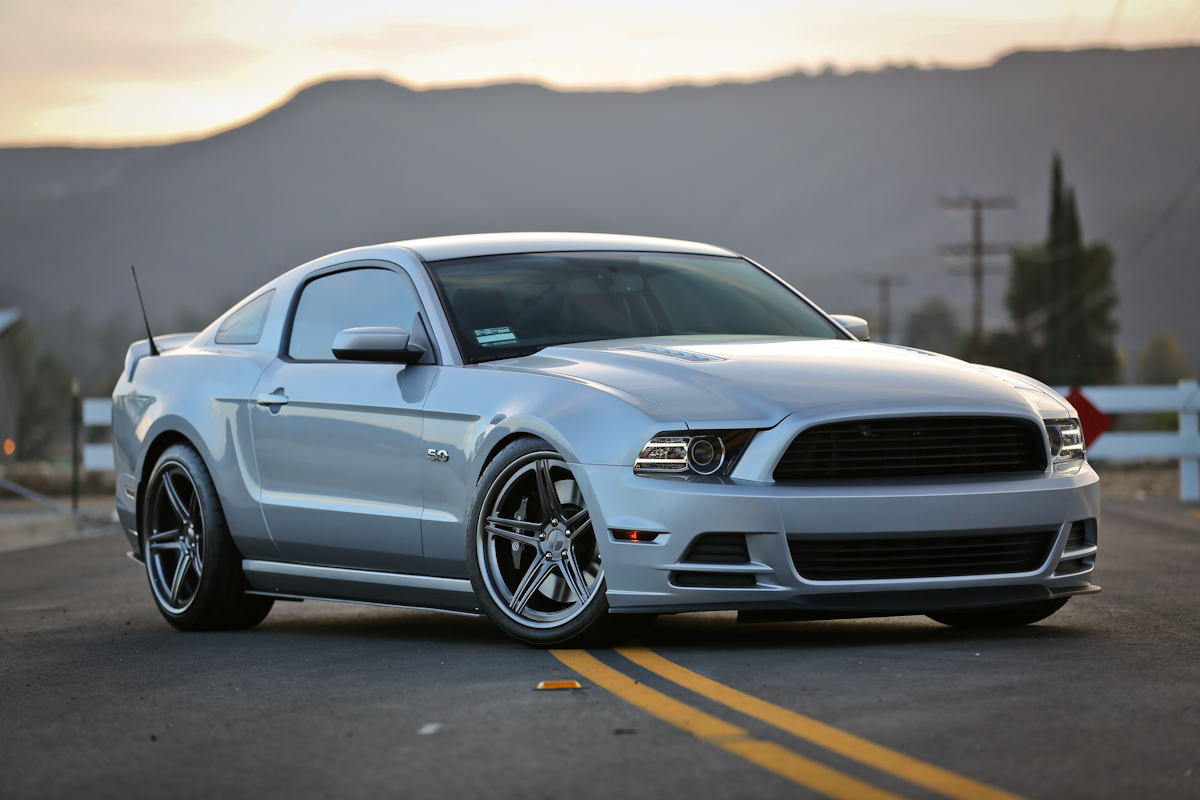
The look we’re trying to achieve is a slightly more aggressive take on the 2013 ROUSH RS3.
Subtle Approach
For 2013-14 we took a more conservative approach to our styling and modifications. We knew it was the second mid-cycle refresh. – Jay Velthoven, ROUSH Performance

In the past ROUSH has done significant work to their Mustang offerings to improve the appearance and function of the bodywork. This typically included a new front, and sometimes rear bumper. New Edge Mustang owners got side-exit exhaust and typically ROUSH has offered their share of new grilles, spoilers, side skirts, and scoops on the car to lend a race-inspired appearance.
Ford was aggressive with their restyling of the 2013 Mustang, and that aggressiveness lead ROUSH to do things a little differently this time. Instead of a completely new front bumper, ROUSH simply improves where Ford left off by changing out the lower valance, and grill. ROUSH Performance’s Jay Velthoven tells us, “For 2013-14 we took a more conservative approach to our styling and modifications. We knew it was the second mid-cycle refresh on that chassis and it would only be around for two model years. “
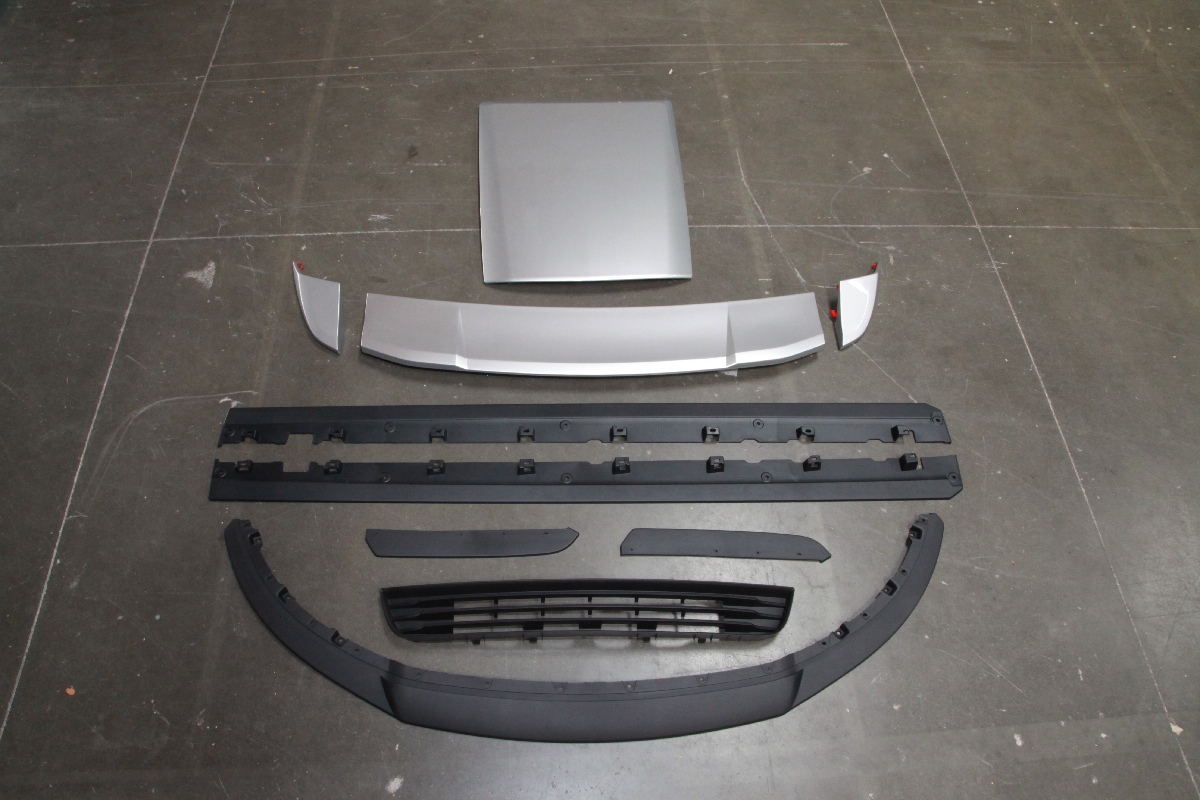
The parts we ordered for our ROUSH RS3 appearance conversion include chin splitter, grilles, rear spoiler, and side splitters.
OE Level Design and Fit
“We have a close working relationship with Ford. We try to keep them very tied in during our design process,” says Velthoven. That kind of relationship with the manufacturer grants them access to Ford’s design information, specifically the CAD files. Using these files as a guide, ROUSH engineers can design parts that fit like the factory original pieces, requiring less effort to install them, as well as a more finished, OEM level appearance once the parts are in place.

The upper and lower grilles feature an OE-style stipple finish, and require no trimming or “fitting” to get them installed.
Velthoven says that ROUSH takes the same approach to designing their exterior components as most OEMs, “Like most O.E.s we develop all of our styling components in our state of the art design studio. We start with sketches that we translate into full scale clay models. From there we scan and digitize the clay model. Once scanned our CAD designers fine tune all of the surfaces and mounting points.”
The parts are made from ABS and TPO plastic which makes them tough and easy to handle. It also ensures that they stay in place once installed. ROUSH manufactures many of these parts in-house, “We utilize our in-house manufacturing capabilities as well as outside O.E. suppliers for our components,” says Velthoven.


Left: The lower grille installs easily and utilizes the OEM mounting points. Center: After removing the old grille we install new hardware supplied with the grille. Right: The new grille fits like it came with the car.
First Impression
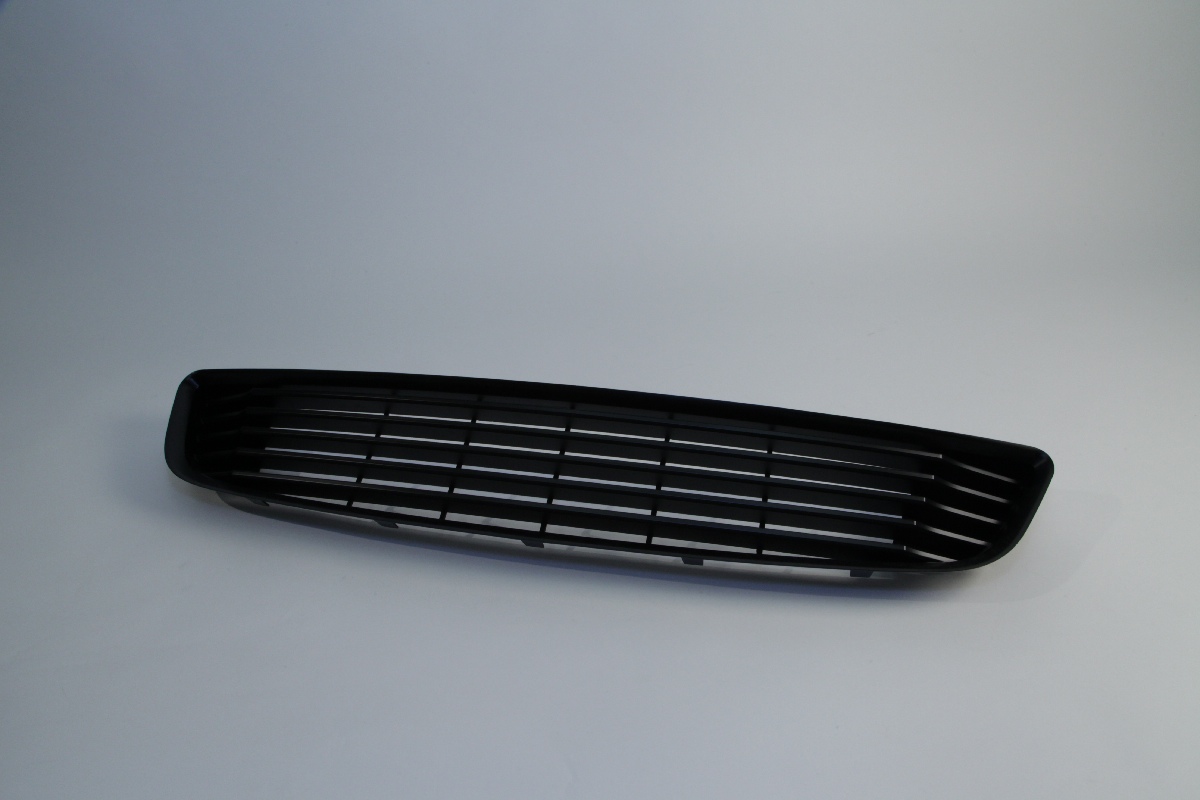 Starting out front we’re replacing the lower and upper grilles on Project Silver Bullet. This not only cleans up the front of the car in a subtle way, but but it also eliminates the factory fog lights. We opted to not install a new set of fog lights in the lower front fascia, but it is an option.
The grilles are made from injected molded TPO plastic with a black stipple finish, the same material and finish as the original grilles. ROUSH includes all the hardware necessary to install the new grilles, and they also don’t require any trimming or sanding to get them to fit since they were designed from the OEM CAD data.


Top Row: Left: The front bumper must be removed to install the upper grille. Center: The fog lights must be removed before taking out the grille. Right: The OEM grille is then easily removed from the bumper. Bottom Row: Left: The first step for installing the new ROUSH grille is to install the hardware. Center: Now the grille can be installed to the bumper. Right: With the grille in place the front bumper is ready to go back on the car.
The lower grille, part number 421496 is quick and easy to remove and install. The upper grille, part number 421392, does require the removal of the front bumper. This takes a little bit longer but is well worth the effort involved.
Strong Chin Subtle Sides
Made from injection molded TPO plastic, the ROUSH front chin splitter for 2013-2014 Mustangs, part number 421391, adds both improved aesthetics and functional aerodynamics to the front of a Mustang.
The Chin Splitter works by increasing downforce on the front of the car. It also decreases drag by improving the airflow transition between the ambient air in front of the car and the high-velocity are underneath the car when it is in motion. Drag is reduced by providing a space for the under underbody airflow to decelerate and expand.


Left and Center Left: To install the ROUSH Chin Spoiler the stock front trim must be removed. Center Right and Right: The ROUSH Chin Spoiler installs using the OEM hardware and mounting locations and hardware.
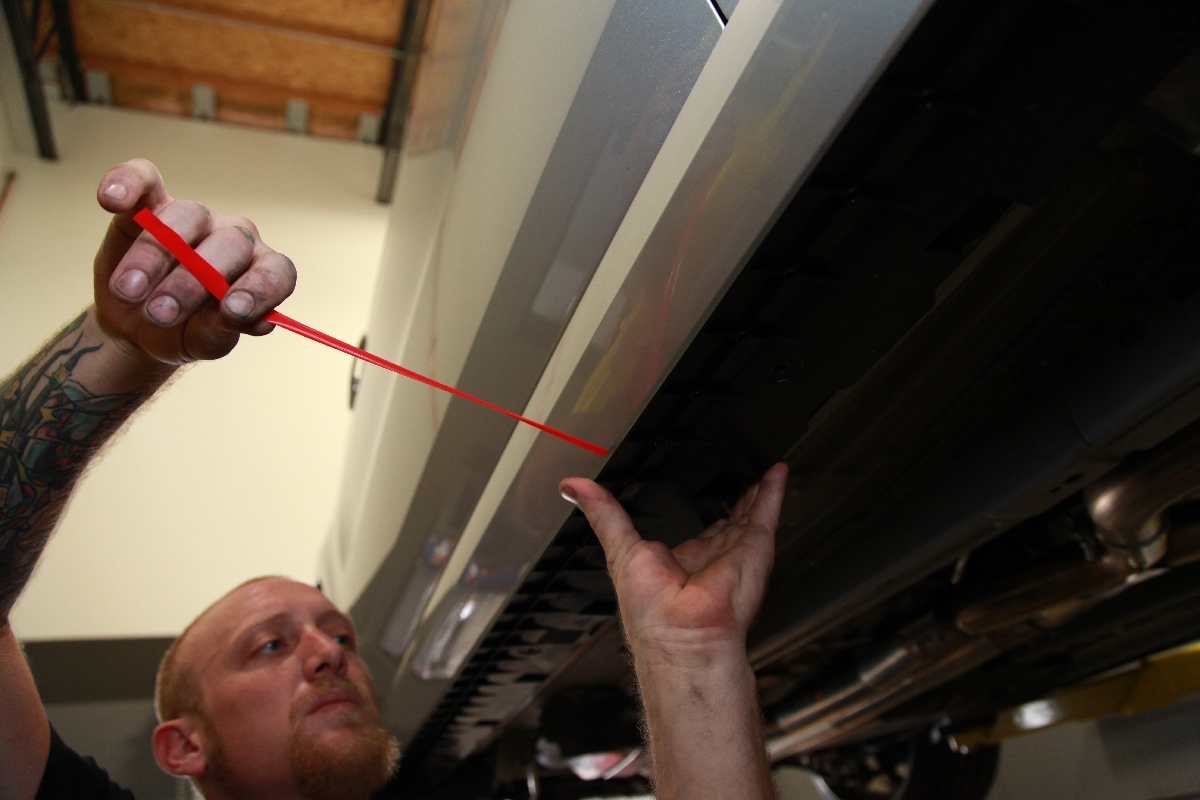
The side splitters attach to the rockers with high-grade automotive adhesive strips and replacement rocker push pins. These can be installed in less than an hour.
 The chin splitter is also made from injection molded TPO plastic with a black stipple finish. This gives it an OEM look that doesn’t require painting. It also matches the appearance of the ROUSH grilles.
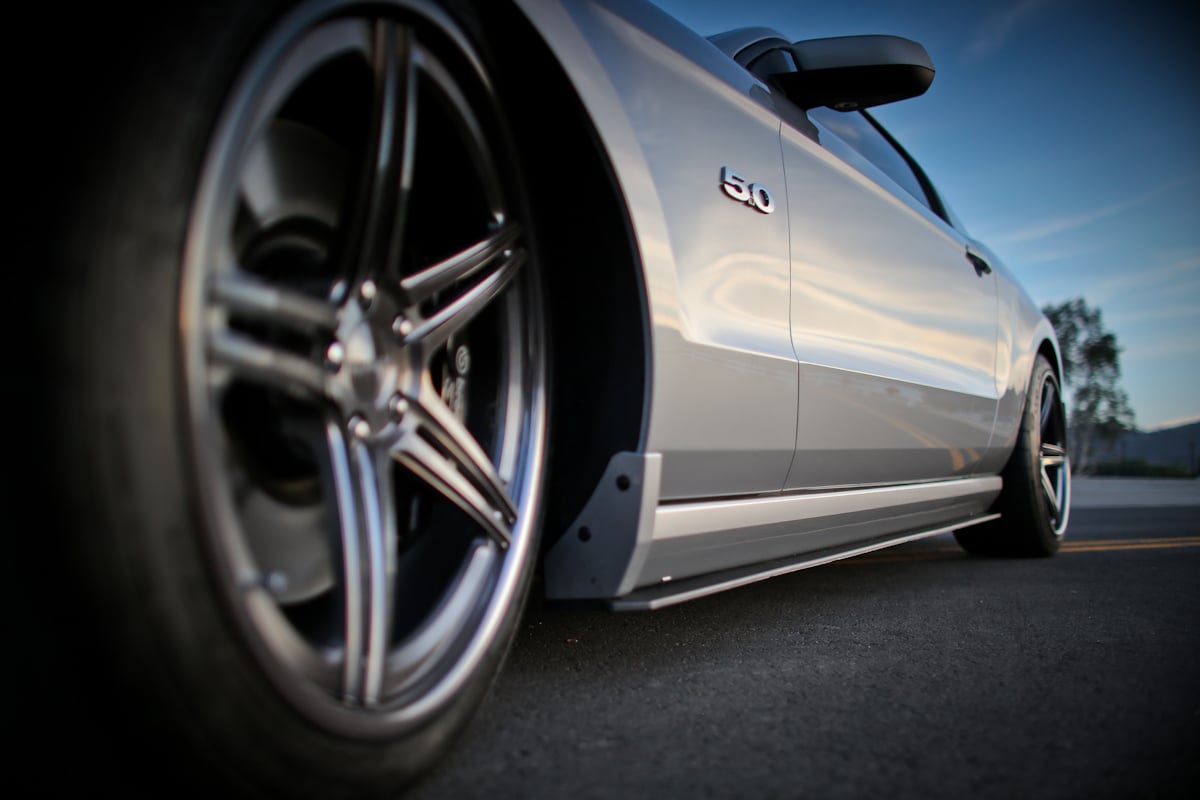
Complimenting the work on the front are ROUSH side splitters, which run the length of the rocker panels and attach to the stock rocker panels. These are part number 420092, and are made from TPO plastic. They give the appearance of a lower stance with a more race-oriented feel. These feature a similar textured finish to resist rock chip damage. The installation is as simple as removing the old side splitter push pins, placing in the side splitter, and installing new push pins. Two new holes are drilled for additional support.
Tidying Up The Rear
Enthusiasts have been adding spoilers, and all manner of other components to their Mustangs since they first started modifying them nearly 50 years ago. Continuing our theme to the rear of the car is the ROUSH Rear Wing Kit, part number 420011.

The rear spoiler consists of three pieces including the main spoiler and the two side trim pieces.
This kit includes the spoiler, hardware, and templates to install the part. It can be ordered painted, as we did, which is done in-house by ROUSH to the factory color specified when ordering the kit.
The wing has a section removed from the center to allow for better visibility out of the rear window. Attachment is performed using double-sided adhesive and the included hardware, which does require some drilling.


Top Row: Left: Since our car was optioned without a rear spoiler we have to drill the trunk lid for the fasteners. ROUSH provides a template for this, and as with any time drilling is done on a body panel the key here is patience and accuracy. Center: Once the holes are drilled the spoiler is installed, it also utilizes adhesive to further secure it in place. Right: The side portions of the spoiler are held with adhesive strips. The key to getting them to look right is to spend a few extra minutes aligning them properly with the rear spoiler. Bottom Row: A drill is also required for installing the Rear Side Splitters. A fastener must be drilled to remove the factory splash guard. Center: An additional hole is also required for installing the splitters. Right: With the splitter in place a final hole is drilled to secure it in place.
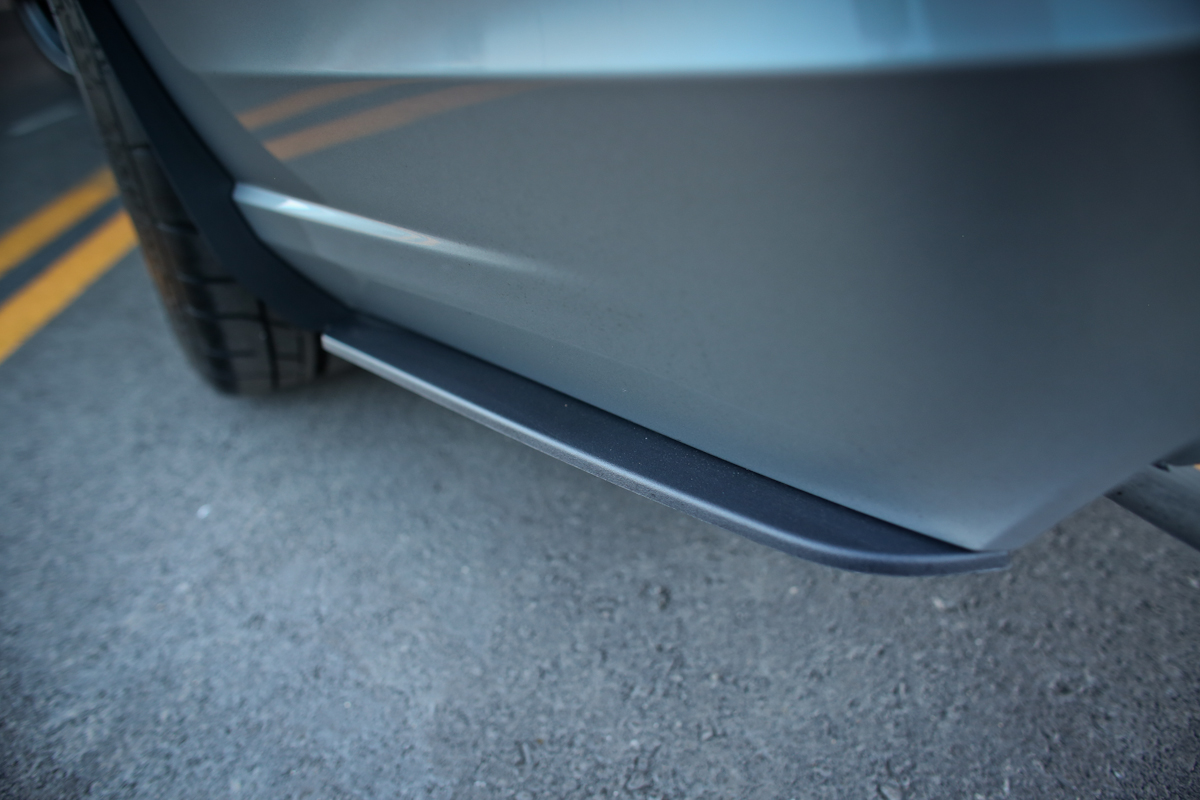 We finished out the exterior of Silver Bullet with the ROUSH Rear Side Splitters, part number 421405. These splitters fit under the rear valance, and are purely cosmetic. They add a subtle touch to the rear of the car where Ford left off by creating a styling line between the road and the car. They also compliment the side splitters we installed along the rocker panels.
The Side Splitters are made from TPO plastic offering light weight, and strong impact resistance. Just like the grille and the front chin splitter, these also feature a black stipple finish, giving them an OEM appearance. We expect many people will notice the splitters but think they’re a factory optional part, and that’s the idea, it’s just enough to set the car off.
Grander Entrance
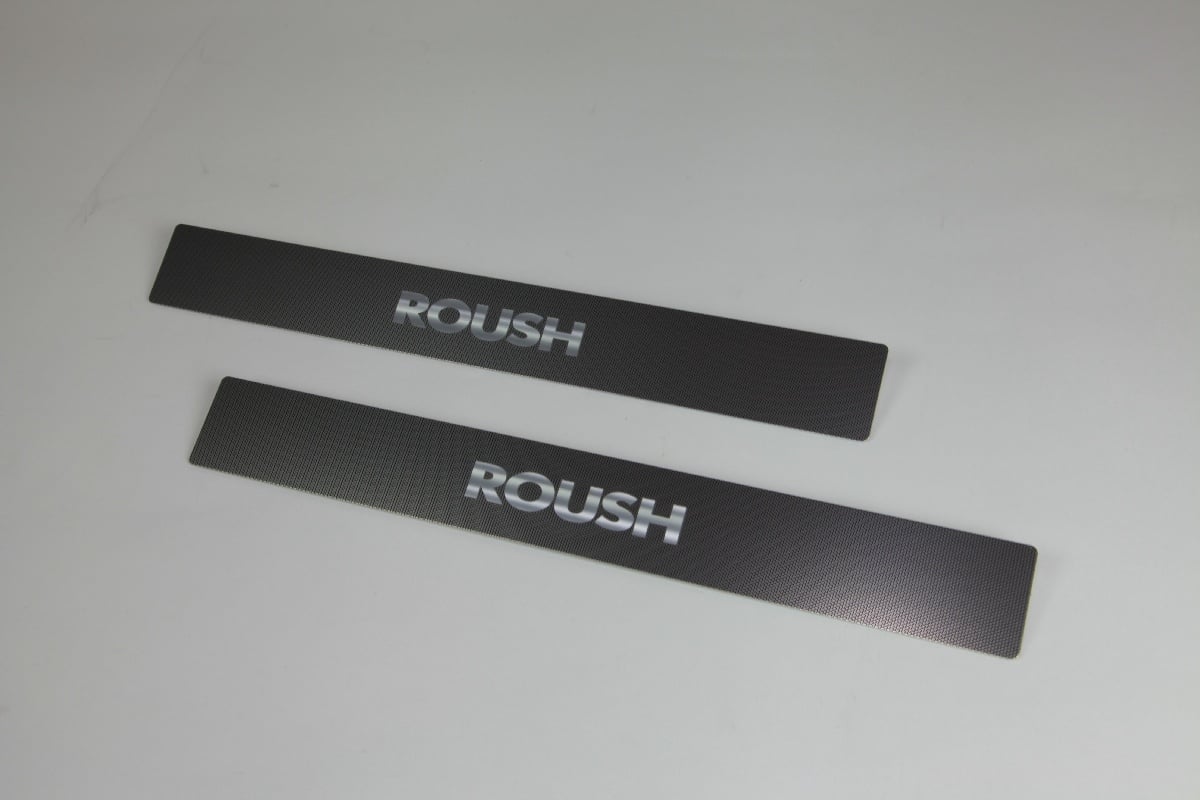
To make things a little cooler on the inside of our car we’re installing these very cool ROUSH door sill plates, part number 420031. These plates are compatible with the OEM My Color system if the car they’re installed on is equipped with it. The plates are a direct replacement for the factory units and feature a high grade, automotive adhesive to ensure they stay in position for the long-term. These plates are another nice touch to our build.
 Installation
Parts List
This installation is easily replicated using the parts we installed. Everything is available from the ROUSH Performance web-site or an authorized ROUSH Performance dealer.
Chin Splitter: 421391
Lower Grille: 421496
Upper Grille: 421392
Rear Spoiler: 420011
Side Splitters: 420092
Rear Side Splitters: 421405
Door Sill Plates: 420031
All of these parts can be installed with the use of some basic hand tools, and a drill in some instances. In instances where drilling is required, ROUSH includes templates, to make this part of the job easier, the key is to take the time and pay attention to detail whenever something needs to be drilled.
The upper front grille requires removal of the front bumper, this is something that’s a bit more involved, but can still be done by any competent enthusiast in their home garage. In all, these modifications can be performed by anyone handy with a set of tools on a weekend.
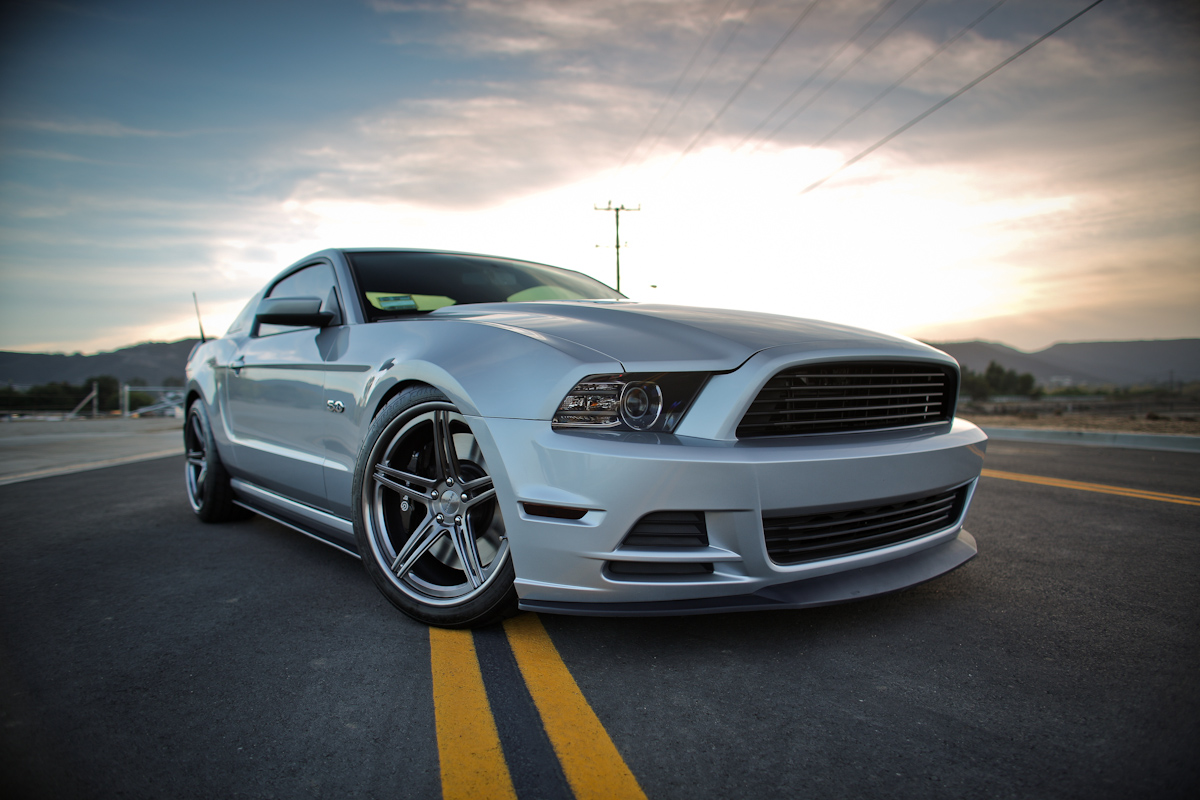
The Final Product
Velthoven tells us “It is very easy for customers to mix and match components to come up with a unique style of their own,” and we couldn’t agree more. While we didn’t choose every part from the ROUSH Parts bin, we did pull together the majority of them, and many of these parts could be mixed and matched to set an Mustang apart.
The end result for us is a blending of clean style, that compliments the Forgeline wheels we’ve had on the car, and the overall high end feel we’re going for with Project Silver Bullet. We’re now one step closer to our goals with this car.


