
 With most performance parts that you can install on a musclecar, the end result is often more power or better handling. But performance isn’t only about getting an extra pony or two, or about better handling – it is also about getting better lap times, or sometimes the components are about the feel and aesthetics of the part. That’s where Hurst Shifters can improve things inside the car, and help to improve lap times, as well.
It may seem like a stretch to say that a shifter can improve lap times, or lower an ET in drag racing. But when tenths of a second matter, it can make a difference if your shifts are more positive, and if they’re done quicker. That’s the whole purpose of a short-throw shifter, like the Billet Plus shifter from Hurst.
We took a closer look at Hurst Shifters earlier this year to see what goes into making a short-throw shifter like this. As Vice President of Engineering for Hurst, Kenju Takahashi, says, “There’s more to making a short-throw shifter than just cutting off the top.” Engineering and analysis is all part of making the shifter better than the factory shifter, and to make shorter, more positive shifts.
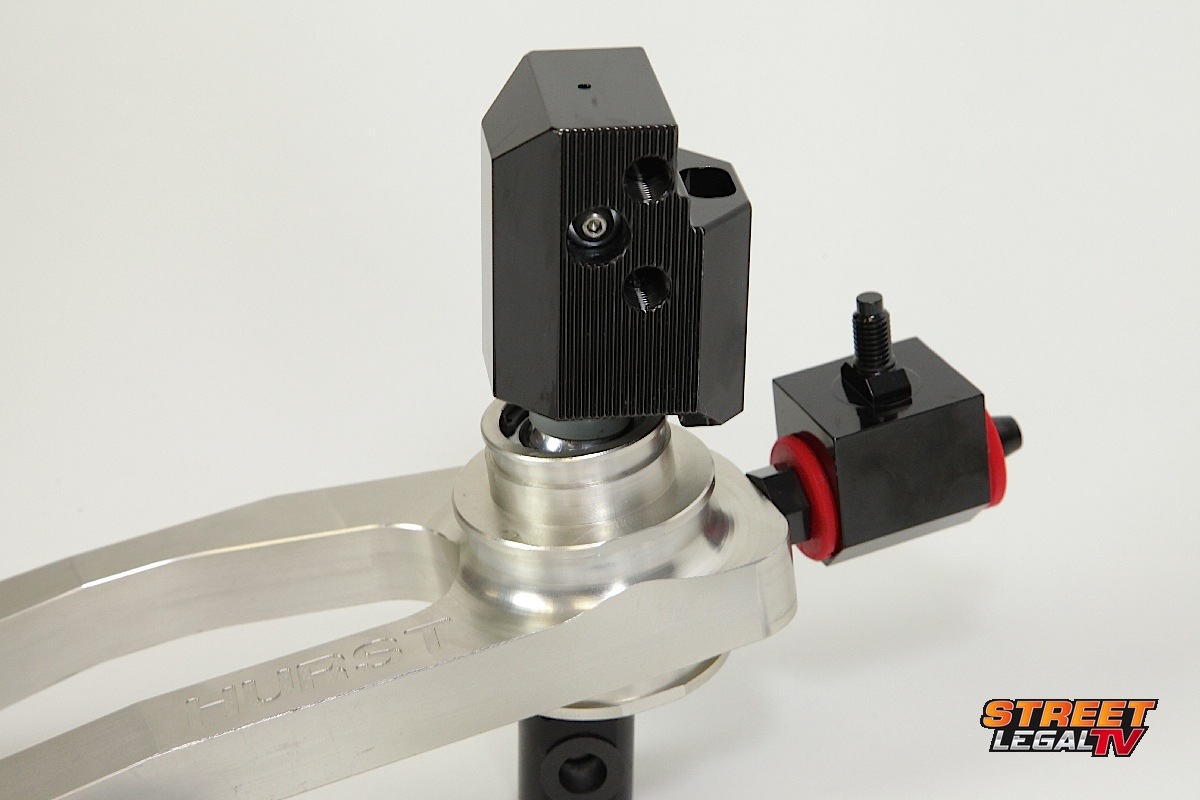
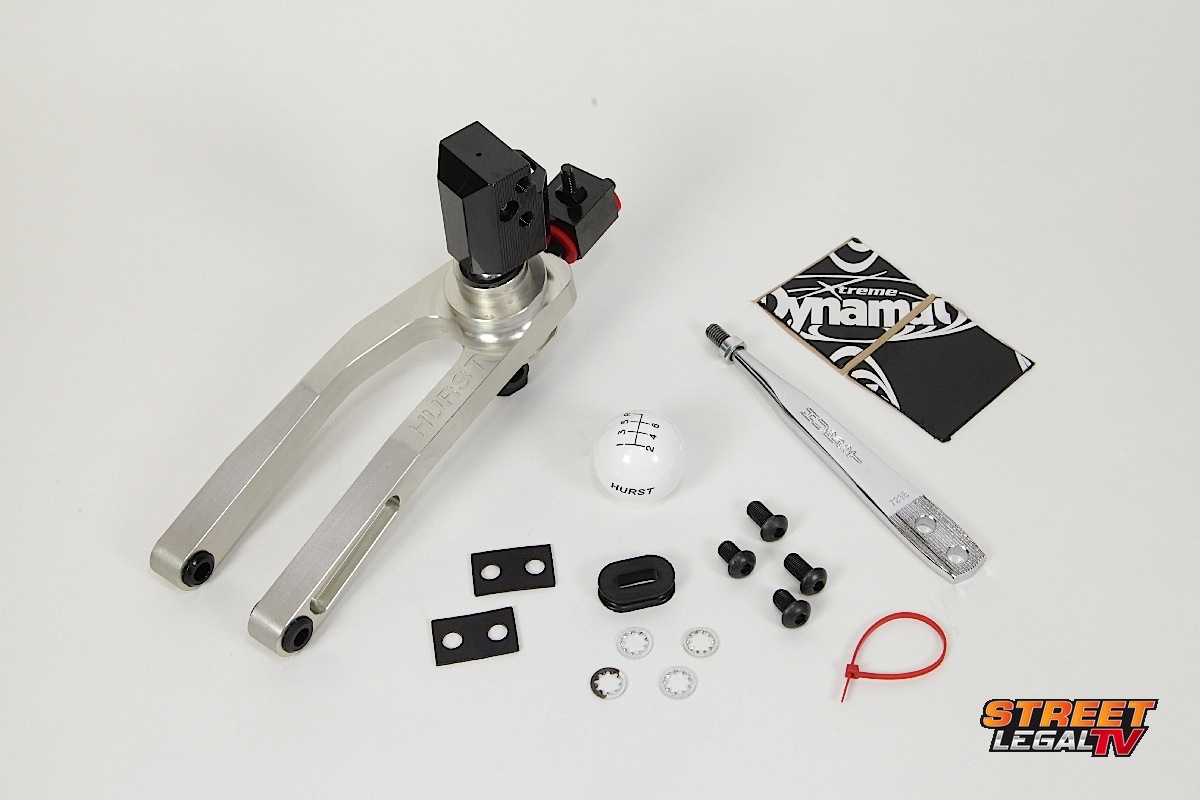
The Billet Plus shifter looks great and it's almost a shame that we have to cover it up.
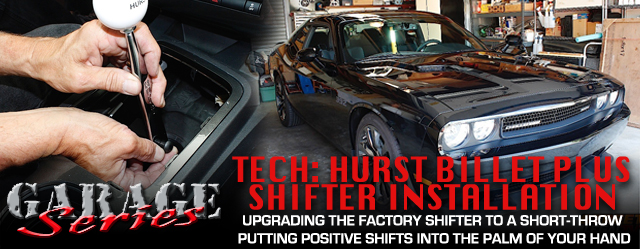
When the shifter is designed, they try to take up to 20% of the throw out of the shifter. This is done by raising the fulcrum (where the lever pivots) and giving a shorter throw on top and a longer throw on the bottom. This moves the shifter inside the transmission more with less of a throw at the knob-end of the shifter. But making the throw shorter than factory is not the only thing that sets this shifter apart from the factory shifter.
Our approach in shifter design philosophy errs more on the side of the race driver with shift feel and quality first. – Kenji Takahashi

The bushings in a factory shifter are often a soft rubber, this makes the shifter quieter because the rubber bushings absorb a lot of the noise, harshness, and vibration (NVH). This makes the shifter nicer for the casual driver, but it also leaves the shifter with a little bit of a sloppy feel to it. In order to firm up the shifts, Hurst uses urethane bushings in their shifter base.
For some people, the firmness and the added noise is not what they expect with a modern musclecar; where the manufacturer took every effort to make the car ride quiet and smooth, Hurst focused on firm, precise shifts and after installing Hurst’s Billet Plus shifter, there is a noticeable difference. Takahashi reminds us, “Our approach in shifter design philosophy errs more on the side of the race driver with shift feel and quality first.”

What Takahashi says makes sense, because when we want to firm up our cars for better handling we typically install stiffer springs and shocks, stiff sway bars, and low-profile tires. Those enhancements provide a much better feel in the turns, but it’s also at the expense of a comfortable ride as you begin to feel more of the road with those modifications. Putting that same theory to the shifter, the Billet Plus shifter provides more control of the shift, and the result is that the soft factory bushings that insulated every noise and vibration are no longer present.
On a 1970 musclecar, we’re used to the harshness of the ride when we build for performance, however, modern musclecars are built for comfort – even with their high horsepower engines – and we often don’t realize that we’re driving a musclecar until we look down at the speedometer and see that we just clocked over 80 mph.
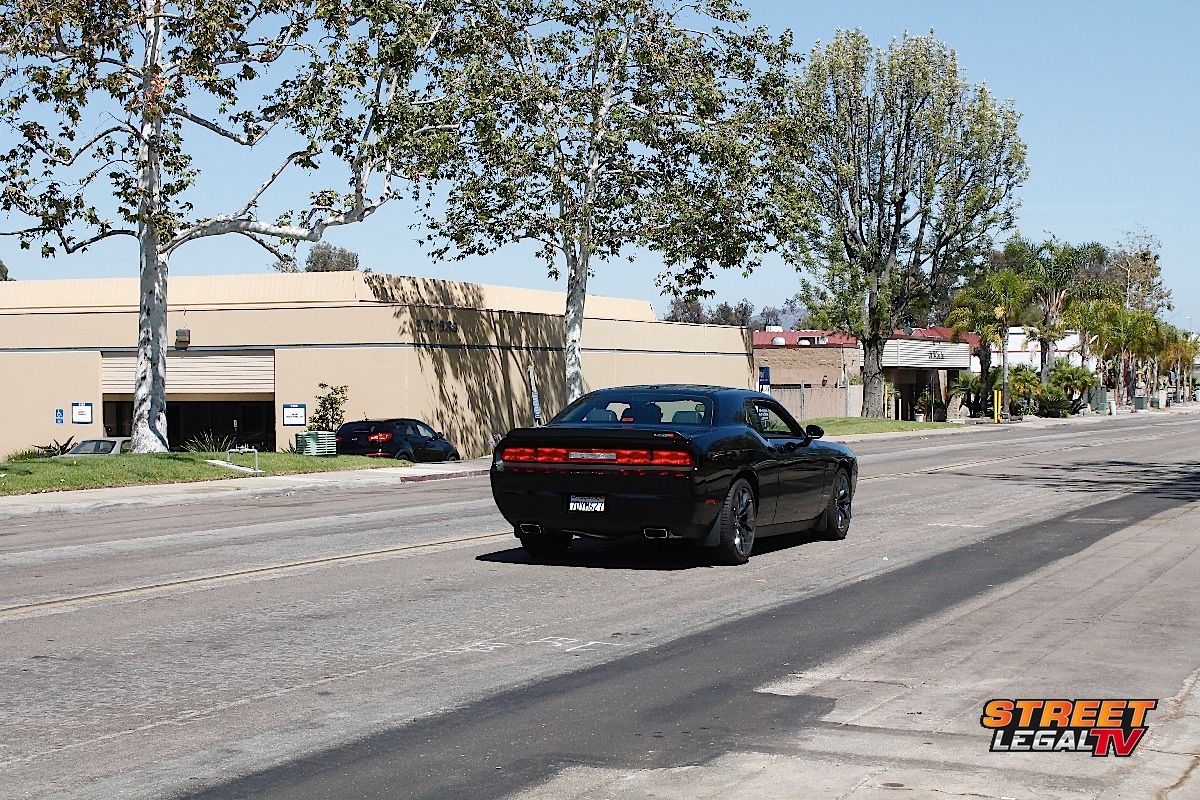
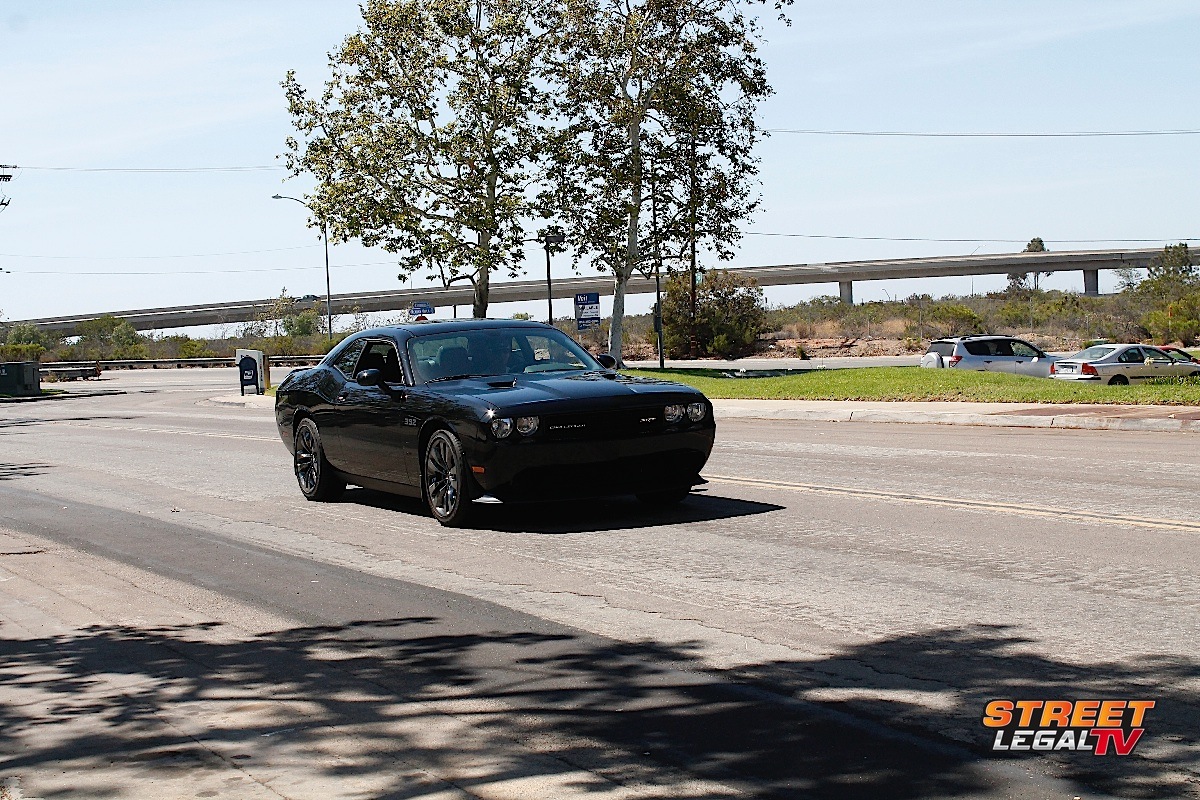
We installed this shifter on Bob Gough’s 2014 SRT8 Dodge Challenger Core model, we noticed that driving the car and revving the engine over five grand wasn’t what we typically see with a musclecar from the 1970s – it’s far quieter and smoother. The car rides great and is very much unlike a powerful musclecar with over 450 horsepower. With that said, expect to feel more of the vibrations from the shifter after it’s installed, but Takahashi reminded us that much of that can be tuned out with the dampening pads that are included with the kit. The instructions will show key spots where the pads can be installed to help reduce some of the transferred vibration.
Installation of the Shifter
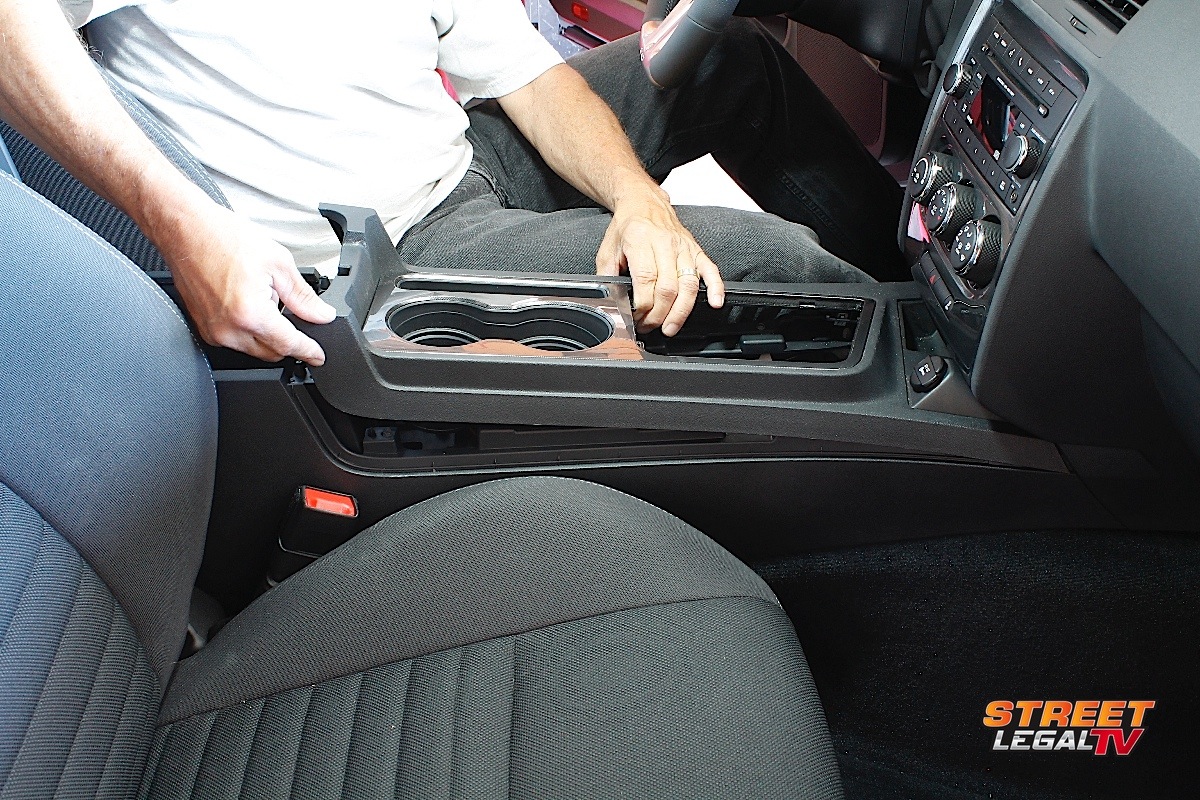
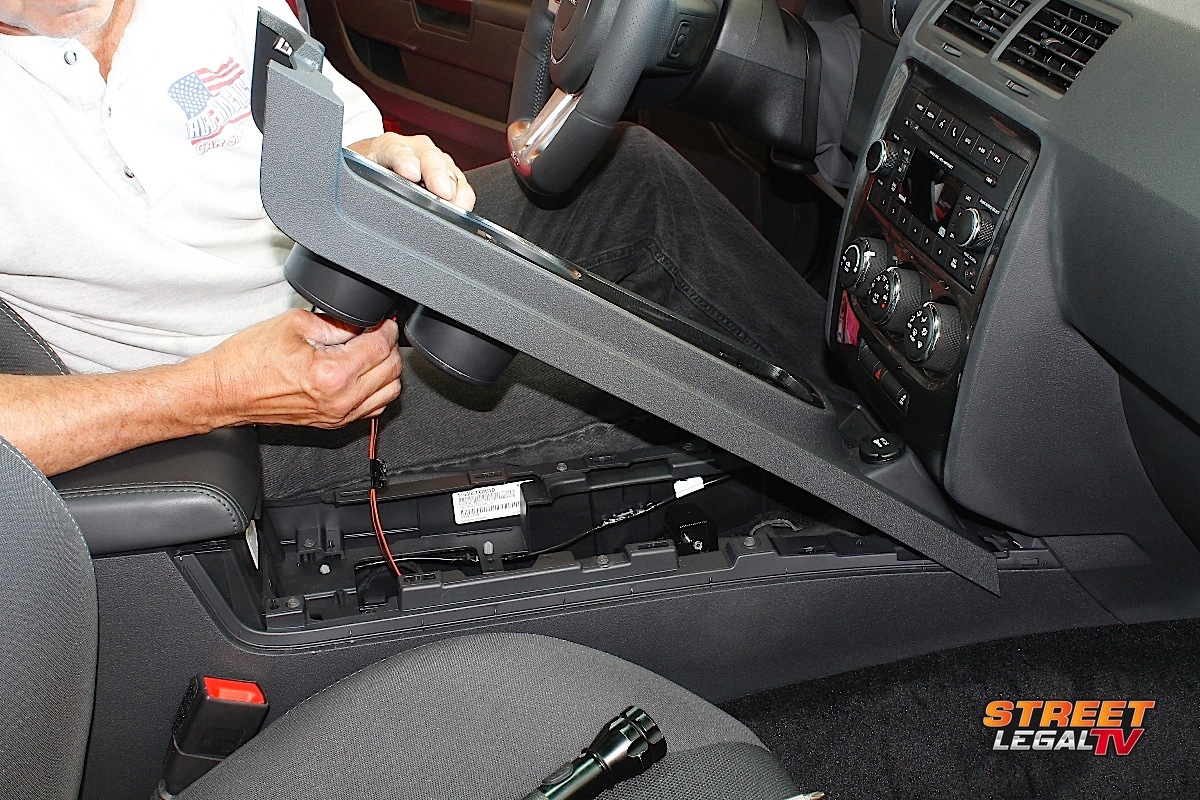
With many new cars, pulling the plastic consoles apart might be something that keeps people from wanting to do their own installation. But doing these installations is what our Garage Series is all about. After getting past the initial jitters and fears of breaking something, the process went rather smoothly. The first order of business was to remove the console and trim pieces to get to the factory shifter base.

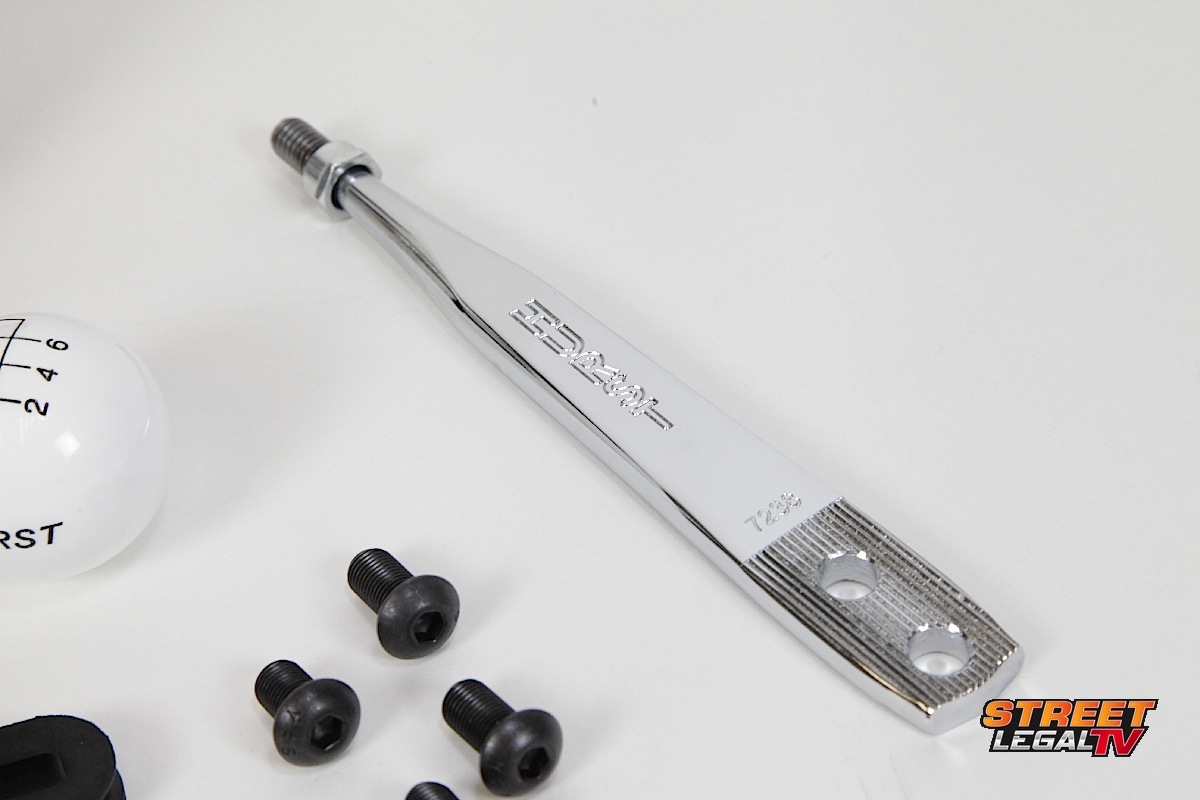
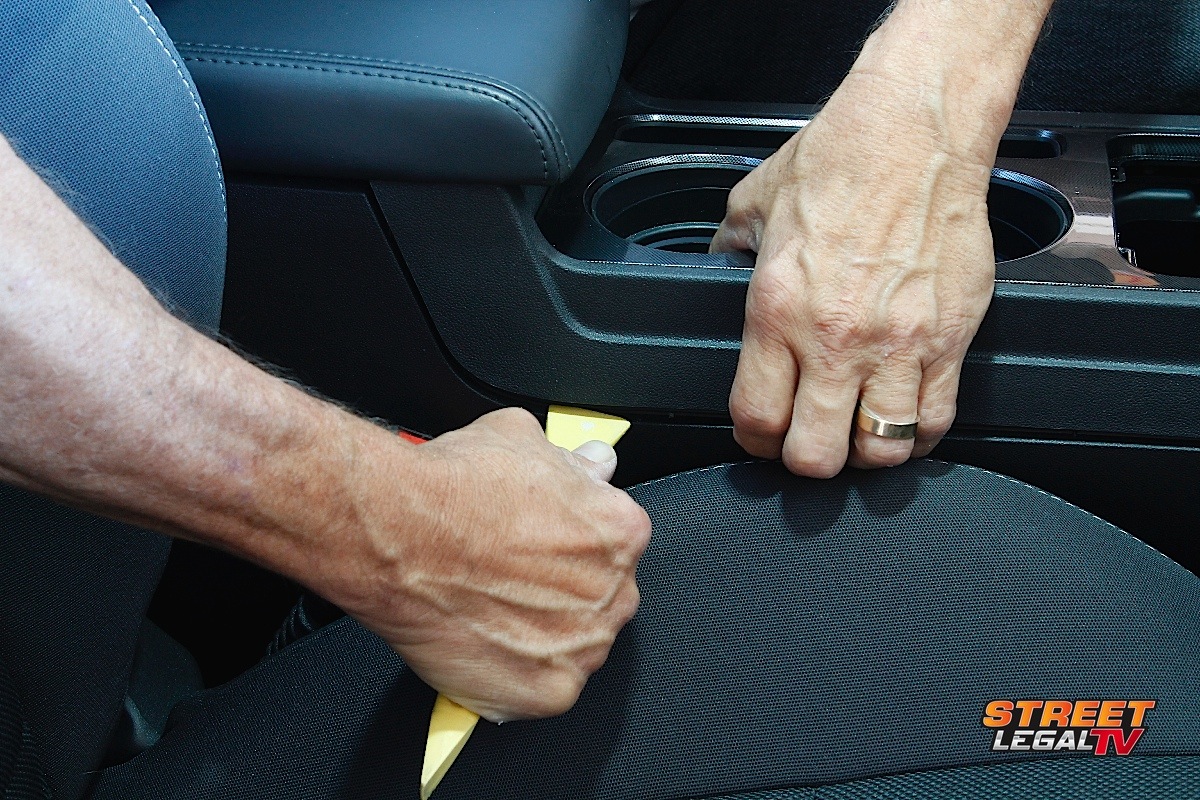
A screwdriver would damage the console, but this teflon tool did the job without leaving any marks.
Taking your car to have this shifter installed can easily approach over $100, especially with labor times these days. We found that investing in a couple of additional interior tools from someplace like Harbor Freight is a wise investment and helps tremendously with removing trim pieces. These Teflon tools allow for getting underneath the edge of a console and are soft enough that they won’t mar or damage the plastic console like a screwdriver would.
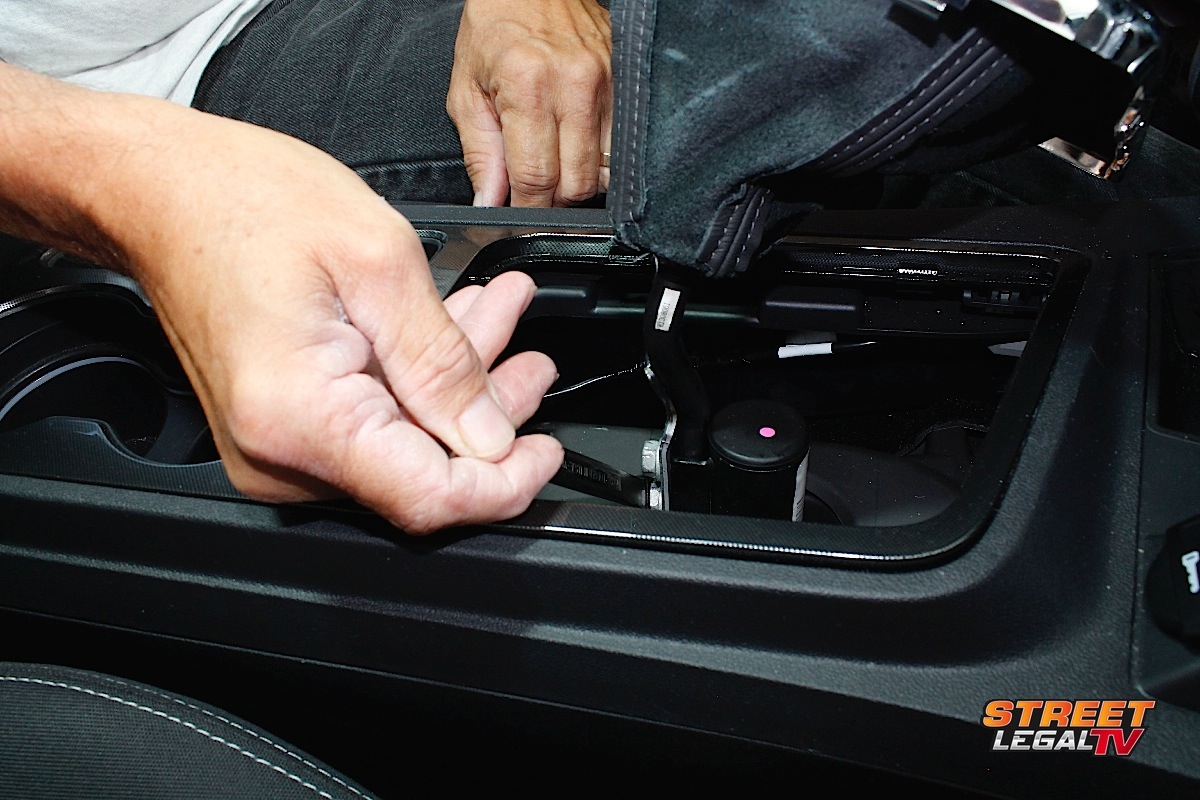
The instructions that accompany the Billet Plus shifter are straightforward and should be followed closely, because not everything needs to come apart on the console. We started with the upper bezel that surrounds the shifter boot so we could access the shifter using a Teflon tool to pry the ring up.
Removing the upper trim and console are necessary to access the shifter controls.
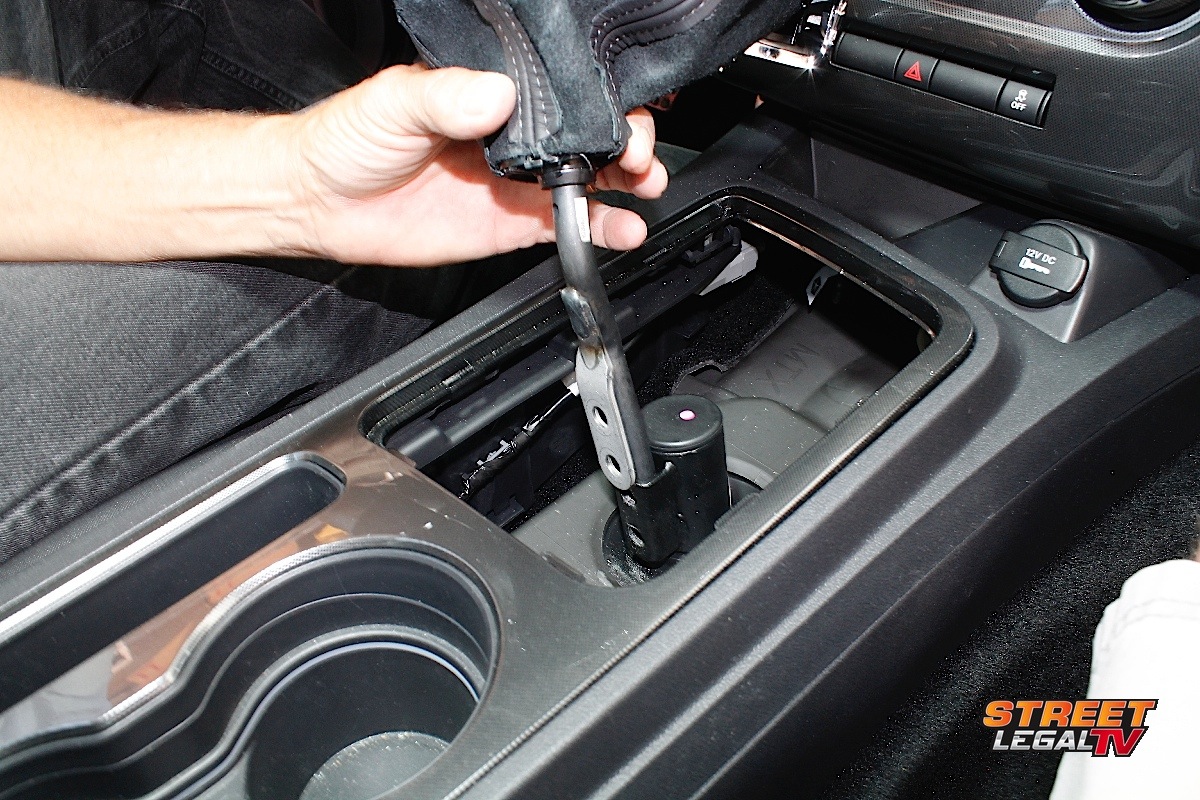

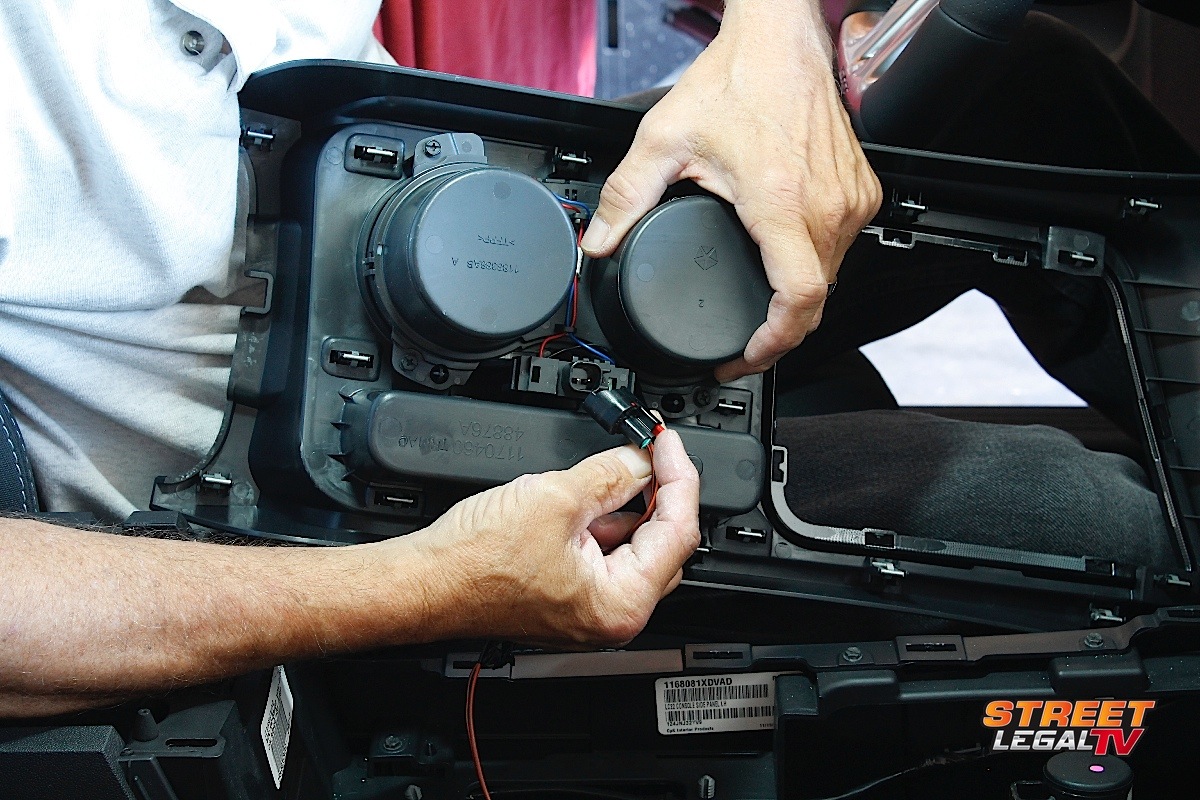
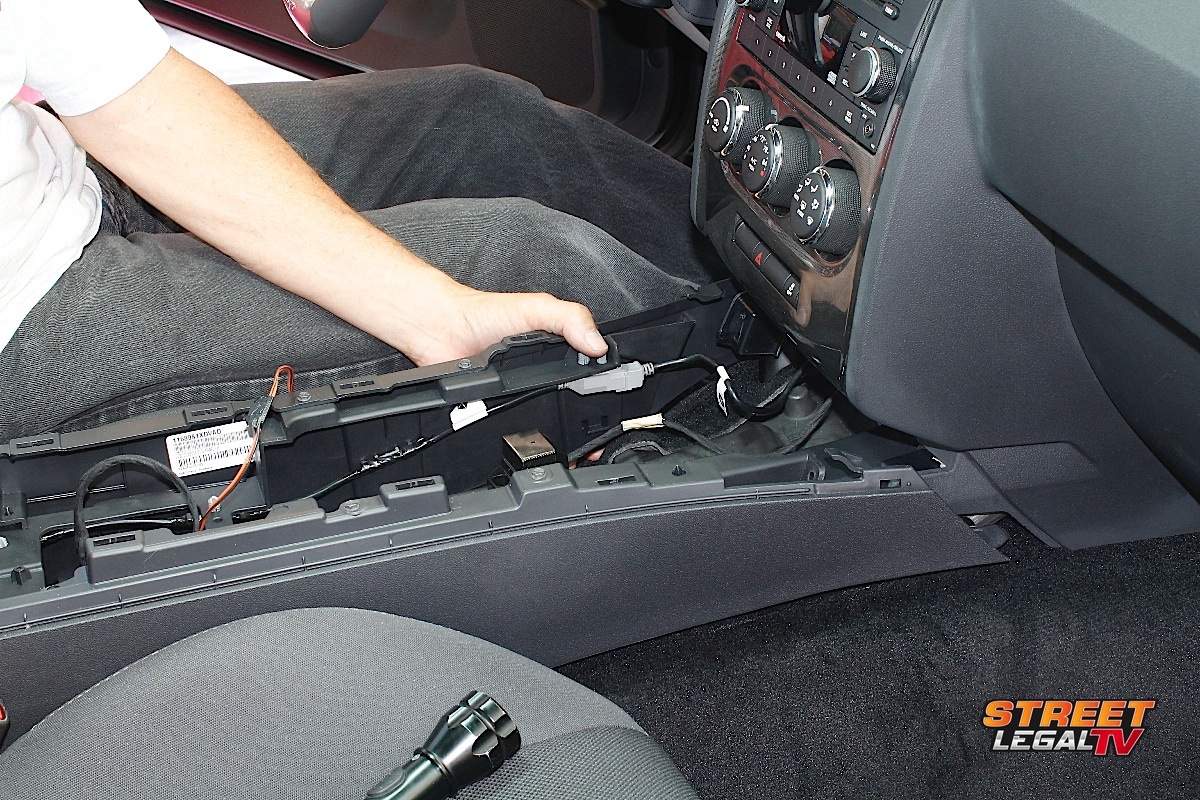
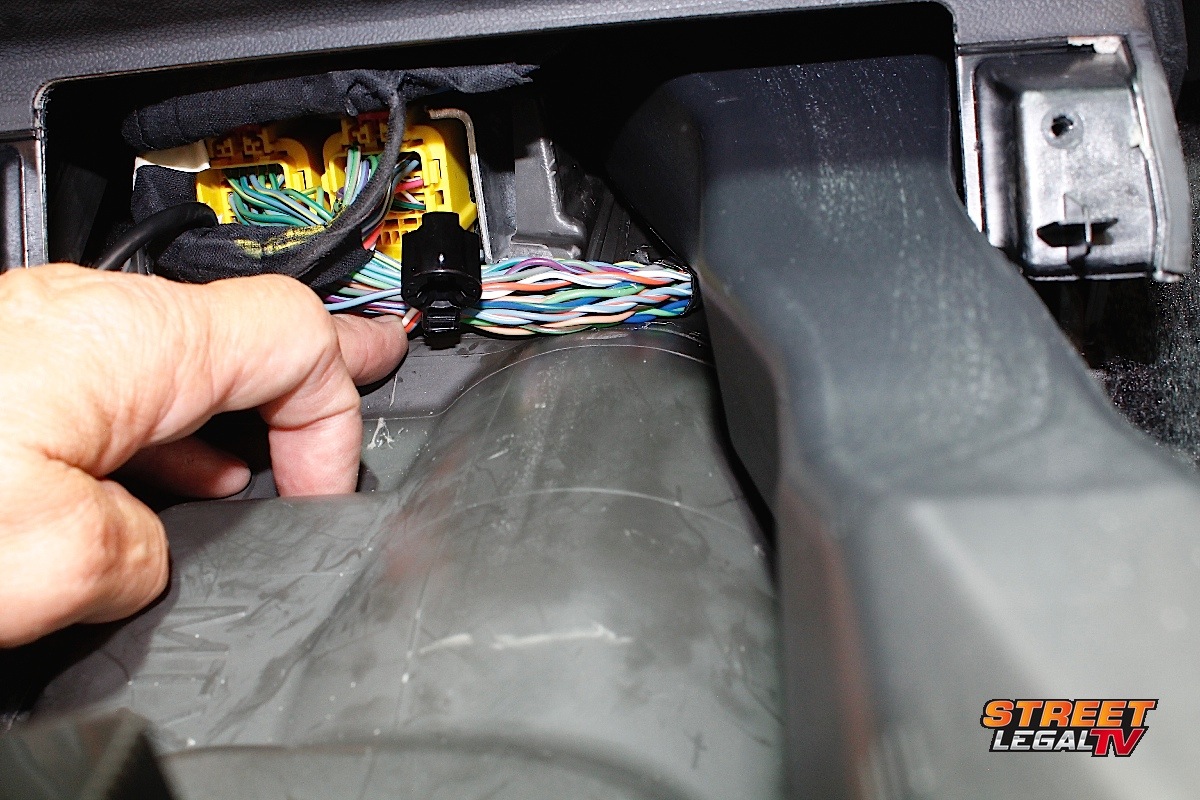
With the shifter and boot removed from the shifter base, the upper console bezel is removed, being careful to not pull the wires out. There are a couple of harnesses that need to be unplugged from the console and it takes some creativity to get to them. It helps if you’re a contortionist sometimes – care needs to be taken when removing these plugs. We noticed that a couple of them had small pins that needed to be depressed in order to pull the plug out. Being firm with the plugs helps to remove them, but if they aren’t budging at all don’t force or yank them out. The locking pins are hard to see, but they are there and a small screwdriver can help to remove them.
Be careful when removing the plugs from the sockets, they’re tricky and each has a lockout that needs to be depressed.
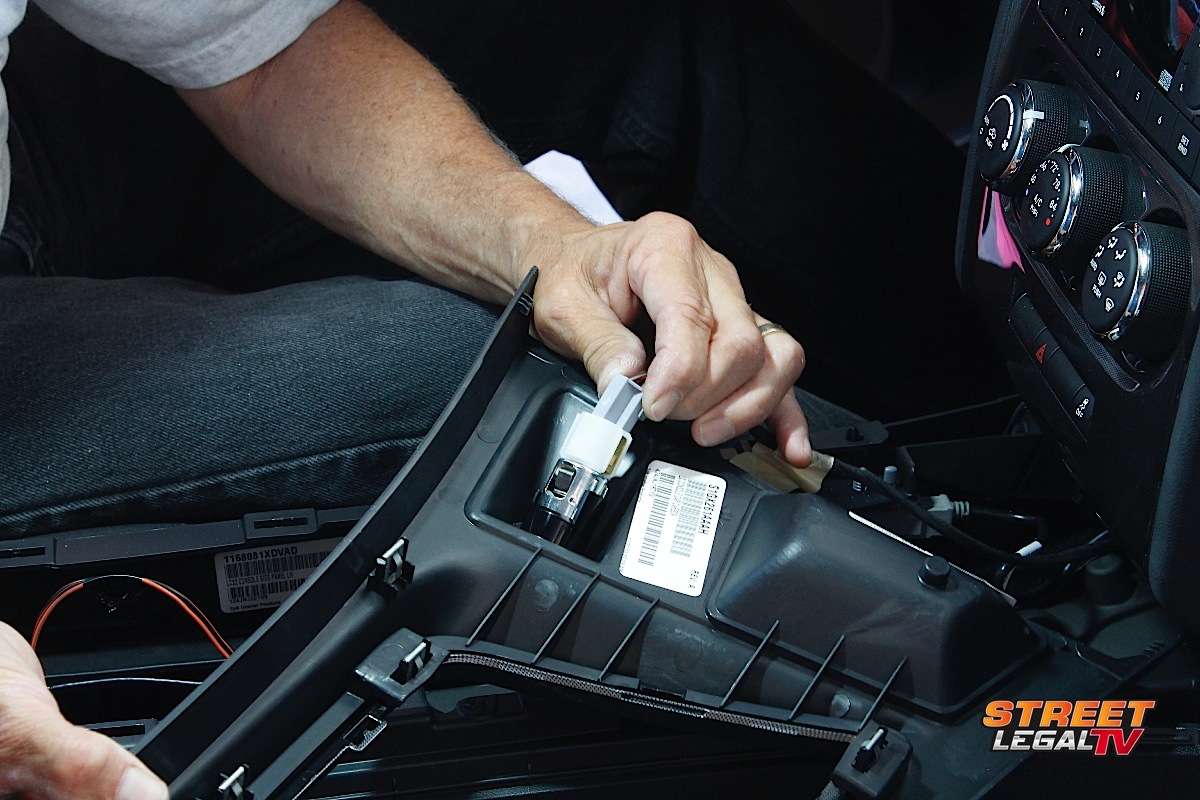
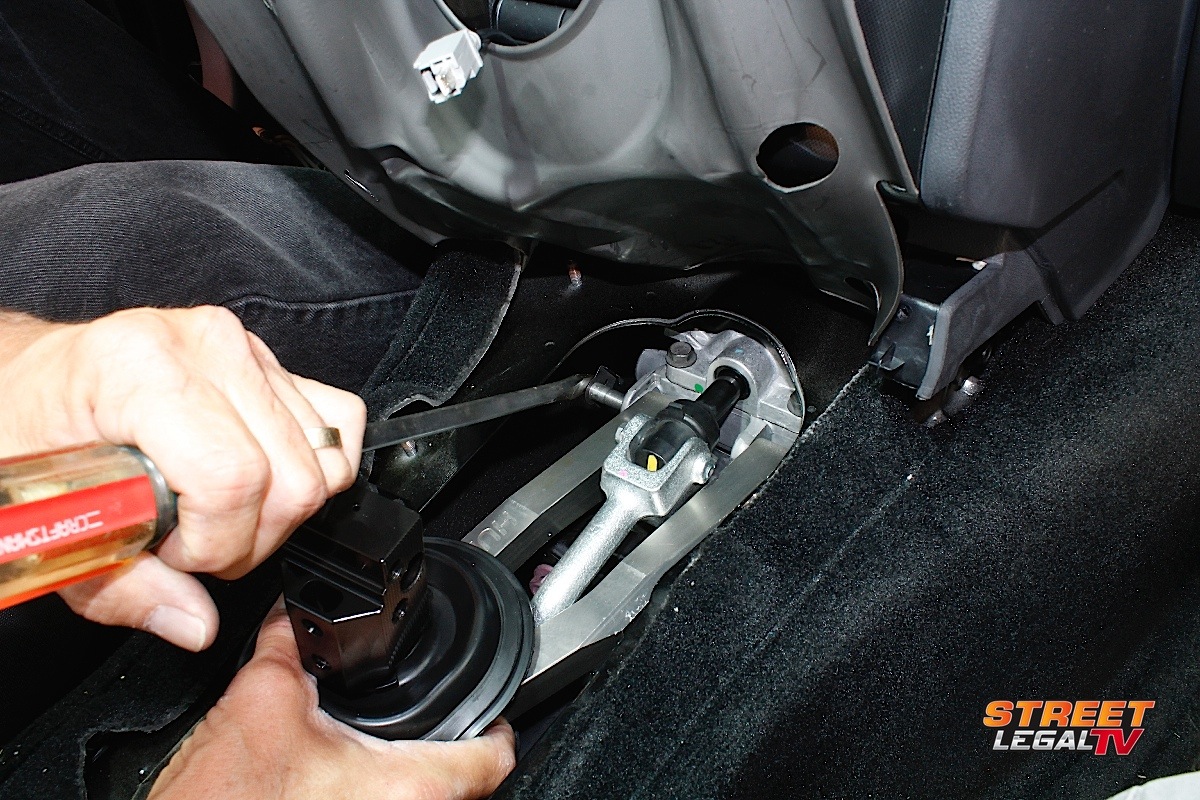
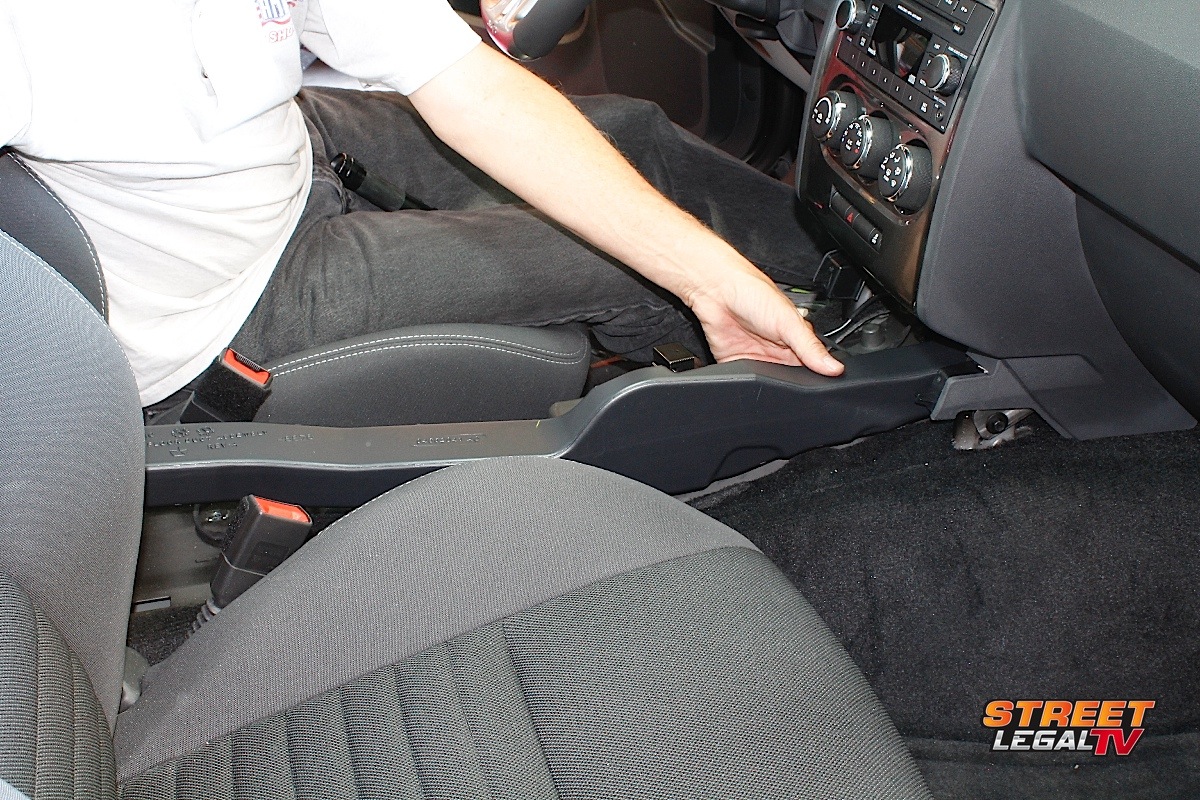
After the harnesses were unplugged from the upper console bezel, the two forward screws on the console came out. The four bolts holding the rear of the console were removed and the console was extracted. The ducting was also removed and the upper rubber shield can either be removed or it can be tied back, like we did with ours. This exposes the metal plate that retains the rear of the shifter in place; the six perimeter bolts were removed, and the nut was removed from the shifter housing.
The two outer rods that connect to the transmission housing are held in with pins, and each pin has a retainer that must be rotated before it can be slid out. There are also two bolts on the shift rod, fore and aft, that need to be removed so that the shifter can be removed from the vehicle.
With the shifter out of the vehicle, there are two factory boots that need to be transferred over to the new Billet Plus shifter. For the upper boot, notice the flat spot on the rear of the boot, and be sure to install it similarly to the new Hurst shifter. The lower boot will need to be transferred as well, being careful not to rip the boots when stretching them over the new shifter base. They will stretch enough to fit, so don’t force them.
Top: After removing the bolts that connect the shifter, inspect the rubber boots and replace them exactly as they are on the new Hurst shifter.

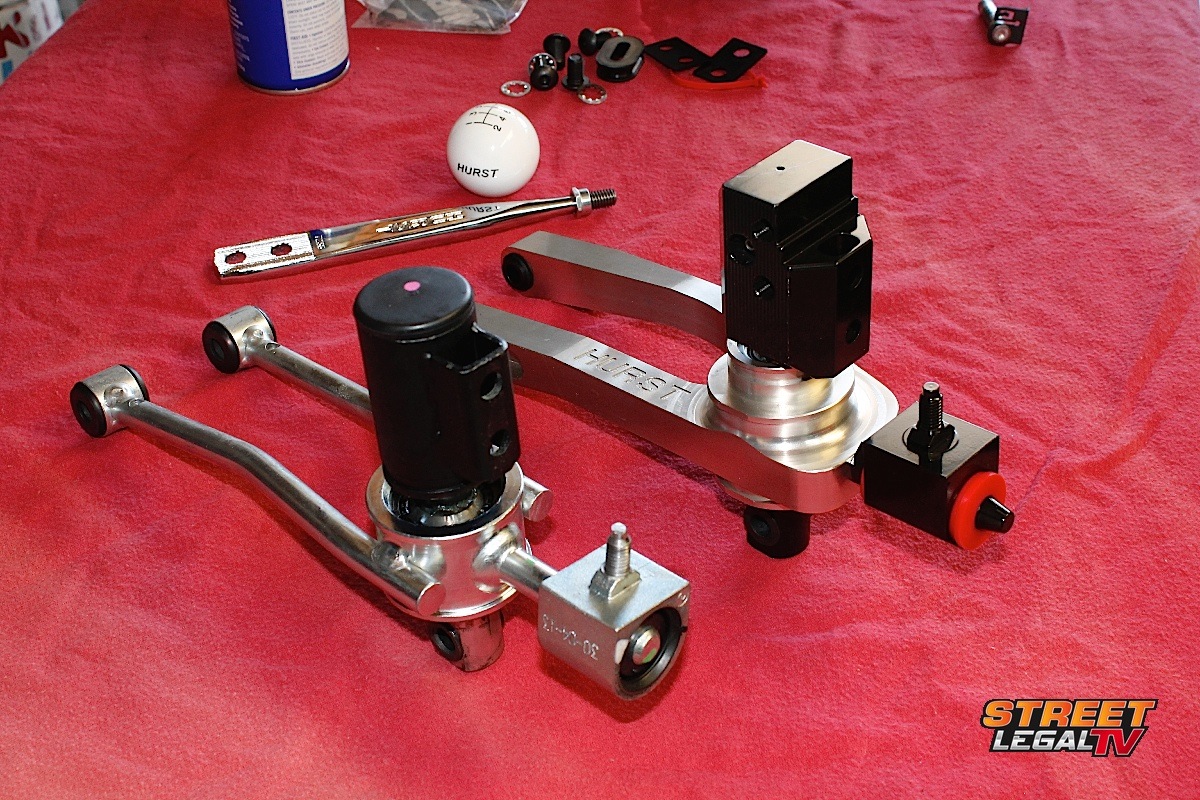

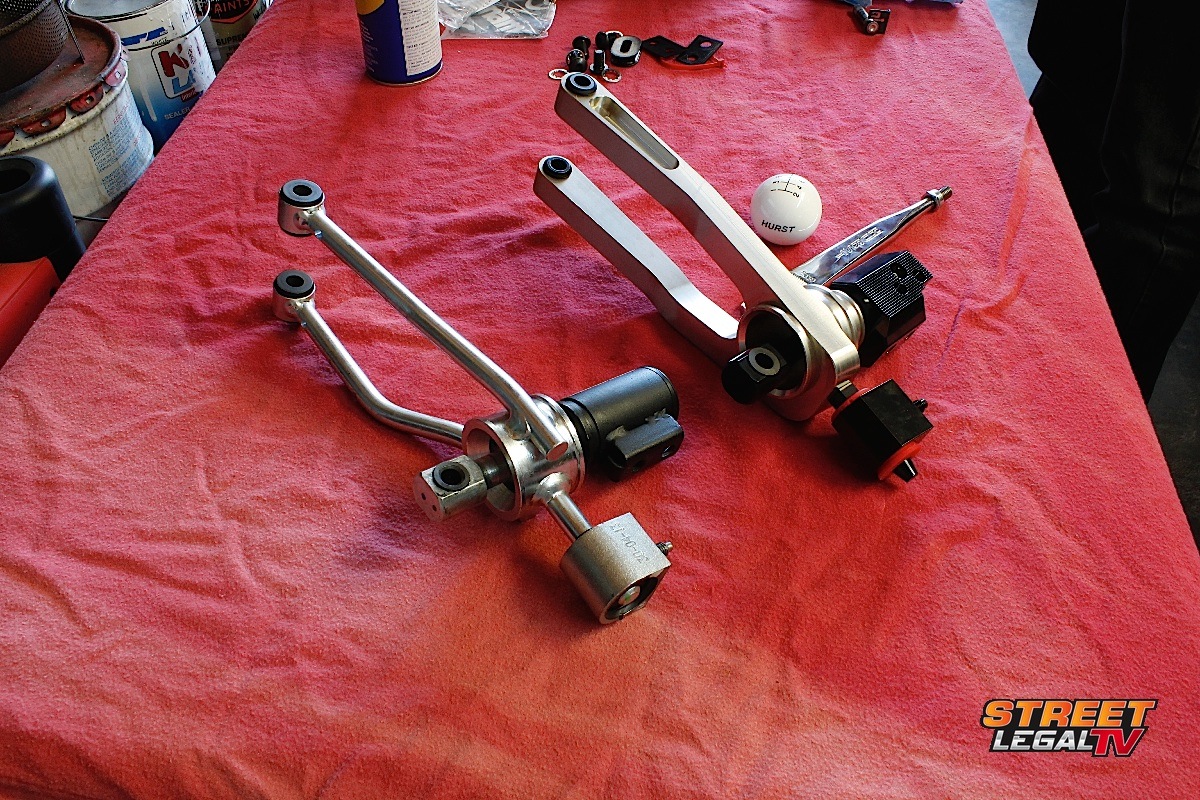
Bottom: Just a quick visual comparison and it's easy to tell which part was designed for performance.
Both rubber boots are placed over the shifter and seated on the retainers, and the new Hurst shifter is ready to be installed in place of the factory shifter. From this point, everything was basically done in reverse from how it was pulled apart. Inserting the two forward pins can be quite tricky, the sheet metal around the shifter opening had some sharp edges and a quick file kept knuckles from getting bloody.
Persistence pays off. The pins are snug on the new urethane bushings, but with some effort they can be pushed into place. Trying from under the car might make it easier.
Accessing the pins from underneath the car might be easier, but with a little perseverance we were able to insert both pins and rotate them so the clips locked into place. It should be noted that the new urethane bushings are going to be tighter on the pins, so be sure to check them first. Aligning the two forward rods took some time, but it can be done.
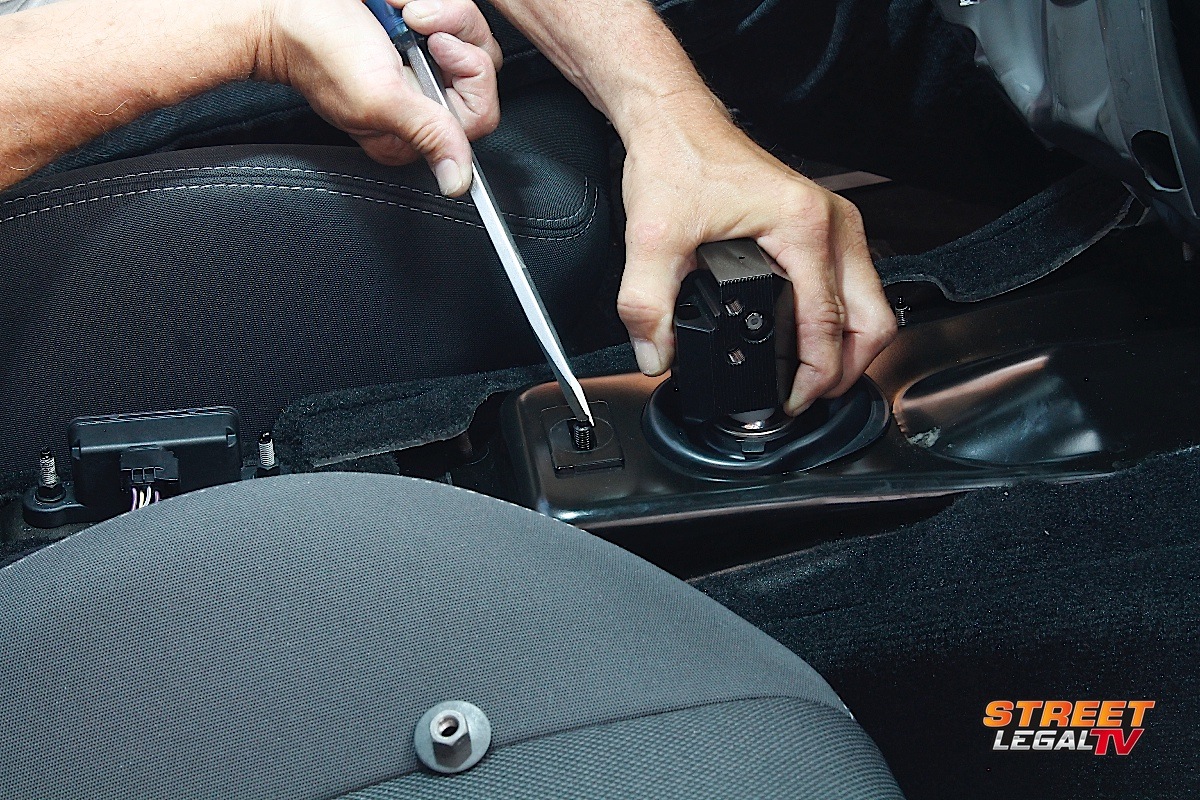
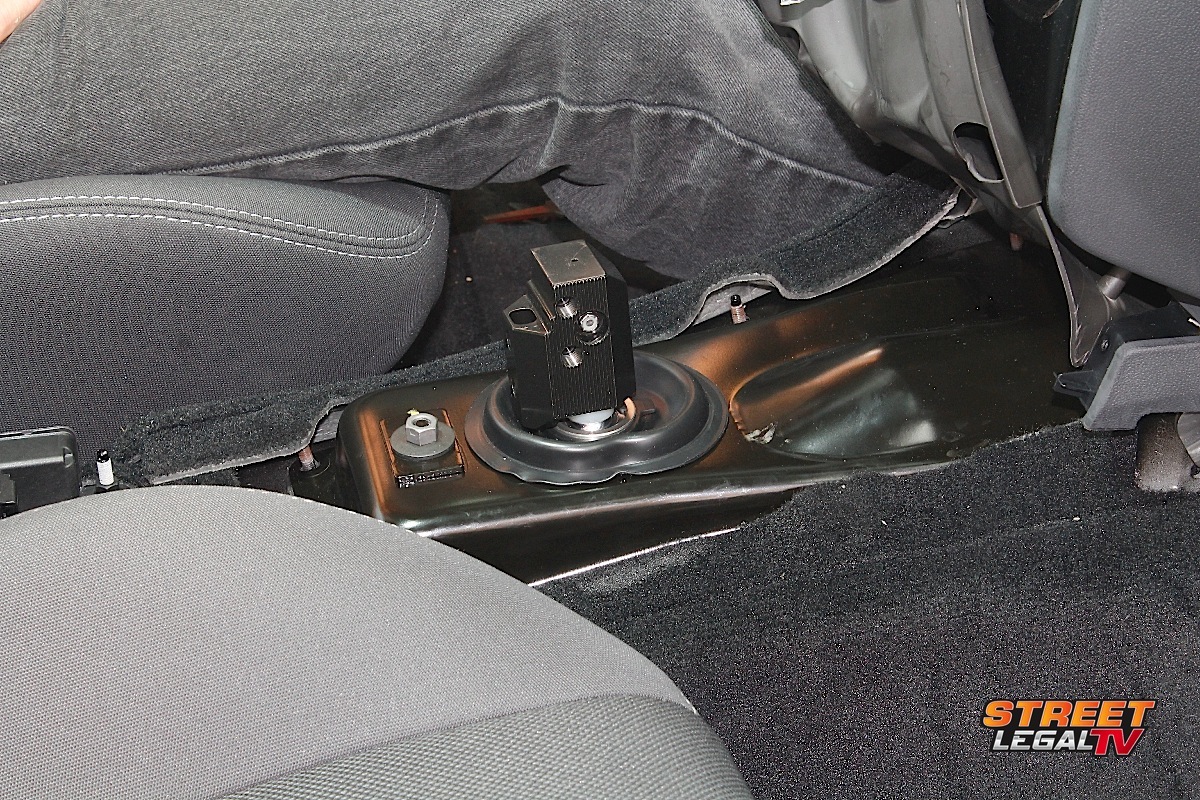
When the metal plate is placed over the shifter, keep in mind that the bushing can be moved forward or back a little to line up the bolt with the hole at the rear of the plate. This nut can be snug, but we made sure we had all of the perimeter bolts inserted and tightened before we tightened the nut on top. The rubber cover was replaced, and we began reinstalling the console and upper trim pieces, being sure to plug all harnesses back into their respective sockets.
Putting things back together wasn't as easy as we thought, and the best advice here is pay attention to how it all comes apart.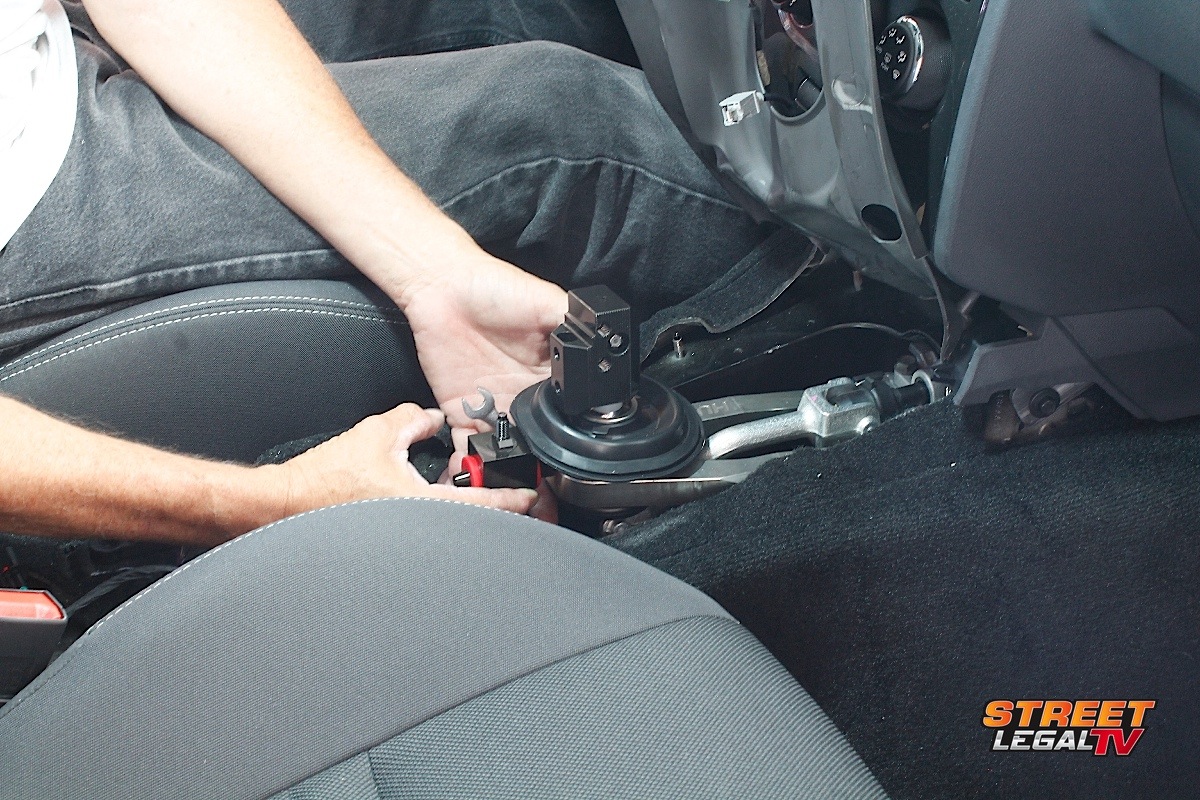
We did note that when we inserted the duct there was a plug that hung down and some wiring that needed to be moved. This duct took a little perseverance as well, but after a few times trying it slipped into place and the upper trim was snapped back down onto the console. The next step was installing the shifter, Hurst offers two choices for the shifter: the new Hurst shift lever and shift ball, or reinstalling the factory shifter with the ‘pistol grip’, a favorite amongst Mopar fans.
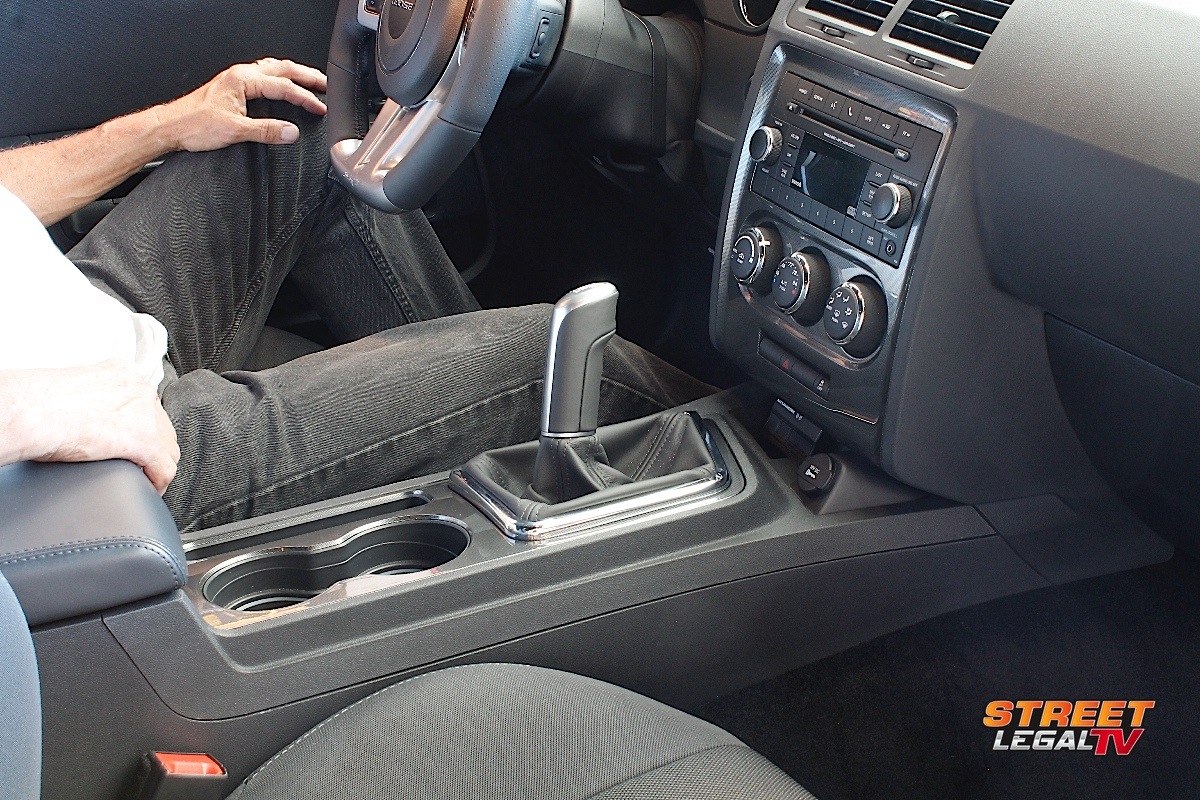
Bob Gough chose to reinstall the factory shift lever and maintain the pistol grip shifter, a very welcome option for any Hemi car.
Final Impressions of the Billet Plus Shifter
Mr. Gough likes the feel of the pistol grip and that was installed using the two bolts from the factory shifter. The boot was then slipped down into place and snapped into the console. At glance, it’s difficult to tell that there’s a performance shifter under the boot, but putting the car in gear and heading out on the road it was very clear that something was very different.
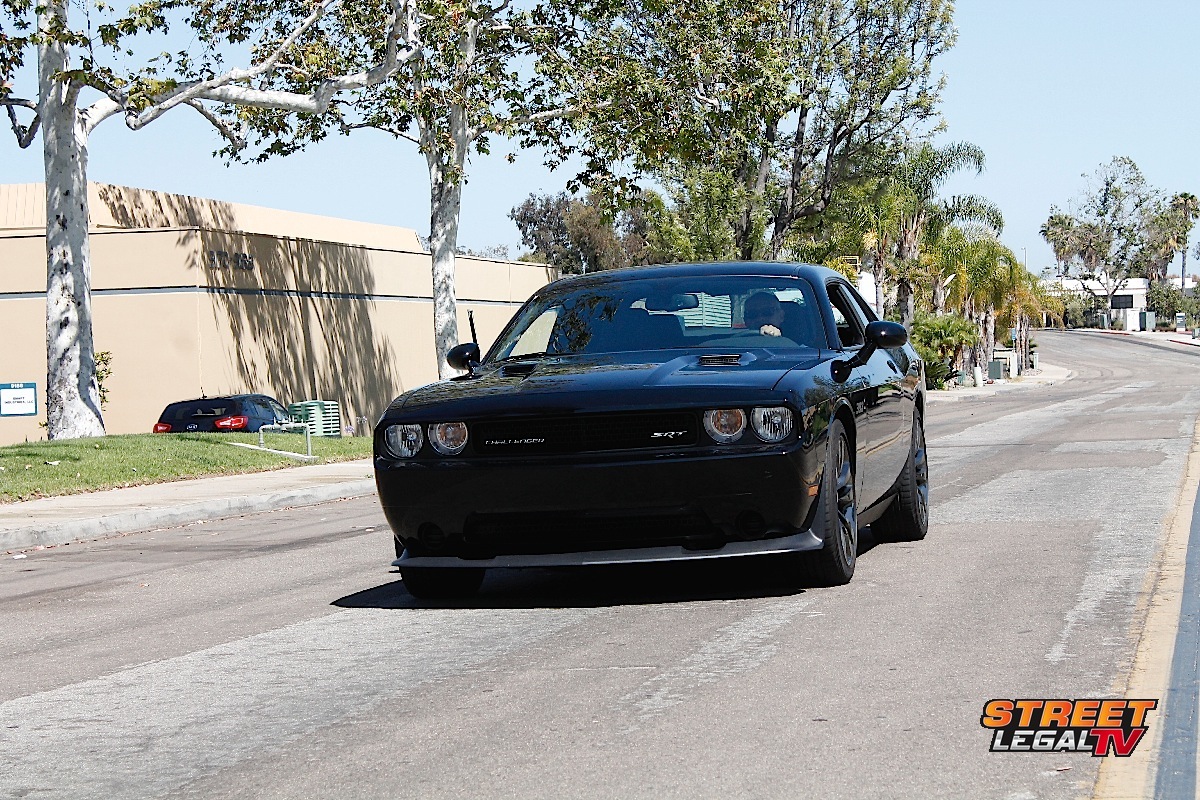
The 2014 Hemi Dodge Challenger has lots of power and now it has a much better feel to the shifter, making this musclecar feel more like it should.
It took a few times of shifting and worrying that we weren’t in gear before we got used to the feel of the much shorter throw on the shifter. As with almost any car, it becomes much easier to make confident shifts once getting use to the movement – it’s a definite plus. The throw was short, but it was very positive and there were not doubts which gear we were in. When the lever is in the neutral position, there are detentes that are much more pronounced with the firm urethane bushings. There’s no accidental movement towards reverse, and downshifting from fifth to fourth is quick and precise, as well.
Driving the car, there was a definite firm feel to it. We could tell that the transference of the vibrations and noise were more noticeable with the windows rolled up, and difficult to notice with the window down. The included sound dampening pad can be placed on the shifter base to help quell some of the vibration and noise, and it’s up to the car owner whether they’re installed. The kit is optional, but included with the Hurst Billet Plus shifter.
Shifting gears may not seem like something that can reduce lap times or ETs, but trying out the short throw of the Hurst shifter makes it much more believable because what used to be a shift to neutral is now a shift to the next higher or lower gear, allowing much quicker shifts.
Hurst makes the Billet Plus shifter for modern musclecars like that Camaro and Mustang, and there are other Hurst shifters from most classic musclecar transmissions. Check out the Hurst Shifters website for more information about the Billet Plus and other competition shifters, and get your shift together!


